Table of Contents
Let's be honest, the image of a perfectly carved, intricate pumpkin face staring back from the porch often feels like something only seasoned artists or folks with way too much free time can achieve. For the rest of us, it conjures visions of broken knives, accidental finger nicks, and a general mess that doesn't look remotely like the Pinterest perfect examples. Maybe you've tried before, ended up with a sad, lopsided mess, and swore off pumpkin carving forever. Or perhaps you just want to get the job done without needing a sculpture degree. If the thought of tackling a complex design makes you want to just buy a plastic pumpkin, you're in the right place. We're diving into the world of very easy pumpkin carving ideas, proving you don't need special skills or fancy tools to create something festive and fun.
Getting Started: Tools for Very Easy Pumpkin Carving
Getting Started: Tools for Very Easy Pumpkin Carving
so you've decided to brave the gourd. Good on you. First hurdle: tools. Forget those intimidating kits with 40 different tiny saws and pokers that look like dental instruments. For very easy pumpkin carving, you honestly don't need much. At a minimum, grab a sturdy spoon or scoop for getting the guts out – the bigger and sturdier, the better. Trust me, trying to scoop with a flimsy soup spoon is a fast track to frustration. You'll also need a basic, sharp knife. A small paring knife works just fine for detail, and a slightly larger, serrated knife can help with cutting the top off. Safety first, obviously, so make sure it's sharp enough to cut cleanly without needing excessive force, which is how accidents happen.
Beyond the Jacko'Lantern: Simple Designs for Everyone
Beyond the Jacko'Lantern: Simple Designs for Everyone
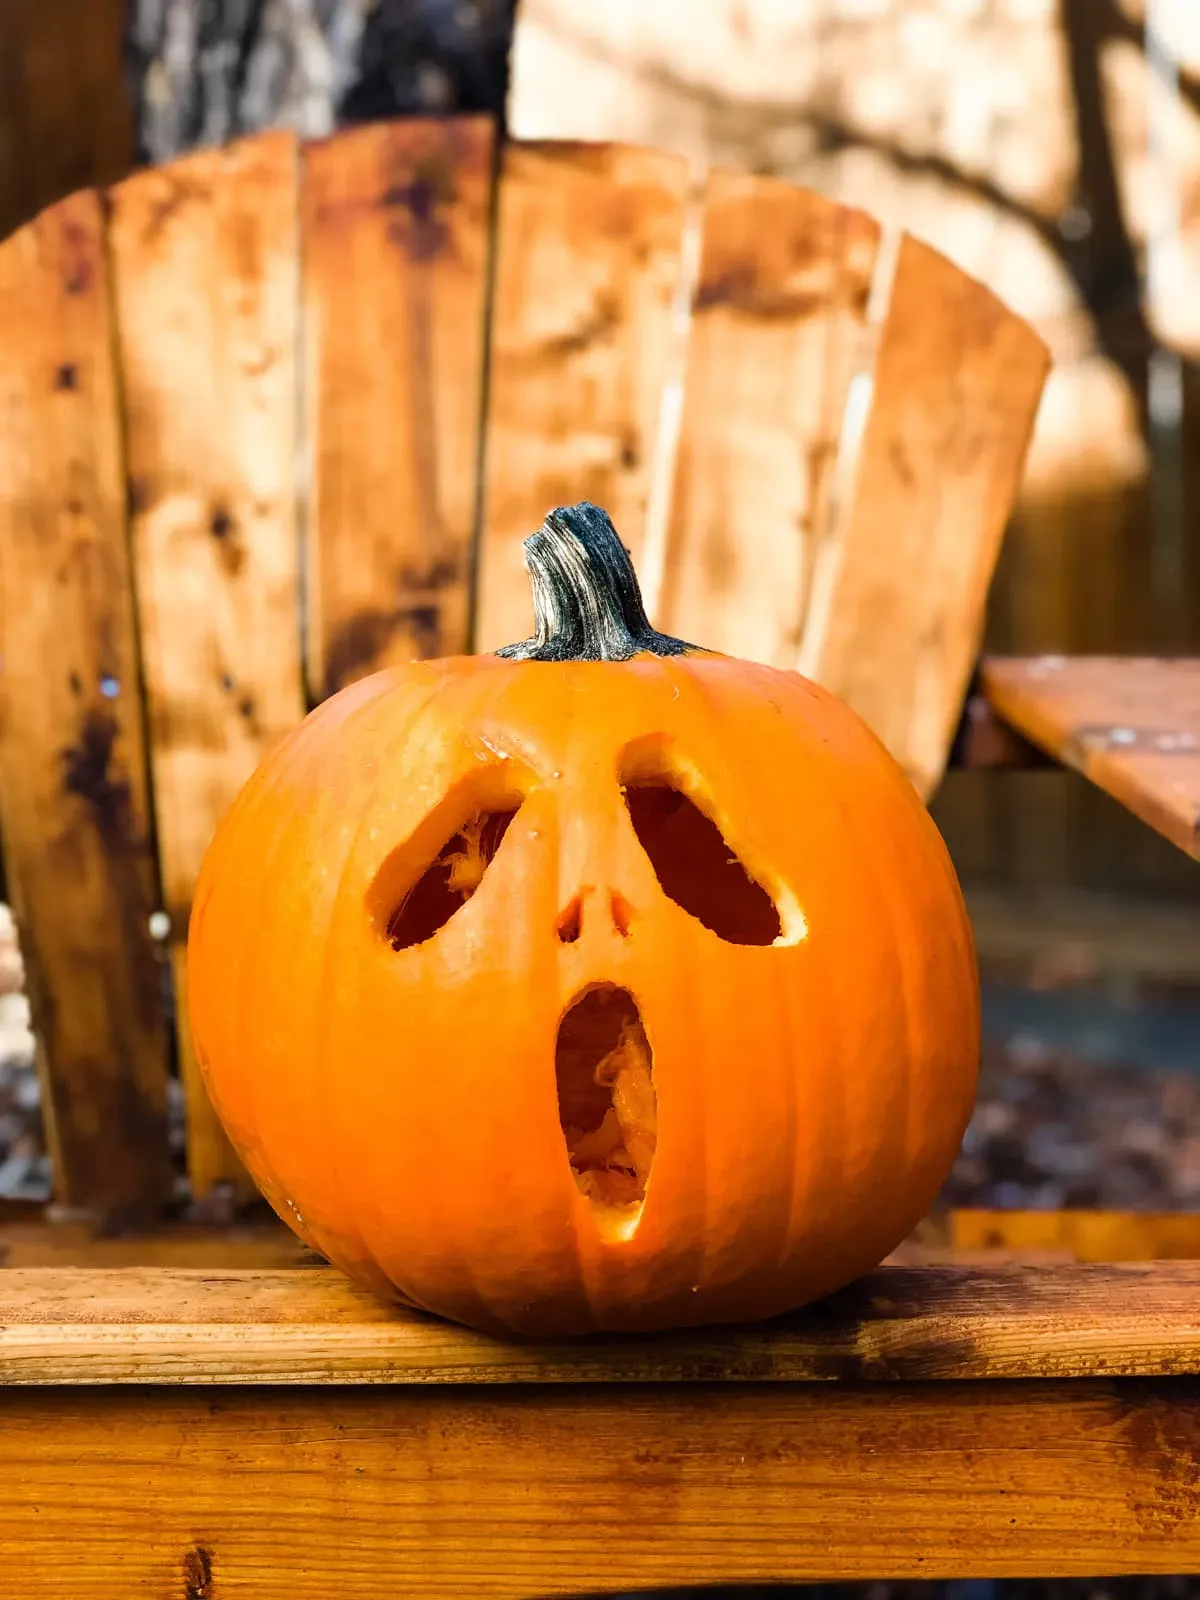
Alright, so the classic jagged mouth and triangle eyes are fine, but maybe you want something a little less... basic? Or maybe you just found cutting curves terrifying. Good news: very easy pumpkin carving ideas extend way beyond the traditional scary face. Think simple shapes you can cut out with minimal fuss. Stars, moons, dots, even just a few different sized circles can look surprisingly effective, especially when lit up. You can create patterns, or cut out initials. Ever tried just cutting straight lines? A few evenly spaced vertical lines can give your pumpkin a cool, modern vibe without requiring surgical precision. It's less about creating a recognizable character and more about playing with light and shadow using straightforward cuts.
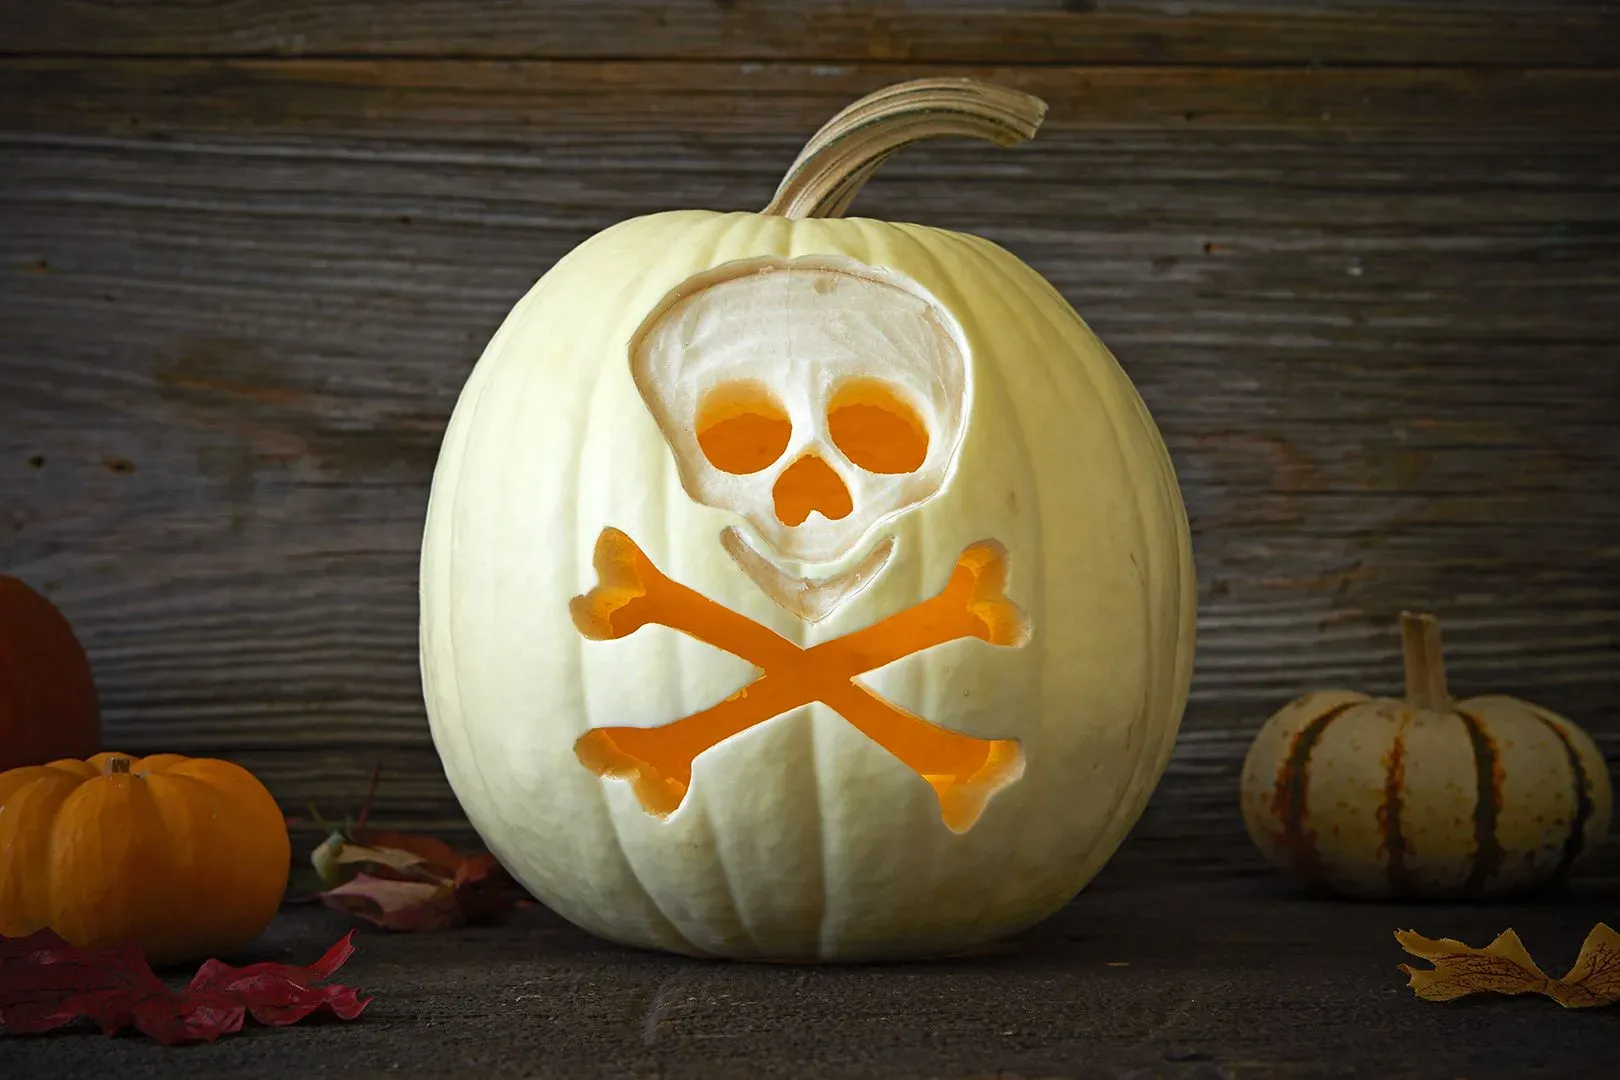
Stencils and Stickers: Cheating Your Way to Very Easy Pumpkin Carving

Stencils and Stickers: Cheating Your Way to Very Easy Pumpkin Carving
so maybe even cutting simple shapes feels like too much commitment or potential for disaster. This is where stencils and stickers come in, the absolute champions of very easy pumpkin carving ideas. Think of them as your artistic cheat code. You can buy stencil kits specifically for pumpkins, often featuring classic Halloween shapes like bats, spiders, or simple spooky faces. Just tape the stencil onto your pumpkin, trace the design with a marker or a poker tool, and then you only have to cut along the lines you've marked. No freehand drawing required. Even easier? Pumpkin stickers. These aren't just for decoration; some are designed to be guides for carving. Stick them on, cut around the edge of the sticker, and peel it off. Done. It removes the pressure of drawing and ensures your shapes are exactly how they're supposed to be. It's a legitimate shortcut to a good-looking pumpkin without the artistic anxiety.
Which method sounds easiest for you?
- Freehand simple shapes
- Using a stencil
- Using stickers
Painting Your Pumpkin: An Even Easier Alternative
Painting Your Pumpkin: An Even Easier Alternative
Why Painting Beats Carving (Sometimes)
Look, slicing into a round, sometimes uneven surface with a sharp object isn't everyone's idea of a good time. Even with very easy pumpkin carving ideas, there's still a knife involved. Painting your pumpkin eliminates the blade entirely. It's less messy in terms of pumpkin guts, significantly reduces the risk of losing a fingertip, and opens up possibilities that carving just can't touch. Think bold colors, intricate patterns (applied easily!), or even just a simple solid shade. If the thought of scooping and cutting gives you the shivers, painting is your golden ticket to a festive gourd without the stress. It truly is an even easier alternative.
Getting Started with Pumpkin Paint
You don't need special "pumpkin paint." Regular acrylic craft paints work perfectly and come in every color imaginable. Grab a few brushes – a larger one for base coats and smaller ones for details. Before you start, give your pumpkin a quick wipe down to remove any dirt. You can paint a base color or paint directly onto the orange skin. Simple designs like polka dots, stripes, or even just painting the stem a different color make a big impact with minimal effort. Want a ghost? Paint the whole thing white and add two black circles for eyes. Black cat? Black paint, add some triangles for ears. It's straightforward and forgiving.
Paint Type | Pros | Cons |
|---|---|---|
Acrylic Craft Paint | Dries fast, wide color range, easy cleanup | Can chip if pumpkin is handled roughly |
Spray Paint | Covers large areas quickly, smooth finish | Requires ventilation, less control for details |
Chalk Paint | Matte finish, easy to distress or write on | May require multiple coats |
Beyond Basic Brushing
Painting your pumpkin doesn't just mean using a brush. Think outside the box for even more very easy pumpkin decoration ideas. Use sponges to dab on color or create texture. Painter's tape can help you create clean lines for stripes or geometric shapes. Finger painting is a blast for kids (and let's be real, some adults too). You can add glitter while the paint is wet for some sparkle. Glue on googly eyes, yarn for hair, or felt shapes for features after the paint dries. Painting offers a blank canvas, making it incredibly adaptable and arguably the most accessible method for getting a good-looking Halloween pumpkin without any carving at all.
Troubleshooting and Tips for Very Easy Pumpkin Carving Success
Troubleshooting and Tips for Very Easy Pumpkin Carving Success
Dealing with a Stuck Knife or Tough Gourd
Even with very easy pumpkin carving ideas, sometimes the knife just binds up. You push, it stops, and you feel like you're wrestling a stubborn rock. This usually means your knife isn't sharp enough, or you're trying to force it through too quickly or at a weird angle. A sharp knife is your best friend here. If it gets stuck, don't twist or yank hard – that's how handles break and cuts happen. Pull the knife straight back out. Try re-entering the cut from a different spot, or use a gentle sawing motion. If the pumpkin wall is just incredibly thick or tough, you might need to switch to a slightly larger, serrated knife for that section. And remember, go slow. Speed is the enemy of clean cuts and intact fingers when you're dealing with a round, slippery object.
Here are a couple of knife types that help:
- Small paring knife: Good for initial cuts and tighter corners.
- Serrated knife (small): Helps saw through tougher spots or thick walls.
- Pumpkin carving saw (from a kit): Designed specifically for this, less likely to bind than a kitchen knife.
Keeping Your Creation Looking Fresh
You put in the minimal effort required for your very easy pumpkin carving, and now you want it to last more than two days before it starts looking sad and droopy. Pumpkins are organic, they decay, that's just life. But you can slow the inevitable. After carving, wipe down the inside and cut edges to remove any lingering goop. Some folks swear by rubbing petroleum jelly on the cut surfaces to keep them from drying out. Others mist the inside with a water and bleach solution (like one teaspoon of bleach per quart of water) to kill mold spores. Placing your pumpkin in a cool spot, out of direct sunlight, also helps extend its lifespan. Don't expect it to last forever, but these steps can buy you a few extra days or even a week of porch-worthiness.
Ever wonder why some pumpkins seem to shrivel faster than others? It's often about humidity and temperature. A dry, warm spot is a pumpkin's worst nightmare post-carving.
Lighting Your Pumpkin and Staying Safe
The final step for your very easy pumpkin carving masterpiece is lighting it up. Traditional candles look classic, but they come with fire risks, especially if the pumpkin cavity is small or kids are around. Plus, the heat can speed up decay. Battery-operated LED lights are a fantastic alternative. They come in various colors and flicker effects, they're safe, and they don't generate heat. Just pop one inside and you're good to go. When handling knives, always cut away from yourself. Keep your free hand out of the path of the blade. Clean up spills or dropped pieces immediately so you don't slip. Seriously, nobody wants a trip to the ER over a pumpkin. Enjoy the spooky glow, but do it safely.
Your Easy Pumpkin Success Story
So there you have it. Very easy pumpkin carving ideas are not some mythical creature; they are entirely within reach, even if your artistic abilities peak at drawing stick figures. We've covered the basics, the simple designs, and a few clever workarounds to get a cool-looking pumpkin without the usual hassle. No need for advanced techniques or a workshop full of specialized tools. Grab a pumpkin, pick a straightforward design, and give it a go. Worst case, you end up with a slightly wobbly but entirely unique creation. And honestly, isn't that part of the fun anyway? Go make your porch look festive without the stress.