Table of Contents
The leaves are changing, there's a crispness in the air, and pumpkins are suddenly everywhere. It's pumpkin carving season, a time for spooky fun and creative expression. But let's be honest, sometimes the thought of tackling a big, round gourd with sharp tools feels more daunting than delightful. Maybe you've had a carving disaster in the past, or perhaps you just figure it's too much hassle for the final result. What if I told you that achieving a fantastic carved pumpkin doesn't require an art degree or nerves of steel? This guide is all about making the process of **very easy pumpkin carving** achievable for anyone. We're going to walk through it step-by-step, from picking the perfect canvas to illuminating your masterpiece. Forget the frustration; we'll cover the essential tools, how to prep your pumpkin efficiently, transfer a design without tears, and carve with simple techniques. We'll even touch on how to keep your creation looking fresh and make quick fixes if things go a little sideways. Stick with us, and you'll have a porch-ready pumpkin that looks great without feeling like a chore.
Gathering Your Gear for Very Easy Pumpkin Carving
Gathering Your Gear for Very Easy Pumpkin Carving
The Absolute Basics You'll Need
so you've got your pumpkin, maybe sitting on the kitchen counter looking a little intimidating. Before you dive in, let's talk tools. You don't need a fancy, expensive kit filled with things you'll never use. For very easy pumpkin carving, you really only need a few key items. First up, you need something to cut the top off and maybe carve some basic shapes. A small, serrated pumpkin carving saw is way better than trying to use a kitchen knife – they're designed for this. They usually come in those cheap kits, and honestly, that little saw is the most useful part. You'll also want something to scoop out the guts. A big, sturdy metal spoon works wonders, or you can get a dedicated pumpkin scoop if you plan on doing this often. Trust me, trying to do this with your hands is... an experience. Not a pleasant one for most.
Beyond the Saw: Helpful Additions
Now, while those basics get the job done, a couple of other things make **very easy pumpkin carving** even smoother. To get your design onto the pumpkin, a push pin or a poking tool is essential. You tape your pattern on and use the pin to make little holes along the lines. This beats trying to draw directly on the curved surface. Sometimes, connecting those dots with a pen afterward helps you see the pattern better before you start cutting. Also, think about your workspace. Laying down some old newspapers or garbage bags makes cleanup infinitely easier. Have a bowl ready for the seeds and stringy bits you pull out. It keeps things tidy and you're not constantly running to the trash can with dripping pumpkin slime. Having a damp cloth on hand is also a good idea for wiping off your hands and the pumpkin as you go.
Essential Tools for Very Easy Pumpkin Carving:
- Small serrated pumpkin carving saw
- Sturdy metal spoon or pumpkin scoop
- Push pin or poking tool
- Marker or pen (optional, for connecting dots)
- Newspapers or garbage bags for workspace
- Bowl for pumpkin guts
- Damp cloth
Getting Down to Business: Gutting Your Gourd
Getting Down to Business: Gutting Your Gourd
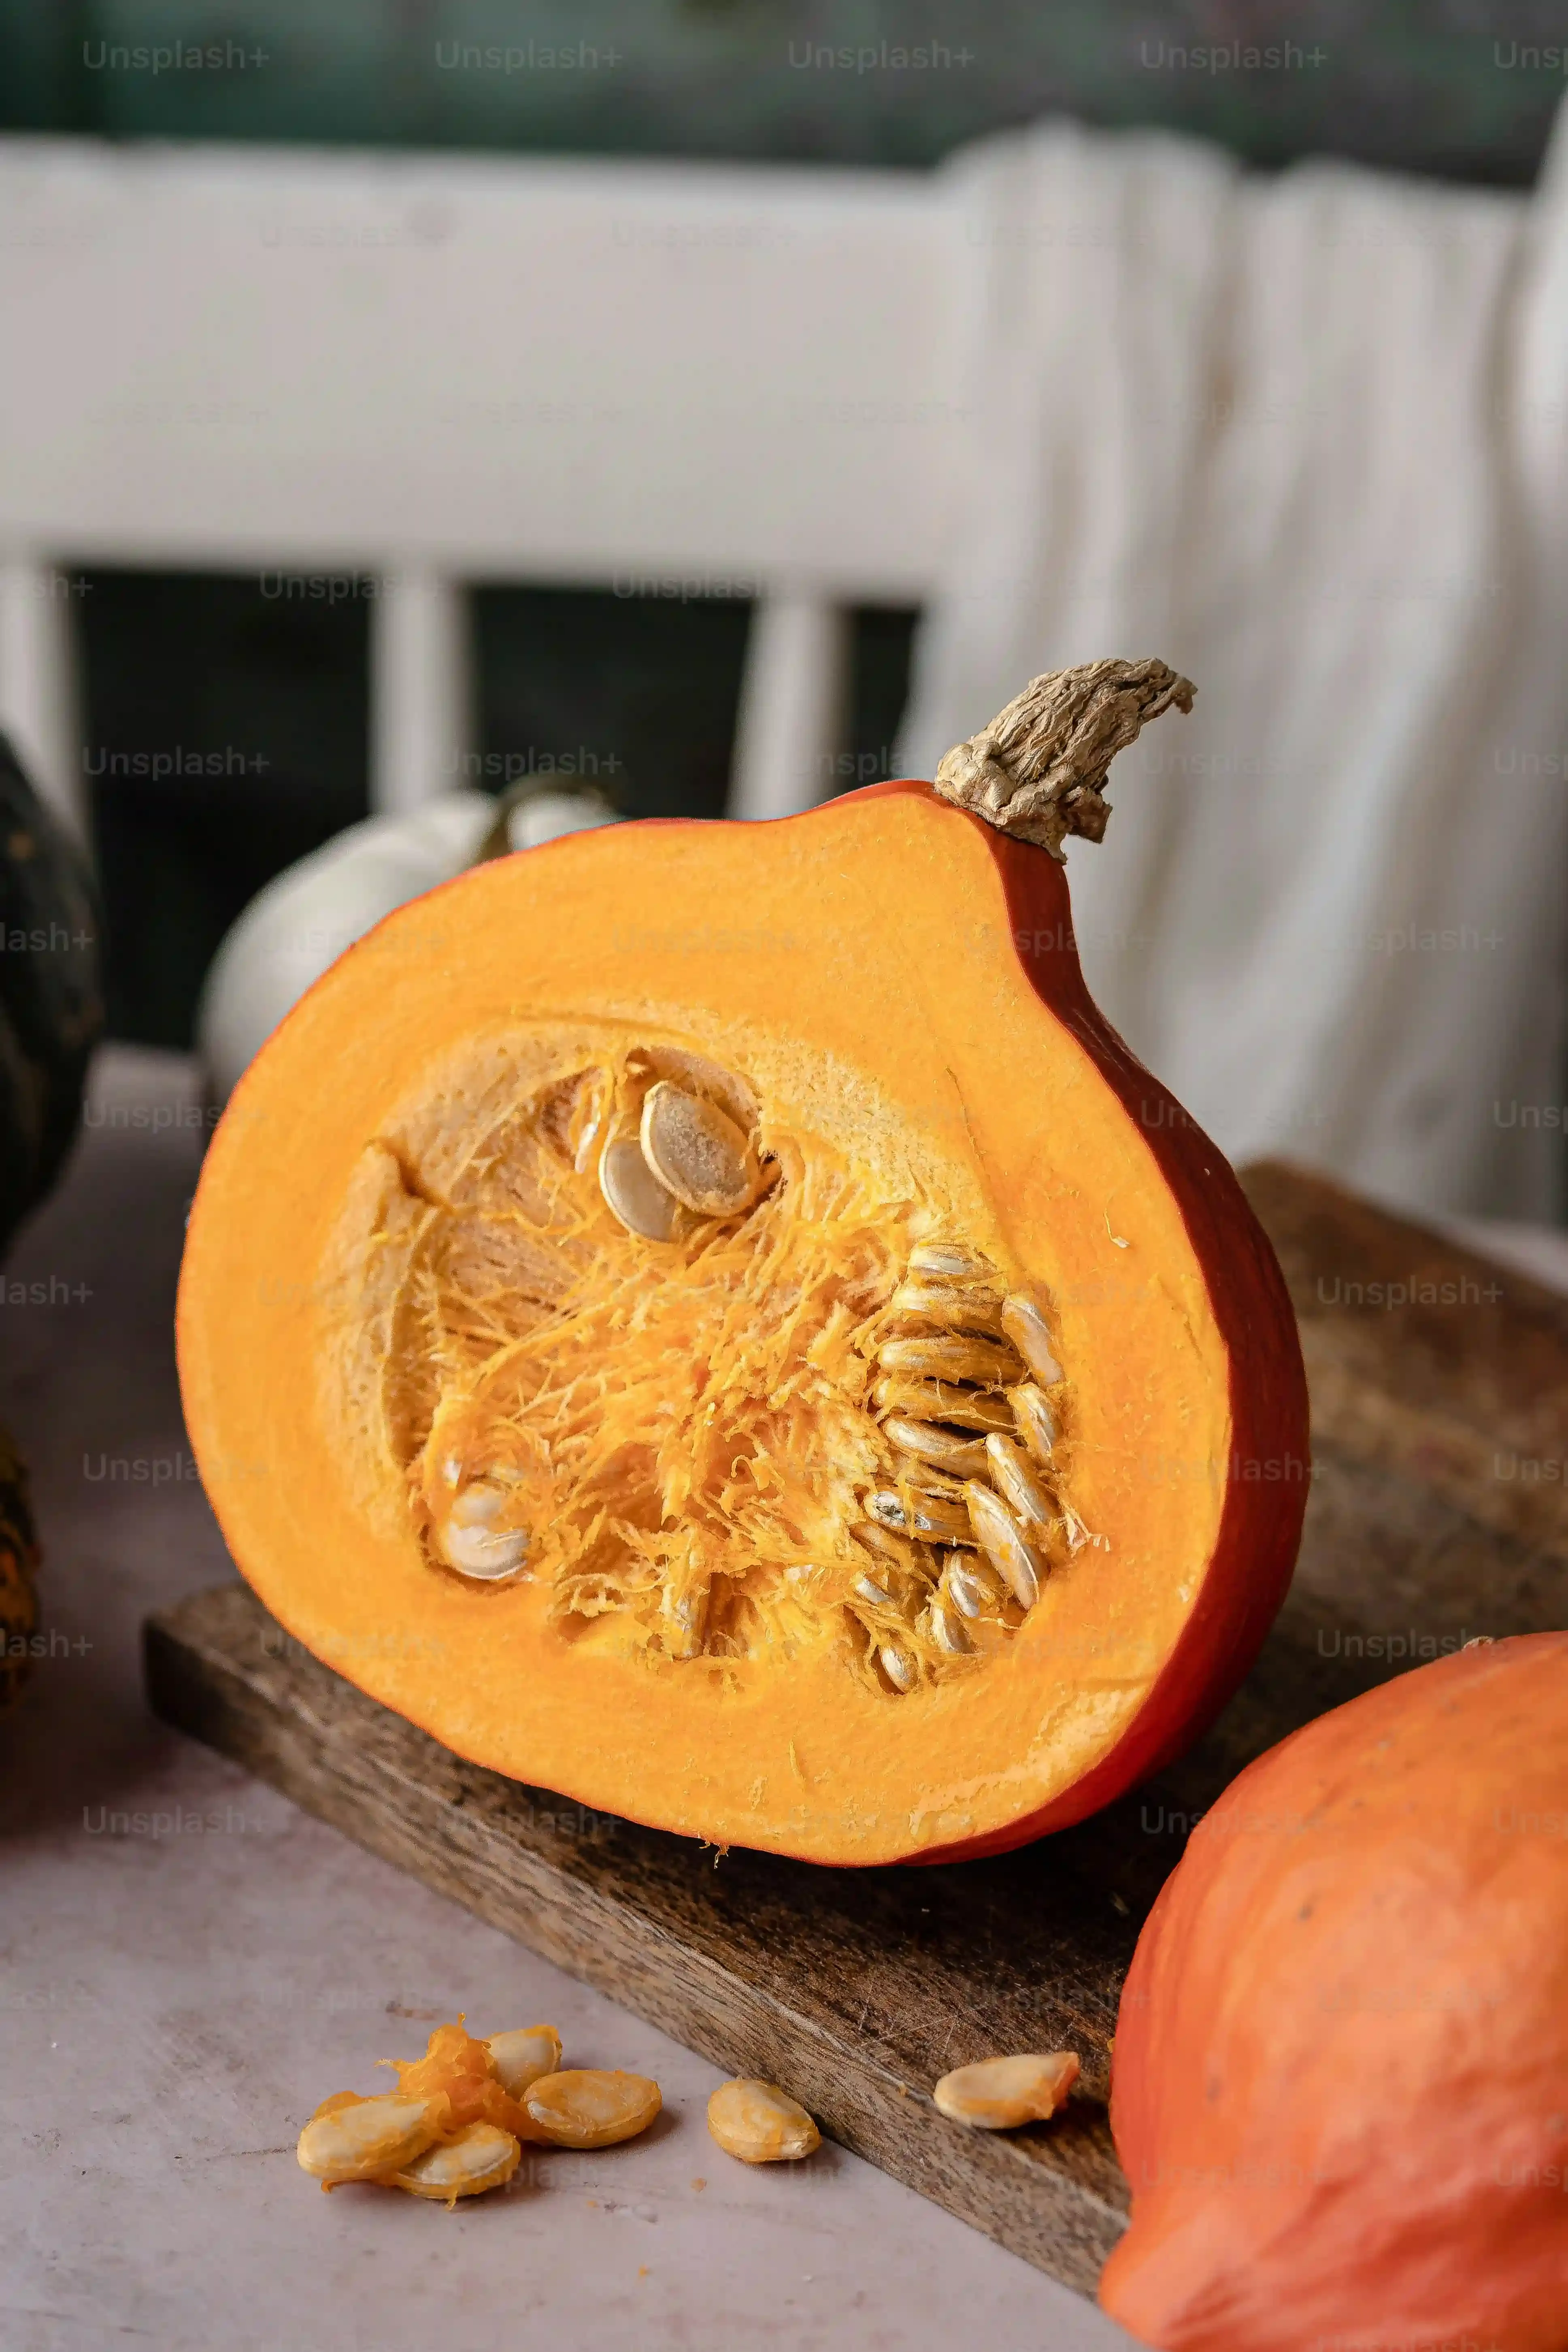
you've got your gear ready. Now comes the part that's, well, a little gross but totally necessary: gutting the gourd. First, you need to get the lid off. Use that small serrated saw and cut around the top, or maybe the bottom if you prefer a cleaner look on top later. Angle the cut slightly inward so the lid doesn't fall *into* the pumpkin when you put it back on. Once the lid is off, take your sturdy spoon or scoop and just go to town. Scrape out all the seeds and that stringy, slimy stuff. It's a messy job, no two ways about it. Get every last bit you can. The cleaner the inside, the better your light will shine through, and honestly, it just smells better if you get all that decaying matter out. Don't be shy about really scraping the walls thin, maybe about an inch thick. This makes carving way easier later on. That pile of guts might look like a horror movie prop, but hey, you're one step closer to your awesome carved pumpkin.
Transferring Your Design for Very Easy Pumpkin Carving
Transferring Your Design for Very Easy Pumpkin Carving
Choosing and Prepping Your Pattern
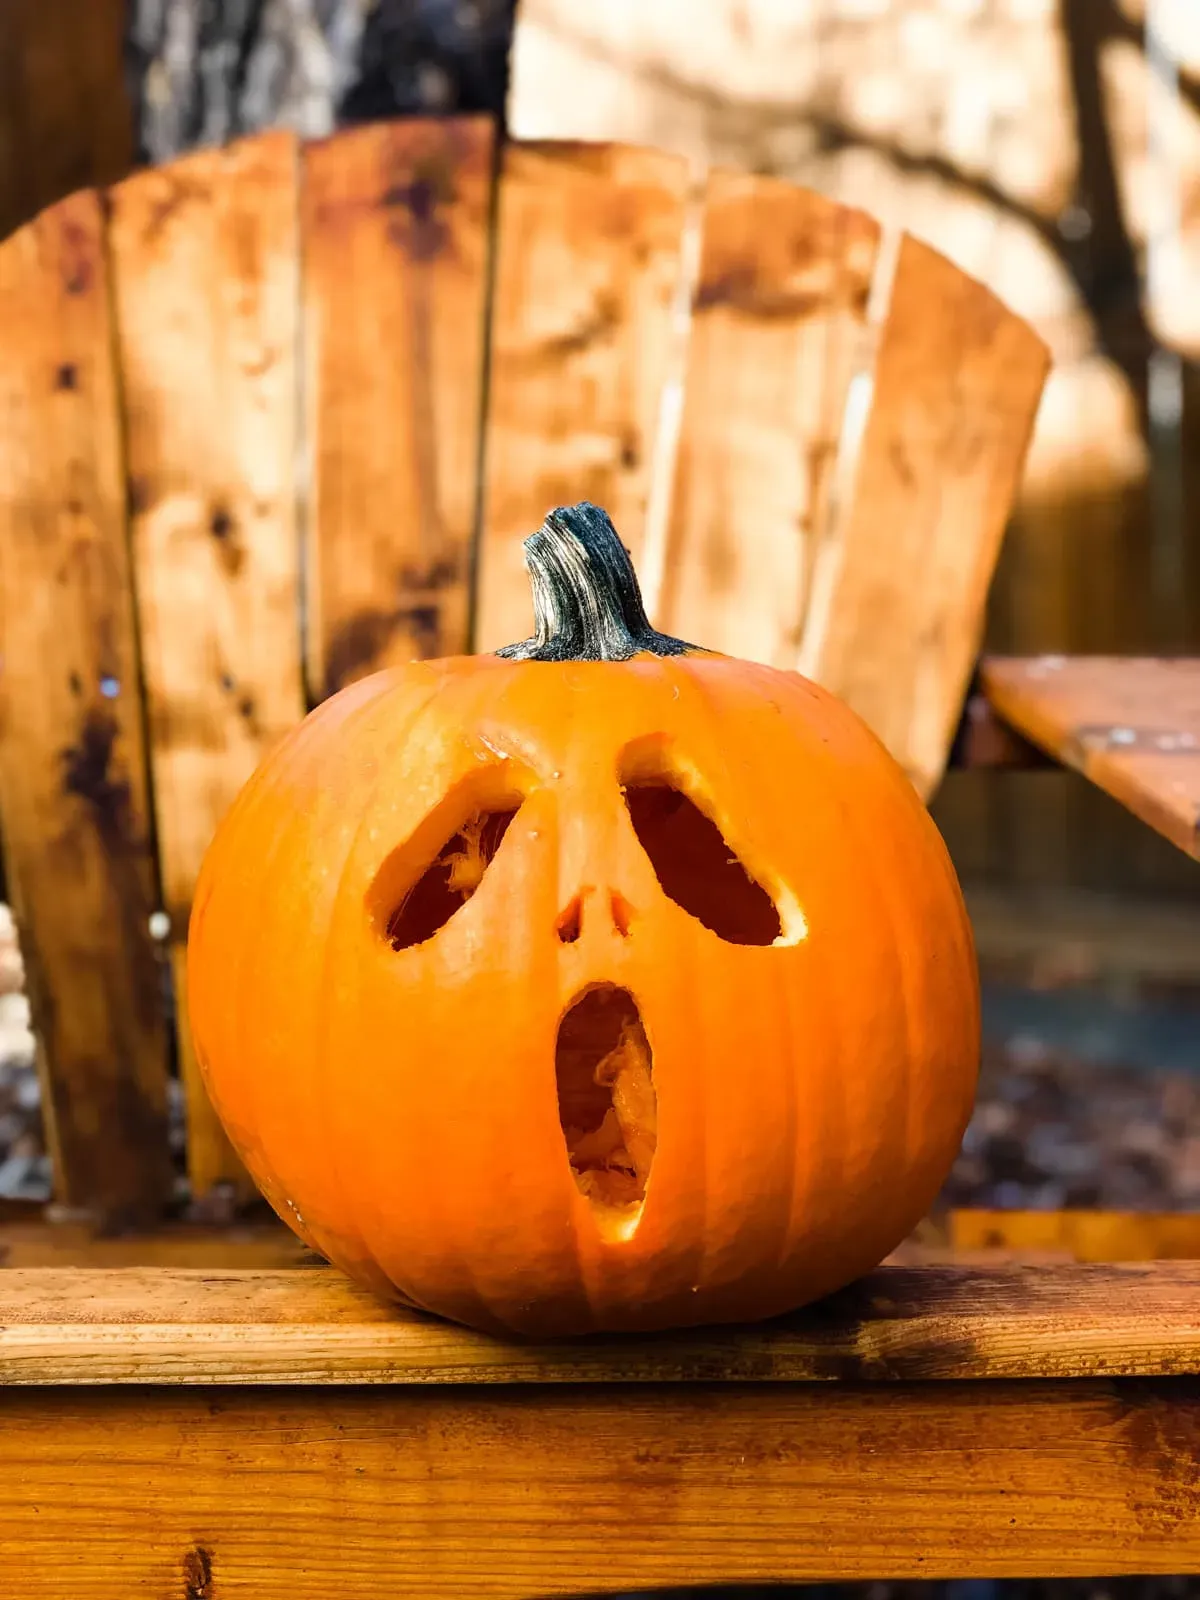
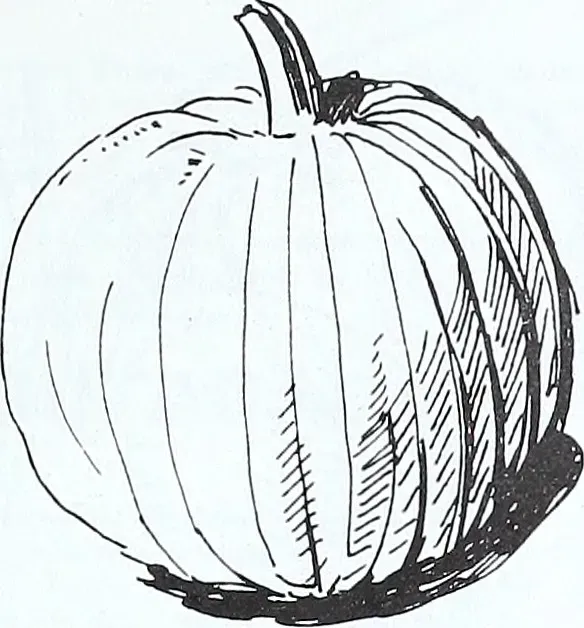
you've got a clean, gutted pumpkin staring back at you. Now for the fun part – deciding what spooky or silly face it's going to wear. You can find tons of free patterns online, from simple shapes to intricate scenes. For **very easy pumpkin carving**, start with something less complex. Think basic geometric shapes, simple eyes, or a classic jagged mouth. Print your chosen pattern out. If it's a bigger design, you might need to tape a few pieces of paper together. Once you have it, cut around the pattern roughly, leaving some paper margin. This makes it easier to handle and tape to the curved surface of the pumpkin. Don't worry about cutting right up to the lines yet; that comes later.
Taping and Poking Your Design
This is where the magic happens, or at least the transfer. Take your printed pattern and position it on the smoothest side of your pumpkin. Try to get it as flat against the curve as possible. Use masking tape to secure the edges of the paper firmly to the pumpkin. Don't be stingy with the tape; you don't want it shifting while you're working. Now, grab your push pin or poking tool. Start making small holes through the paper and into the pumpkin skin, following the lines of your pattern. Keep the holes close together, maybe about an eighth of an inch apart. The closer the holes, the clearer your line will be. Think of it like connecting the dots. You're essentially creating a perforated outline on the pumpkin skin. This method is a lifesaver for **very easy pumpkin carving** because it gives you a clear guide without trying to draw directly on the slippery surface.
Tips for Transferring Patterns:
- Choose patterns designed for carving, not just drawing.
- Use masking tape; it peels off cleanly.
- Start poking from the center of the design outwards.
- Keep pinholes consistent and close together.
- Consider using different colored paper patterns if your pumpkin is light.
Revealing Your Dotted Outline
Once you've poked holes all along every line of your design, carefully peel off the paper pattern. You should now see a series of tiny dots outlining your image on the pumpkin's surface. Sometimes, these dots are a little hard to see, especially on darker pumpkins. If that's the case, you can take a marker or pen and lightly connect the dots. Don't press too hard; you just want a visible line to follow with your saw. This dotted or lightly drawn line is your roadmap for the next step, the actual carving. It takes the guesswork out of it and makes the cutting process much more straightforward, contributing significantly to **very easy pumpkin carving** success.
Making the Cut: Carving Techniques for Very Easy Pumpkin Carving
Making the Cut: Carving Techniques for Very Easy Pumpkin Carving
Starting the Slice: Getting into the Pumpkin
the pattern is on, the dots are connected. Time to actually cut into this thing. This is where your little serrated saw comes in. Don't think of it like a steak knife; it's more like a tiny saw for wood. You'll want to use short, back-and-forth strokes, letting the saw teeth do the work. Don't try to push hard or force it. If you do, you'll just get stuck or, worse, snap the blade. Start on one of the lines you've marked. It's often easiest to start with a simple shape first, like the outline of an eye or a tooth. Hold the pumpkin steady with one hand and guide the saw with the other. Keep the saw perpendicular to the pumpkin surface as much as possible to get a clean edge. Think slow and steady wins the race, especially when you're aiming for **very easy pumpkin carving** results.
Basic Carving Tips:
- Use short, sawing motions.
- Let the tool do the work; don't force it.
- Keep the saw perpendicular to the pumpkin wall.
- Start with simple shapes first.
- Rotate the pumpkin as you carve to maintain a comfortable angle.
Navigating Corners and Tricky Spots
You'll find that straight lines are pretty forgiving, but corners and tight curves can be a bit more challenging. When you get to a corner, stop your cut, remove the saw, and then re-insert it to start the next line. Trying to pivot the saw while it's still in the pumpkin is a sure way to break it or rip the pumpkin flesh in a spot you didn't intend. For smaller, more intricate details, if your kit came with a smaller detail saw, now's the time to use it. If not, your main saw can still work, just be extra careful with your movements. Sometimes, you might need to cut a small section out to give yourself room to maneuver for the next part of the design. Don't be afraid to take a break if your hand gets tired; precision goes out the window when you're fatigued. Making the cut for **very easy pumpkin carving** means being patient, not speedy.
"Measure twice, cut once" applies to pumpkins too, sort of. Look at your dotted lines before you cut.
Popping Out the Pieces and Refining Edges
As you cut around a shape, the piece you're removing might not just fall out. That's normal. Once you've cut all the way around a section, you can usually push it gently from the inside of the pumpkin to pop it out. If it's stubborn, double-check that you've cut through the entire line. Sometimes, a small section is still attached. Use the tip of your saw or even a finger (carefully!) to free it. After the piece is out, take a look at the edges of your carving. They might be a little rough or have some stringy bits. You can use the saw or a small knife (again, carefully) to trim these edges and make them cleaner. A smooth edge looks much better when the pumpkin is lit. This final cleanup step might seem minor, but it makes a big difference in the overall look of your **very easy pumpkin carving** project.
Finishing Strong: Lighting and Fixing Your Masterpiece
Lighting Up Your Hard Work
the carving is done. Your pumpkin has a face, or a design, or whatever glorious thing you decided to create. Now, it's time to make it glow. The classic choice is, of course, a candle. Simple tea lights work fine, but they can be a fire hazard, especially if the pumpkin gets dry or tips over. Plus, they can char the top of your pumpkin lid. A safer and often brighter option for **very easy pumpkin carving** illumination is using battery-powered LED lights. You can get little puck lights, strings of fairy lights, or even color-changing ones. Just pop them inside, and they give a steady, bright light without the worry of flames. It’s less fuss, lasts longer, and keeps your creation looking fresh without the heat.
Keeping Your Creation Fresh
You spent all this time carving, so you want your pumpkin to last longer than a day or two, right? Pumpkins are organic, they're going to break down, but you can slow the inevitable decay. One common trick is to wash the inside and carved surfaces with a solution of bleach and water (about one tablespoon of bleach per quart of water). This kills some of the mold and bacteria. You can also buy dedicated pumpkin preservative sprays, which are essentially watered-down bleach or other disinfectants. Another method is to rub petroleum jelly or vegetable oil on all the cut edges. This helps seal in moisture, preventing the edges from drying out and shriveling, which makes your carefully carved details look sad and droopy pretty fast. Store it in a cool, dry place when it's not on display.
Pumpkin Preservation Tips:
- Wash inside and carved areas with a bleach solution (1 tbsp bleach per quart water).
- Apply petroleum jelly or vegetable oil to all cut edges.
- Use commercial pumpkin preservative spray.
- Keep the pumpkin out of direct sunlight and heat.
- Consider storing it in the refrigerator overnight if space allows.
Quick Fixes for Carving Casualties
Let's say the unthinkable happens. A piece breaks off while you're carving, or maybe a clumsy trick-or-treater bumps it. Don't panic; your **very easy pumpkin carving** effort isn't completely ruined. For pieces that snap off cleanly, you can often reattach them using toothpicks. Just push a couple of toothpicks into the pumpkin flesh on one side of the break and then carefully press the broken piece back onto the toothpicks. If it's a larger section or a more complex break, staples can sometimes work on thicker parts of the pumpkin wall, though they'll be visible from the inside. For small cracks or splits, a little petroleum jelly rubbed into the crack might help keep it from spreading. It's not surgery, but these little tricks can often salvage a wobbly tooth or a detached eyebrow, keeping your jack-o'-lantern presentable for a while longer.
Wrapping Up Your Pumpkin Project
So, there you have it. You've gathered the right gear, dealt with the slimy guts (the pumpkin's, hopefully not yours), transferred your design with minimal fuss, and made the cuts. You've even got a handle on lighting and quick repairs. The goal here wasn't to turn you into a master sculptor overnight, but to show that **very easy pumpkin carving** isn't some mythical beast. It's a straightforward process when you break it down and use a few basic tricks. Your pumpkin is now ready to sit on the porch, silently judging the neighbors' attempts or simply looking festive. Go admire your work, and maybe wash your hands again.