Table of Contents
Tired of the same old jack-o'-lantern routine? Want to skip the messy carving and still have the coolest pumpkins on the block? You've come to the right place! We're diving headfirst into a world of unique pumpkin decorating ideas without carving that are perfect for all ages and skill levels. Forget the knives and stencils; we're talking paint, glitter, glue, and a whole lot of imagination.
Easy Pumpkin Decorating: Beyond Carving
Easy Pumpkin Decorating: Beyond Carving
Why Ditch the Carving Knife?
Let's face it: carving pumpkins can be a messy, time-consuming, and sometimes dangerous activity. Especially if you're wrangling little ones with sharp tools! But what if I told you that you could achieve equally stunning, if not more impressive, pumpkin decorations without ever picking up a knife? That's where the magic of no-carve decorating comes in. It opens up a whole new world of creative possibilities, allowing you to focus on the fun parts – like choosing colors, textures, and embellishments – without the stress of intricate cuts and pumpkin guts.
Think about it: no more struggling with dull knives, no more fishing out slimy seeds, and no more worrying about your masterpiece rotting away in a matter of days. With no-carve decorating, your pumpkins can last for weeks, even months, bringing autumnal cheer to your home well beyond Halloween. Plus, it's a fantastic way to get the whole family involved, regardless of age or artistic ability. So, are you ready to embrace the carving-free life?
Gather Your Arsenal of Supplies
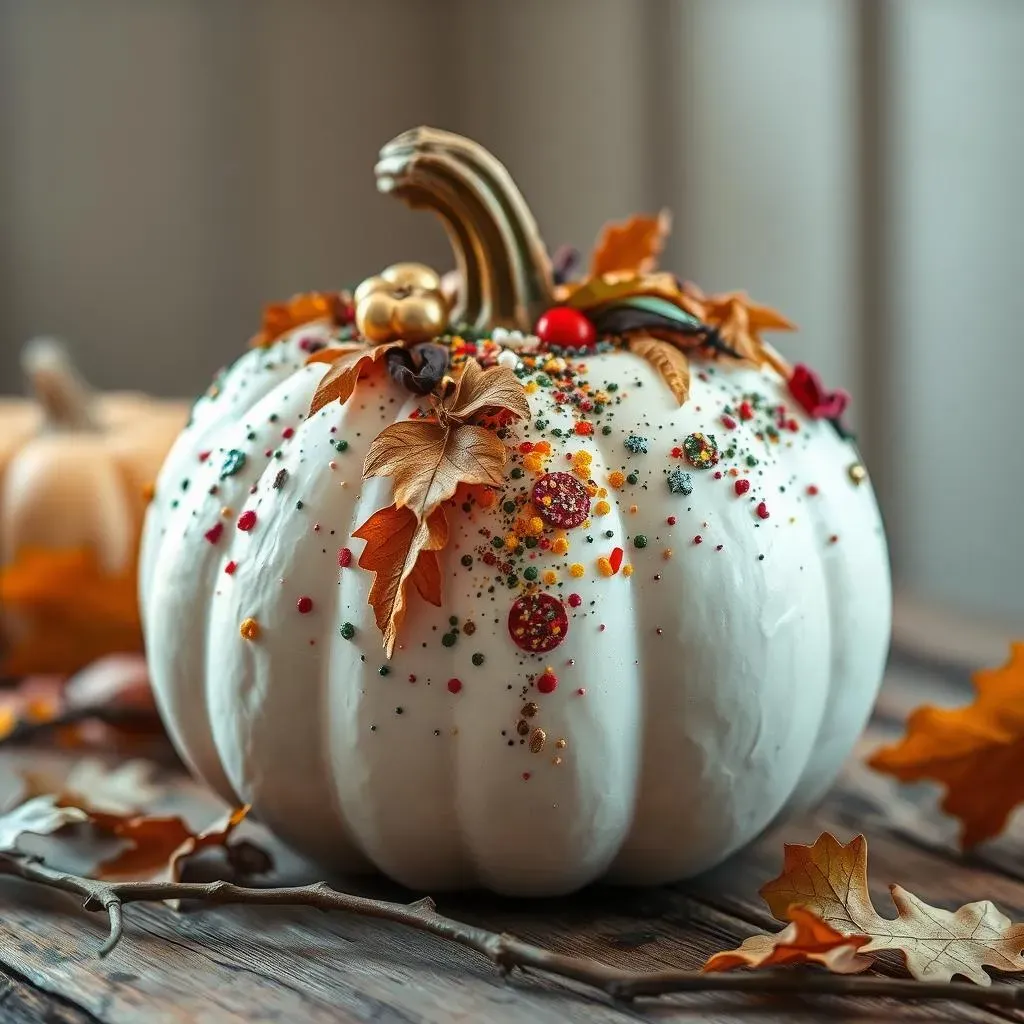
Before we dive into specific techniques, let's talk supplies. One of the best things about no-carve pumpkin decorating is that you probably already have many of the essentials lying around your house. But to really unleash your creativity, it's worth stocking up on a few key items. First and foremost, you'll need pumpkins, of course! Consider a variety of sizes, shapes, and colors for added visual interest. White pumpkins, in particular, provide a blank canvas for showcasing your artistic skills.
Next, gather your favorite crafting supplies. Paint (acrylic or spray paint work well), glitter, glue, felt, googly eyes, ribbon, buttons, and stencils are all great options. Don't forget the basics like paintbrushes, sponges, scissors, and hot glue gun (for adult use only!). And if you're feeling extra fancy, you can even incorporate natural elements like leaves, twigs, and pinecones. The possibilities are truly endless!
Here's a quick checklist to get you started:
- Pumpkins (various sizes and colors)
- Paint (acrylic, spray paint)
- Glitter
- Glue (craft glue, hot glue)
- Felt
- Googly eyes
- Ribbon
- Buttons
- Stencils
- Paintbrushes
- Sponges
- Scissors
- Hot glue gun (adult use only)
Simple Techniques, Stunning Results
Now that you're armed with supplies, let's explore some simple yet effective no-carve decorating techniques. Painting is always a classic choice, allowing you to create intricate designs, bold patterns, or whimsical characters. Stencils can be your best friend here, helping you achieve clean lines and precise shapes. Or, if you're feeling adventurous, try freehand painting for a more organic look.
Glitter is another fantastic option for adding instant sparkle and glamour to your pumpkins. Simply apply glue to the desired areas and sprinkle generously with glitter. For a more subtle effect, try using iridescent glitter or mixing different colors together. And don't underestimate the power of embellishments! Buttons, beads, sequins, and felt shapes can all be used to create unique and eye-catching designs. The key is to experiment, have fun, and let your imagination run wild.
Pro Tip: Sealing Your Masterpiece
To protect your no-carve pumpkin decorations and ensure they last as long as possible, consider sealing them with a clear coat of varnish or sealant. This will help prevent paint from chipping, glitter from flaking off, and other embellishments from falling apart. Simply spray or brush on a thin layer of sealant and let it dry completely before displaying your pumpkins.
Image Transfer: A Vintage Touch to Your Pumpkin

Image Transfer: A Vintage Touch to Your Pumpkin
Unearthing the Charm of Image Transfers
Ready to add a touch of old-world elegance to your pumpkin? Image transfer is where it's at! This technique lets you adorn your pumpkin with vintage illustrations, botanical prints, or even family photos, giving it a unique and personalized feel. It might sound intimidating, but trust me, it's surprisingly easy. The result? A sophisticated decoration that looks like it came straight out of a charming antique shop, and perfect for those seeking unique pumpkin decorating ideas without carving.
Imagine a pumpkin showcasing a delicate floral design, a quirky vintage advertisement, or a black-and-white portrait of your great-grandparents. It's a conversation starter, a work of art, and a beautiful way to celebrate the season. Plus, it's a fantastic way to upcycle old books, magazines, or even printed-out images from the internet. Let's get ready to transform that plain pumpkin into a vintage masterpiece!
Mastering the Art of Image Transfer
So, how do you actually transfer an image onto a pumpkin? There are a few different methods, but one of the easiest involves using clear adhesive shelf liner. First, print out your chosen image, making sure it's reversed (mirrored) if it contains text or specific directional elements. Then, adhere the image face-down onto the sticky side of the shelf liner, pressing firmly to eliminate any air bubbles. Next, carefully cut around the image, leaving a small border of shelf liner.
Now for the magic! Place the image (shelf liner side down) onto your pumpkin and use a damp cloth or sponge to wet the back of the paper. Gently rub the paper, and you'll start to see the image transferring onto the pumpkin's surface. Continue rubbing until the entire image has transferred, then carefully peel away the shelf liner. Voila! You've successfully transferred an image onto your pumpkin, creating a stunning vintage-inspired decoration. You can seal the image with a clear coat of varnish for added protection.
Here's a table of materials you might need:
Material | Purpose |
|---|---|
Pumpkin | The canvas for your art |
Image (reversed) | The design to transfer |
Clear Adhesive Shelf Liner | To facilitate image transfer |
Damp Cloth or Sponge | To wet the paper and transfer the image |
Scissors | To cut around the image |
Clear Varnish (Optional) | To seal and protect the transferred image |
Gumball Machine Pumpkin: A Sweet NoCarve Idea
Gumball Machine Pumpkin: A Sweet NoCarve Idea
From Pumpkin to Candy Dispenser
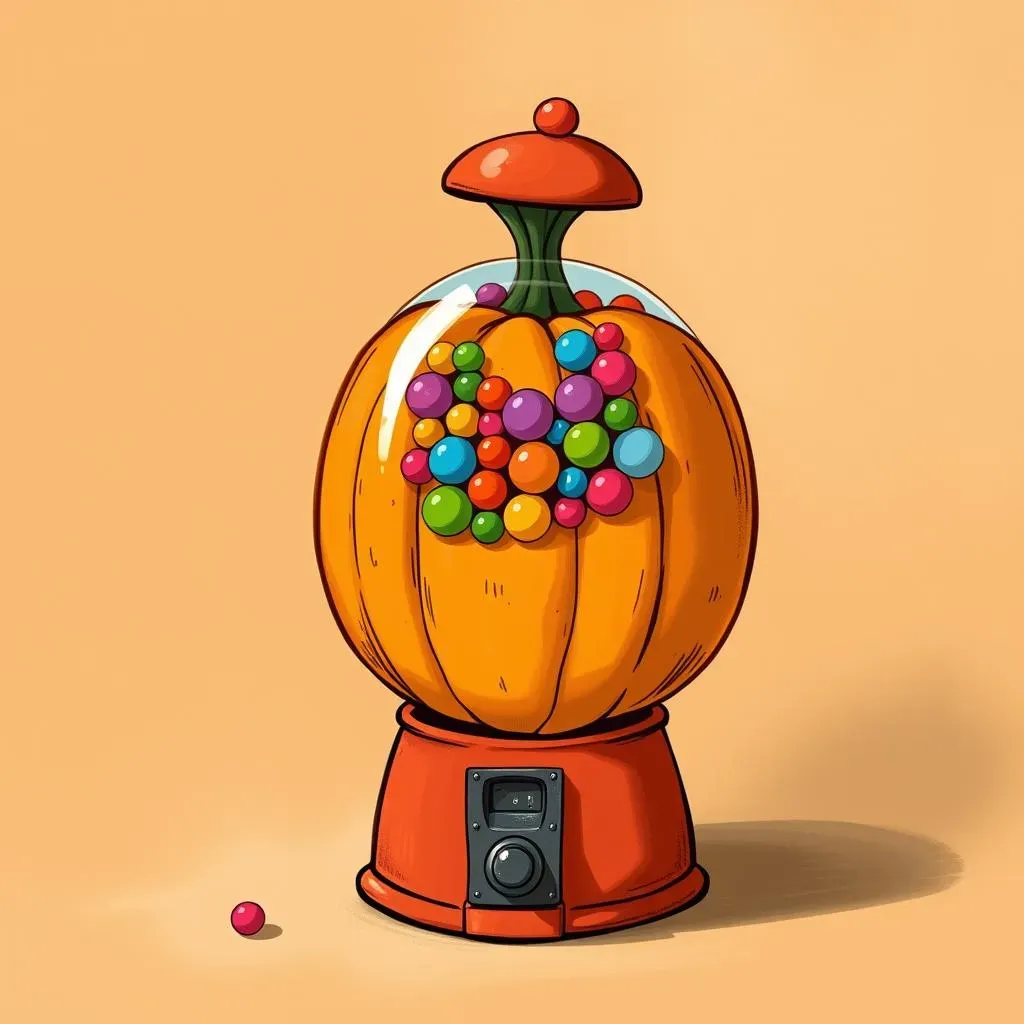
seriously, who doesn't love a gumball machine? Now, imagine transforming your ordinary pumpkin into a whimsical, candy-filled masterpiece! This Gumball Machine Pumpkin is not only a super fun and creative no-carve idea, but it's also a guaranteed crowd-pleaser, especially for the little ones. It's like bringing the arcade right to your doorstep, but with a charming, autumnal twist. Forget the scary and spooky; this year, we're all about sweet and delightful! This is definitely one of the most unique pumpkin decorating ideas without carving!
The best part? It's surprisingly simple to create. With just a few basic craft supplies and a little bit of imagination, you can transform a plain pumpkin into a fully functional (and adorable) gumball dispenser. Get ready to unleash your inner child and create a decoration that's as fun to look at as it is to use. I mean, who can resist a pumpkin that dispenses candy? It's pure genius, if you ask me!
Here is a quote
Assembling Your Candy-Filled Creation
Alright, let's get down to business! First, you'll need a pumpkin (duh!). A round, squat pumpkin works best for this project. Next, grab a terracotta pot – the size will depend on the size of your pumpkin, but you want it to be slightly smaller than the pumpkin's diameter. Paint the pot a bright, cheerful color like red, pink, or blue. Once the paint is dry, glue the pot upside down onto the bottom of the pumpkin. This will serve as the base of your gumball machine.
Now comes the fun part: the "gumballs"! You can use actual gumballs, of course, but you can also get creative with colorful pom-poms, small bouncy balls, or even painted wooden beads. Glue these "gumballs" all over the top of the pumpkin, covering it completely. For the "dispenser" part, you can use a small, clear plastic cup or container. Cut a hole in the side of the pot, just big enough for the cup to slide in and out. Fill the cup with gumballs (or whatever you're using) and you're done! Now you have a Gumball Machine Pumpkin that is not only adorable but also functional. Prepare for the compliments to roll in!
Material | Purpose |
|---|---|
Pumpkin (round and squat) | The main body of the gumball machine |
Terracotta Pot | The base of the gumball machine |
Paint (bright color) | To decorate the terracotta pot |
Gumballs/Pom-poms/Beads | To simulate gumballs |
Clear Plastic Cup/Container | The gumball dispenser |
Glue | To assemble the components |
Decoupage Magic: Napkin Pumpkin Decorating for Stunning Designs
Decoupage Magic: Napkin Pumpkin Decorating for Stunning Designs
Unlocking the Beauty of Decoupage
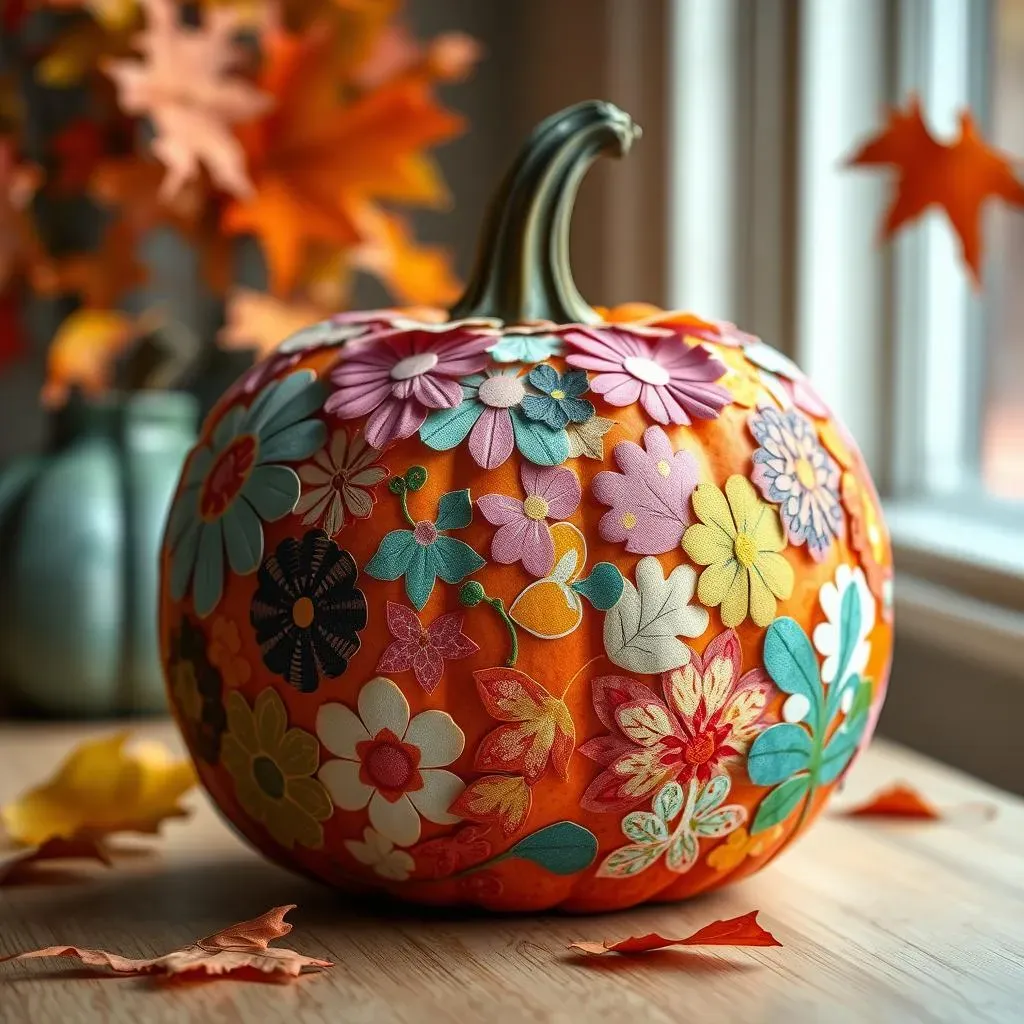
Ever wanted to create intricate, beautiful designs on your pumpkin but lack the artistic skills to paint them freehand? Decoupage is your answer! This technique involves adhering paper cutouts to a surface – in this case, a pumpkin – to create a stunning, layered effect. And when it comes to pumpkins, napkins are the perfect medium. They're thin, readily available in a wide array of patterns, and easy to work with. Seriously, you can transform a plain pumpkin into a work of art in just a few simple steps. This is where unique pumpkin decorating ideas without carving meets effortless elegance.
Think of it: delicate floral patterns, whimsical polka dots, or even spooky Halloween motifs, all perfectly transferred onto your pumpkin with minimal effort. No need to be a skilled painter or artist; decoupage allows you to achieve complex designs without any drawing or painting skills whatsoever. It's a fantastic way to add a touch of sophistication and personality to your fall decor. Plus, it's incredibly addictive! Once you start decoupaging pumpkins, you'll want to decoupage everything in sight!
Selecting Your Napkins and Preparing Your Pumpkin
The key to successful decoupage is choosing the right napkins. Look for napkins with intricate designs, vibrant colors, or interesting textures. Paper napkins with multiple layers are ideal, as you'll want to separate the printed top layer from the plain white layers. Once you've chosen your napkins, carefully cut out the designs you want to use. You can cut out individual motifs or larger sections, depending on the look you're going for.
Before you start decoupaging, prepare your pumpkin by wiping it clean with a damp cloth. If your pumpkin is particularly shiny, you may want to lightly sand it to create a better surface for the glue to adhere to. Once your pumpkin is clean and dry, you're ready to start applying the napkin cutouts. Use a decoupage medium or craft glue diluted with water to adhere the napkins to the pumpkin. Apply a thin layer of glue to the back of the napkin cutout and gently press it onto the pumpkin. Smooth out any wrinkles or air bubbles with your fingers or a soft brush.
Here's a checklist to get you started:
- Pumpkins (various sizes and colors)
- Paper Napkins (various designs)
- Decoupage Medium/Craft Glue
- Scissors
- Paintbrushes
- Soft Brush
Adding the Finishing Touches
Once you've applied all of your napkin cutouts, let the glue dry completely. This may take several hours, so be patient! Once the glue is dry, you can add a final layer of decoupage medium or varnish to seal and protect your design. This will also give your pumpkin a nice, glossy finish. If you want to add even more embellishments, you can glue on ribbons, buttons, beads, or other decorative elements. Get creative and have fun!
For a rustic look, try using brown or tan napkins with floral or botanical prints. For a more modern look, use geometric patterns or bold, graphic designs. You can even create a collage effect by layering different napkin cutouts on top of each other. The possibilities are truly endless! And the best part is that no two decoupaged pumpkins will ever be exactly alike. Each one is a unique work of art, reflecting your personal style and creativity. So, go ahead and unleash your inner artist and create a decoupaged pumpkin that will wow everyone who sees it!
Farewell Carving, Hello Creativity: Your Pumpkin Masterpiece Awaits
So, ditch the carving knife and embrace the endless possibilities of no-carve pumpkin decorating! With these 60+ unique ideas, you're ready to create stunning, personalized pumpkins that will impress your neighbors and bring a touch of fall magic to your home. Whether you're transferring vintage images, building a gumball machine masterpiece, or decoupaging with delicate napkins, the only limit is your imagination. Now go forth and transform those pumpkins into works of art!