Table of Contents
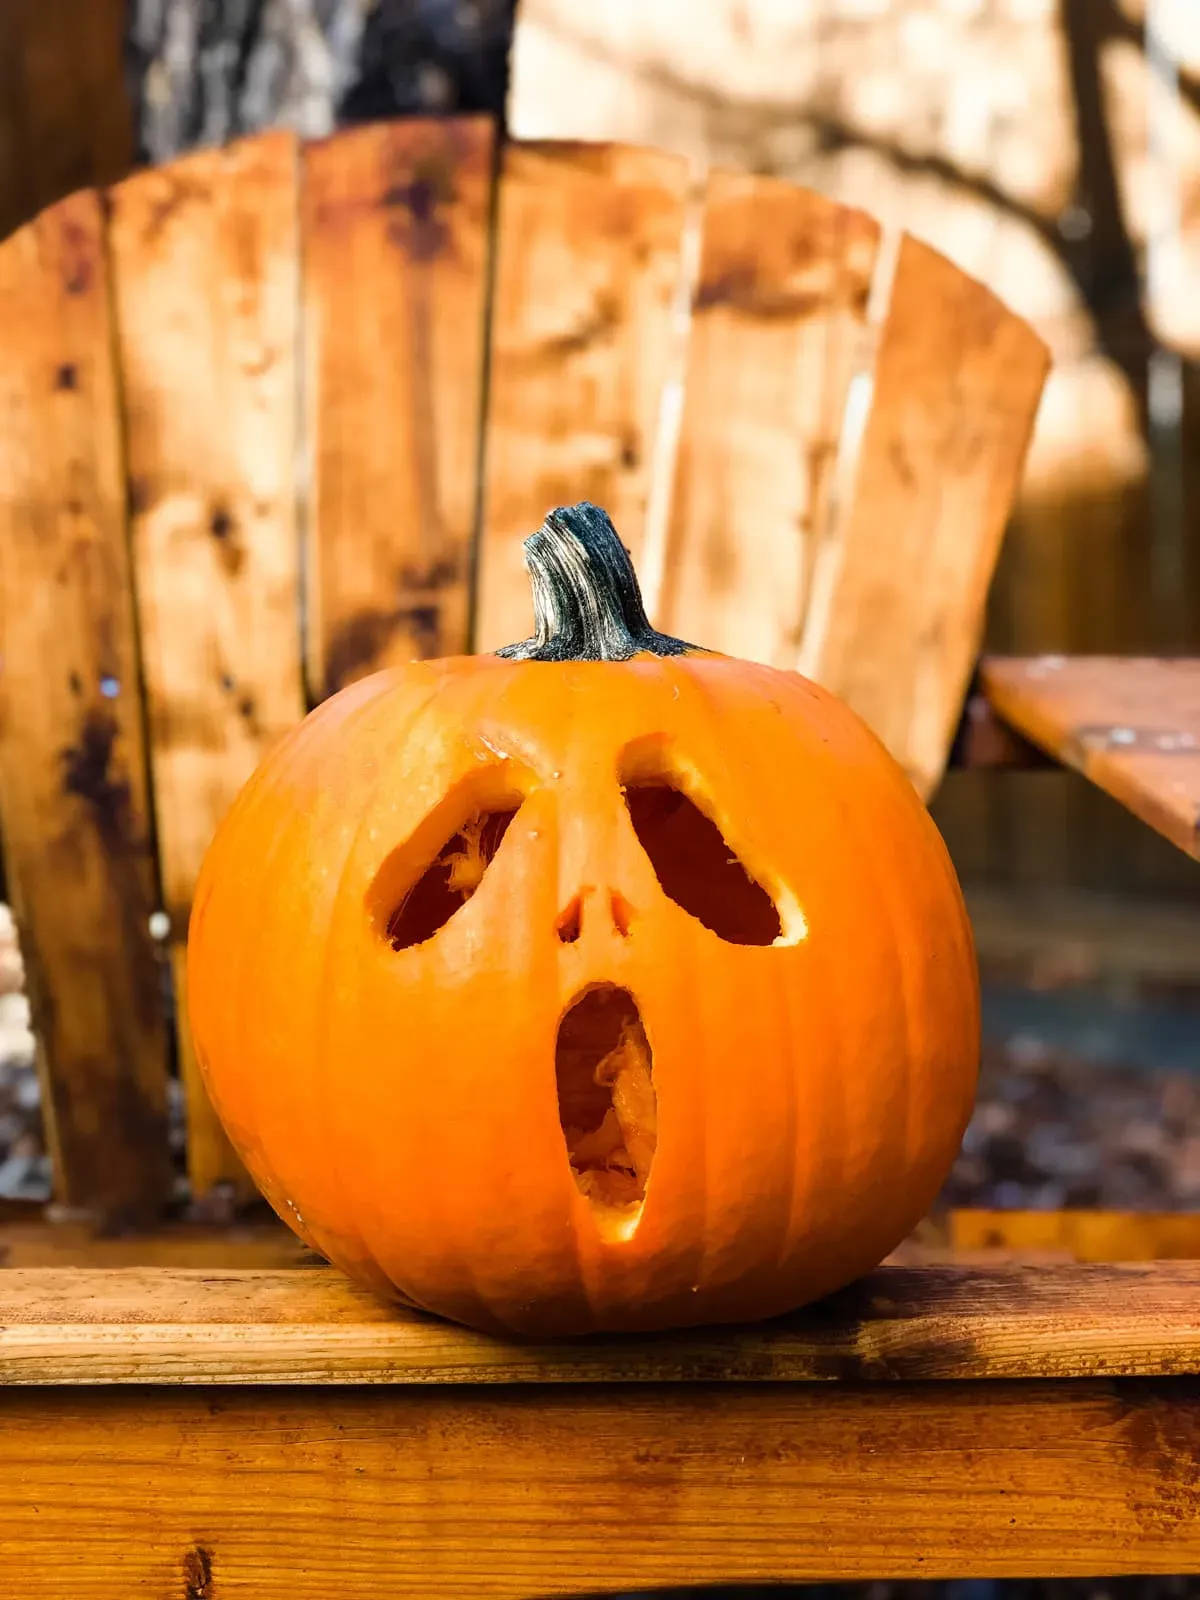
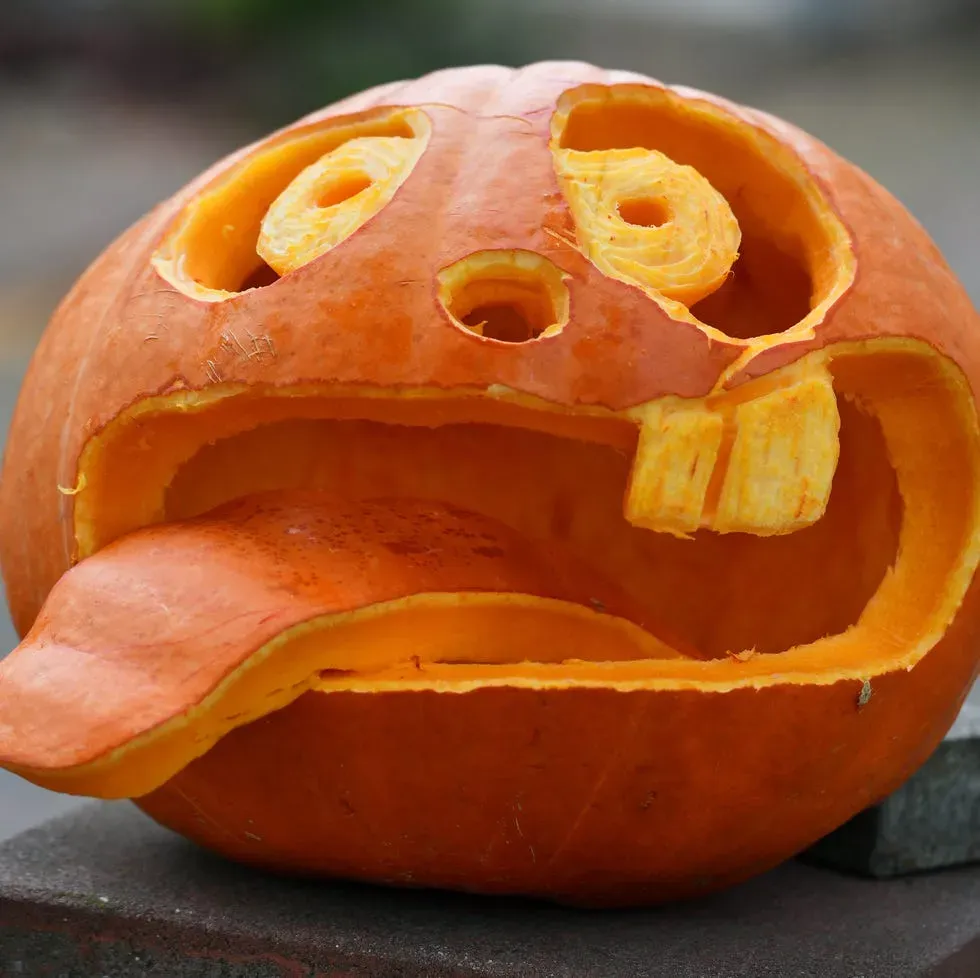
Alright, admit it. Every fall, you see those ridiculously intricate pumpkin carvings online or on your neighbor's porch and think, "Nope. Not happening." The classic triangle eyes and jagged mouth feel a little…basic. But the thought of attempting something truly artistic brings on a cold sweat and visions of snapped carving tools and accidental finger removal. What if you want something that looks cool, maybe even a little unique, without needing an art degree or three days off work? You're probably searching for ways to achieve unique pumpkin carving, easy style. Good news: it's not a myth. You don't need to sculpt a dragon or replicate the Mona Lisa on a gourd. This article is your guide to skipping the frustration and getting straight to the fun. We'll walk you through the simple supplies you actually need, share some genuinely easy yet eye-catching design ideas that go beyond the standard jack-o'-lantern, and even touch on a few slightly more involved (but still doable) concepts. By the end, you'll have the confidence to create a pumpkin that stands out, proves you put in a little effort (even if you didn't), and doesn't end up looking like it lost a fight with a blender. Let's make your porch the envy of the block, the easy way.
Why Go for Unique Pumpkin Carving (Easy)?
Why Go for Unique Pumpkin Carving (Easy)?
Let's be real. Another year, another parade of basic jack-o'-lanterns with vacant stares and predictable grins. You see them everywhere, and frankly, they blend into a blurry orange mess by the time Halloween night rolls around. If you're going to bother carving a pumpkin at all, why not make it count? That's precisely why exploring Why Go for Unique Pumpkin Carving (Easy)? is worth your time. It's about skipping the mundane and creating something that actually gets noticed, even if you're not aiming for a museum-worthy masterpiece. A unique design, even a simple one, sparks a little more joy, maybe even a tiny bit of competitive neighborly spirit, and definitely makes your effort feel more rewarding than just scooping out guts and cutting triangles.
Gather Your Gear for Unique Pumpkin Carving Easy
Gather Your Gear for Unique Pumpkin Carving Easy
The Non-Negotiable Essentials
before you get fancy with unique pumpkin carving easy designs, you need the right tools. And no, you don't need that twenty-piece "professional" kit that costs thirty bucks and mostly contains flimsy saws that snap on contact. For basic prep and cutting, you need a few solid pieces. First off, a sturdy scooper. Forget using a kitchen spoon; you'll be there all day. Get one specifically designed for pumpkins – they have a sharp edge to scrape the insides clean quickly. You also need a decent knife for cutting off the top (or bottom, which is often easier and hides the lid better). A serrated knife works well, but be careful. And for the actual carving? A small, sharp utility knife or a set of dedicated pumpkin carving tools with small saws are far better than trying to maneuver a large kitchen knife for details. Trust me, your fingers will thank you.
Leveling Up Your Tool Kit (Still Easy!)
To really nail unique pumpkin carving easy techniques, a few extra bits make a world of difference. Think beyond just cutting holes. A drill with various sized bits is fantastic for creating patterns of dots or larger holes without the risk of slipping with a knife. It's surprisingly simple and adds a cool texture. Another handy item is a linoleum cutter set – these small gouges let you scrape away the pumpkin's skin without cutting all the way through, creating different depths and textures for shading or outlining designs. Don't forget a washable marker to draw your design first (mistakes happen!) and some petroleum jelly to rub on the cut edges later to help prevent drying out and collapsing. These aren't strictly necessary, but they significantly expand your unique pumpkin carving easy possibilities without adding much complexity.
- Sturdy Pumpkin Scooper
- Sharp Knife for Lid Removal
- Small Saw Tools or Utility Knife
- Washable Marker
- Petroleum Jelly
- (Optional) Drill with Bits
- (Optional) Linoleum Cutters
Simple Yet Striking: Unique Pumpkin Carving Easy Designs
Simple Yet Striking: Unique Pumpkin Carving Easy Designs
Beyond the Triangle Grin: Geometric Play
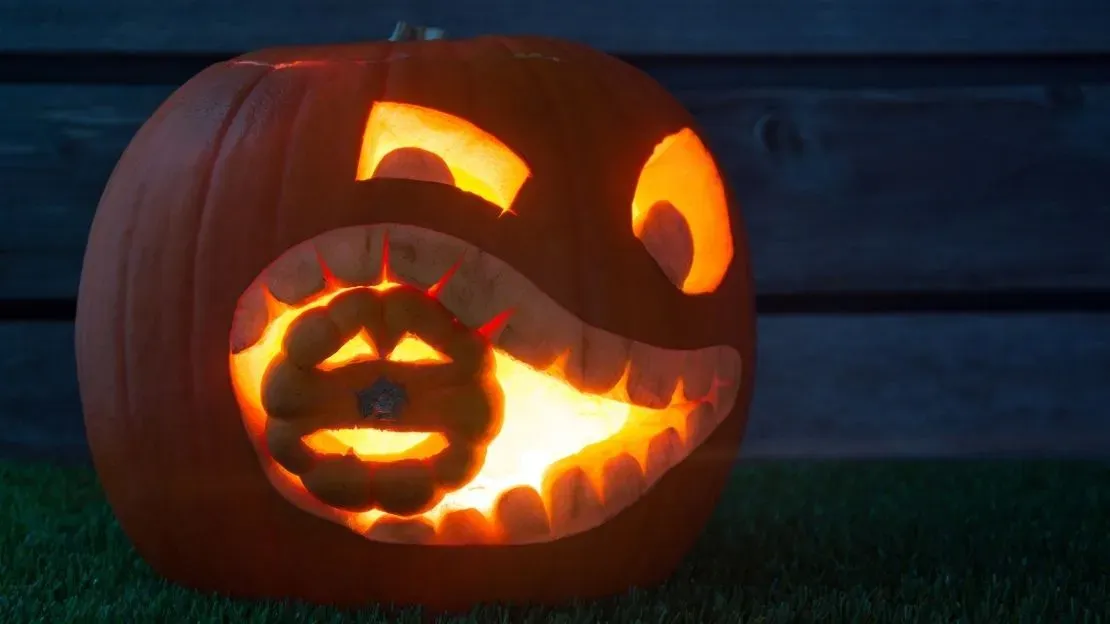
Let's ditch the classic face for a minute. When we talk about unique pumpkin carving easy methods, geometric patterns are your new best friend. Forget trying to freehand a spooky monster; that's where things go sideways fast. Instead, think simple shapes. Circles, squares, triangles, or even just lines. You can use a drill for perfect circles of varying sizes, creating a cool, modern, or even abstract look. Or, map out a pattern of squares or rectangles with your marker and carve them out. The repetition creates visual interest without requiring complex cuts. It looks intentional, design-focused, and miles away from the rushed job of cutting out wonky teeth. It's minimalist, effective, and surprisingly eye-catching on a porch.
Negative Space is Your Ally: Silhouette Carving
Another trick for unique pumpkin carving easy results is focusing on silhouettes. Instead of carving the *inside* of a shape (like the eyes of a face), you carve *around* a shape, leaving the shape itself as uncarved pumpkin. Think bats flying across the moon, a lone tree branch, or a simple cat shape. You draw the outline of your subject on the pumpkin, then carve away the background area around it. When lit, the light shines through the carved-out background, leaving the solid silhouette standing out. This technique is often less prone to breakage than carving delicate internal details, and it provides a sophisticated, graphic look that’s definitely not your average jack-o'-lantern.
Here are some easy silhouette ideas:
- A single, spooky tree
- Flying bats
- A witch on a broomstick
- A howling wolf
- Geometric shapes carved around a central circle
The Scrape and Scratch Method: Surface Level Uniqueness
Who says you have to cut all the way through? For unique pumpkin carving easy, consider just scraping or etching the surface. Using those linoleum cutters or even just a sturdy metal spoon, you can remove the outer layer of skin to reveal the lighter flesh underneath. This allows for shading, texture, and details that are impossible with traditional cut-through carving. Draw your design – maybe a spiderweb, some swirling patterns, or even just words – and then carefully scrape away the orange skin within your lines. This method is much more forgiving than cutting and creates a different kind of glow when lit, a softer, more internal light. It's a fantastic way to add intricate-looking details without any of the structural risks of full carving.
Stepping Up: More Unique Pumpkin Carving Easy Ideas
Stepping Up: More Unique Pumpkin Carving Easy Ideas
Layering for Depth: Simple Shading and Cutouts
so you've mastered the basic shapes and maybe scraped a cool pattern. Ready to make your unique pumpkin carving easy look even more professional without actually becoming a pro? Think about layering. This doesn't mean complex 3D carving. It means combining the scrape-and-scratch method with simple cutouts. For example, you could scrape a spooky scene onto the surface – maybe a moon and some clouds. Then, carve out a few simple bat shapes flying across the moon. The scraped areas will glow softly, while the carved bats will shine brightly. This combination adds depth and visual interest with just two straightforward techniques you already know. Or try scraping away the skin around a carved shape to make it pop. It's about using the different ways light interacts with the pumpkin flesh to create a more dynamic effect.
Templates and Stencils: Your Cheat Codes for Detail
Sometimes you see a design you really like, but drawing it freehand feels intimidating. This is where templates and stencils become your best friends for unique pumpkin carving easy endeavors. You don't have to be an artist to transfer a cool design onto your pumpkin. Print out a silhouette of something you like – a crow, a spider, a spooky house outline – and tape it firmly to the pumpkin. Then, use a sharp tool (even a pushpin or a small drill bit) to poke small holes along the lines of the design. When you remove the paper, you'll have a dotted outline on the pumpkin surface that you can connect with your carving tool or use as a guide for scraping. This method lets you tackle designs that look intricate but are simply a matter of connecting the dots. It's essentially tracing, but with a sharp object.
Easy Stencil Ideas to Print:
- Classic Halloween shapes (ghosts, witches' hats, black cats)
- Simple lettering ("BOO!", "SPOOKY")
- Geometric patterns (honeycombs, stars, waves)
- Nature elements (leaves, branches, spiderwebs)
Making Your Unique Pumpkin Carving Easy Creation Last
Making Your Unique Pumpkin Carving Easy Creation Last
so you've put in the minimal-yet-effective effort to create your unique pumpkin carving easy masterpiece. It looks fantastic! You've avoided the basic, embraced the simple-but-striking. Now, the cruel reality: pumpkins are organic and destined to decay. Nothing lasts forever, especially a carved gourd exposed to the elements. But you don't want your hard work turning into a moldy, shriveled mess after just a couple of days, right? Preventing the dreaded sag and rot is crucial for Making Your Unique Pumpkin Carving Easy Creation Last. It's not rocket science, but it does require a few preventative measures. Think of it as basic pumpkin hygiene. You're fighting dehydration and bacteria, the two main enemies of a fresh carving.
- Clean the inside thoroughly: Scrape out all the stringy bits and seeds. The cleaner the inside, the fewer places for bacteria to grow.
- Wash the pumpkin: After carving, give the whole pumpkin, especially the cut edges, a quick rinse with water. Some people even use a mild bleach solution (like one teaspoon of bleach per quart of water) to kill surface bacteria, but rinse it off afterward.
- Apply petroleum jelly: This is key. Rub petroleum jelly or even vegetable oil generously onto all the cut surfaces. This seals in moisture and prevents the edges from drying out and shrinking, which is often the first sign of decay. Reapply every day or two.
- Keep it hydrated (carefully): Some folks swear by giving the pumpkin a "bath" in cold water for a few hours every day. Make sure it's completely dry before putting a light back inside.
- Consider a sealant spray: There are commercial pumpkin preservation sprays available that claim to slow decay. Read the reviews, some work better than others.
- Location, location, location: Keep your carved pumpkin out of direct sunlight and away from heat sources. Cool, shady spots are best.
So, You Can Actually Do Unique Pumpkin Carving (Easy)
See? It wasn't that bad, was it? You don't need a workshop full of specialized tools or the steady hand of a brain surgeon to make a pumpkin that turns heads. We talked about the basics, tossed around some ideas that are genuinely achievable without pulling your hair out, and even looked at how to give your creation a fighting chance against the elements. The point is, unique pumpkin carving easy isn't some mythical creature. It's about smart choices, simple techniques, and not being afraid to try something a little different from the same old face everyone else is doing. Go grab a pumpkin, dig in (literally), and prove that impressive doesn't have to mean impossible. And hey, if it still ends up looking a little wonky, just call it abstract art. Nobody has to know.