Table of Contents
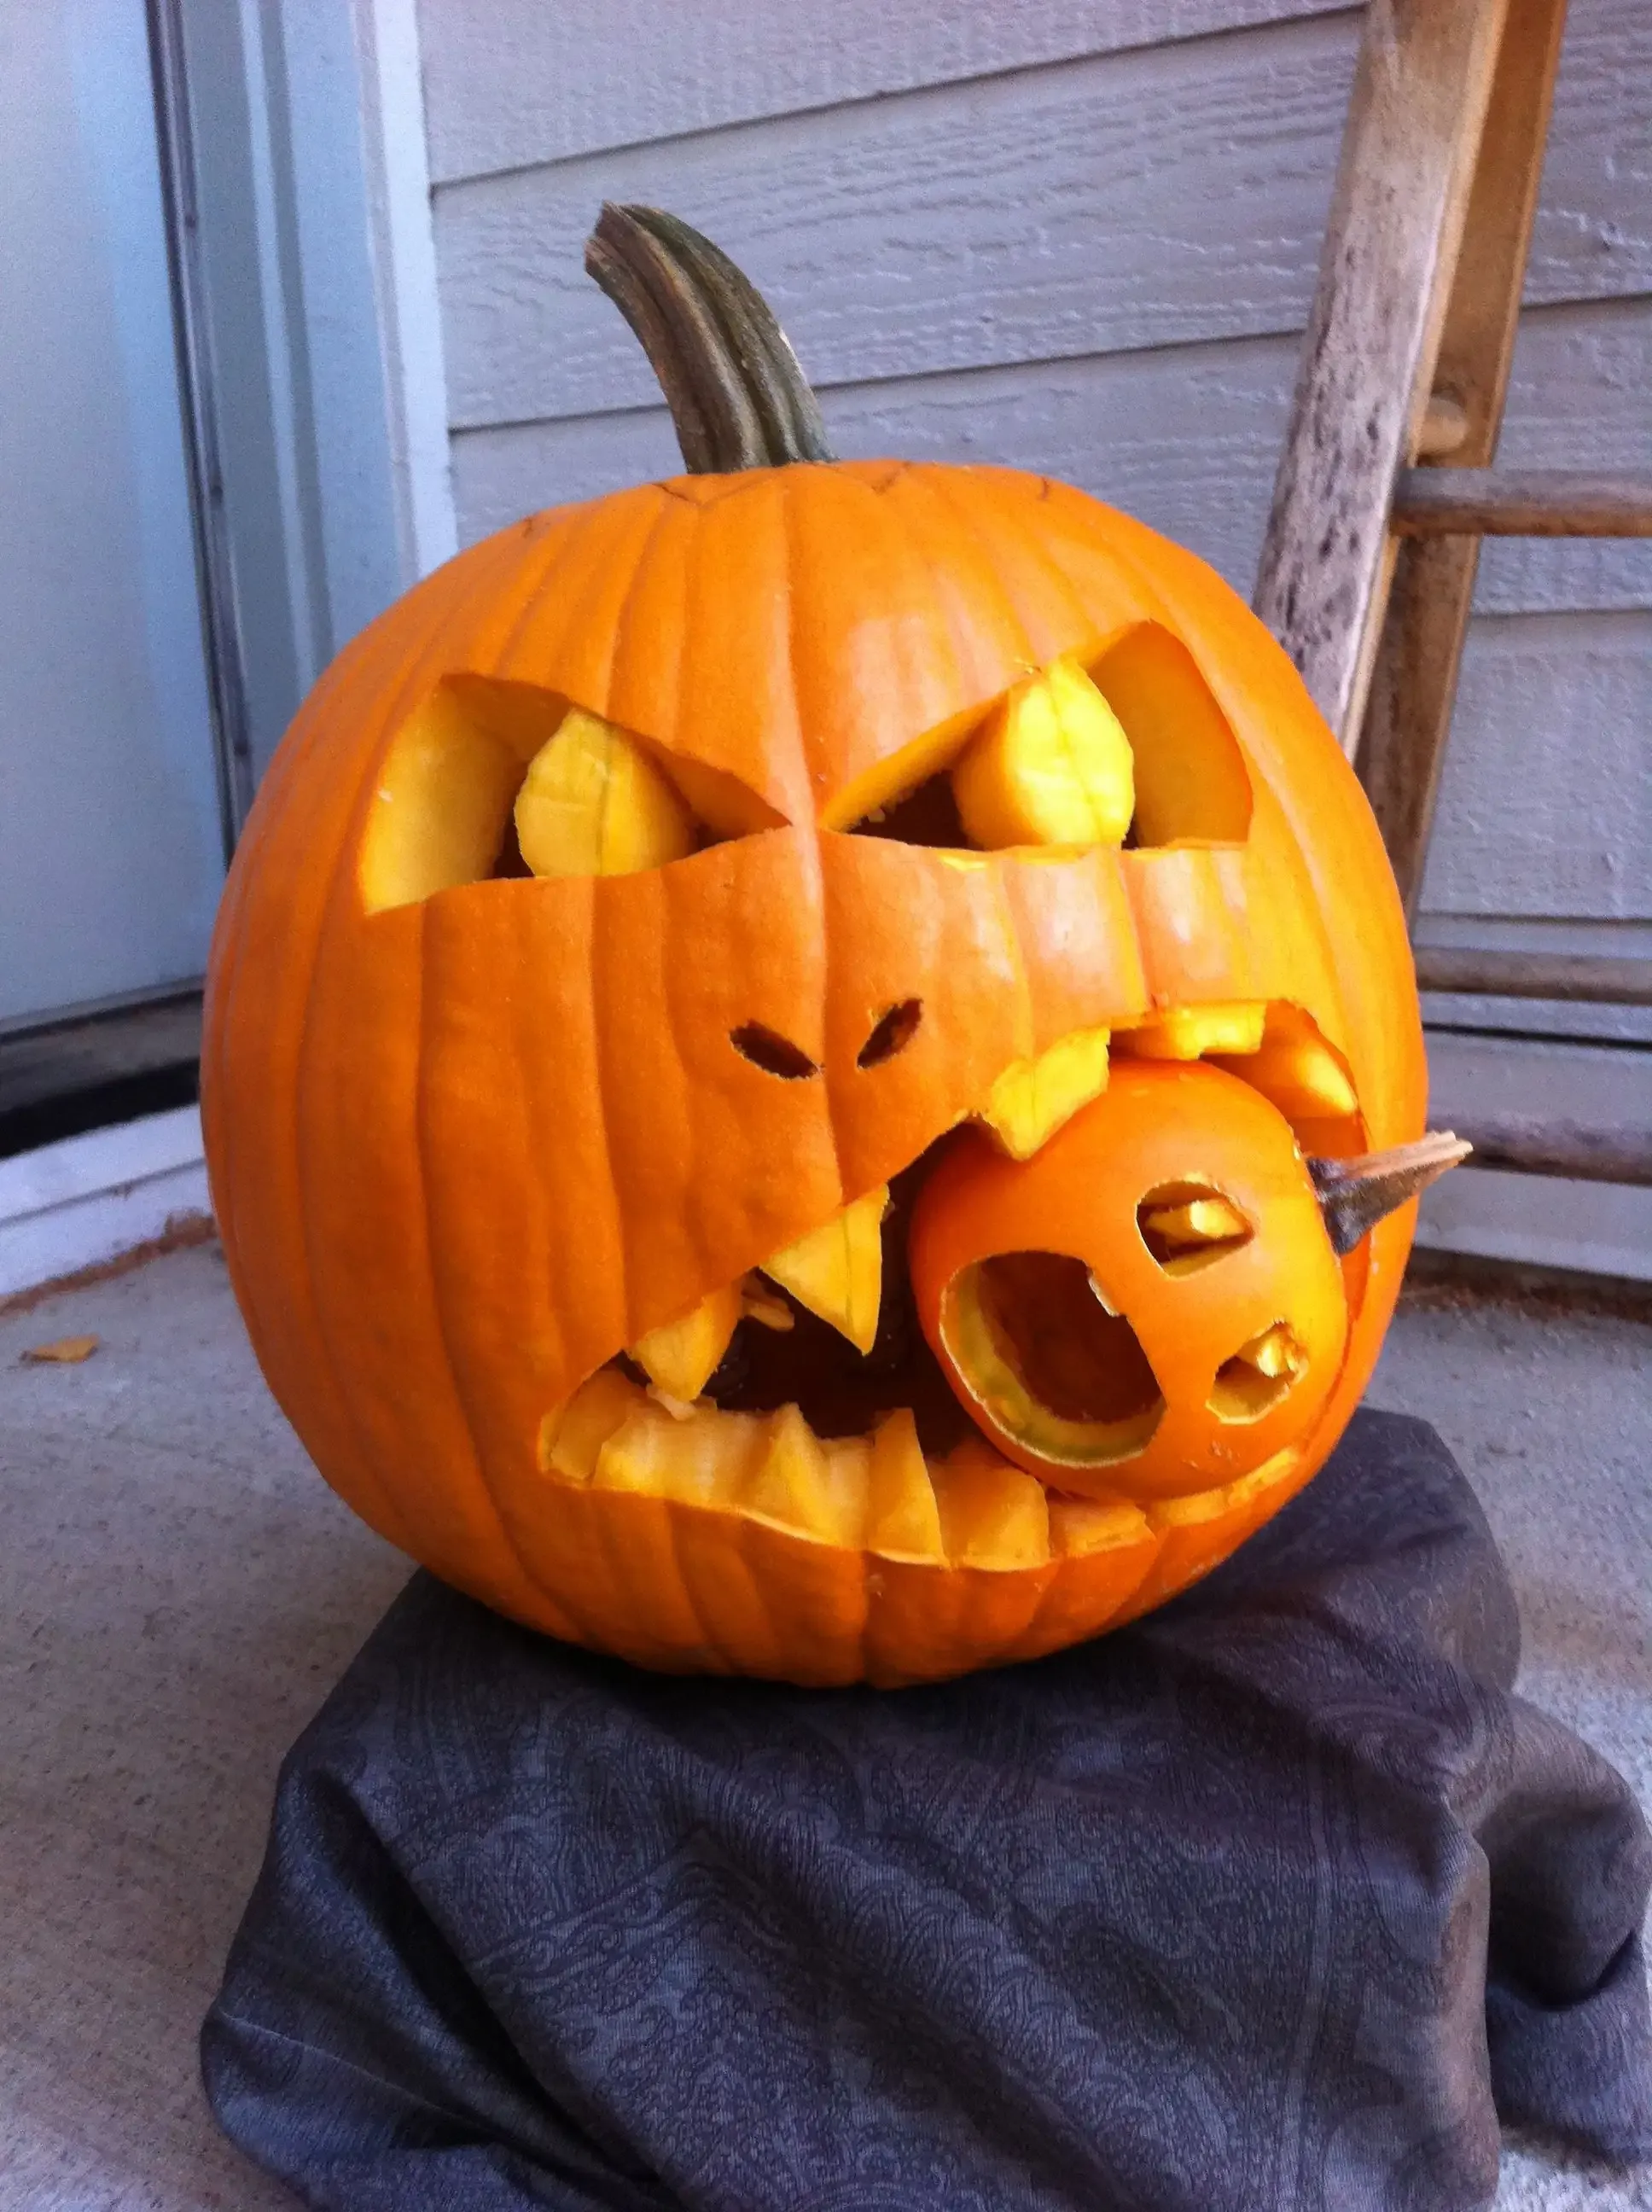
let's be real. Big, elaborate pumpkin carving? It looks impressive, sure, but sometimes it feels like you need a power drill and an engineering degree. And the mess? Forget about it. But what if you just want a little festive flair without turning your kitchen into a scene from a horror movie? That's where small pumpkins come in. They're cute, they're manageable, and frankly, they're far less intimidating.
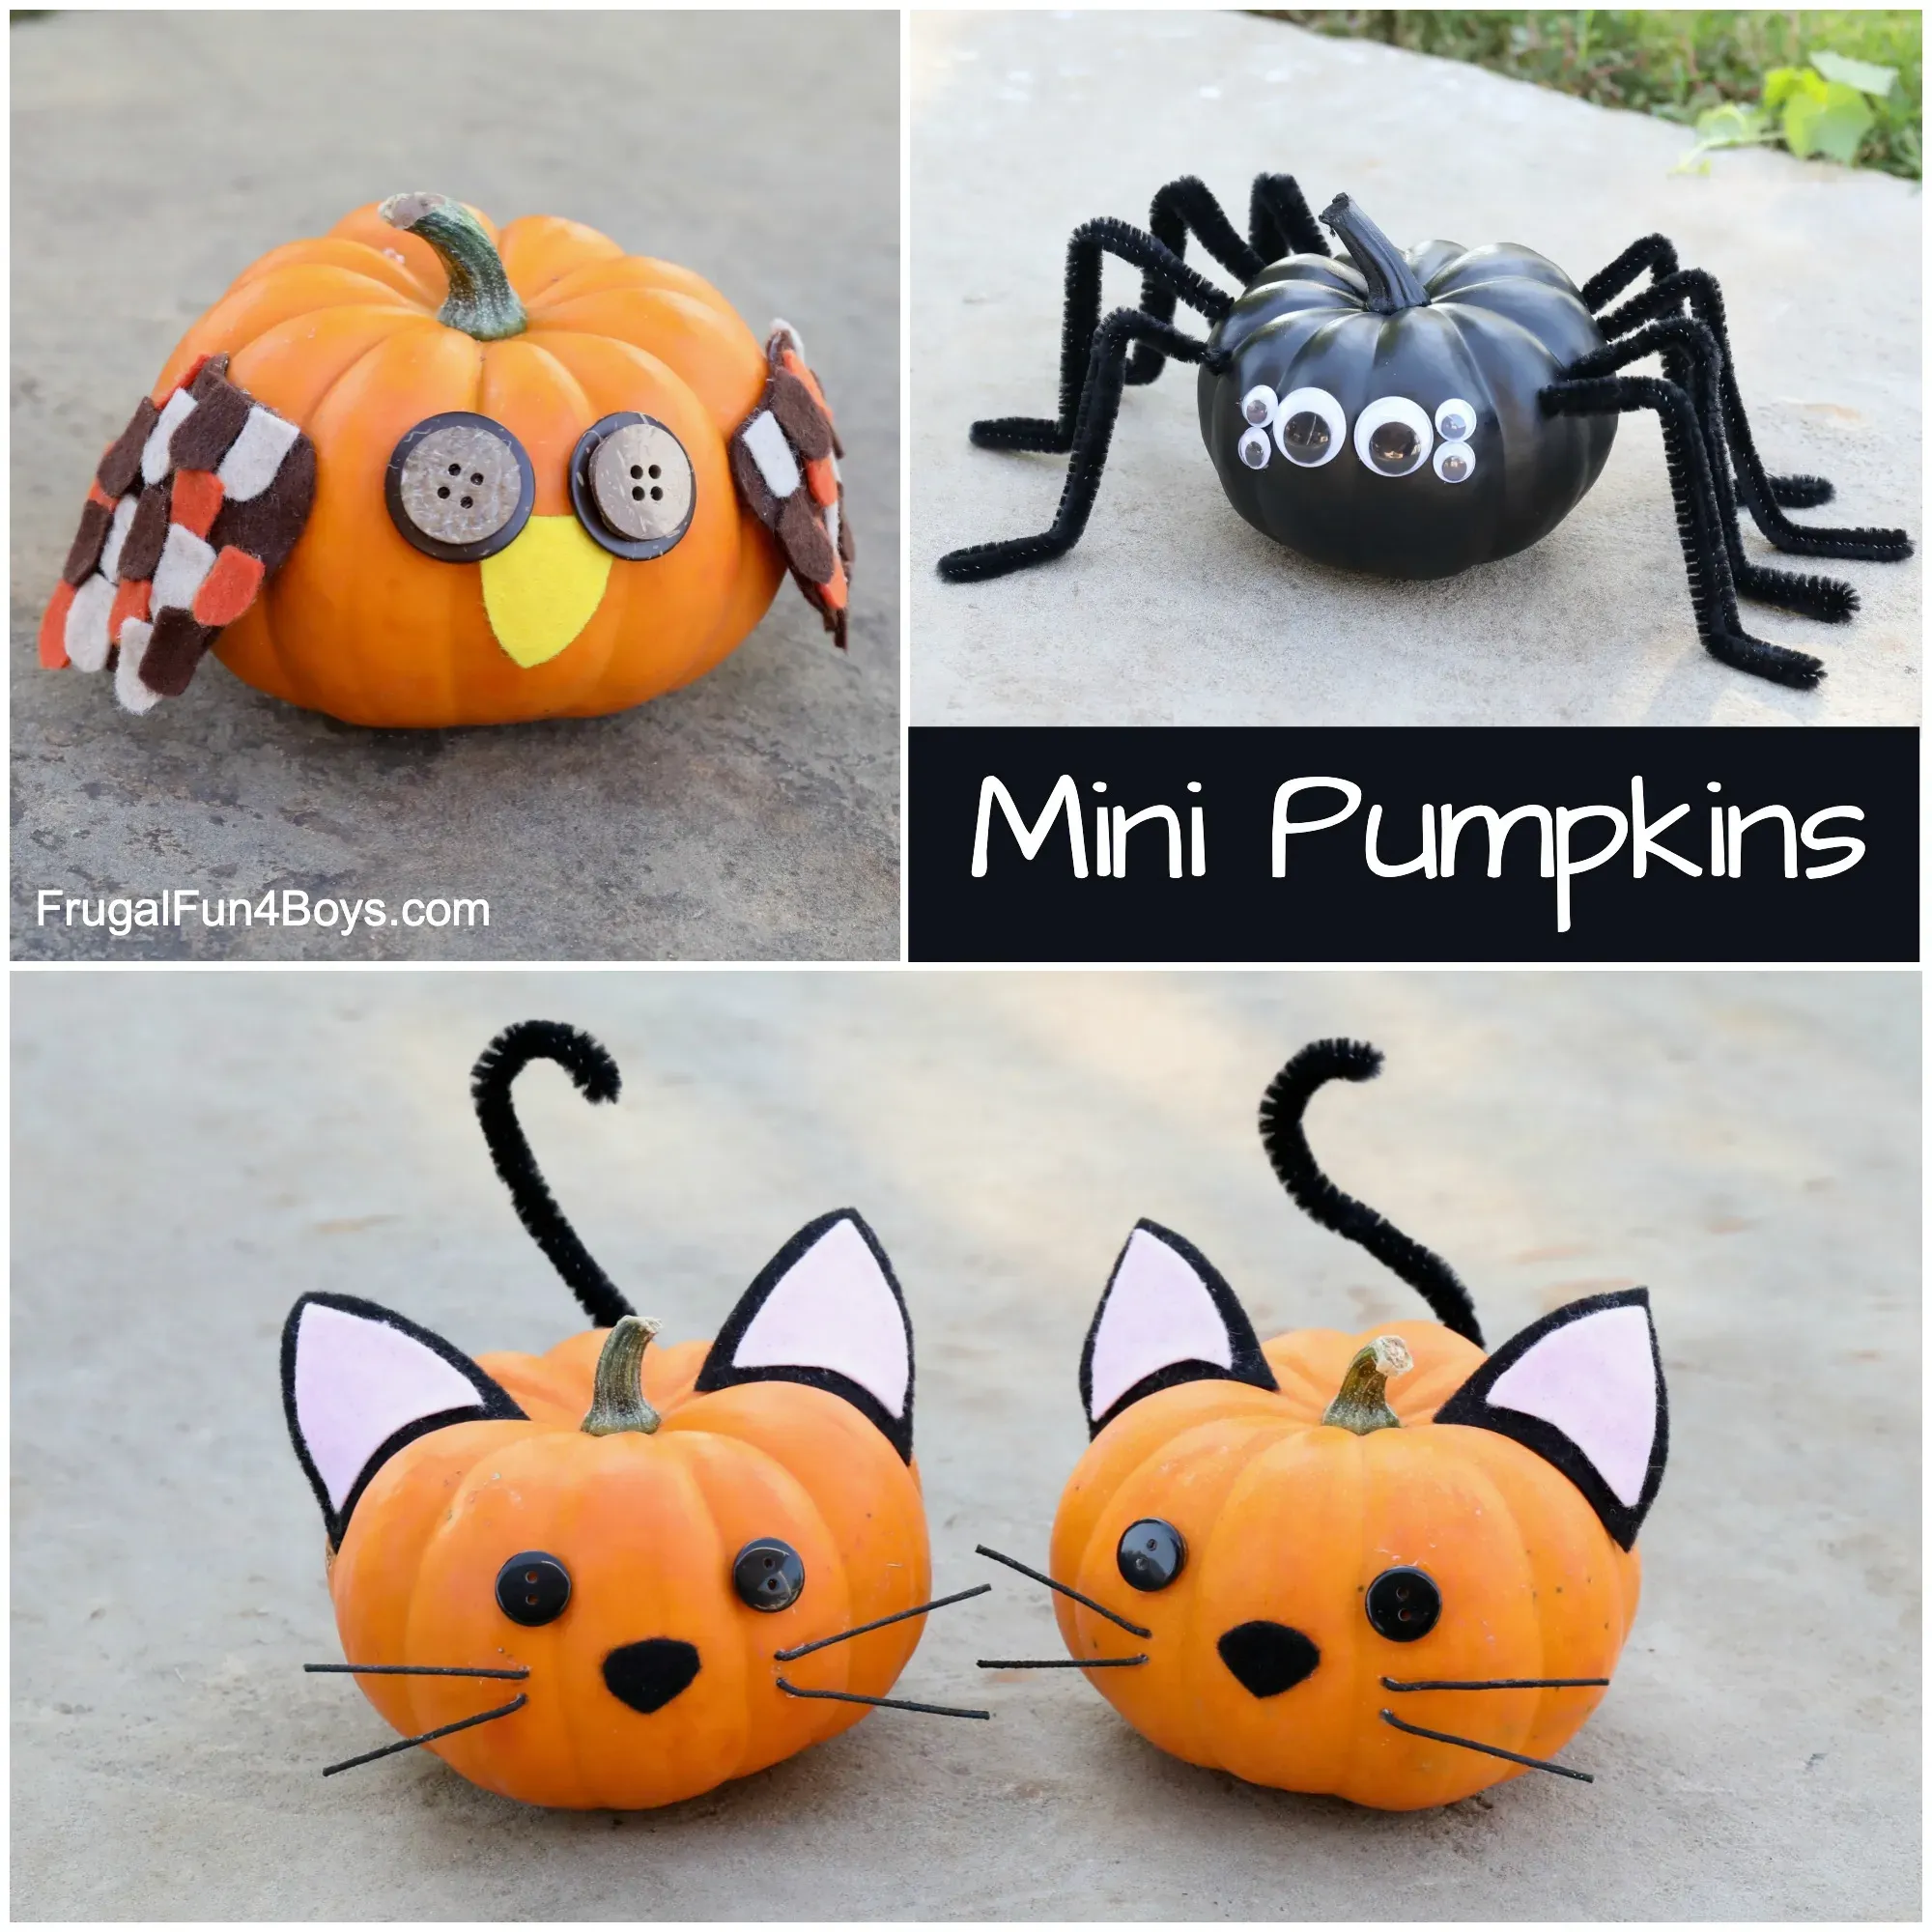
Small Pumpkins: Why They're Your New Favorite Craft Canvas

Small Pumpkins: Why They're Your New Favorite Craft Canvas
Forget the Big Guys, Go Small
so you've seen those giant pumpkins, right? The ones people spend hours on, creating intricate scenes or terrifying faces. They're impressive, no doubt. But let's be real, they are a *lot* of work. They're heavy, they require special tools, and the inside is a stringy, seedy nightmare. Small pumpkins, on the other hand, are the unsung heroes of fall decor. They fit perfectly on a mantelpiece, a windowsill, or even stacked in a cute little pyramid on your front step. They're portable, cheap, and way less daunting to tackle with a carving tool.
Think of them as the perfect canvas for quick, low-pressure creativity. You can grab a few different shapes and sizes, and each one becomes a mini-project. If one doesn't turn out exactly as planned, it's no big deal; you didn't just waste an entire afternoon and a twenty-pound gourd. This makes them ideal for experimenting with different techniques or just whipping up a quick batch of festive decorations without committing to a major crafting operation.
Less Mess, More Fun
One of the biggest headaches with carving is the sheer volume of slimy guts you have to scoop out. It gets everywhere – your hands, your clothes, the floor, the dog. Small pumpkins? They have significantly less interior goo. Cleaning them out takes minutes, not an eternity. This means you spend less time wrestling with pumpkin guts and more time actually doing the fun part: the carving or decorating.
Plus, their smaller size means they're easier to handle, especially for kids or anyone who doesn't have giant hands. You can get a better grip, make more precise cuts (even simple ones), and feel more in control of the process. It removes a lot of the physical struggle associated with carving larger pumpkins, making the whole experience much more enjoyable and less like a wrestling match with a vegetable.
Here’s why small pumpkins win:
- They are inexpensive and easy to find.
- They are lightweight and easy to handle.
- They have significantly less mess inside.
- They are perfect for quick projects or multiple designs.
- They fit in more places for decorating.
What You Actually Need for Small Pumpkin Carving
What You Actually Need for Small Pumpkin Carving
The Bare Bones Toolkit
let's cut to the chase. You don't need a professional carving set that looks like it belongs in a dentist's office. For small pumpkin carving ideas easy to execute, you mostly need a few sharp items you probably already have lying around. A small, sharp knife is key – think a paring knife, something you can easily maneuver. Safety first, obviously, so if kids are involved, grab those kid-safe carving tools. A sturdy spoon is also essential for scraping out the insides, though with small pumpkins, there's mercifully less to scoop. That's really it for the absolute basics. You can get surprisingly creative with just these few things.
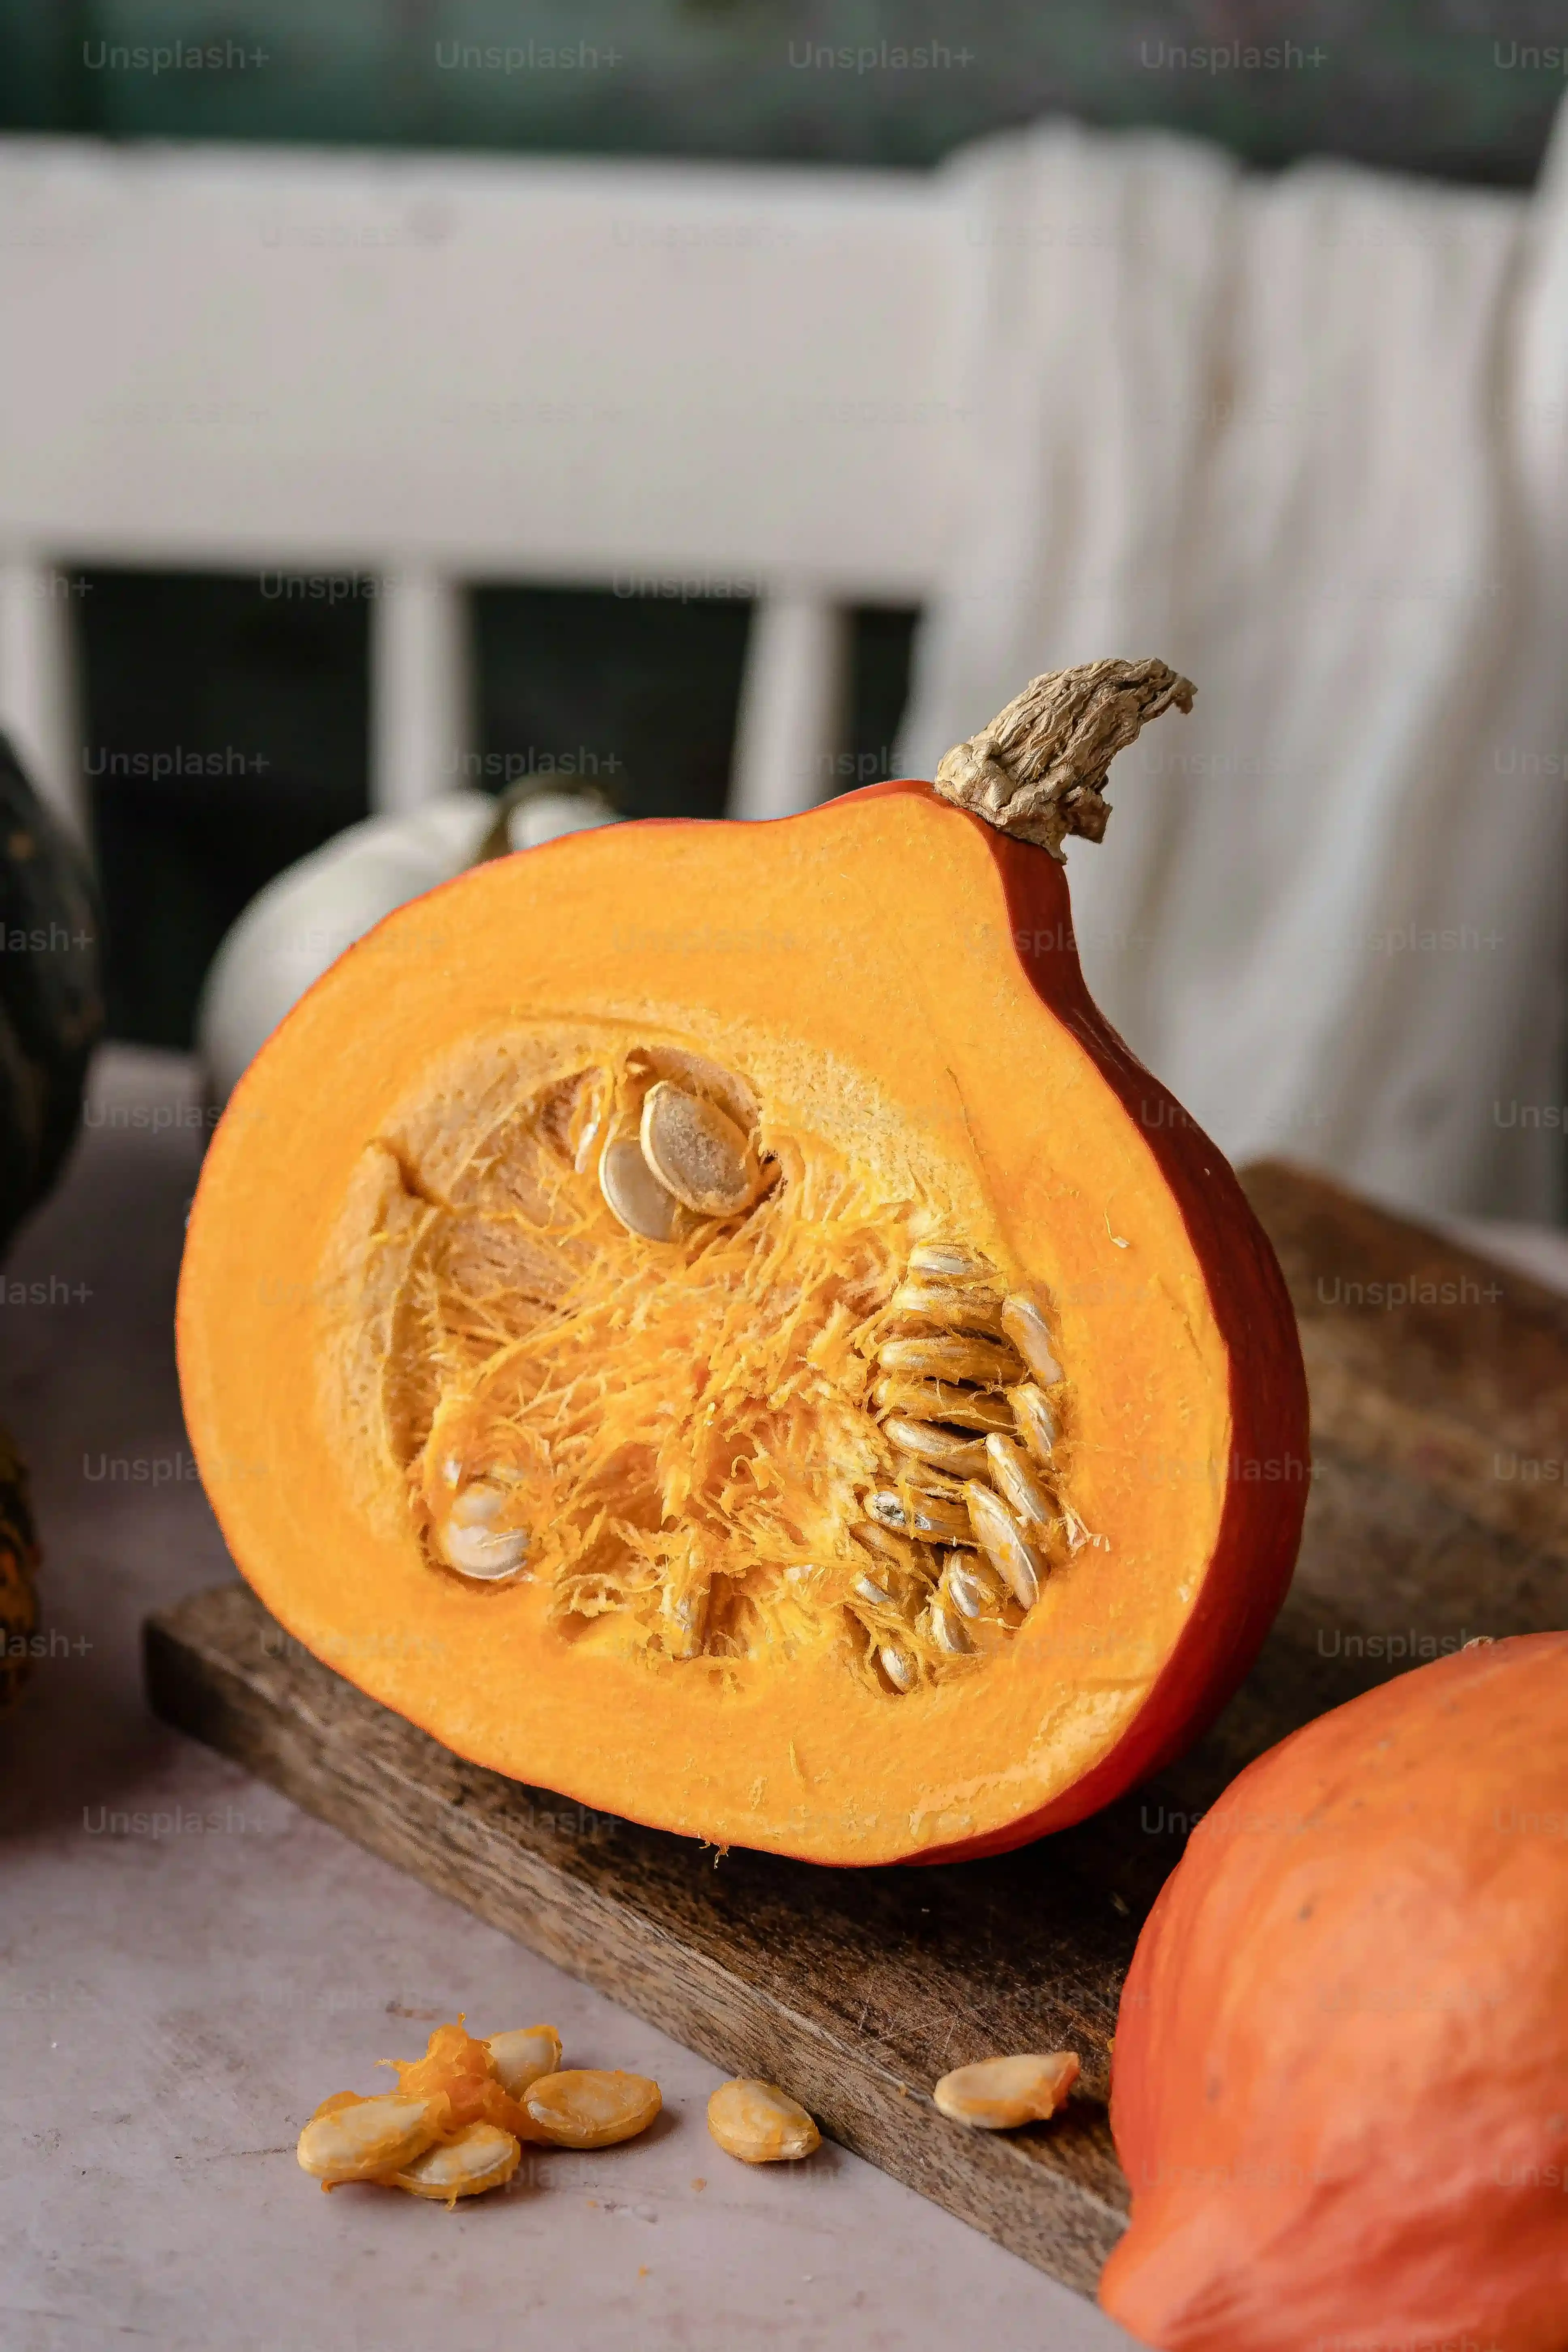
Prepping Your Pint-Sized Gourd
Before you even think about making a cut, you need to clean out the little guy. Unlike their monstrous cousins, small pumpkins are pretty quick work. Slice off the top around the stem – try to make the cut at an angle so the lid doesn't fall in later. Then, grab your spoon. Scoop out the seeds and those stringy bits. Since the cavity is small, this part takes maybe a minute or two per pumpkin. Don't obsess over getting every last bit; a little bit of stringy stuff won't ruin your easy small pumpkin carving project. Just clear enough space so you can work.
Essential Tool | Why You Need It |
|---|---|
Small, Sharp Knife (or Kid-Safe Kit) | For making cuts and shapes |
Sturdy Spoon | For scooping out seeds and pulp |
Optional Helpers for Extra Ease
While you can totally get by with just a knife and spoon, a few extra items can make your easy small pumpkin carving even smoother. A dry-erase marker is great for drawing your design first; if you mess up, just wipe it off and try again. A small saw-like tool (often found in basic carving kits) can be helpful for straight lines or getting through thicker spots, although small pumpkins are generally thin-walled. For adding light, small LED tea lights are perfect and much safer than candles. They fit easily inside and give that classic spooky glow without the fire hazard. These aren't strictly necessary, but they can definitely upgrade your easy small pumpkin carving experience.
Seriously Simple Small Pumpkin Carving Ideas Easy Enough for Anyone
Seriously Simple Small Pumpkin Carving Ideas Easy Enough for Anyone
Keep it Simple: Just Poke Holes
Alright, let's start with the absolute easiest way to carve a small pumpkin without feeling like you're performing surgery. Forget intricate faces. Think simple patterns using just a poking tool. An apple corer, a drill bit (used carefully, obviously not *while* drilling), or even just a thick skewer can create perfect circles. You can make constellations, random dot patterns, or even spell out simple initials or words like "BOO" or "FALL". It's low-risk, looks surprisingly effective when lit, and requires minimal dexterity. This is probably the king of seriously simple small pumpkin carving ideas easy enough for a five-year-old (with supervision, naturally) or a busy adult.
Geometric Shapes and Silhouettes
Moving slightly up the complexity scale, but still firmly in "easy" territory, are simple geometric shapes or basic silhouettes. Triangles, squares, or circles cut all the way through look clean and modern. You don't need perfect lines; a slightly wobbly triangle adds character, right? Or, try a simple star, a moon crescent, or even just a few random lines cut in different directions. The trick here is using a small, sharp knife and taking your time with each cut. Don't try to saw through; use a steady, pushing motion. These easy small pumpkin carving ideas are about clarity over complexity.
Here are a few ridiculously easy design ideas:
- Random dots or geometric shapes
- Simple star or moon cutouts
- One large letter (like your initial)
- Multiple small triangles scattered around
- A basic silhouette of a cat or bat (use a stencil if needed)
Etching, Not Cutting All the Way Through
Want another angle on easy? Don't cut all the way through the pumpkin wall. Instead, just scrape away the top layer of skin. This is called etching, and it creates a cool, two-tone effect. You can draw designs with a marker and then use a linoleum cutter, a small chisel, or even just the edge of a sturdy spoon to scrape away the orange skin, revealing the lighter flesh underneath. This is fantastic for drawing spiderwebs, swirly patterns, or even simple spooky eyes and mouths without the hassle of hollowing out the whole thing. It's a genuinely easy small pumpkin carving idea that looks more advanced than it is.
Beyond the Basics: More Small Pumpkin Carving Ideas Easy Peasy
Beyond the Basics: More Small Pumpkin Carving Ideas Easy Peasy
Getting Fancy with Simple Shapes
so you've mastered the basic poke holes and simple geometric cuts. Feeling a little more adventurous, but still want to keep things firmly in thesmall pumpkin carving ideas easyzone? Let's try combining those simple shapes or making them slightly more complex. Instead of just a triangle, try cutting a jagged edge for a spooky tooth. Or layer circles to create eyes with pupils. You can cut a few different sized circles to make a bubble effect, or use straight lines to create a simple grid pattern. It’s about taking those basic skills and just iterating slightly. Think of it as remixing the easy stuff you already know.
Combining Techniques for Quick Character
Who says you have to stick to just carving? You can combine simple carving with other decorating methods for surprisingly effective results with minimal effort. Carve out simple eyes and a mouth, then use black paint or a marker to draw stitches or scars. Or, carve a simple shape like a star, and then use glitter glue around the edges for some sparkle. You can even carve a basic outline and then use pushpins, googly eyes, or yarn to add features or texture. This approach means you don't have to be a carving expert; you just need to be good at one or two simple things and then supplement with easy additions. It’s all about making yoursmall pumpkin carving ideas easybut visually interesting.
Try mixing it up:
- Carve simple eyes, draw a stitched mouth with marker.
- Poke holes for stars, paint the rest of the pumpkin black.
- Carve geometric shapes, glue on craft moss or yarn for texture.
- Etch a design, add googly eyes or pipe cleaner legs (if it's a spider!).
Cookie Cutters and Stencils: Your Secret Weapons
Seriously, if you want genuinelysmall pumpkin carving ideas easy, cookie cutters are your best friends. Find some simple metal cookie cutters – stars, moons, maybe a ghost or a bat shape if you're lucky. Place the cutter on the pumpkin, and then firmly tap it with a rubber mallet or even the heel of your hand until it punctures the skin. You might need to wiggle it a bit or use a knife to finish the cut, but it does most of the hard work for you. Similarly, simple stencils can guide your knife or etching tool. Print a basic shape, tape it on, and trace with a marker or poke holes along the lines before cutting. It takes the guesswork out of drawing and helps ensure your shapes are clean, making the whole process significantly easier.
Making Your Easy Small Pumpkin Carving Look Pro (Without the Effort)
Making Your Easy Small Pumpkin Carving Look Pro (Without the Effort)
Light It Up Right
So you've carved your simple shapes or poked your holes. Great job! Now, how do you make that simple effort look like you actually know what you're doing? It's all about the light. Forget those waxy candles that drip everywhere and are a fire hazard. Forsmall pumpkin carving ideas easyto illuminate, grab some battery-powered LED tea lights. They're cheap, they don't get hot, and they give off a steady, warm glow. Pop one inside your little pumpkin, and suddenly, those simple cuts look sharp and intentional. Place the light towards the back of the pumpkin facing the carving for maximum impact. A well-lit simple design often looks better than a poorly lit complex one. It's a low-effort way to elevate the whole look.
Clean Edges and Simple Presentation
Another trick to making your easy small pumpkin carving look polished is paying attention to the details, even if the carving itself is basic. After you've made your cuts, use a small, sharp knife or even a toothpick to clean up the edges. Remove any stringy bits or rough spots around your shapes. A clean edge just looks tidier. Then, think about where you're putting it. A single, well-carved (even simply carved) small pumpkin on a nice stand or grouped with a few uncarved gourds and some fall leaves looks far more put-together than a bunch of messy ones shoved in a corner. Presentation matters, even for the easiest designs. It's the frame that makes the picture look good.
Pro touches for minimal work:
- Use LED tea lights for safe, steady light.
- Clean up cut edges with a small tool.
- Consider the display – group with other decor.
- Wipe down the outside for a clean finish.
- A little petroleum jelly on cut edges can prevent drying (optional, but works).
So, What Did We Learn About Small Pumpkin Carving?
Alright, we've covered the basics, the simple designs, and a few ways to make your mini-pumpkins look decent without requiring surgical precision. The point here isn't to win a carving competition. It's about grabbing a tiny gourd, maybe a cheap carving kit, and spending twenty minutes making something that looks vaguely festive for your doorstep or windowsill. Small pumpkins offer a low-stakes way to participate in the seasonal fun. They don't demand hours of labor or generate a mountain of guts. If you managed to carve a wonky triangle or a slightly off-center circle, you did it. You carved a pumpkin. And sometimes, that's all the seasonal spirit you need.