Table of Contents
Let's be real. The thought of carving a giant pumpkin can feel like signing up for a wrestling match with a grumpy gourd. You picture the mess, the struggling with big knives, and maybe a trip to the ER for a rogue finger. But what if you could skip the drama and still get that festive Halloween glow? That's where focusing on small easy pumpkin carving ideas comes in. Think less wrestling, more relaxed crafting. These pint-sized pumpkins are far more manageable, perfect for a quick project whether you're solo or wrangling a crew of enthusiastic (and potentially messy) helpers.
Why Small Pumpkins are Your GoTo for Easy Carving Fun

Why Small Pumpkins are Your GoTo for Easy Carving Fun
Big Fun, Small Scale: Ditching the Gourd Gauntlet
Let's talk about the reality of carving those massive pumpkins. You haul the thing home, it weighs more than a small child, and then you stare down the barrel of a thick, tough rind. It feels less like a fun craft project and more like preparing for battle. Small pumpkins, on the other hand? They're the approachable option. You can carry three under one arm, they sit nicely on a kitchen counter without taking over the whole room, and crucially, the walls are thinner. This translates directly to less muscle strain, less time spent sawing away, and generally a far more pleasant experience from start to finish. Think of it as the difference between building a shed and assembling an IKEA nightstand – one requires heavy lifting and power tools, the other just a hex key and a bit of patience.
Perfectly Sized for Quick Projects and Little Hands
Beyond just being easier on your back, small pumpkins are fantastic for a variety of carving scenarios. Got kids? Hand them a small one and a kid-safe carving kit (or just some etching tools), and they can actually manage the process without getting overwhelmed or needing constant adult intervention just to make a single cut. Live in an apartment? A few small carved pumpkins fit perfectly on a windowsill or a small entryway table, adding festive cheer without demanding prime real estate. Need a last-minute Halloween decoration? You can carve a small pumpkin in a fraction of the time it takes to tackle a large one. They're instant gratification pumpkins, ready to be transformed into spooky or silly faces without the multi-hour commitment.
- Less physical effort required for carving.
- More manageable size for handling and cleaning.
- Faster carving time for quick results.
- Ideal for children or beginners.
- Takes up less space for display.
- Easier to find consistent shapes.
MustHave Tools for Small Easy Pumpkin Carving Ideas (Keep it Simple)
MustHave Tools for Small Easy Pumpkin Carving Ideas (Keep it Simple)
Forget the Fancy Kit: Your Kitchen Drawer Probably Has This
Alright, let's cut through the marketing hype around those elaborate pumpkin carving kits with 47 different tiny saws and scoops you'll never use. For small easy pumpkin carving ideas, you honestly don't need much. The absolute essentials? A sturdy spoon or ice cream scoop for gutting the little guy – trust me, an ice cream scoop is weirdly effective. You also need something to cut the top (or bottom, which is less visible and often easier). A small, sharp paring knife from your kitchen drawer works just fine for this. Just make sure it's got a decent grip and a blade you trust not to wander. That's really it for getting started.
Adding a Little Precision: Beyond the Basic Blade
While a paring knife handles the big cuts, if you want to get even slightly detailed with your small easy pumpkin carving ideas, a few extra bits help. Those small serrated saws often found in basic carving kits? They're actually pretty good for navigating curves and smaller shapes on a thin-walled small pumpkin. They give you more control than a standard knife for intricate bits. Another handy item is a poker tool – sometimes just a thick skewer or even a drill bit can work – for transferring your design pattern by poking holes. It’s like connect-the-dots for carving.
Essential Tool | Why It Works for Small Pumpkins |
|---|---|
Ice Cream Scoop | Efficiently scrapes out seeds and pulp from a small cavity. |
Small Paring Knife | Good for cutting the lid; manageable size for smaller pumpkins. |
Small Serrated Saw | Offers better control for cutting shapes and curves than a knife. |
Poker/Skewer | Helps transfer designs accurately before carving. |
Safety First, Always: Even with Small Gourds
Just because the pumpkin is small doesn't mean your fingers are invincible. This isn't the time to get reckless. Always carve away from yourself. If you're using a knife, keep your free hand well out of the path of the blade. For kids, stick to etching tools or those plastic kid-safe saws with adult supervision. Placing the pumpkin on a stable surface and using a cutting board is non-negotiable. A slip with even a small tool can still ruin your day, and frankly, explain that to the ER staff. Using the right tool for the job, even simple ones, drastically reduces the risk.
Foolproof Small Easy Pumpkin Carving Ideas: Designs Anyone Can Nail

Foolproof Small Easy Pumpkin Carving Ideas: Designs Anyone Can Nail
Simple Shapes and Classic Faces: No Art Degree Required
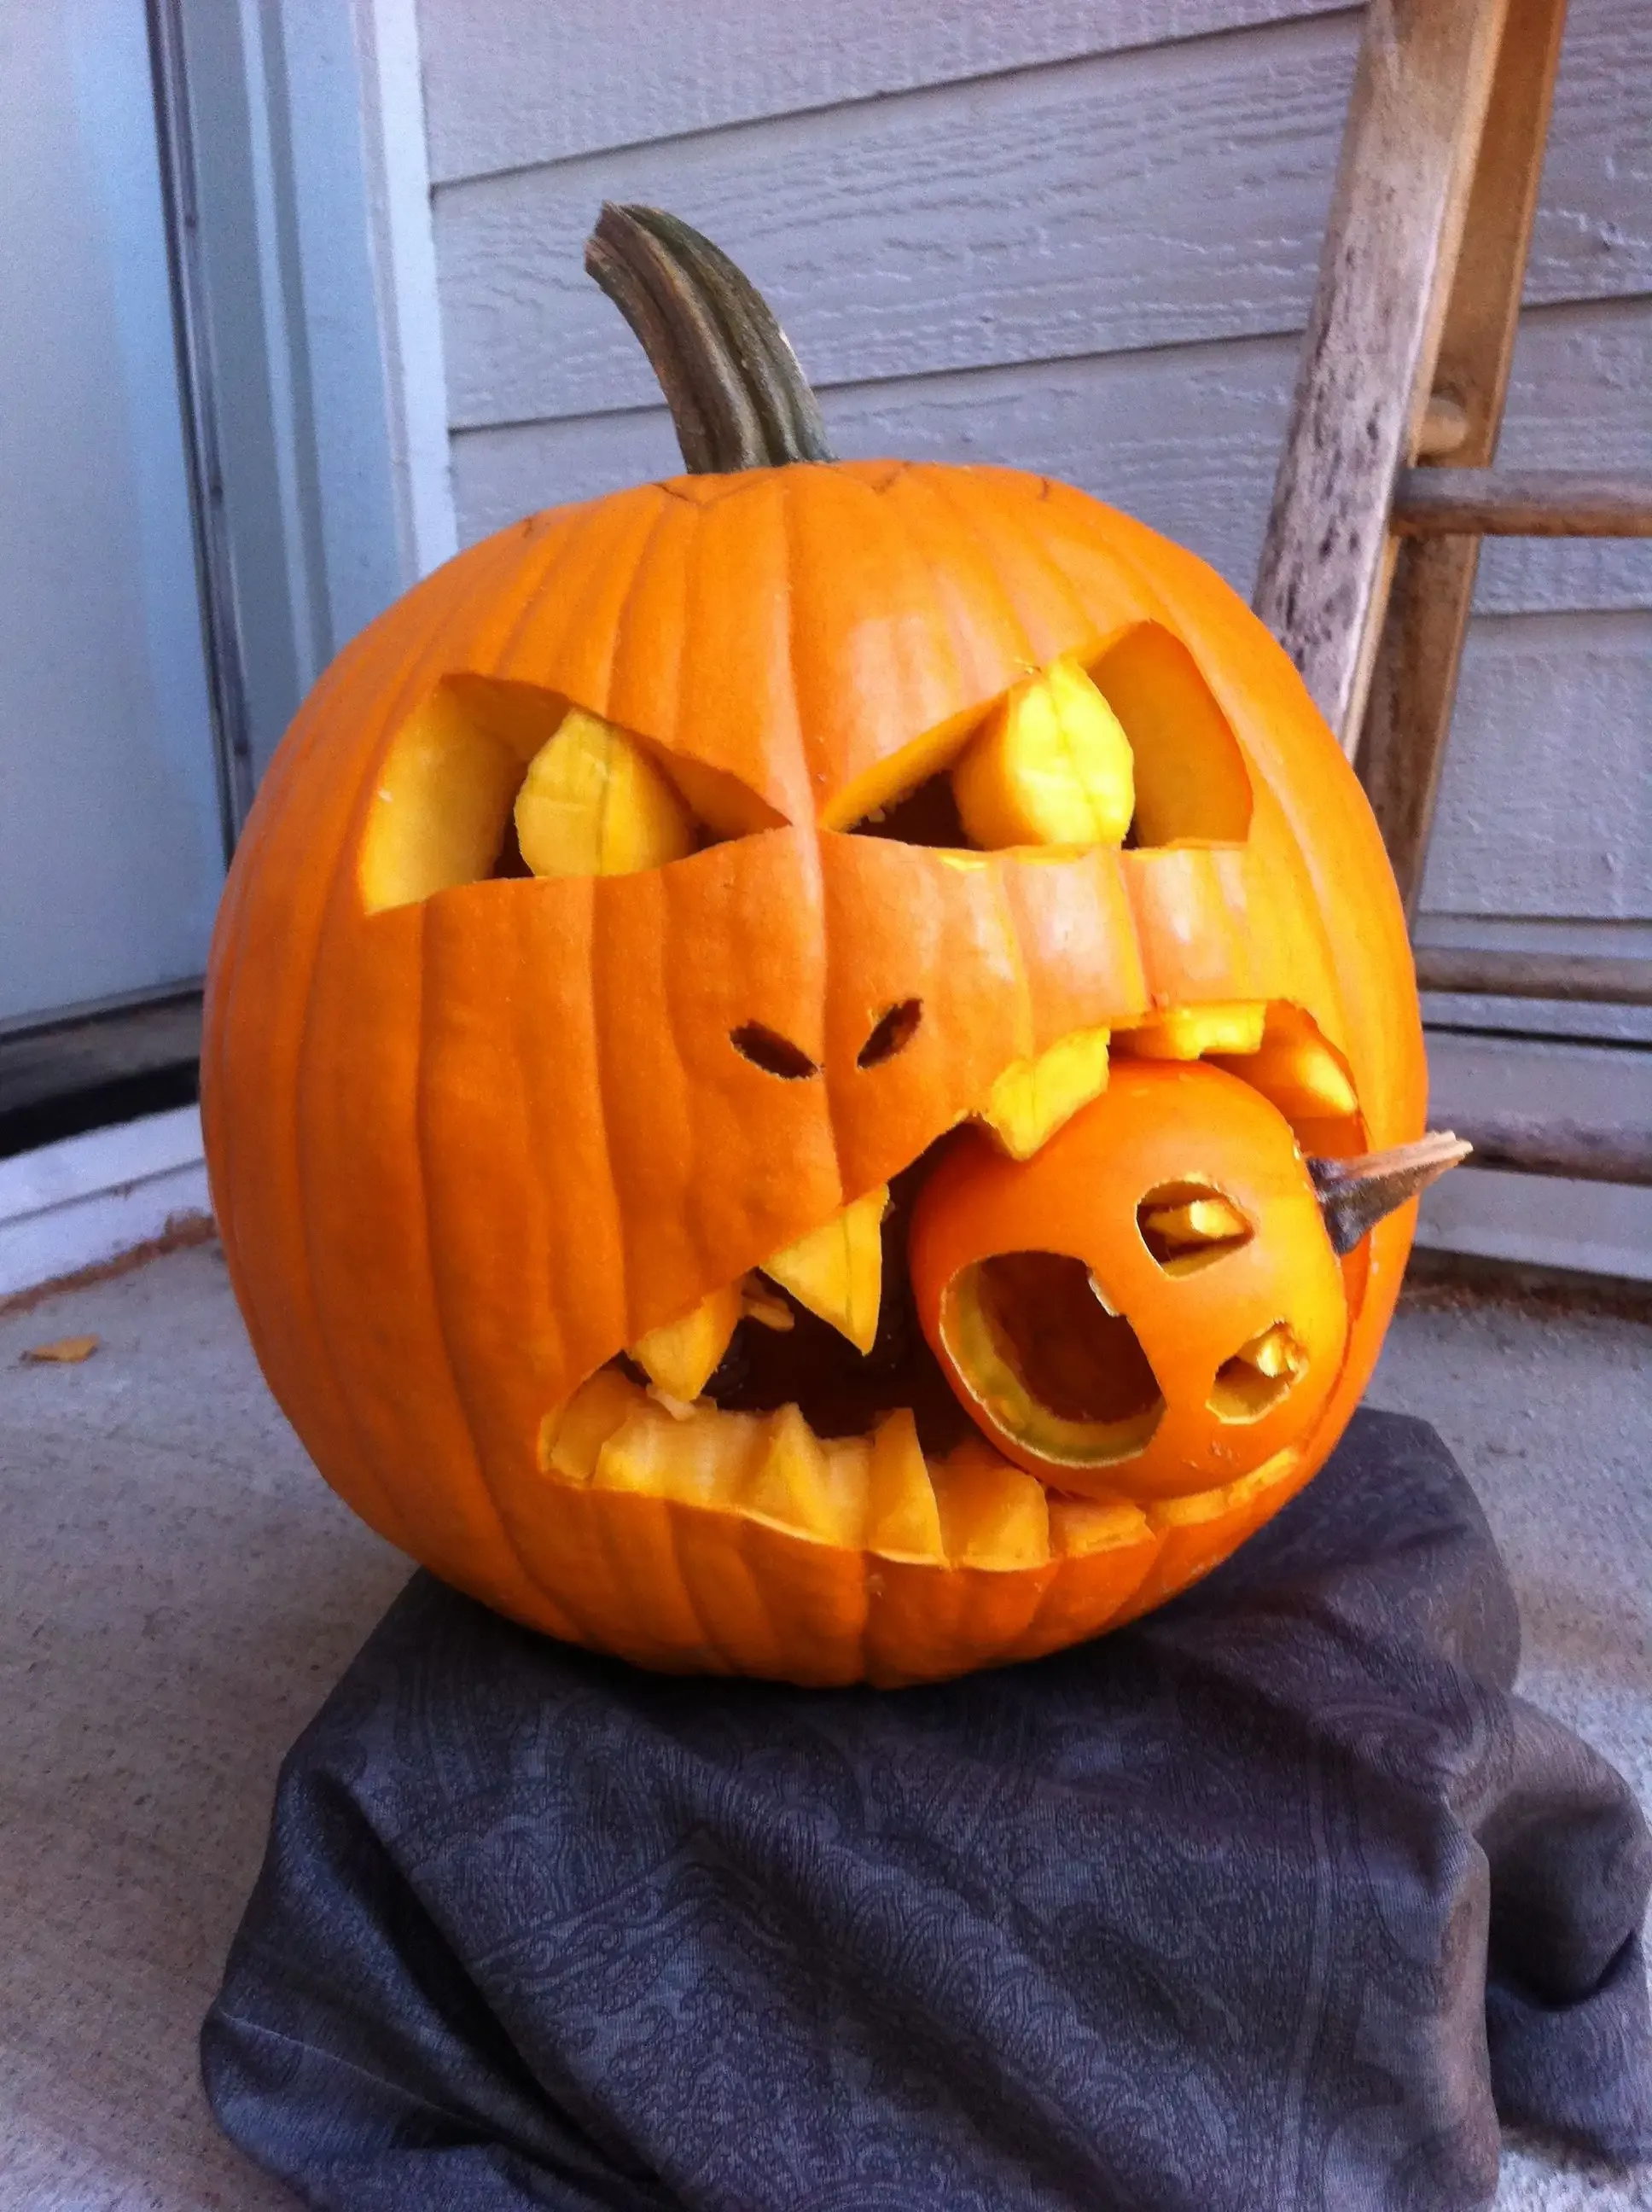
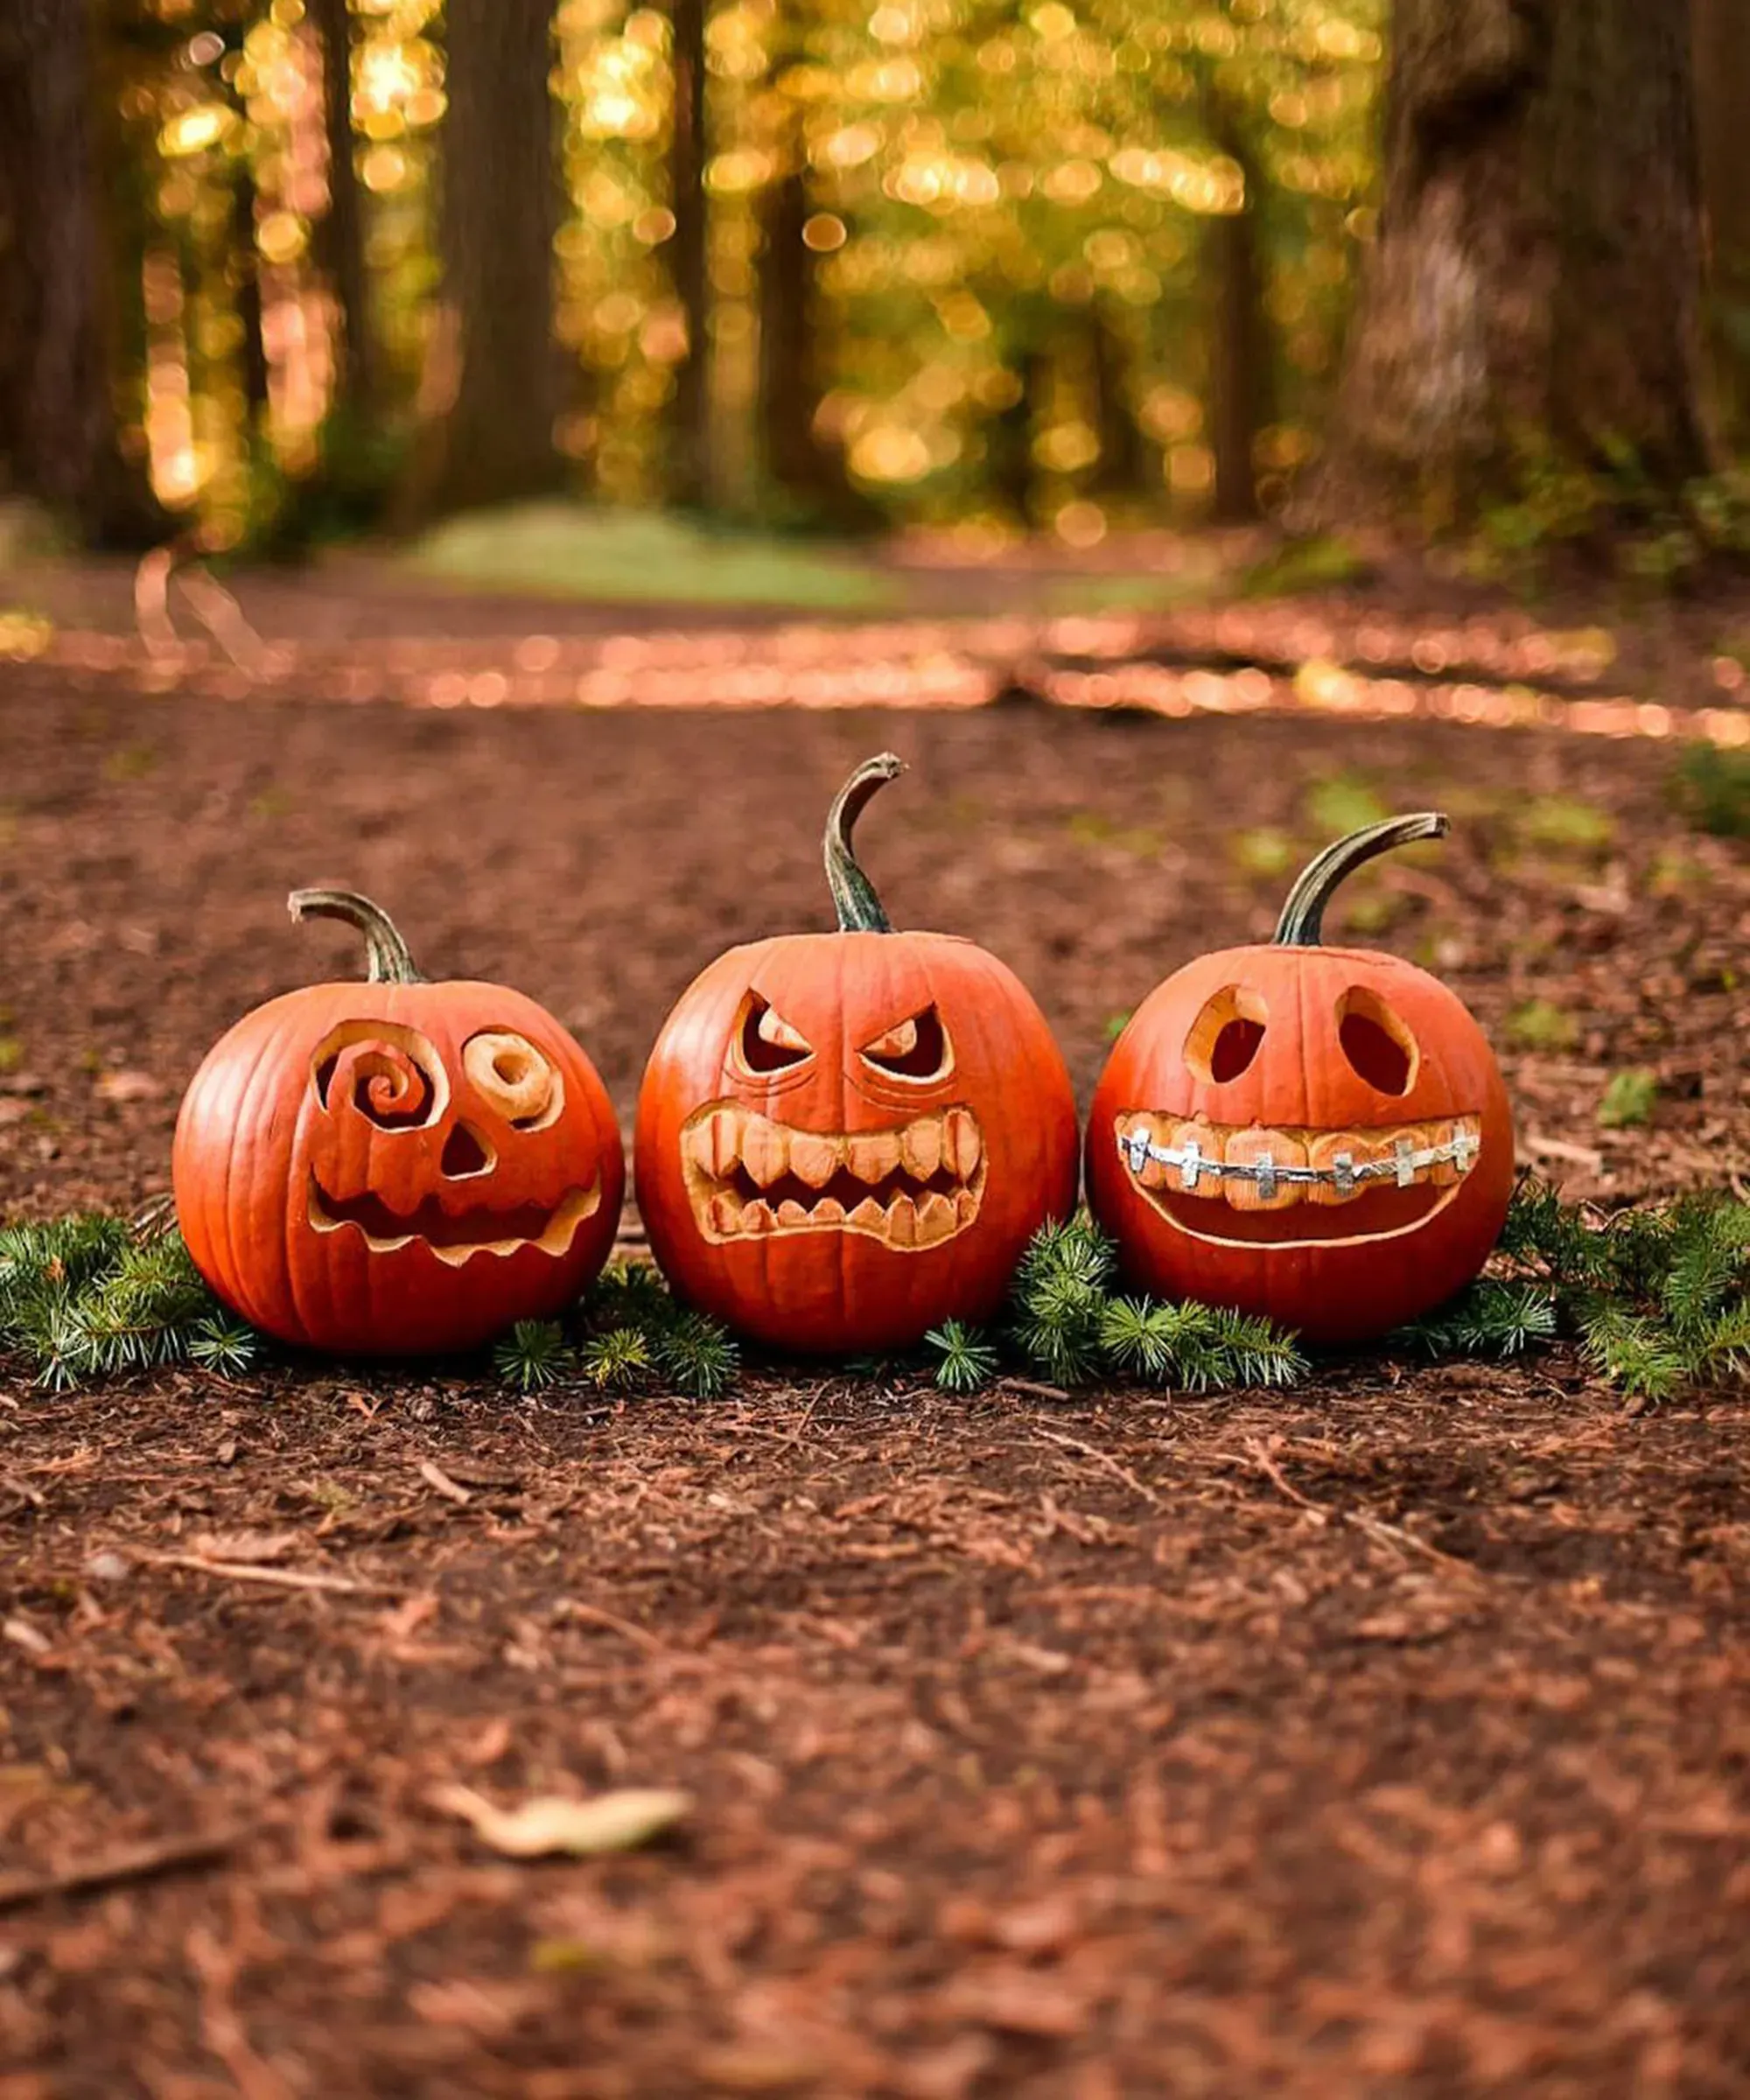
Alright, let's get to the fun part: actually putting a design on your small pumpkin. Forget trying to recreate Van Gogh's Starry Night with a tiny saw. The beauty of small easy pumpkin carving ideas lies in their simplicity. We're talking basic shapes here. Triangles for eyes and a jagged line for a mouth? Classic for a reason, and incredibly fast. Circles work too, maybe one big circle mouth and two smaller ones for eyes. You can even get away with just cutting out different sized holes randomly – when lit, it creates a cool, abstract effect. Think about emoji faces – simple, recognizable, and totally doable on a small scale. A simple grin, a surprised O-shape mouth, or even just a few strategically placed dots can turn a plain gourd into a character with minimal effort.
Beyond the Knife: Simple Etching and Decorating for Small Pumpkins
Beyond the Knife: Simple Etching and Decorating for Small Pumpkins
Etching: The Low-Commitment Way to Get Detail
Maybe the idea of pushing a sharp object all the way through a pumpkin still gives you the creeps, or you just want a faster, less messy route for your small easy pumpkin carving ideas. Etching is your best friend here. Instead of cutting *through* the rind, you're just scraping away the top layer. This reveals the lighter flesh underneath, creating a cool, two-tone effect. You can use anything from a sturdy metal spoon edge, a screwdriver, a linoleum cutter, or even just the loop tool from a basic carving kit. Draw your design on first with a pencil or marker, then carefully scrape away the areas you want to be lighter. It’s incredibly forgiving – a slip-up is usually easy to blend in or just looks like part of the texture. Think simple stars, dots, squiggles, or even just scraping away the skin to reveal a pattern.
Paint, Markers, and More: No Carving Required
Who said you even need to carve? For truly small easy pumpkin carving ideas (that aren't actually carving), grab your art supplies. Acrylic paints work great on pumpkin surfaces. You can paint on faces, patterns, or even just give the whole mini pumpkin a solid color makeover in black, white, or metallic shades for a modern look. Permanent markers are fantastic for drawing intricate (or not-so-intricate) designs. Think sharpie art on a gourd. Glitter, googly eyes, yarn for hair, felt shapes – the craft store is full of ways to decorate a small pumpkin without ever making a single cut. This is especially good if you're working with very young kids or just prefer a zero-risk approach.
"Sometimes the best way to tackle a pumpkin isn't with a blade, but with a brush or a little bit of glue."
Combining Techniques for Maximum Impact (Still Easy)
You don't have to choose just one method for your small pumpkins. Combine etching and painting! Etch a design, then paint the etched areas a different color to make them pop. Or paint a base color, then etch through the paint and the rind. Add painted details to a carved face. Stick some spooky pipe cleaner legs on a mini pumpkin body. Hot glue a tiny witch hat onto a painted face. The goal here is low-effort, high-reward. These aren't museum pieces; they're fun, temporary decorations. Mixing and matching simple techniques keeps the process easy but allows for a surprising amount of creativity on a small scale.
Making Your Small Easy Pumpkin Carving Ideas Last Through Halloween
Making Your Small Easy Pumpkin Carving Ideas Last Through Halloween
Keeping Your Small Easy Pumpkin Carving Ideas Looking Fresh, Not Frightful
Alright, you've put in the minimal effort for your small easy pumpkin carving ideas, and they look great sitting on your porch or windowsill. Now comes the cruel twist of fate: carved pumpkins are basically just perishable produce left outside. They start looking sad, then wrinkly, then downright moldy faster than you'd like. Nobody wants their cute little creation turning into a science experiment before Halloween actually arrives. The smaller size means less surface area, which *can* sometimes help, but the thin walls also mean they dry out or rot just as quickly as their larger cousins once exposed to the elements or warm indoor air.
So, how do you fight the inevitable decay? It's not magic, but you can slow the process down. First, a good cleaning helps. After carving, rinse the inside and carved edges to get rid of any lingering pumpkin guts and bacteria. Then, consider a quick bath. Soaking the carved pumpkin in cold water for a few hours can rehydrate the flesh. After that, pat it dry and apply a thin layer of petroleum jelly (like Vaseline) or even vegetable oil to all the cut surfaces. This seals in moisture and acts as a barrier against drying out and some mold. Store them in a cool, dry place if possible, especially indoors.
- Rinse the inside and carved edges thoroughly.
- Soak the carved pumpkin in cold water for several hours.
- Pat the pumpkin dry after soaking.
- Apply petroleum jelly or vegetable oil to all cut surfaces.
- Keep the pumpkin in a cool, dry location.
- Avoid direct sunlight if possible.
Managing Expectations (and When to Just Let Go)
Even with the best efforts, a carved pumpkin isn't going to last forever. Small ones might get you a week, maybe a bit more if conditions are perfect. If you carve too early in October, you might find yourself needing a replacement before the 31st rolls around. That's okay! These are meant to be temporary bits of fun. If you absolutely need your display to look pristine *on* Halloween night, plan your carving closer to the date. Or, lean into the decay and call it extra spooky. Alternatively, focus on the non-carving methods we discussed earlier – painted or decorated small pumpkins last significantly longer since the rind isn't broken. Sometimes, the easiest preservation method is just accepting that gourds gonna rot.
Wrapping Up Your Small Pumpkin Carving Success
So there you have it. Stepping away from the monster gourds and embracing small easy pumpkin carving ideas doesn't mean sacrificing festive spirit. It means less mess, less stress, and a finished product you can actually be proud of without needing a week off work to recover. Whether you drilled some holes, etched a simple face, or just stuck some googly eyes on, you've added a touch of handmade Halloween charm. These little guys prove you don't need to be a master sculptor to get into the spooky season. Now go admire your miniature masterpiece, maybe grab a cider, and definitely skip the industrial-strength cleaning supplies.