Table of Contents
Alright, let's be honest. The idea of carving a pumpkin sounds festive and fun, right up until you're wrist-deep in guts, wrestling a dull knife, and staring at a design that looks suspiciously like a lopsided potato with a grimace. Maybe you've tried before and ended up with something you wouldn't even put on the porch. It feels like everyone else is crafting glowing masterpieces while you're just trying not to lose a finger. But what if it wasn't a chaotic mess? What if there were actual simple pumpkin carving ideas easy enough for anyone to pull off without needing an art degree or a trip to the emergency room?
Why Simple Pumpkin Carving Ideas Easy Save Your Sanity

Why Simple Pumpkin Carving Ideas Easy Save Your Sanity
Alright, let's talk brass tacks. Carving a pumpkin can feel like you're signing up for a frustrating art project with a tight deadline and a wobbly canvas. You see those elaborate designs online, the ones that look like they were sculpted by Michelangelo, and think, "Yeah, I can do that." Spoiler alert: you probably can't on your first, fifth, or maybe even tenth try with a standard kitchen knife and a waxy gourd. This is precisely Why Simple Pumpkin Carving Ideas Easy Save Your Sanity. Opting for straightforward patterns cuts through the frustration immediately. It means you spend less time hunched over, wrestling with tough rind, and significantly reduce the risk of accidentally slicing off a crucial piece (or your own finger). A simple ghost face or a few geometric shapes might not win an art prize, but they look fantastic glowing on your porch, and you won't need a stress ball afterward.
Tools You Actually Need for Simple Pumpkin Carving
Tools You Actually Need for Simple Pumpkin Carving
Forget the Fancy Kits: Basic Tools Do the Job
let's clear the air. You don't need a twenty-piece professional carving set that looks like it belongs in a dental office. For simple pumpkin carving ideas easy to manage, you really only require a few key items. First up, a sturdy spoon or scoop. This is your gut-removal specialist. Get one with a decent edge if possible, it makes scraping down the inside walls much faster. Next, you need something to draw your design. A dry-erase marker works wonders because you can wipe it off and redraw if you mess up. Pencils work too, but they're harder to see on the orange surface. The real workhorse is a small, sharp knife. Not your biggest kitchen cleaver. Think a paring knife or a dedicated pumpkin carving saw from a cheap kit. These smaller blades offer more control, which is crucial when you're just getting started and aiming for simple shapes.
Helpful Extras That Aren't Strictly Necessary (But Make Life Easier)
While those basic tools are enough for simple pumpkin carving ideas easy to execute, a couple of extras can smooth the process. A small, serrated carving saw from a kit is often easier for cutting straight lines and corners than a standard knife, especially through thicker parts of the pumpkin rind. They tend to snag less. A poking tool, sometimes included in kits, is great for transferring designs if you print them out – you just poke holes along the lines. And honestly, a good set of rubber gloves is a lifesaver if you hate the feel of pumpkin goop (and who doesn't?). They make cleanup way less slimy. Don't fall for the trap of buying every gadget you see; start simple and add tools as you get more comfortable.
Essential Simple Carving Tools
- Sturdy scoop or spoon
- Dry-erase marker or pencil
- Small, sharp paring knife OR small pumpkin carving saw
Optional Helpful Tools
- Serrated carving saw
- Design poking tool
- Rubber gloves
- Small detail knife (for slightly more complex simple designs)
Truly Simple Pumpkin Carving Ideas Easy: Designs That Work

Truly Simple Pumpkin Carving Ideas Easy: Designs That Work
Starting with the Basics: Shapes Are Your Friend
Forget trying to recreate a movie poster on your pumpkin. The absolute easiest way to get started with truly simple pumpkin carving ideas easy is to think in basic shapes. Triangles for eyes and a jagged line for a mouth? Classic, effective, and hard to mess up. Circles work too, for round eyes or a simple open mouth. Squares or rectangles can become windows or teeth. The key is keeping the shapes large and distinct. Don't try to make tiny cuts or intricate details. Big, bold shapes are forgiving. If your line isn't perfectly straight, it just adds character. Nobody expects machine precision here.
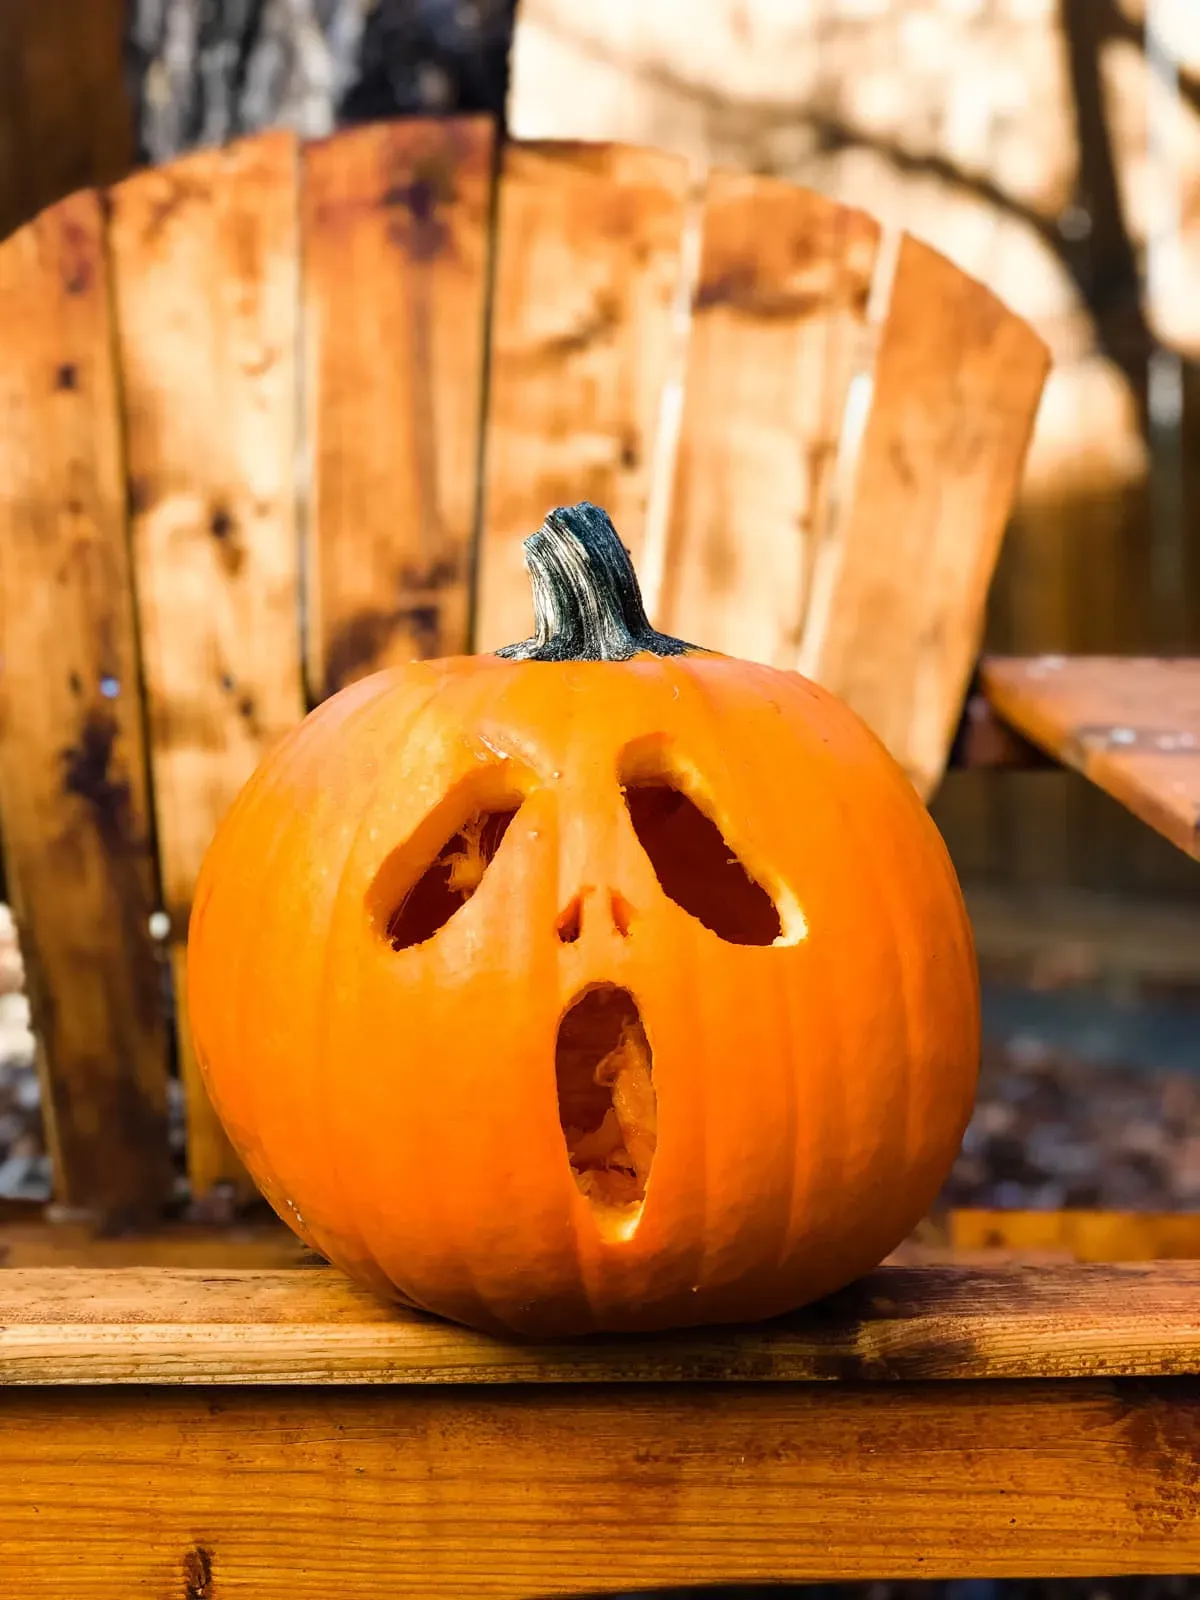
Classic Faces: Simple Spooky, Happy, or Silly
The iconic jack-o'-lantern face is a staple for a reason – it’s one of the most simple pumpkin carving ideas easy to achieve. A few triangles for eyes and a nose, maybe a crescent moon or a simple curved line for a mouth, and you're done. You can vary the expression just by changing the angles of the triangles or the curve of the mouth. Point the triangles down for spooky, up for surprised, or keep them straight for neutral. A simple grin with a couple of square teeth is also very doable. These designs are instantly recognizable and require minimal complex cutting.
Simple Design Ideas to Try
- Three triangles (eyes and nose) and a jagged mouth
- Two circles (eyes) and a wide crescent mouth
- Ghost shape (just the outline of a ghost)
- Simple star or moon cutouts
- Geometric patterns (squares, circles, lines)
- The "less is more" look: just two holes for eyes
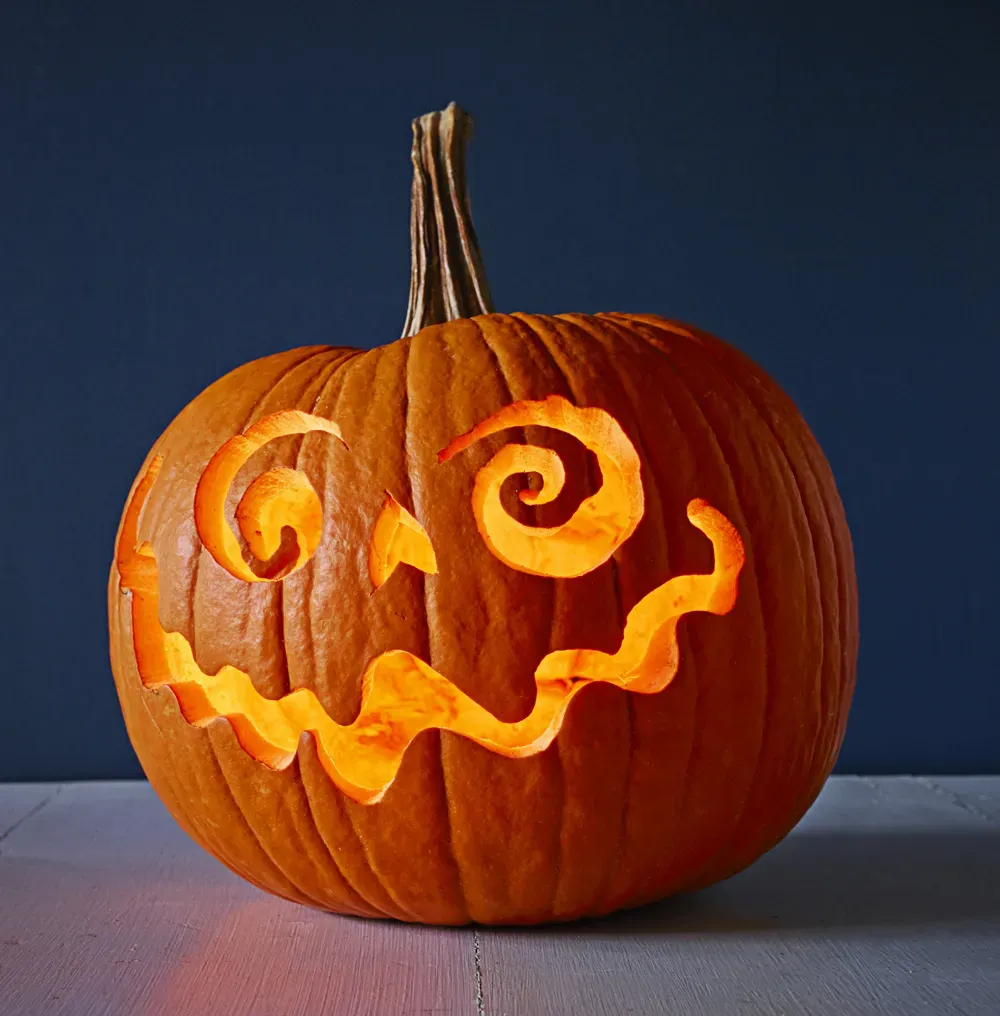
Beyond the Face: Minimalist Cuts and Stencils
You don't even have to carve a traditional face to have a great looking pumpkin. Some of the most striking simple pumpkin carving ideas easy to do involve very few cuts. Think about cutting out just a single large star, a silhouette of a cat, or even just drilling various sized holes to create a pattern that looks cool when lit. You can find simple stencils online – just tape them on, poke holes along the lines to transfer the design, and then connect the dots with your small saw or knife. This takes the guesswork out of drawing and ensures your shapes are clean, even if they aren't complex.
Beyond the Blade: More Simple Pumpkin Carving Ideas
Beyond the Blade: More Simple Pumpkin Carving Ideas
Painting and Drawing Your Way to Easy Spooky
so maybe the idea of pushing a blade through a pumpkin still gives you the shivers. Or perhaps you've got little helpers whose fine motor skills aren't quite knife-ready. Good news: simple pumpkin carving ideas easy don't *have* to involve carving at all! Painting is your best friend here. Grab some acrylic paints – they stick well to pumpkin skin. You can paint classic spooky faces, abstract patterns, or even cute characters. Black and white paint on an orange pumpkin is striking and super simple. Think ghosts, spiderwebs, or just big, bold dots and stripes. It's less messy than carving guts, and you can easily fix mistakes with another coat of paint. Plus, painted pumpkins tend to last longer than carved ones.
Adding Flair with Everyday Items
Let's get crafty without the sharp objects. There are tons of ways to create simple, fun pumpkin decorations using stuff you probably already have lying around. Think googly eyes – a handful of different sizes glued onto a pumpkin is instantly goofy and fun. Yarn can become hair or a spiderweb. Buttons, bottle caps, pipe cleaners – they can all be glued on to create unique faces or patterns. You can even use temporary tattoos or stickers designed for skin; many stick surprisingly well to a clean, dry pumpkin surface and offer intricate designs without any cutting. This method is fantastic for involving kids and results in genuinely unique creations that are definitely simple pumpkin carving ideas easy alternatives.
Alternative Simple Decorating Methods
- Painting faces, patterns, or scenes
- Gluing on googly eyes, buttons, yarn, or felt
- Using temporary tattoos or stickers
- Wrapping with gauze or string for a mummy look
- Using puff paint for raised designs
Making Simple Cuts with Non-Knife Methods
Even if you want a *little* bit of light shining through, you don't need a carving saw for everything. Cookie cutters are amazing for simple pumpkin carving ideas easy to manage. Just pick a metal cookie cutter with a simple shape (stars, moons, basic circles or squares), place it on the pumpkin, and tap it firmly with a hammer or mallet until it cuts through the rind. You might need to wiggle it a bit or finish the cut with a small knife, but it does most of the work for you. Another trick? A drill. Using different sized drill bits, you can create patterns of holes that look like constellations, abstract designs, or even outline a simple picture when lit from the inside. It's fast, creates clean edges, and feels a bit more like construction than surgery.
Keeping Your Simple Pumpkin Carving Ideas Easy Looking Great
Keeping Your Simple Pumpkin Carving Ideas Easy Looking Great
So, you’ve put in the minimal effort for your simple pumpkin carving ideas easy design, and it actually looks pretty decent. Great! Now you want it to last longer than a couple of days before it starts looking like a sad, deflated prune covered in suspicious fuzz. The key here is moisture management, or lack thereof. Once you cut into a pumpkin, you expose the flesh to the air, and that's when the clock starts ticking towards decomposition. You can slow this down significantly. A common trick is to spray the inside and cut edges with a bleach solution (about one tablespoon of bleach per quart of water). This kills mold and bacteria that cause rot. Another method is to rub petroleum jelly or vegetable oil on the cut surfaces to seal in moisture and prevent drying out, which leads to shriveling.
Pumpkin Preservation Tips
- Spray inside and cut edges with a mild bleach solution.
- Rub petroleum jelly or vegetable oil on cut surfaces.
- Keep the pumpkin in a cool, dry place when not displayed.
- Avoid direct sunlight or extreme temperatures.
- Consider using an LED light instead of a candle to reduce heat exposure.
Wrap Up: Easy Pumpkins, Happy You
So there you have it. Stepping away from the idea that your pumpkin needs to be a gallery-worthy sculpture can actually make the whole process, dare I say, enjoyable. We've looked at why keeping it simple works, the few tools that actually matter, and a bunch of simple pumpkin carving ideas easy enough that you won't need a therapy session afterward. It's about getting a little messy, having a bit of fun, and ending up with something that looks decent sitting on your porch, casting spooky shadows. Give these straightforward approaches a try. The worst that happens is you end up with a slightly less-than-perfect squash, and honestly, who hasn't?