Table of Contents
Halloween is just around the corner, and what's a spooky season without a glowing jack-o'-lantern? But, let's face it, some of us aren't exactly carving pros. If you're like me, the thought of intricate designs makes you sweat more than a pumpkin in July. That's why we're diving into the world of simple pumpkin carving designs free! Forget about needing a master sculptor's skill; we're talking easy, fun, and totally doable designs that will still make your porch the envy of the neighborhood. We will guide you in choosing the best pumpkin for a smooth carving experience and the right tools that will make the process a breeze. We’ll explore some super simple yet effective designs that will elevate your pumpkin game, even if you're a total beginner. Plus, we'll tackle how to keep your masterpiece from turning into a mushy mess before Halloween night. So, grab your pumpkin, and let’s get carving!
Choosing Your Pumpkin and Tools for Simple Carving
Choosing Your Pumpkin and Tools for Simple Carving
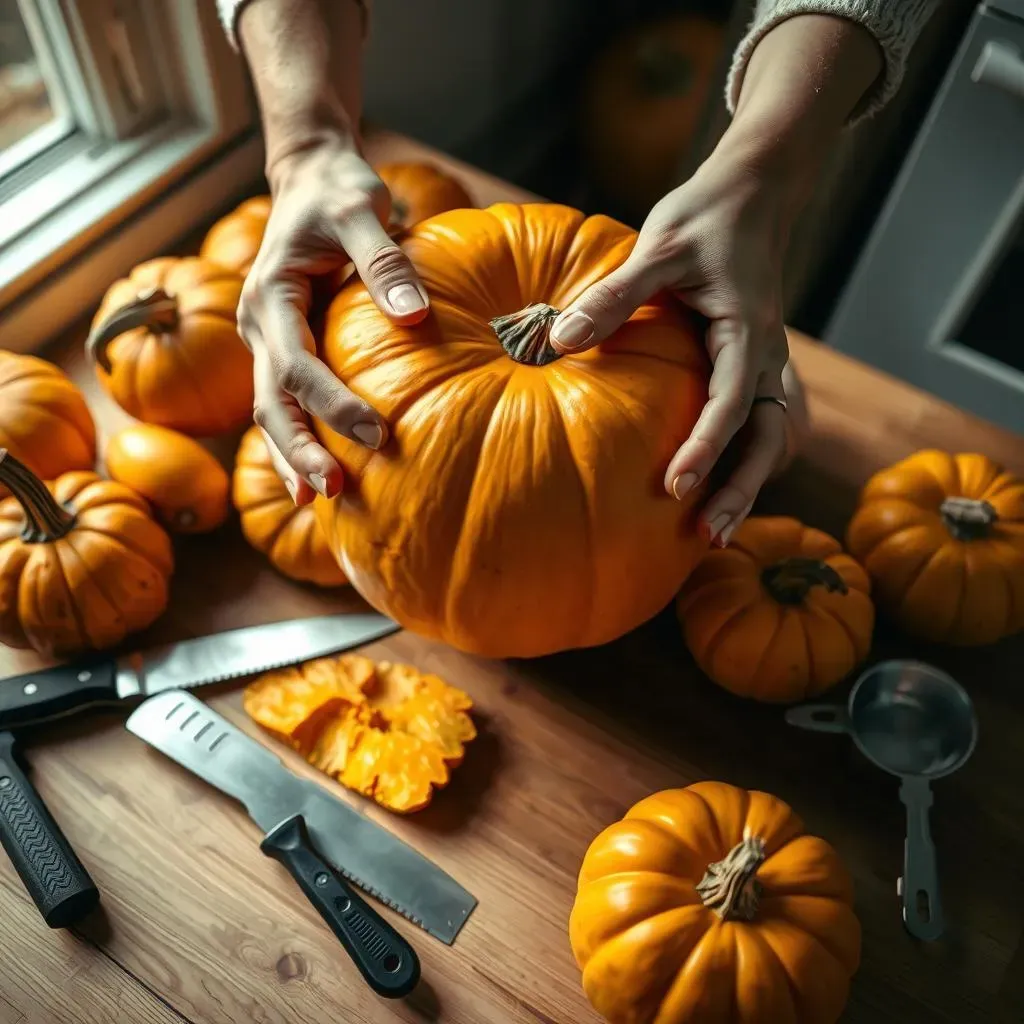
so you're ready to carve, but hold up a sec! Before you grab any old pumpkin, let's talk selection. You want a pumpkin that's going to be your canvas, not your enemy. Look for a medium to large size pumpkin; big enough to work with, but not so massive it's a wrestling match. Feel it all over, and make sure the skin is smooth and firm; no mushy spots or bruises allowed. A sturdy stem is a good sign of a healthy pumpkin, too. It’s like picking the right apple for a pie; the better the base, the better the end result! And when it comes to the tools, don't go overboard. You don't need a surgeon's kit, trust me. A good serrated knife is your main weapon, and those little pumpkin carving kits you find at the store? They’re actually pretty handy. An ice cream scoop will make gutting the pumpkin a breeze, and an apple corer? Perfect for making small, precise holes, it’s a secret weapon for some designs.
Pumpkin Selection | Tool Essentials |
|---|---|
Medium to Large Size | Serrated Knife |
Smooth and Firm Skin | Pumpkin Carving Kit |
Sturdy Stem | Ice Cream Scoop |
No Mushy Spots or Bruises | Apple Corer |
Easy Pumpkin Carving Designs and Techniques
Easy Pumpkin Carving Designs and Techniques
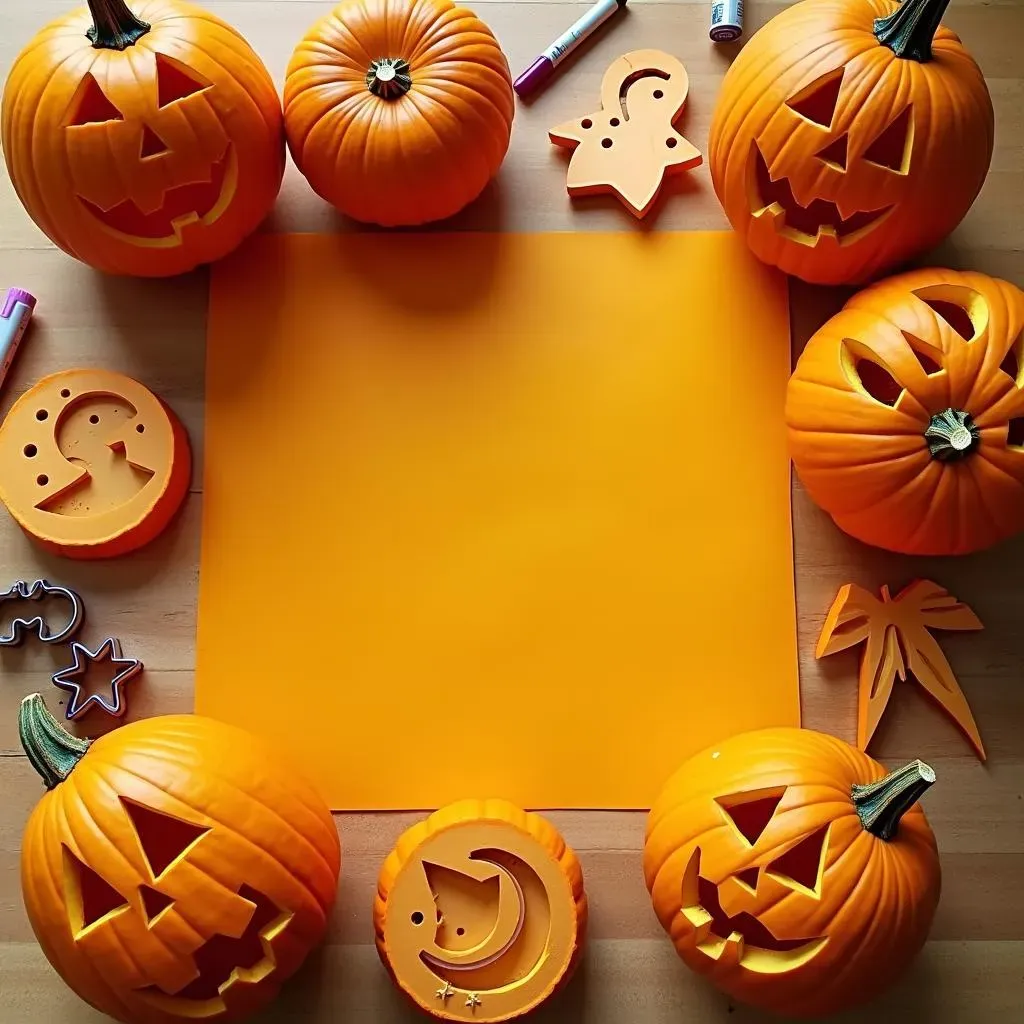
Alright, so you've got your pumpkin and your tools; now for the fun part: designs! We're keeping it simple, remember? Forget those crazy detailed portraits; we're going for charmingly easy. Think classic shapes: triangles for eyes, a simple jagged mouth, maybe some circles or squares. A ghost? Super easy; just a couple of oval eyes and a spooky mouth. A bat? Two triangles for ears and some simple curves for wings. The key here is to sketch your design lightly on the pumpkin with a marker first. This is like a rough draft, it doesn't have to be perfect. You can always adjust it and even erase some lines if you need to. Don't be afraid to make mistakes; that's part of the fun. Start with the bigger cuts, then move on to the smaller details. And remember, it’s the imperfections that make your pumpkin unique!
Another great technique for super simple designs is using cookie cutters. Yes, you heard me right! Press your favorite cookie cutter shapes into the pumpkin's skin, and then carefully cut along the indented lines. Stars, moons, even simple animal shapes work great. You can also just use the cookie cutter to make an outline and then use a peeler to remove the skin inside of the outline to achieve some nice contrast. This adds a fun texture. If you are thinking about creating something more complex, you can always use stencils. You can find tons of free stencils online. Simply tape the stencil to your pumpkin and then poke holes along the lines of the design with a pin or a needle. Remove the stencil and connect the dots with your knife. It makes the carving process look like paint by numbers.
Design Idea | Technique | Difficulty |
|---|---|---|
Classic Jack-o'-lantern | Triangles and jagged lines | Easy |
Ghost | Oval eyes and a spooky mouth | Easy |
Bat | Triangles for ears and simple curves | Easy |
Cookie Cutter Shapes | Press and cut along edges | Easy |
Stencils | Poke holes and connect the dots | Medium |
Making Your Simple Carved Pumpkin Last and Alternative Ideas

Making Your Simple Carved Pumpkin Last and Alternative Ideas
Keeping Your Carved Pumpkin Fresh
so you've poured your heart and soul (and pumpkin guts) into this masterpiece, and now you want it to last longer than a few days, right? Carved pumpkins, sadly, aren't built for the long haul; they're like the mayflies of the Halloween world. But! There are a few tricks to extend their lifespan. First off, think of your pumpkin like a piece of produce; it needs to stay cool and hydrated. If the weather is chilly, keep it outside, but if it's warm, bring it inside. The fridge is actually a great place for your pumpkin to hang out when it's not on display. Wrapping it in plastic wrap might sound weird, but it helps keep the moisture in. And remember to keep it away from direct sunlight, which can dry it out faster.
Another trick is to give your pumpkin a bath, not a bubble bath, but a bleach bath. Mix a tablespoon of bleach with a gallon of water and soak your pumpkin for a few hours. This will kill any mold or bacteria that might be trying to throw a party inside your pumpkin. Don't worry, it won't turn your pumpkin white; it just helps to keep it from rotting. After the bleach bath, let it air dry completely before putting it back on display. And let's talk about Vaseline, yes, you heard me right! Apply a thin layer of Vaseline on all the carved areas; this creates a barrier and keeps the moisture from escaping. It’s like giving your pumpkin a little spa treatment.
Preservation Tip | How it Works |
|---|---|
Keep it Cool | Slows down the decaying process. |
Refrigerate | Best when not on display. |
Plastic Wrap | Traps moisture and prevents drying. |
Bleach Bath | Kills mold and bacteria. |
Vaseline | Seals in moisture. |
Alternative Decoration Ideas
Not feeling the carving vibe this year? That's totally cool. There are tons of other ways to make your pumpkin stand out. How about painting? Grab some acrylic paints and go wild! You can do anything from a simple color block to intricate designs. And it's a great activity if you have little ones who aren't ready for knives. You can use stencils, or your hands to create some spooky or adorable designs. If you are going for a more minimalist look, use some paint pens to add details. You can draw some intricate patterns or some geometric shapes.
Another cool idea is to use colored filters. Grab some cellophane paper in different colors and tape them behind your carved areas. When you light up your pumpkin, it will cast colorful shadows, it is like a disco party in your front yard. If you are going for a spooky vibe, try using black paper to make some silhouettes. And let's not forget about light. Skip the real candles and go for battery-powered tea lights or LED string lights. They’re safer and last way longer. You can even find lights that change color or flicker like real flames. You can also use some outdoor lights to make some cool shadow effects and add a spooky feeling to your front yard.
"The best way to predict the future is to create it." - Peter Drucker
Safety First
Before you dive into your pumpkin carving adventure, let's have a quick chat about safety. Adult supervision is a must, especially if there are little ones involved. Those carving tools can be sharp and dangerous if not handled properly. And remember to carve in a well-lit area. A good tip is to use a carving mat or a large cutting board to protect your surfaces. It makes for an easier cleanup. Keep your hands and tools clean to avoid any contamination. And last but not least, don’t rush. Carving should be fun and relaxing, not a race.
And when it comes to lighting, real candles might look cool, but they’re a fire hazard, especially if you have pets or kids running around. Battery-powered tea lights are the way to go. They're safe, long-lasting, and you don't have to worry about them tipping over. If you have some outdoor lights, you can create a cool shadow effect and add a spooky vibe to your front yard. Always double-check that your lights are turned off when you are not around. Keep your carved pumpkins away from any flammable materials.
Wrapping Up Your Simple Pumpkin Carving Adventure
So, there you have it! Creating a spooky, fun, and impressive jack-o'-lantern doesn’t have to be a daunting task. With these simple pumpkin carving designs and free tips, you can easily transform a humble pumpkin into a Halloween masterpiece. Remember, it's all about having fun and expressing your creativity. Whether you chose a classic spooky face or a quirky pattern, your carved pumpkin is sure to bring some joy to your Halloween celebration. Don't be afraid to experiment, and most importantly, enjoy the process. Happy carving and have a spooktacular Halloween!