Table of Contents
Ready to turn that plain pumpkin into a spooky masterpiece? Forget the fancy tools and complicated designs; we're diving into the world of easy and fun carving. This isn't about competing for the most intricate pumpkin on the block; it's about enjoying the process and getting into the Halloween spirit with some simple ideas for carving a pumpkin. We'll start with the basics, showing you how to create classic jack-o'-lantern faces without any fuss. Then, we'll explore how simple shapes can make a big impact, think geometric patterns that are surprisingly stylish. Finally, we'll go a little beyond the usual, showing you some creative but still very simple ideas to make your pumpkin stand out. So grab your pumpkin, a spoon, and a small knife, and let's get carving! This guide will keep it simple, fun and achievable, so even the youngest members of the family can join in. No pressure, just pumpkin fun!
Easy Peasy Pumpkin Faces: Simple Ideas for Carving
Easy Peasy Pumpkin Faces: Simple Ideas for Carving
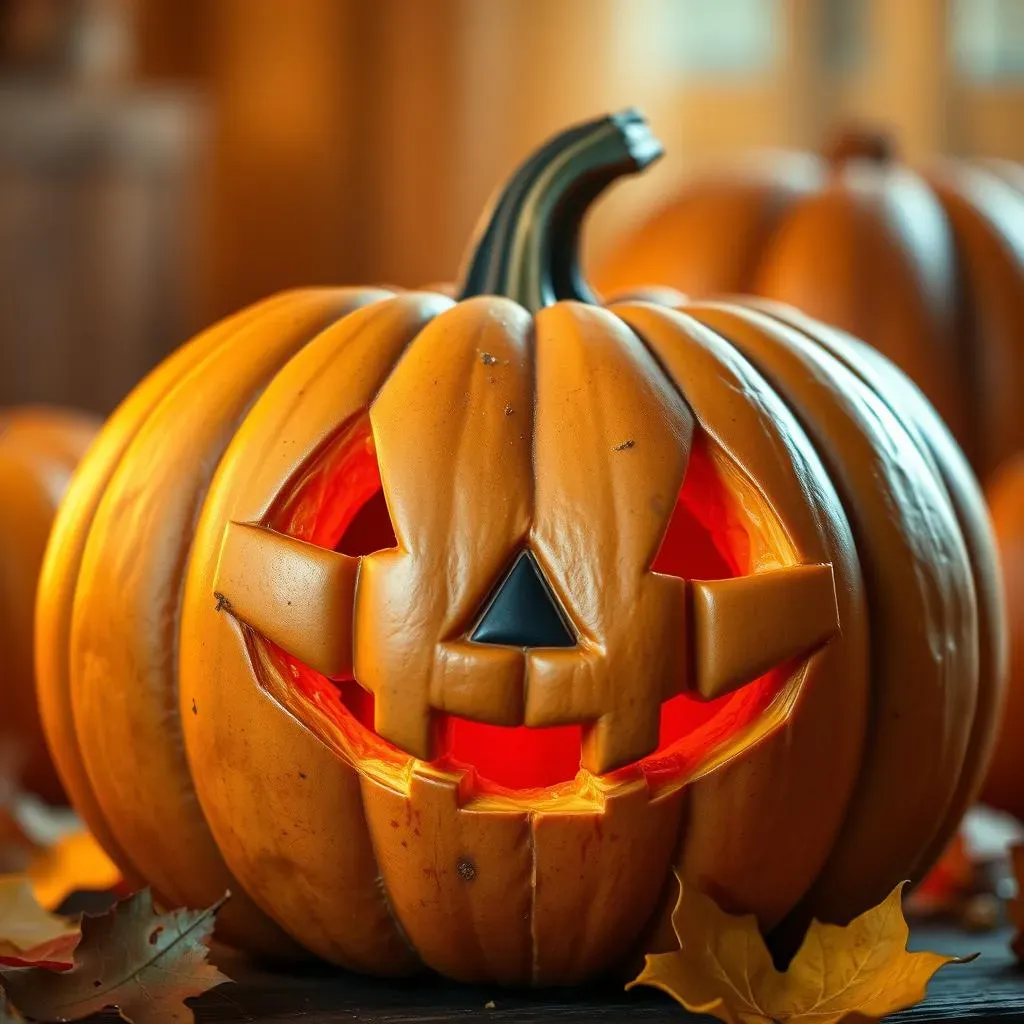
The Classic Triangle Trio
Let's start with the absolute easiest: the classic jack-o'-lantern face. I'm talking about those simple triangle eyes and nose, and a toothy grin. It's the go-to for a reason, it's quick, it's recognizable, and it's perfect for beginners or little hands. Don’t overthink it; even slightly wobbly triangles add to the charm. Think of it like drawing a smiley face, but on a pumpkin. You don't need to be an artist, just embrace the simplicity.
Use a marker to sketch out those basic shapes, then grab your tools and start carving. Small, shallow cuts are better than trying to hack away at it. Remember, it's easier to remove more than to add back. And don't worry about making it perfect; pumpkins are naturally a bit wonky anyway, so embrace the imperfections. This is all about having fun, not creating a museum piece.
Mix and Match Expressions
Once you’ve nailed the basic triangles, you can start mixing it up. Want a surprised pumpkin? Try rounded or oval eyes. Feeling spooky? Make the mouth jagged and uneven. You can even do a simple sideways smile, or a big open mouth with one or two teeth. The possibilities are endless even within these very simple shapes.
Think of it like playing with building blocks, you can create different expressions just by changing the shapes a bit. A single curved line can make a big difference. Don't be afraid to experiment and see what kind of silly or scary faces you can come up with. I remember one year, my nephew made a pumpkin with a zig-zag mouth that looked like it was laughing hysterically, it was a total hit. It's all about having fun and being a little goofy.
Shape | Expression | Description |
|---|---|---|
Triangles | Classic | Standard jack-o'-lantern look |
Circles/Ovals | Surprised | Wide-eyed, shocked expression |
Jagged Lines | Spooky | Uneven, scary mouth or eyes |
Curved Lines | Smiling/Frowning | Simple line to create a mood |
Tips for Tiny Hands
If you're carving with kids, safety is key. Instead of sharp knives, consider using pumpkin carving kits designed for children, they often have small saws and scoops that are much safer. Also, let the kids draw the faces and then you can help with the actual carving. It makes them feel involved, and it's a great way to spend time together. Remember, the goal is to have fun, not to create a masterpiece.
Another great idea is to use cookie cutters. Press them into the pumpkin and then carve around the edges. This is perfect for creating simple shapes like stars, moons, or even bats. It’s a super easy way to get a clean, consistent shape without needing to be a master carver. So, keep it simple, keep it safe, and have a great time making your easy peasy pumpkin faces!
Simple Shapes, Big Impact: Geometric Pumpkin Carving
Simple Shapes, Big Impact: Geometric Pumpkin Carving
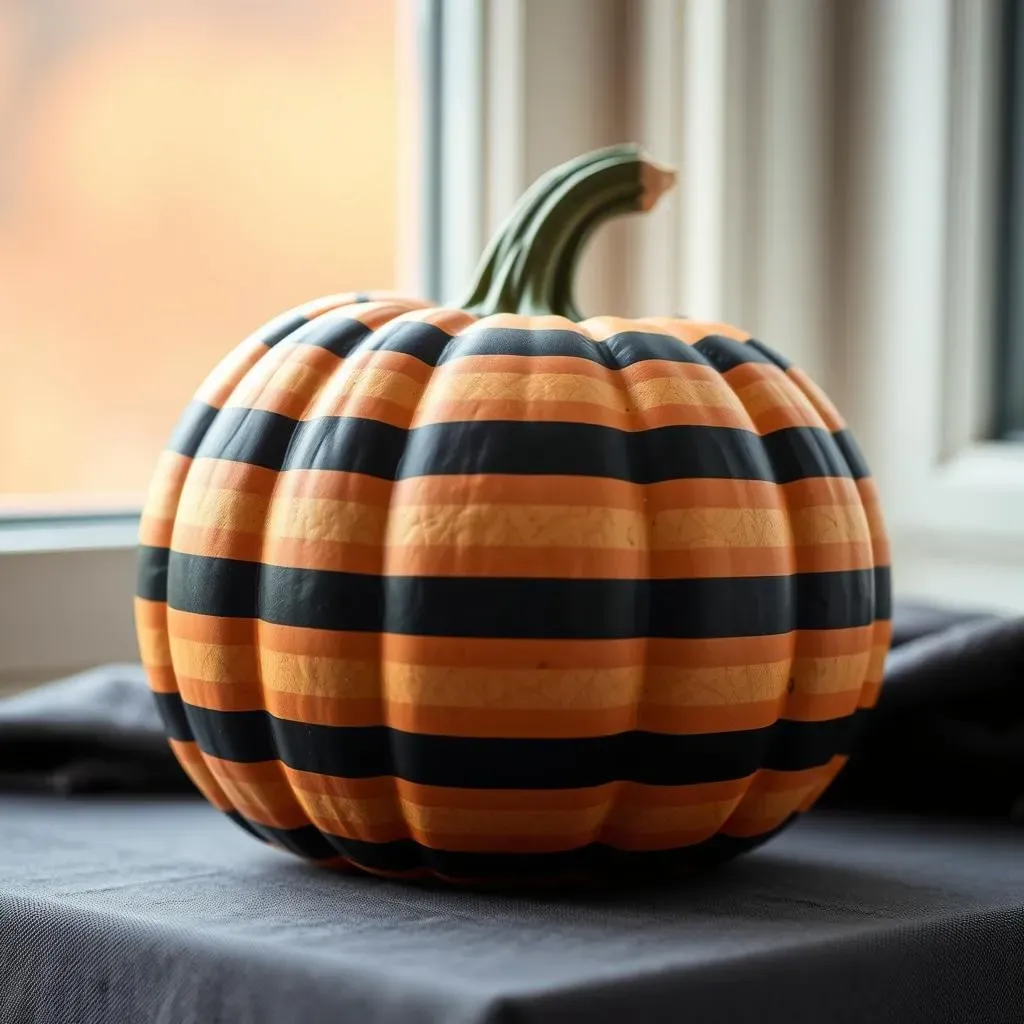
Stripes and Lines: The Power of Repetition
so you've mastered the classic face, but what if you want something a bit more modern? That's where geometric patterns come in. Think simple stripes, vertical or horizontal, or even zig-zag lines. These are incredibly easy to do, and they look super cool. You don't need to be precise; a slightly uneven line adds to the handmade charm. It’s like giving your pumpkin a stylish, minimalist makeover.
Use masking tape to create clean lines before you start carving. This is a great trick for getting those crisp edges. If you're feeling adventurous, try carving out thin lines instead of thick ones for a more delicate look. Remember, the key is repetition; the more lines you have, the more impactful the design becomes. I once saw a pumpkin with just horizontal lines, and it looked like a piece of modern art, it was wild.
Dots and Circles: Simple yet Stunning
Moving beyond lines, let's talk about dots and circles. These are another easy way to add a graphic element to your pumpkin. You can use different sized circles to create a polka dot effect, or you can arrange them in a pattern. Think of it like creating a simple pointillism painting, but on a pumpkin. It’s a fun way to play with negative space and create something visually interesting.
For dots, you can use a drill, a small cookie cutter, or even just the tip of your carving tool. If you want to create circles, you can use a cookie cutter as a guide or trace around a cup. Remember, you don't have to be perfect. The charm of handmade geometric designs is in their imperfections. Last year I saw a pumpkin with a bunch of different sized dots, it looked like it was covered in tiny stars, it was beautiful.
Shape | Description | Tips |
|---|---|---|
Stripes | Horizontal, vertical, or zig-zag lines | Use masking tape for clean lines |
Dots | Simple, repeating dots | Use a drill or the tip of your tool |
Circles | Various sized circles | Use cookie cutters or a cup for tracing |
Squares and Diamonds: Adding Angles
If you're feeling a bit more daring, try incorporating squares or diamonds into your design. These shapes add a bit more structure and complexity, but they're still relatively easy to do. You can create a grid pattern with squares, or you can arrange diamonds in a repeating motif. Think of it like creating a tessellation, but on a pumpkin. It’s a great way to challenge yourself without getting too complicated.
Use a ruler or the edge of a book to help create straight lines for your squares and diamonds. Don't worry if they're not perfectly symmetrical; the slight imperfections can add to the overall look. The beauty of geometric designs is that even simple shapes can create a powerful visual impact. I remember seeing a pumpkin with a diamond pattern that looked like it had been covered in jewels, it was so striking.
Beyond the Basic Jacko'Lantern: Creative Simple Ideas for Carving a Pumpkin
Beyond the Basic Jacko'Lantern: Creative Simple Ideas for Carving a Pumpkin
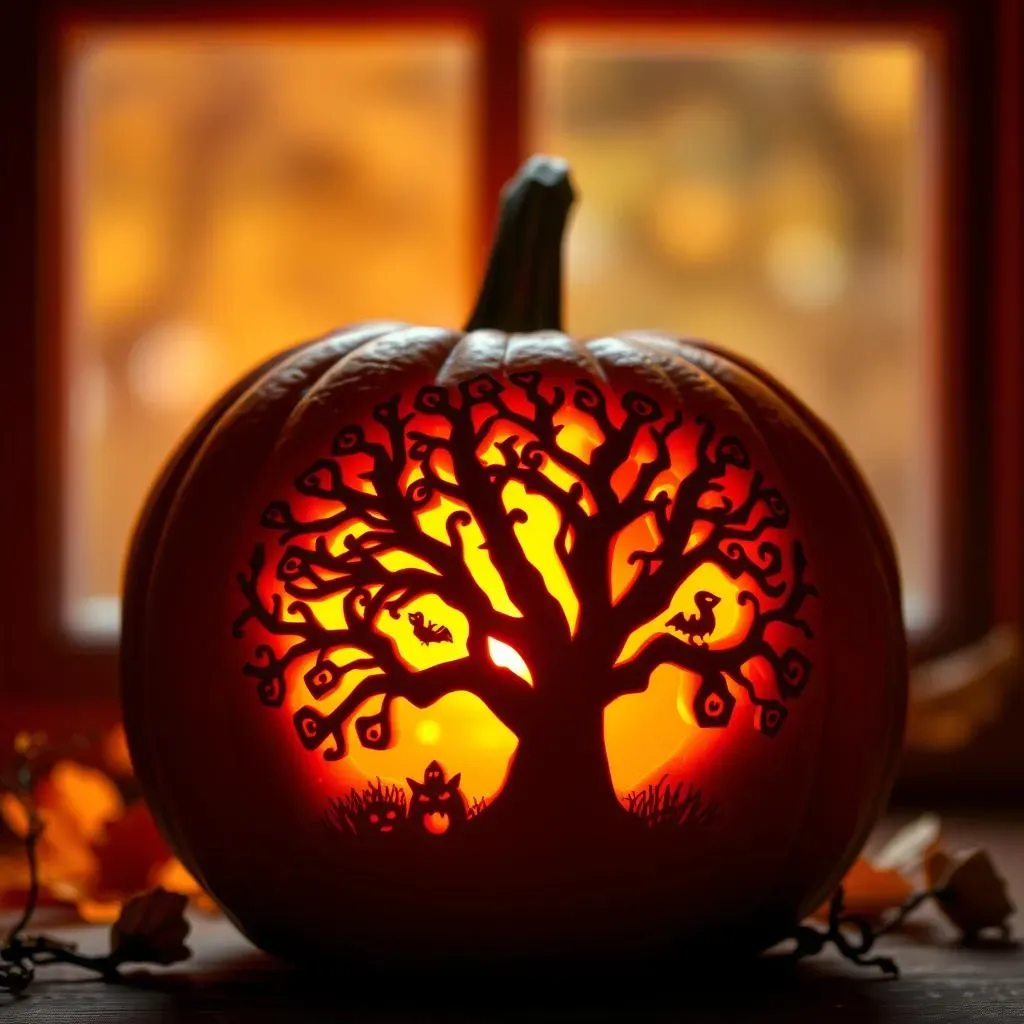
Silhouette Scenes: Carving the Night Sky
so you're ready to move past the usual spooky faces? Let's talk silhouettes. Instead of carving out the features of a face, think about carving out the background, leaving a silhouette of a shape or scene. Imagine a black cat perched on a fence against a full moon, or a spooky haunted house with bats flying around it. These aren't as tricky as they look. You can find simple silhouette images online, print them out, and then trace them onto your pumpkin. The key is to carve away the background, leaving the silhouette raised up. It's like creating a little shadow puppet show on your pumpkin.
Start by outlining your silhouette with small dots or dashes. Then, carefully carve away the surrounding areas. Small, shallow cuts are always better than trying to hack away at it. Remember, it's easier to remove more than to add back. And don't worry if it's not perfect. The imperfections will give it a more rustic, handmade feel. One year, I carved a silhouette of a tree, and when I put a candle inside, it created these amazing shadows on the wall. It was totally worth the effort.
Nature Inspired: Leaves and Flowers
If spooky isn't your thing, why not take inspiration from nature? Simple leaf or flower shapes can create a beautiful and elegant design. Think of basic leaf shapes, like oak or maple, or simple daisy or sunflower shapes. You can use cookie cutters as a guide, or just sketch them out freehand. The beauty of nature-inspired designs is that they don't have to be perfect. The slight variations in shape and size make them look more organic and natural. It's like bringing a little bit of the garden into your Halloween decorations.
You can carve out the shapes completely, or you can just carve the outlines and leave the insides intact. You can also try carving different depths, creating a 3D effect. Remember, the key is to keep it simple. You don't have to be a botanical artist to create a beautiful nature-inspired pumpkin. Just let the natural shapes guide your carving. I saw one pumpkin with a bunch of different sized leaves, it looked like a little autumn forest, it was so peaceful.
Design Idea | Description | Tips |
|---|---|---|
Silhouette | Carve the background, leaving a shape in relief | Use stencils or printouts for tracing |
Leaves | Simple leaf shapes | Use cookie cutters or freehand sketch |
Flowers | Basic daisy or sunflower shapes | Carve outlines or shapes completely |
Wrapping Up Your Pumpkin Masterpiece
So, there you have it – a bunch of simple ideas for carving a pumpkin that won't leave you frustrated or with a pile of pumpkin guts you regret. We've seen how easy it is to make classic faces, stylish geometric designs, and even a few creative twists. The key takeaway is that you don't need to be a master artist to make a fantastic jack-o'-lantern. It's about having fun, getting a little messy, and enjoying the process. Whether you went with a goofy grin, a cool triangle pattern, or a slightly abstract design, your pumpkin is now a unique expression of your creativity and it is ready to light up your porch, so go ahead and show off your pumpkin creation, and happy Halloween!