Table of Contents
Ready to get your hands dirty and create some spooky magic? Halloween is just around the corner, and what better way to celebrate than with some awesome pumpkin carvings? But hold on, no need for complicated designs or fancy tools! We're diving into the world of simple fun pumpkin carving ideas that anyone can master. Forget the intricate patterns; we're focusing on easy, breezy, and downright fun designs that will make your jack-o'-lantern the star of the neighborhood. This isn't about perfection; it's about having a blast and making some memories. We'll explore some classic faces, silly shapes, and even some no-carve options for those who prefer to skip the mess. So, grab your pumpkin, gather your tools, and let's get carving! We’ll cover easy face designs, explore silly shapes, suggest no-carve alternatives, and give some helpful tips to make your carving a breeze.
Easy Peasy Pumpkin Faces: Simple Fun Pumpkin Carving Ideas
Easy Peasy Pumpkin Faces: Simple Fun Pumpkin Carving Ideas
The Classic Triangle Trio
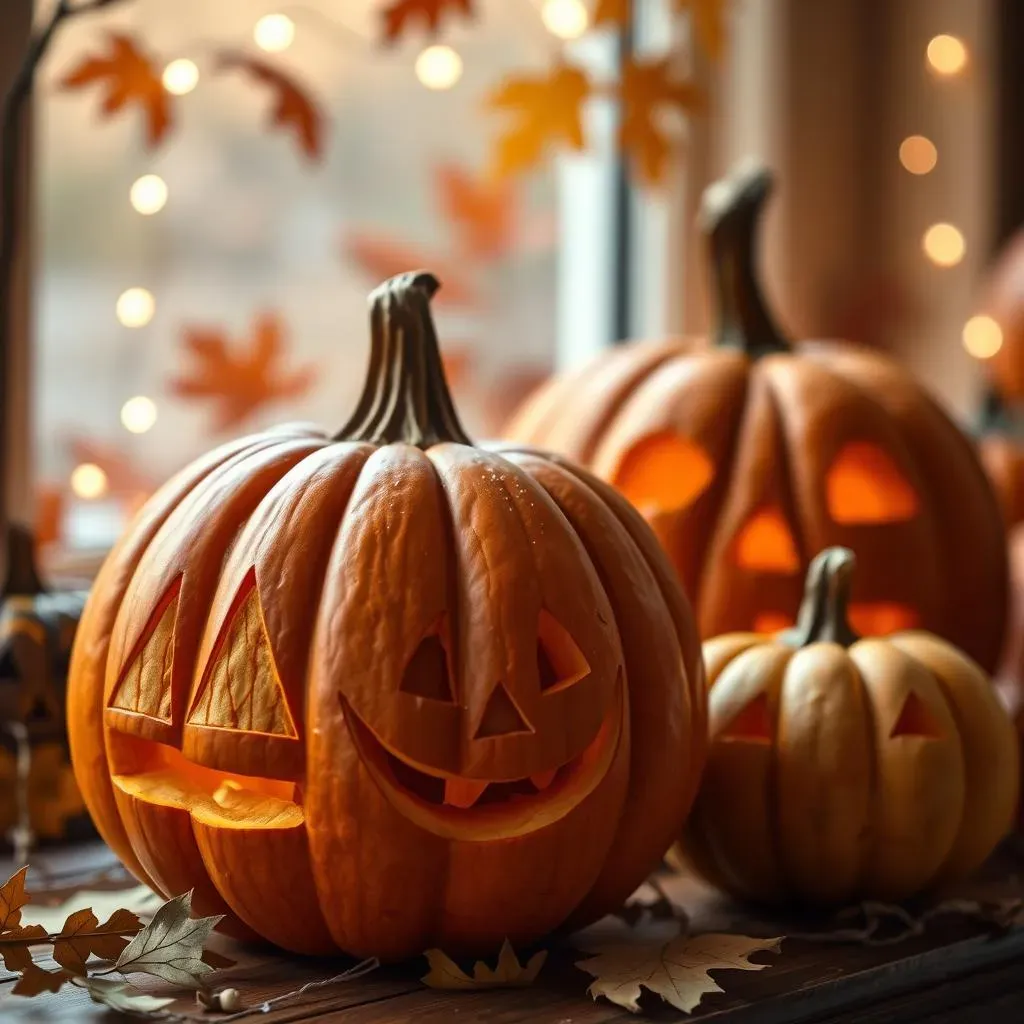
let's start with the basics, the bread and butter of pumpkin carving: the classic triangle eyes and nose! This is seriously the easiest way to get a recognizable jack-o'-lantern face, and it's perfect for beginners. I remember when I was a kid, this was the only way I knew how to carve a pumpkin, and honestly, they always looked great. You just need to cut out two triangles for the eyes and one for the nose. You can make them big or small, pointy or rounded. It's your pumpkin, your rules! It's so simple, even a toddler could "help" (with supervision, of course!).
For the mouth, you can go with the classic jagged smile, or a simple, straight line. Don't stress about making it perfect; a little unevenness adds character. Think of it like a slightly wonky smile; it's charming! If you're feeling extra creative, you can even add a few teeth by cutting out small squares or rectangles. This simple design is also fantastic for younger kids since it's easy to trace and cut, and you're not trying to create a masterpiece, just some simple fun. Just remember to scoop out the insides first—it's the messiest part but also kind of fun in a weird, squishy way.
Feature | Shape | Tips |
|---|---|---|
Eyes | Triangles | Make them different sizes for a silly look! |
Nose | Triangle | Can be pointy or rounded, your choice! |
Mouth | Jagged or straight line | Add some squares for teeth. |
Circle Eyes and a Simple Smile
Want to switch it up from triangles? Let's do circles! Circle eyes are super easy to cut and give your pumpkin a friendly, almost cartoonish look. You can use a cookie cutter to trace them for an even shape, or just freehand it - remember, we are aiming for simple fun, not perfection. I tried this last year, and it made my pumpkin look like a happy little cyclops. For the mouth, go for a simple, curved smile. It's like your pumpkin is just chillin' and enjoying the Halloween vibes.
If you want to take it up a notch, try making one eye bigger than the other. It adds a goofy, playful touch. You can also add some simple eyebrows by making small, curved cuts above the eyes. It's amazing how much personality you can give your pumpkin with just a few simple shapes. The best part? These designs are super quick to do, so you can get carving multiple pumpkins in no time, perfect for a family carving session. And don't forget, the most important thing is to have some fun, not to create a work of art.
Goofy Shapes and Silly Designs: Simple Fun Pumpkin Carving Ideas

Goofy Shapes and Silly Designs: Simple Fun Pumpkin Carving Ideas
Wobbly Mouths and Zigzag Lines
so you've nailed the basic faces, but what if we want to add some extra silliness? Let's talk about wobbly mouths and zigzag lines! Instead of a straight or jagged smile, why not make it all wavy? It's super easy to do, just don't try to make it perfect. Imagine your pumpkin is laughing so hard its mouth is wobbling all over the place. It always makes me giggle when I see one like that. You can make the waves big or small, close together or far apart. It’s all about embracing the imperfections and creating a goofy look. I once made a pumpkin that looked like it was singing opera with a wavy mouth, it was a hit!
And then there are zigzag lines! These aren't just for mouths; you can use them for hair, eyebrows, or even to add some funky designs around the eyes. It's like your pumpkin is having a bit of a wild hair day. Try adding zigzag lines around the eyes to create a surprised or shocked expression, or make a crazy zigzag pattern on top of your pumpkin for some wild hair. Just remember, the goal is to have fun with it. The more random and silly, the better, it's your chance to let your inner goofball shine! Think of each cut as a little squiggle of happiness.
Design Element | Description | Tips |
|---|---|---|
Wobbly Mouth | Wavy, uneven mouth lines. | Don't aim for perfection, embrace the wobble! |
Zigzag Lines | Sharp, angular lines. | Use for hair, eyebrows, or funky patterns. |
Starry Eyes and Heart Shapes
Let's add some shapes beyond the usual! Instead of simple circles or triangles for eyes, how about stars? Star-shaped eyes can give your pumpkin a whimsical, magical feel. It's like your pumpkin has just seen a shooting star or is dreaming of faraway galaxies. It’s a bit more challenging than circles but it's still totally doable. You can find stencils online if you're not confident free-handing it, but honestly, even slightly wonky stars look great. Don’t worry too much about perfect points, embrace the unique shape.
And for a touch of love, try heart-shaped eyes! It’s like your pumpkin is sending everyone some Halloween cheer. Heart shapes are also pretty easy to cut out, and they add a sweet, adorable touch to your jack-o'-lantern. You can use a small cookie cutter to trace the shape or just draw it freehand. It's a great way to show your pumpkin some love, and it definitely makes it stand out from the crowd. Remember, carving is all about having fun and expressing yourself, so don't be afraid to get creative and try new things. It’s all about making your pumpkin unique and special.
"The best way to spread Halloween cheer is by making silly pumpkins for all to see!" - Me, probably
NoCarve Pumpkin Fun: Simple Fun Alternatives
NoCarve Pumpkin Fun: Simple Fun Alternatives
Paint it Up
Alright, let's be real, sometimes you just don't feel like dealing with the mess of carving. That's where no-carve pumpkins come to the rescue! And trust me, they can be just as awesome. One of the easiest and most fun ways to decorate a pumpkin without carving is to paint it. You can use any kind of paint: acrylics, watercolors, even finger paints if you're feeling brave! I remember one year, I painted my pumpkin like a giant eyeball, and it was a total hit. The best part is, you can let your imagination run wild. Go for solid colors, stripes, polka dots, or even try painting a spooky scene. It’s like turning your pumpkin into a little canvas. No need to be an artist, just have some fun with it!
You can even use stencils to create cool patterns or designs. Just tape the stencil to the pumpkin and paint over it. Once the paint is dry, peel off the stencil to reveal your design. This is great for creating more intricate looks without the hassle of carving. And don't forget to get the kids involved! Painting pumpkins is a perfect activity for the whole family. Plus, it’s way less messy than carving, which is always a bonus. It's a great way to get into the Halloween spirit without the fuss. It’s all about simple fun, remember?
Technique | Materials | Tips |
|---|---|---|
Painting | Acrylics, watercolors, finger paints | Use stencils for patterns, let kids get involved! |
Stick-On Fun
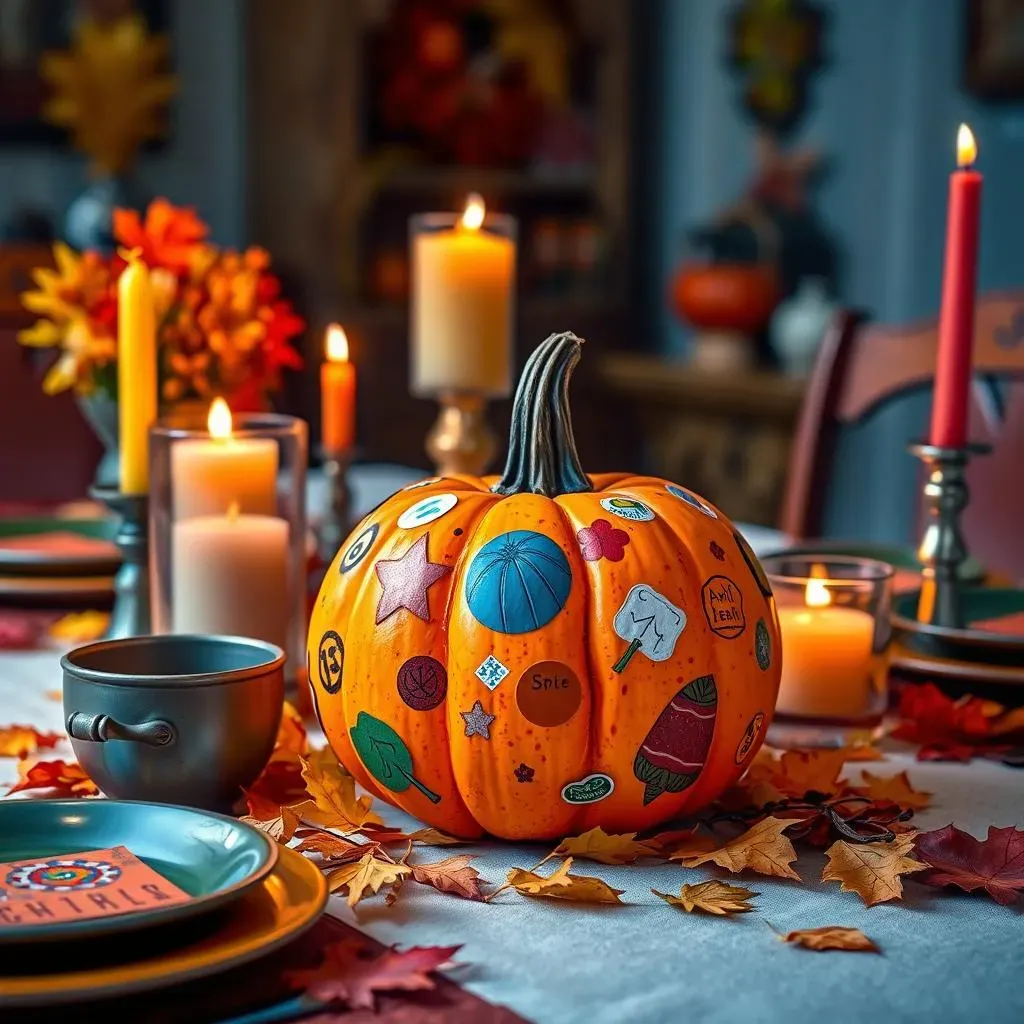
If you're looking for an even simpler no-carve option, let's talk stickers! Yes, stickers! They're not just for notebooks and lunch boxes anymore. You can use stickers to create all sorts of fun designs on your pumpkin. Think googly eyes, felt shapes, or even just plain old colorful stickers. I’ve seen some super creative pumpkins that are covered in stickers and they’re always a blast. It's so quick and easy, and the kids absolutely love it. No mess, no fuss, just pure sticker fun!
You can buy sticker sets that are specifically made for pumpkins, or you can just use whatever you have lying around the house. The possibilities are endless! Think about creating a funny face with googly eyes and a silly mouth, or create a pattern with different colored shapes. You can even use washi tape to make stripes or geometric designs. It’s a super simple way to get creative and make your pumpkin stand out. Plus, it’s a great way to reuse old stickers that might be collecting dust in a drawer. It’s all about making it easy and enjoyable.
- Googly eyes for silly faces
- Felt shapes for texture
- Washi tape for patterns
- Colorful stickers for fun designs
Tips for a Smooth Carving Experience
Tips for a Smooth Carving Experience
Prep Like a Pro
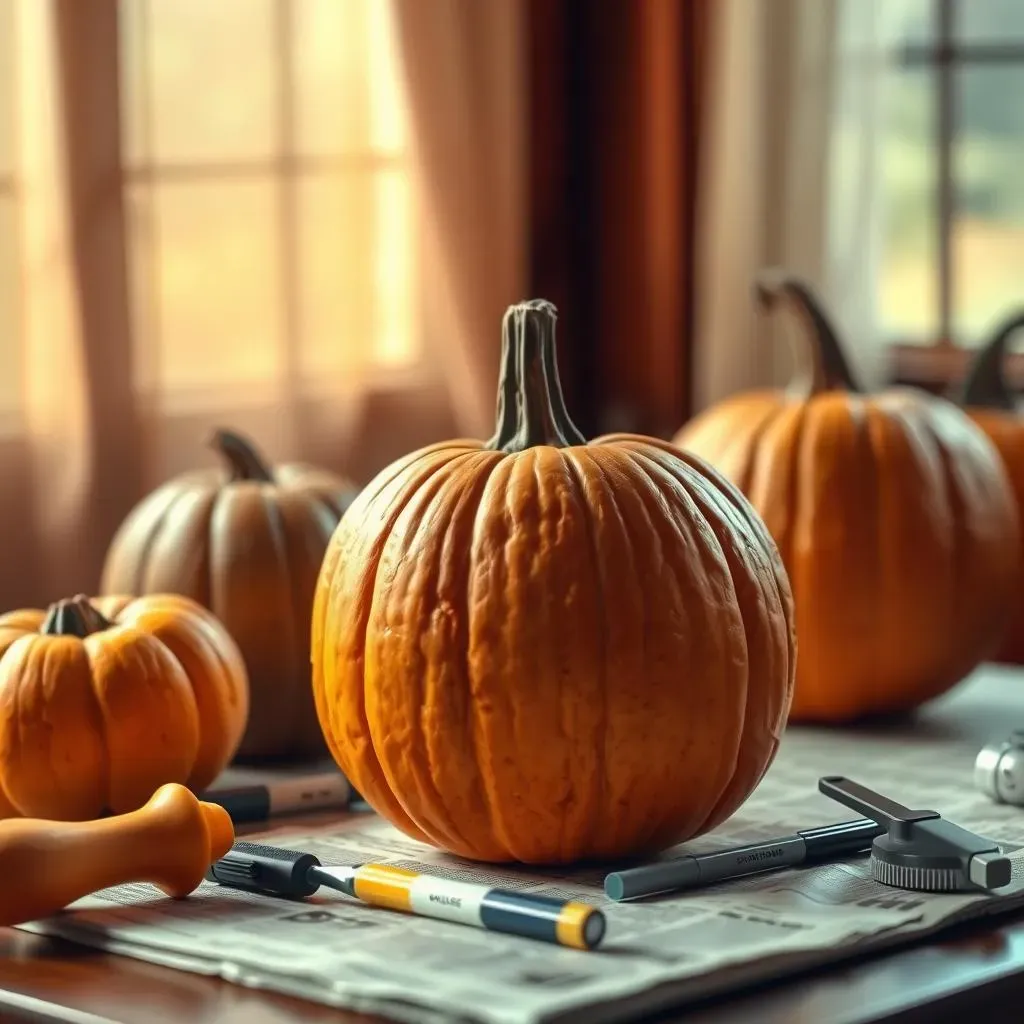
so you've got your awesome pumpkin and a killer design in mind, but before you start hacking away, let's talk prep! First things first, make sure your pumpkin is clean. Give it a good wipe down with a damp cloth to get rid of any dirt or grime. You wouldn't want that getting in the way of your carving masterpiece, would you? Then, grab a marker and draw out your design on the pumpkin. This helps you visualize what you’re going to cut and avoid any surprise mishaps. I like to use a dry-erase marker, so I can easily fix any mistakes. Trust me, a little planning goes a long way, especially if you're attempting something ambitious. It's like sketching out a blueprint before building a house, you need to know where the doors and windows go!
Next, and this is crucial, make sure you have the right tools! A good carving kit can make all the difference. You don't need anything fancy, just a sturdy serrated knife for the big cuts and some smaller tools for the details. A spoon or scoop for removing the pumpkin guts is also a must, nobody likes a handful of stringy pumpkin innards. And last but not least, lay down some newspaper or a plastic tablecloth, pumpkin carving is a messy business, and you’ll thank me later for this tip. It's like a mini construction site, you need to protect your work area. Remember, preparation is key to a smooth, stress-free carving experience. Nobody wants a pumpkin carving disaster on their hands!
Prep Step | Why It's Important |
|---|---|
Clean the Pumpkin | Removes dirt and grime, ensures clean cuts. |
Draw Your Design | Helps visualize the final product and avoid mistakes. |
Gather the Right Tools | Makes carving easier and more precise. |
Protect Your Work Area | Keeps the mess contained. |
Carving Like a Champ
Now for the fun part: carving! When making your cuts, don’t rush it. Use a gentle sawing motion with your serrated knife. It's like slicing bread, you don't want to just jam the knife through it. Take your time and follow your lines. I like to start with the big shapes, like the eyes and mouth, and then move on to the smaller details. Also, remember not to cut straight down, instead cut at a slight angle, like you are scooping out the pumpkin skin. This will help to keep your cut out pieces from getting stuck. This helps prevent the knife from getting stuck. I learned this the hard way when my knife got lodged in a pumpkin, and I ended up having to pry it out with a butter knife, not a proud moment!
And here’s a pro tip: if you’re carving a design with small details, try poking holes along your lines with a pin or a thumbtack before you start cutting. This makes it easier to follow your pattern and get cleaner cuts. It's like creating a dotted line for your knife to follow. And if you mess up, don’t panic! It’s just a pumpkin. You can always try to fix it or just embrace the imperfections. Sometimes those little mistakes make your pumpkin even more unique and charming. The most important thing is to have fun and enjoy the process. It’s not a competition, it’s all about the spirit of Halloween and some good old-fashioned creative fun.
"A messy pumpkin carving session is a sign of a creative mind at work!" - Some wise person, maybe me.
Wrapping Up the Pumpkin Fun
So there you have it, a bunch of simple fun pumpkin carving ideas to get you in the Halloween spirit! Remember, it's not about creating a masterpiece, it’s about having fun and maybe making a little mess along the way. Whether you went for a classic goofy grin, a silly shape, or skipped the carving altogether with a no-carve design, the most important thing is that you enjoyed the process. Now, go forth, display your pumpkins proudly, and have a spooktacular Halloween!