Table of Contents
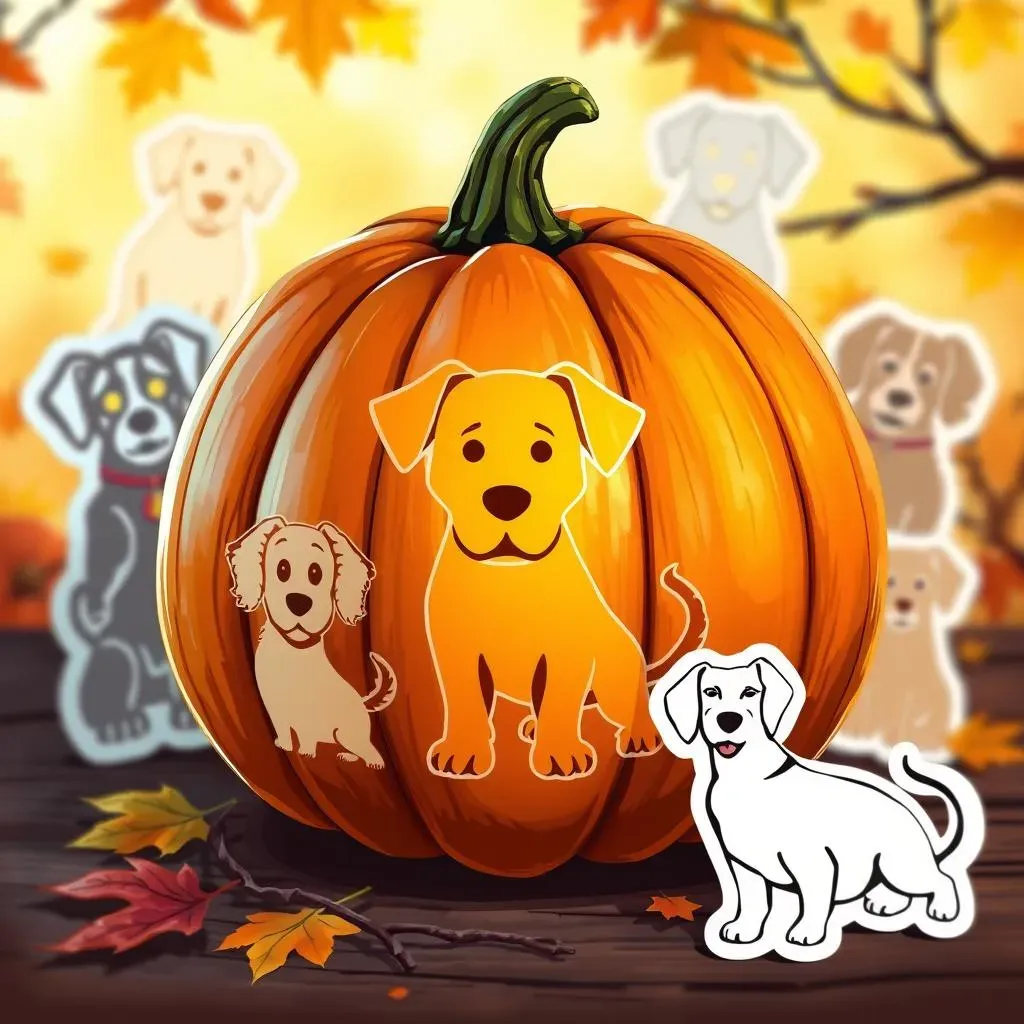
Halloween is just around the corner, and what better way to celebrate than with some spooky, or in our case, adorable, pumpkin carvings? Forget the complicated designs that make you want to throw your pumpkin across the yard. This year, we're diving into the world of simple dog pumpkin carving ideas. If you're a dog lover, like me, you'll agree that adding a canine touch to your Halloween decor is a must. Whether you're aiming for a cute paw print, a silhouette of your favorite breed, or even a bone-shaped design, we've got you covered. We will show you how to make these carvings easy and fun. Get ready to grab your carving tools because we're about to unleash some very easy dog-themed pumpkin magic. This article will guide you through easy-to-follow steps and provide some creative tips to make your pumpkins the talk of the block, without needing to be an artist. Let's get carving!
Easy Pawsome Pumpkin Designs

Easy Pawsome Pumpkin Designs
Paw Print Perfection
let's start with the easiest, yet most adorable design: the paw print. It's perfect for beginners, and honestly, who doesn't love a cute paw print? You don't need fancy tools either. Grab a marker, draw a simple paw print on your pumpkin, and then carefully carve along the lines. If you're not confident in your freehand skills, print a paw print stencil from the internet. Tape it to the pumpkin, and trace it. This design is so versatile, you can do one big paw print, or cover your whole pumpkin in tiny ones. It's totally up to you.
I remember the first time I tried this with my niece. She was so excited to see a big paw print on the pumpkin, she even tried to give it a high-five! It's moments like that that make these simple crafts so special. Just make sure you have a good light source, so you can see what you’re doing. Also, don't worry if it's not perfect, that's the beauty of handmade pumpkins.
Design | Difficulty | Tools Needed |
|---|---|---|
Paw Print | Easy | Marker, Carving tools or Printout stencil |
Silhouette Simplicity
Next up, let's talk silhouettes. This is where you can show off your favorite dog breed. Think about a cute Dachshund, a majestic German Shepherd, or even a fluffy Poodle. The key here is to find a simple silhouette image of your chosen breed online. Print it out, cut out the shape, and trace it onto your pumpkin. The beauty of a silhouette is that it doesn't need a lot of detail. It's all about the outline. Then, carefully carve along the traced lines.
I once carved a silhouette of a beagle for my friend who has three of them. She was so impressed, she thought I was a professional carver. It's funny how something so simple can look so impressive. This is also a great design if you're doing multiple pumpkins and want a uniform look. Plus, if you have more than one dog, you can do a whole pumpkin family!
- Choose a simple silhouette image.
- Print and cut out the image.
- Trace the outline onto your pumpkin.
- Carefully carve along the lines.
Simple Dog Breed Stencils for Carving
Simple Dog Breed Stencils for Carving
Breed-Specific Stencils
so you've mastered the paw print and the silhouette, now it's time to get a bit more specific. Let's talk about using stencils of actual dog breeds. This is where you can really personalize your pumpkin. You can find tons of free stencils online, just search for "dog breed stencils" and you'll be amazed at the options. Whether you're a fan of the goofy Boxer, the elegant Greyhound, or the tiny Chihuahua, there's a stencil out there for you. These stencils are great because they give you a more detailed design, while still being simple enough to carve. Print them, tape them, trace them, and then carve away.
I remember one year, my neighbor had a whole row of pumpkins, each one with a different dog breed. It was like a mini dog show in her front yard. She told me she found all the stencils online, and they were surprisingly easy to use. It's a fantastic way to showcase your love for your pet or your favorite breed. Just make sure to choose a stencil that isn't too intricate, especially if you're new to carving. You want to have fun, not frustration.
"The best way to predict your future is to create it." - Abraham Lincoln
Finding and Using Stencils
Now, let's talk about the nitty-gritty of finding and using these stencils. First, make sure your stencil is the right size for your pumpkin. You don't want a tiny stencil on a giant pumpkin or vice versa. Once you've printed your stencil, tape it securely to your pumpkin. I like to use painter's tape because it's easy to remove and doesn't damage the pumpkin. Next, trace the outline of the stencil onto the pumpkin using a marker. You can also use a pin or a small poking tool to make tiny holes along the lines, which can help guide your carving tool. After the outline is traced, carefully remove the stencil and start carving.
One time, I didn't tape the stencil down properly, and it shifted while I was tracing. Let's just say my Boston Terrier ended up looking a bit like a Picasso painting. Lesson learned: always tape securely! It's also a good idea to start with the inner parts of the design first, so the stencil doesn't move around too much while you're carving.
Step | Action |
|---|---|
1 | Find and print your chosen stencil. |
2 | Tape the stencil to your pumpkin. |
3 | Trace the stencil outline. |
4 | Remove the stencil and start carving. |
Using Cookie Cutters for DogThemed Pumpkins

Using Cookie Cutters for DogThemed Pumpkins
Cookie Cutter Magic
let's talk about a super easy trick that feels like cheating but is totally genius: using cookie cutters! Yes, those same cookie cutters you use for baking can work wonders on pumpkins. For dog-themed carvings, grab bone-shaped or paw-shaped cookie cutters. It's as simple as placing the cookie cutter on the pumpkin, and gently tapping it with a rubber mallet to create an outline. If you don't have a rubber mallet, a regular hammer will do, just be careful not to smash your pumpkin. This method is awesome if you want to make multiple, uniform shapes quickly.
I remember one time, I was in a rush to decorate for a Halloween party, and I had a bunch of small pumpkins. Using cookie cutters was a total lifesaver! I was able to make a whole army of dog bone pumpkins in no time. The best part? No need for fancy carving skills! It's a great way to involve kids too, they love hammering away (with supervision, of course!).
Cookie Cutter Shape | Best Use | Difficulty |
|---|---|---|
Bone | All-over design, borders | Very Easy |
Paw | Accents, patterns | Very Easy |
Step-by-Step Cookie Cutter Carving
Alright, let's break down how to use cookie cutters for pumpkin carving. First, make sure your pumpkin is clean and dry. Place your chosen cookie cutter firmly against the pumpkin. Use a rubber mallet or a hammer to gently tap the cookie cutter, pressing it into the pumpkin's surface. You don't need to go all the way through, just enough to create a visible outline. Once you've made your outline, carefully remove the cookie cutter. Now, you can use your carving tools to cut along the indented line, creating a clean and precise shape.
One thing I learned the hard way: use a cookie cutter with a sharp edge. If it's too dull, it won't make a clear imprint, and you'll end up with a messy shape. Also, don't be too aggressive with the hammer, you just need to score the surface, not demolish the pumpkin. If you're making a lot of cookie-cutter shapes, it's a good idea to have a few cookie cutters handy, so you're not constantly cleaning them.
Adding Details to Cookie Cutter Designs
Even though cookie cutters give you a basic shape, that doesn't mean your pumpkin has to be boring! You can add extra details to make your cookie-cutter carvings more unique. For example, if you've created a bone shape, you can carve out small lines inside it to give it more texture. If you've got paw prints, you can carve out the little pads individually. Don't be afraid to get creative! You can also use smaller cookie cutters to add tiny accents around your main design.
I remember one Halloween, my friend used a bone-shaped cookie cutter and then carved a tiny heart in the center of each bone. It was such a simple touch, but it made the pumpkins look so much more personal. Remember, the goal is to have fun and express your own unique style. So, grab those cookie cutters, and let your creativity shine!
"Creativity is intelligence having fun." - Albert Einstein
Illuminating Your Dog Carved Pumpkin
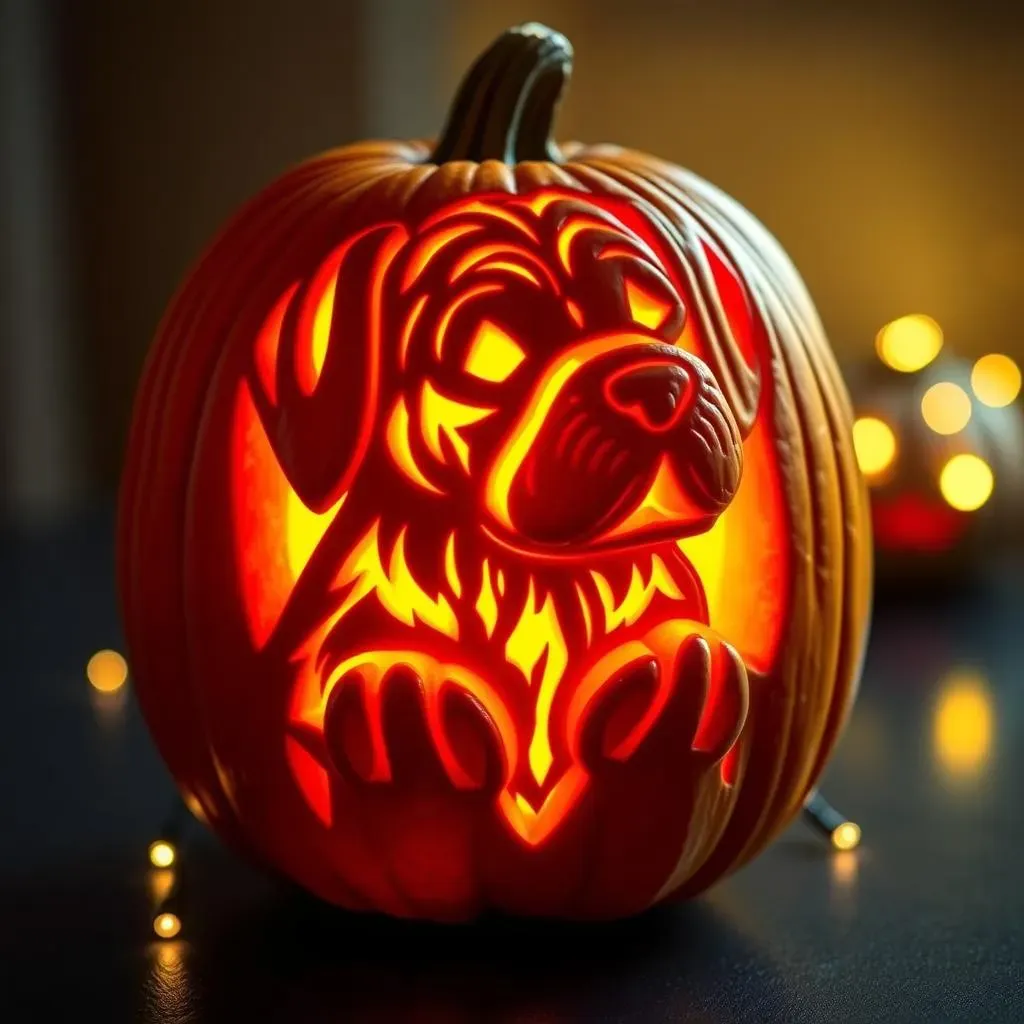
Illuminating Your Dog Carved Pumpkin
Safe Lighting Options
so you've got your awesome dog-themed pumpkin carved, now what? It's time to light it up! But forget those old-school candles, we're going for safety first. Battery-operated candles or LED lights are the way to go. They give you that warm, spooky glow without the risk of fire. Plus, they last way longer than a candle, so your pumpkin will be shining bright all night. You can find these lights at any craft store or even online, and they come in all sorts of colors, which is fun.
I remember one year, I used real candles in my pumpkins, and let's just say it wasn't a great idea. The wind kept blowing them out, and I was constantly worried about a fire hazard. Since switching to battery-operated lights, it's been a game-changer. It’s so much easier and safer, and I don't have to hover around the pumpkins all night. It's a win-win!
Light Source | Pros | Cons |
|---|---|---|
Battery-Operated Candle | Safe, long-lasting, various colors | Requires batteries |
LED Lights | Safe, very long-lasting, energy-efficient | Can be less 'candle-like' |
Creative Lighting Techniques
Now, let’s get a little creative with how we light up our pumpkins. Don’t just settle for one light in the middle. You can use multiple small lights to highlight different parts of your design. For example, if you have a paw print design, place a small light behind each paw to make them pop. You can also use different colored lights to add some extra flair. Imagine a purple light behind a black dog silhouette, how cool would that look? And if you're feeling extra fancy, you can even add some fairy lights around the base of your pumpkin for a magical effect.
I saw this amazing pumpkin display last year where someone had used a string of tiny LED lights to create a glowing border around the carved design. It was like the pumpkin was framed in light. It looked so professional, and it wasn't even that hard to do. It’s all about experimenting and seeing what works best for your design. Don't be afraid to try new things. It's all part of the fun!
"The way to get started is to quit talking and begin doing." - Walt Disney
Wrapping Up Your Paw-some Pumpkin Creations
So, there you have it – simple dog pumpkin carving ideas that are not only easy but also super fun to create. From paw prints to breed silhouettes and bone-shaped designs, we've explored ways to bring your love for dogs into your Halloween decorations. Remember, the goal isn't perfection, it's about having a good time and making something that makes you smile. Don't be afraid to get creative and add your own personal touches. Whether you're using stencils, cookie cutters, or just free-handing it, the most important thing is to enjoy the process. Now, go ahead, grab a pumpkin, and let your inner artist (or dog lover) shine. Happy carving and happy Halloween!