Table of Contents
Halloween is creeping closer, and that means it's time to unleash your inner artist with some simple cool pumpkin carving ideas! Forget about those overly intricate designs that leave you sweating and covered in pumpkin guts for hours. This year, we're all about embracing the easy, the fun, and the downright awesome. Whether you're a seasoned carving pro or a total newbie, there's a design here to get you inspired.
Level Up Your Halloween: Simple Cool Pumpkin Carving Ideas for Everyone
Level Up Your Halloween: Simple Cool Pumpkin Carving Ideas for Everyone
Classic with a Twist
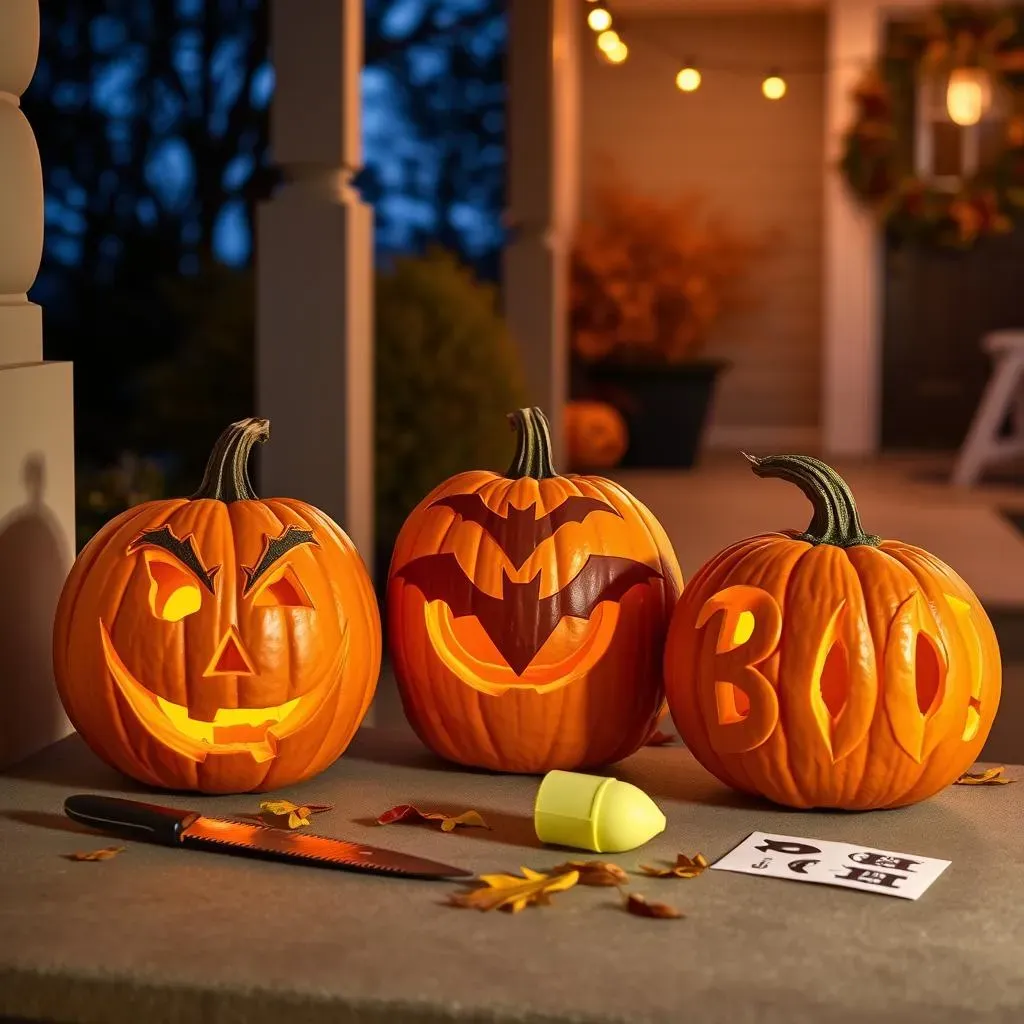
so you want to level up your Halloween game? Forget the same old triangle eyes and toothy grin. Let's start with the classics, but give them a modern twist. Think about taking that traditional jack-o'-lantern face and adding some funky eyebrows or a mischievous smirk. You could even try carving out different shapes for the eyes – stars, moons, or even quirky geometric patterns. The goal is to make it recognizable, but with your own personal flair. It’s all about making it yours, after all!
Want to make it even easier? Grab some cookie cutters! Seriously, press them into the pumpkin skin to create an outline, and then carve along the edges. Boom! Instant shapes. It's like cheating, but nobody needs to know.
Beyond the Basic Face
Ready to ditch the face altogether? There's a whole world of simple cool pumpkin carving ideas beyond the basic jack-o'-lantern. Think about carving out silhouettes of bats, cats, or even spooky trees. You could also try carving words or phrases into your pumpkin. "Boo!" "Happy Halloween!" You get the idea. Stencils are your best friend here. Print them out, tape them to your pumpkin, and trace away.
Another fun idea is to create a "peek-a-boo" pumpkin. Carve a large hole in the front of your pumpkin and then place a smaller, decorated pumpkin inside. It's like a pumpkin within a pumpkin! Meta, right?
Tools and Techniques for Easy Carving
Alright, let's talk tools. You don't need fancy carving kits to create awesome pumpkins. A simple serrated knife and a sturdy spoon will do the trick. But if you're serious about your carving (or just want to make things easier), consider investing in a pumpkin carving kit. They usually come with a variety of saws, scoops, and stencils.
Also, pro tip: thin the walls of your pumpkin before you start carving. This will make it much easier to cut through. Just use your spoon to scrape away some of the flesh from the inside. And don't forget to save those seeds for roasting! A perfect snack for your carving session.
Tool | Use | Why it's Helpful |
|---|---|---|
Serrated Knife | Cutting large shapes | Easy to maneuver |
Pumpkin Scoop | Removing seeds and pulp | Efficient and less messy |
Pencil or Marker | Tracing stencils | Ensures accurate carving |
From Goofy Grins to Spooky Silhouettes: Easy Pumpkin Carving Designs

From Goofy Grins to Spooky Silhouettes: Easy Pumpkin Carving Designs
so you're ready to move beyond the basic jack-o'-lantern face, right? Awesome! This is where things get really fun. When it comes to easy pumpkin carving designs, the possibilities are endless. Seriously, think about anything that inspires you – your favorite animal, a cool geometric pattern, a character from a movie – and you can probably turn it into a pumpkin masterpiece.
Let's start with some goofy grins. Instead of the typical scary smile, try carving a pumpkin with a big, goofy grin and crossed eyes. Or maybe add some buck teeth or a silly tongue sticking out. The key is to embrace the ridiculous. Halloween doesn't always have to be spooky; it can be funny, too!
Now, if you're leaning towards the spooky silhouettes vibe, think about carving out the outline of a haunted house, a graveyard, or a creepy tree with gnarled branches. Bats are always a classic choice, or you could try carving out a silhouette of a witch flying on a broomstick. Pro tip: use a smaller saw for intricate details and remember to take your time. Rushing will only lead to mistakes (and possibly a trip to the emergency room).
Want to add some extra flair? Grab some paint! After you've carved your design, use acrylic paints to add details and highlights. You could paint the inside of the pumpkin a bright color to make the design really pop, or add some spooky shadows to enhance the silhouette. Don't be afraid to experiment – it's all about having fun!
Design Idea | Difficulty | Tips |
|---|---|---|
Goofy Grin | Easy | Use cookie cutters for easy shapes |
Spooky Silhouette | Medium | Thin the pumpkin walls for easier carving |
Painted Details | Easy | Use acrylic paints for vibrant colors |
One of my favorite easy pumpkin carving designs is to use stencils of constellations. It looks super cool when you light it up at night, casting these tiny stars and shapes across your porch. Another fun idea is to carve out a simple word, like "BOO" or "CREEPY", but use a funky font to make it more interesting. You can find tons of free fonts online – just print them out and trace them onto your pumpkin.
Don't forget about safety! Always carve in a well-lit area and use the right tools for the job. And if you're carving with kids, make sure they're supervised at all times. Nobody wants a Halloween trip to the hospital!
NoCarve Creations: Alternative Simple Cool Pumpkin Decorating Ideas
NoCarve Creations: Alternative Simple Cool Pumpkin Decorating Ideas
Paint Your Pumpkin Masterpiece
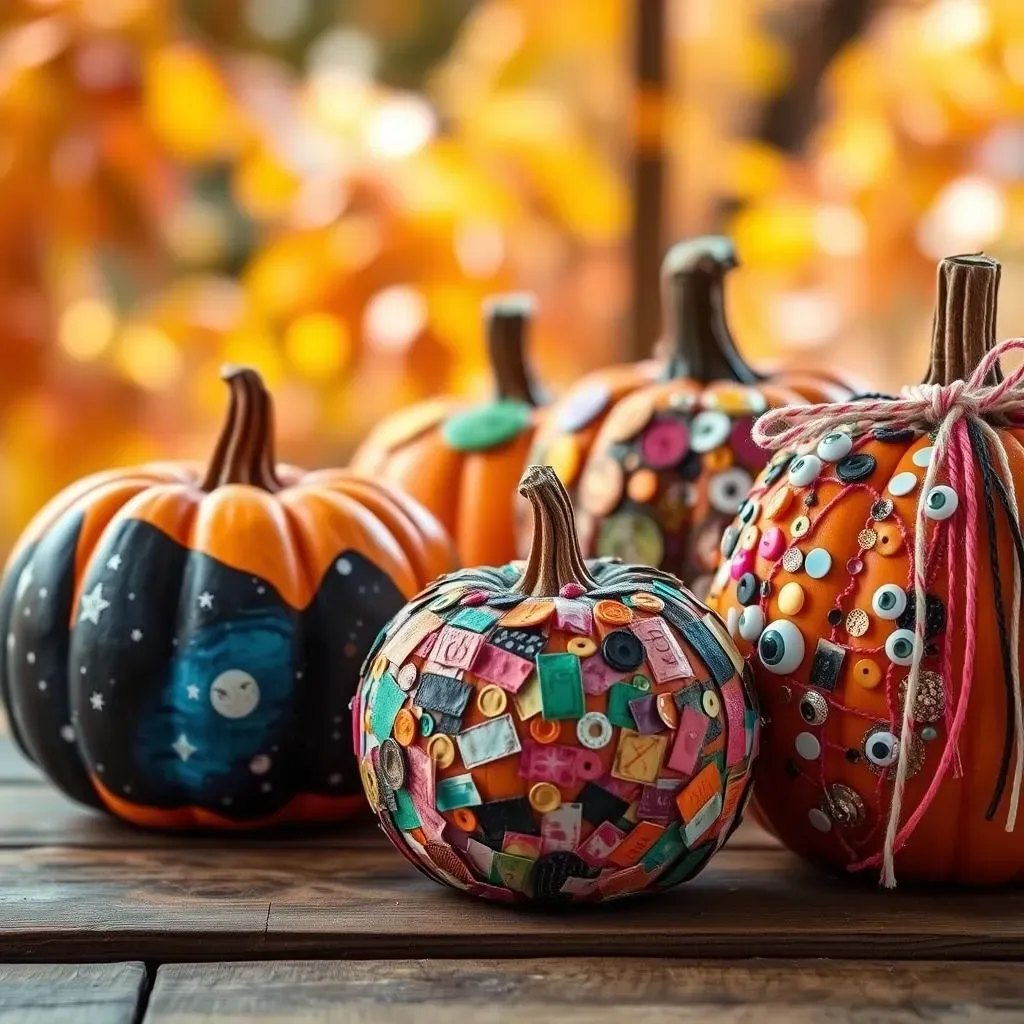
Alright, let's ditch the knives and get creative with paint! Painting pumpkins is a fantastic way to create stunning designs without any of the mess or danger of carving. You can use acrylic paints, markers, or even spray paint to transform your pumpkin into a work of art. Think about painting a galaxy scene with stars and planets, or creating a colorful geometric pattern. The possibilities are endless!
One super simple idea is to paint your pumpkin a solid color – gold, silver, or even a bright neon hue – and then add some polka dots or stripes. It's easy, chic, and requires zero artistic skill. Plus, you can get the kids involved! Just make sure you're using non-toxic paints and let them go wild. It's all about having fun and making memories.
- Acrylic Paints: Best for detailed designs and vibrant colors.
- Markers: Great for adding fine lines and intricate patterns.
- Spray Paint: Perfect for covering large areas quickly and creating a smooth base coat.
Decoupage and Embellishments
Want to take your no-carve pumpkin to the next level? Try decoupage! This involves gluing paper cutouts onto the surface of your pumpkin to create a collage effect. You can use anything from old book pages and newspaper clippings to colorful scrapbook paper and fabric scraps. Just brush some Mod Podge onto the pumpkin, stick on your cutouts, and then seal it with another layer of Mod Podge. Voila! Instant artistic awesomeness.
And don't forget about embellishments! Glue on googly eyes, sequins, glitter, or even small plastic spiders to add some extra flair. You could also wrap your pumpkin in yarn or ribbon to create a cozy, textured look. The key is to think outside the box and use whatever materials you have on hand. Halloween is all about creativity, so don't be afraid to experiment and have fun!
Embellishment | Application | Effect |
|---|---|---|
Googly Eyes | Glue on | Adds a whimsical, playful touch |
Sequins & Glitter | Glue on | Creates a sparkly, glamorous look |
Yarn & Ribbon | Wrap around & glue | Adds texture and warmth |
Pumpkin Carving Tips & Tricks: Making Your Simple Cool Design Last
Pumpkin Carving Tips & Tricks: Making Your Simple Cool Design Last
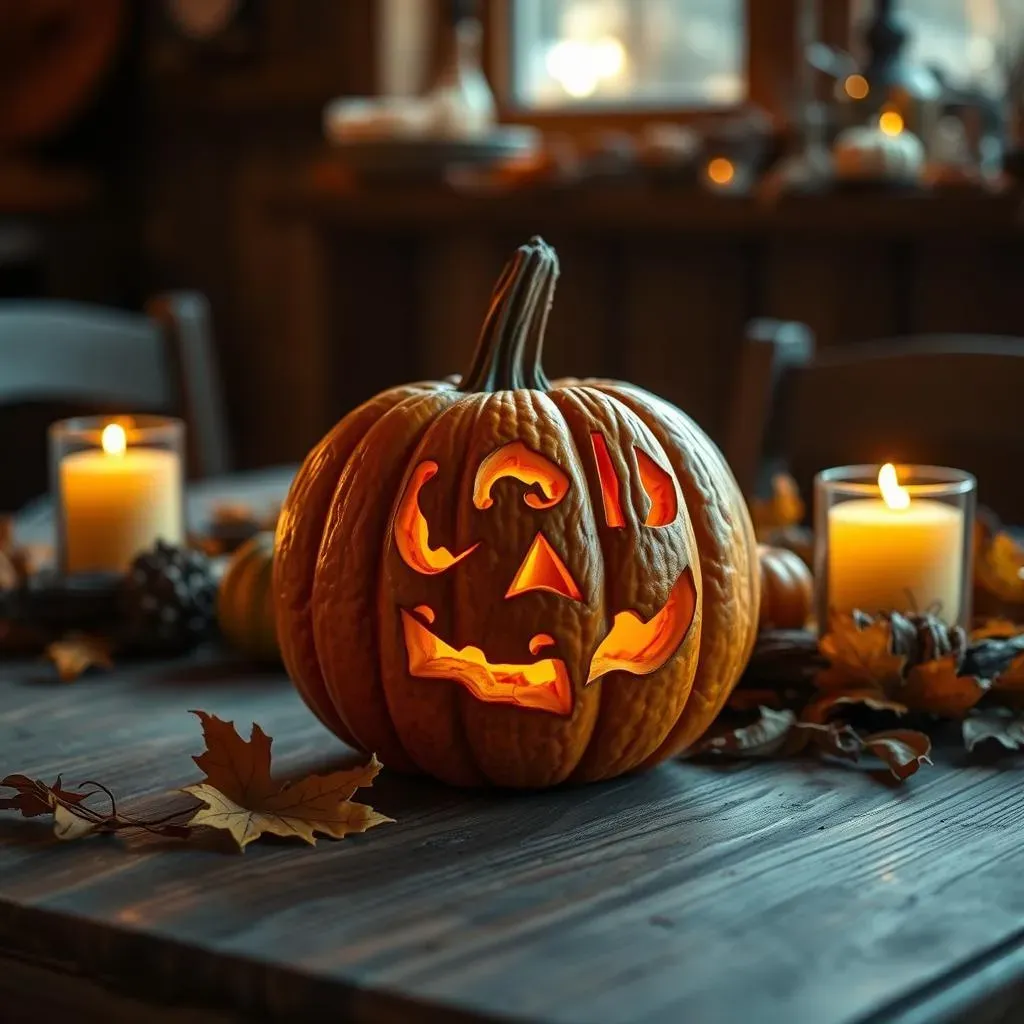
Alright, so you've poured your heart and soul into creating a simple cool pumpkin carving design, now how do you make sure it doesn't turn into a mushy mess before Halloween? I get it, it's frustrating! But fear not, I've got some tricks up my sleeve to help your masterpiece last longer. First things first: cleanliness is key. Before you even start carving, give your pumpkin a good scrub with soap and water. This will help remove any bacteria or mold spores that could speed up the rotting process. Think of it as giving your pumpkin a spa day before its big debut!
Now, let's talk about preservation. One of the best ways to keep your pumpkin fresh is to soak it in a bleach solution. Mix one tablespoon of bleach with one gallon of water and submerge your carved pumpkin for about 30 minutes. This will kill any lingering bacteria and help prevent mold from growing. After soaking, pat your pumpkin dry and apply a thin layer of petroleum jelly to all the cut surfaces. This will help seal in moisture and prevent the pumpkin from drying out and shriveling up. It’s like giving your pumpkin a protective shield against the elements!
Tip | Description | Why it Works |
|---|---|---|
Clean Thoroughly | Wash pumpkin with soap and water before carving. | Removes bacteria that cause decay. |
Bleach Soak | Submerge carved pumpkin in bleach solution (1 tbsp bleach per gallon of water) for 30 minutes. | Kills lingering bacteria and mold spores. |
Petroleum Jelly | Apply a thin layer to all cut surfaces after drying. | Seals in moisture and prevents drying. |
Another trick is to keep your pumpkin in a cool, dry place when it's not on display. If you live in a warm climate, consider storing it in the refrigerator overnight. Just be sure to wrap it in plastic wrap to prevent it from drying out. And avoid placing your pumpkin in direct sunlight, as this can cause it to overheat and rot faster. It's all about creating the perfect environment for your pumpkin to thrive!
Finally, consider using battery-operated candles instead of traditional flame candles. Not only are they safer, but they also won't generate as much heat, which can help prolong the life of your pumpkin. Plus, you can find battery-operated candles that flicker and change colors, adding an extra element of spookiness to your display. It's a win-win situation! With these pumpkin carving tips & tricks, your simple cool design should last well past Halloween!
- Cool Storage: Keep pumpkin in a cool, dry place (refrigerator if possible).
- Avoid Sunlight: Direct sunlight can cause overheating and faster decay.
- Battery-Operated Candles: Safer and generate less heat than traditional candles.
Wrap Up Your Spooktacular Creations with These Simple Cool Pumpkin Carving Ideas
So, there you have it – a cauldron full of simple cool pumpkin carving ideas to make your Halloween the best on the block. Whether you went classic with a toothy grin, got creative with a quirky silhouette, or skipped the carving altogether for a painted masterpiece, the most important thing is to have fun and let your imagination run wild. Don't be afraid to experiment, get a little messy, and most of all, enjoy the process of bringing your pumpkin visions to life. Happy haunting!