Table of Contents
So, Halloween's around the corner, and you're picturing that perfect glowing jack-o'-lantern on your porch. Maybe you've tried carving before and ended up with a lopsided mess or, worse, almost lost a finger. The idea of intricate patterns feels overwhelming, and you just want something that looks decent without requiring an art degree or hours of frustration. You're not alone. Plenty of people skip the carving because it seems too difficult or messy.
Getting Started with Simple Carving Pumpkin Designs

Getting Started with Simple Carving Pumpkin Designs
Why Simple is Smart for Your First Pumpkin
Alright, so you've decided to give this pumpkin carving thing a shot. Maybe you saw some amazing, terrifying creation online and thought, "Yeah, I could do that!" Hold up a second. While those elaborate designs are cool, jumping straight into a multi-layered zombie face is a recipe for frustration and possibly tears. Starting with simple carving pumpkin designs is the way to go. Think of it as learning to walk before you try to run a marathon. You build confidence, you get a feel for the tools, and you actually end up with something you're proud to display, not something you want to hide in the backyard.
Picking the Right Pumpkin for Your Design
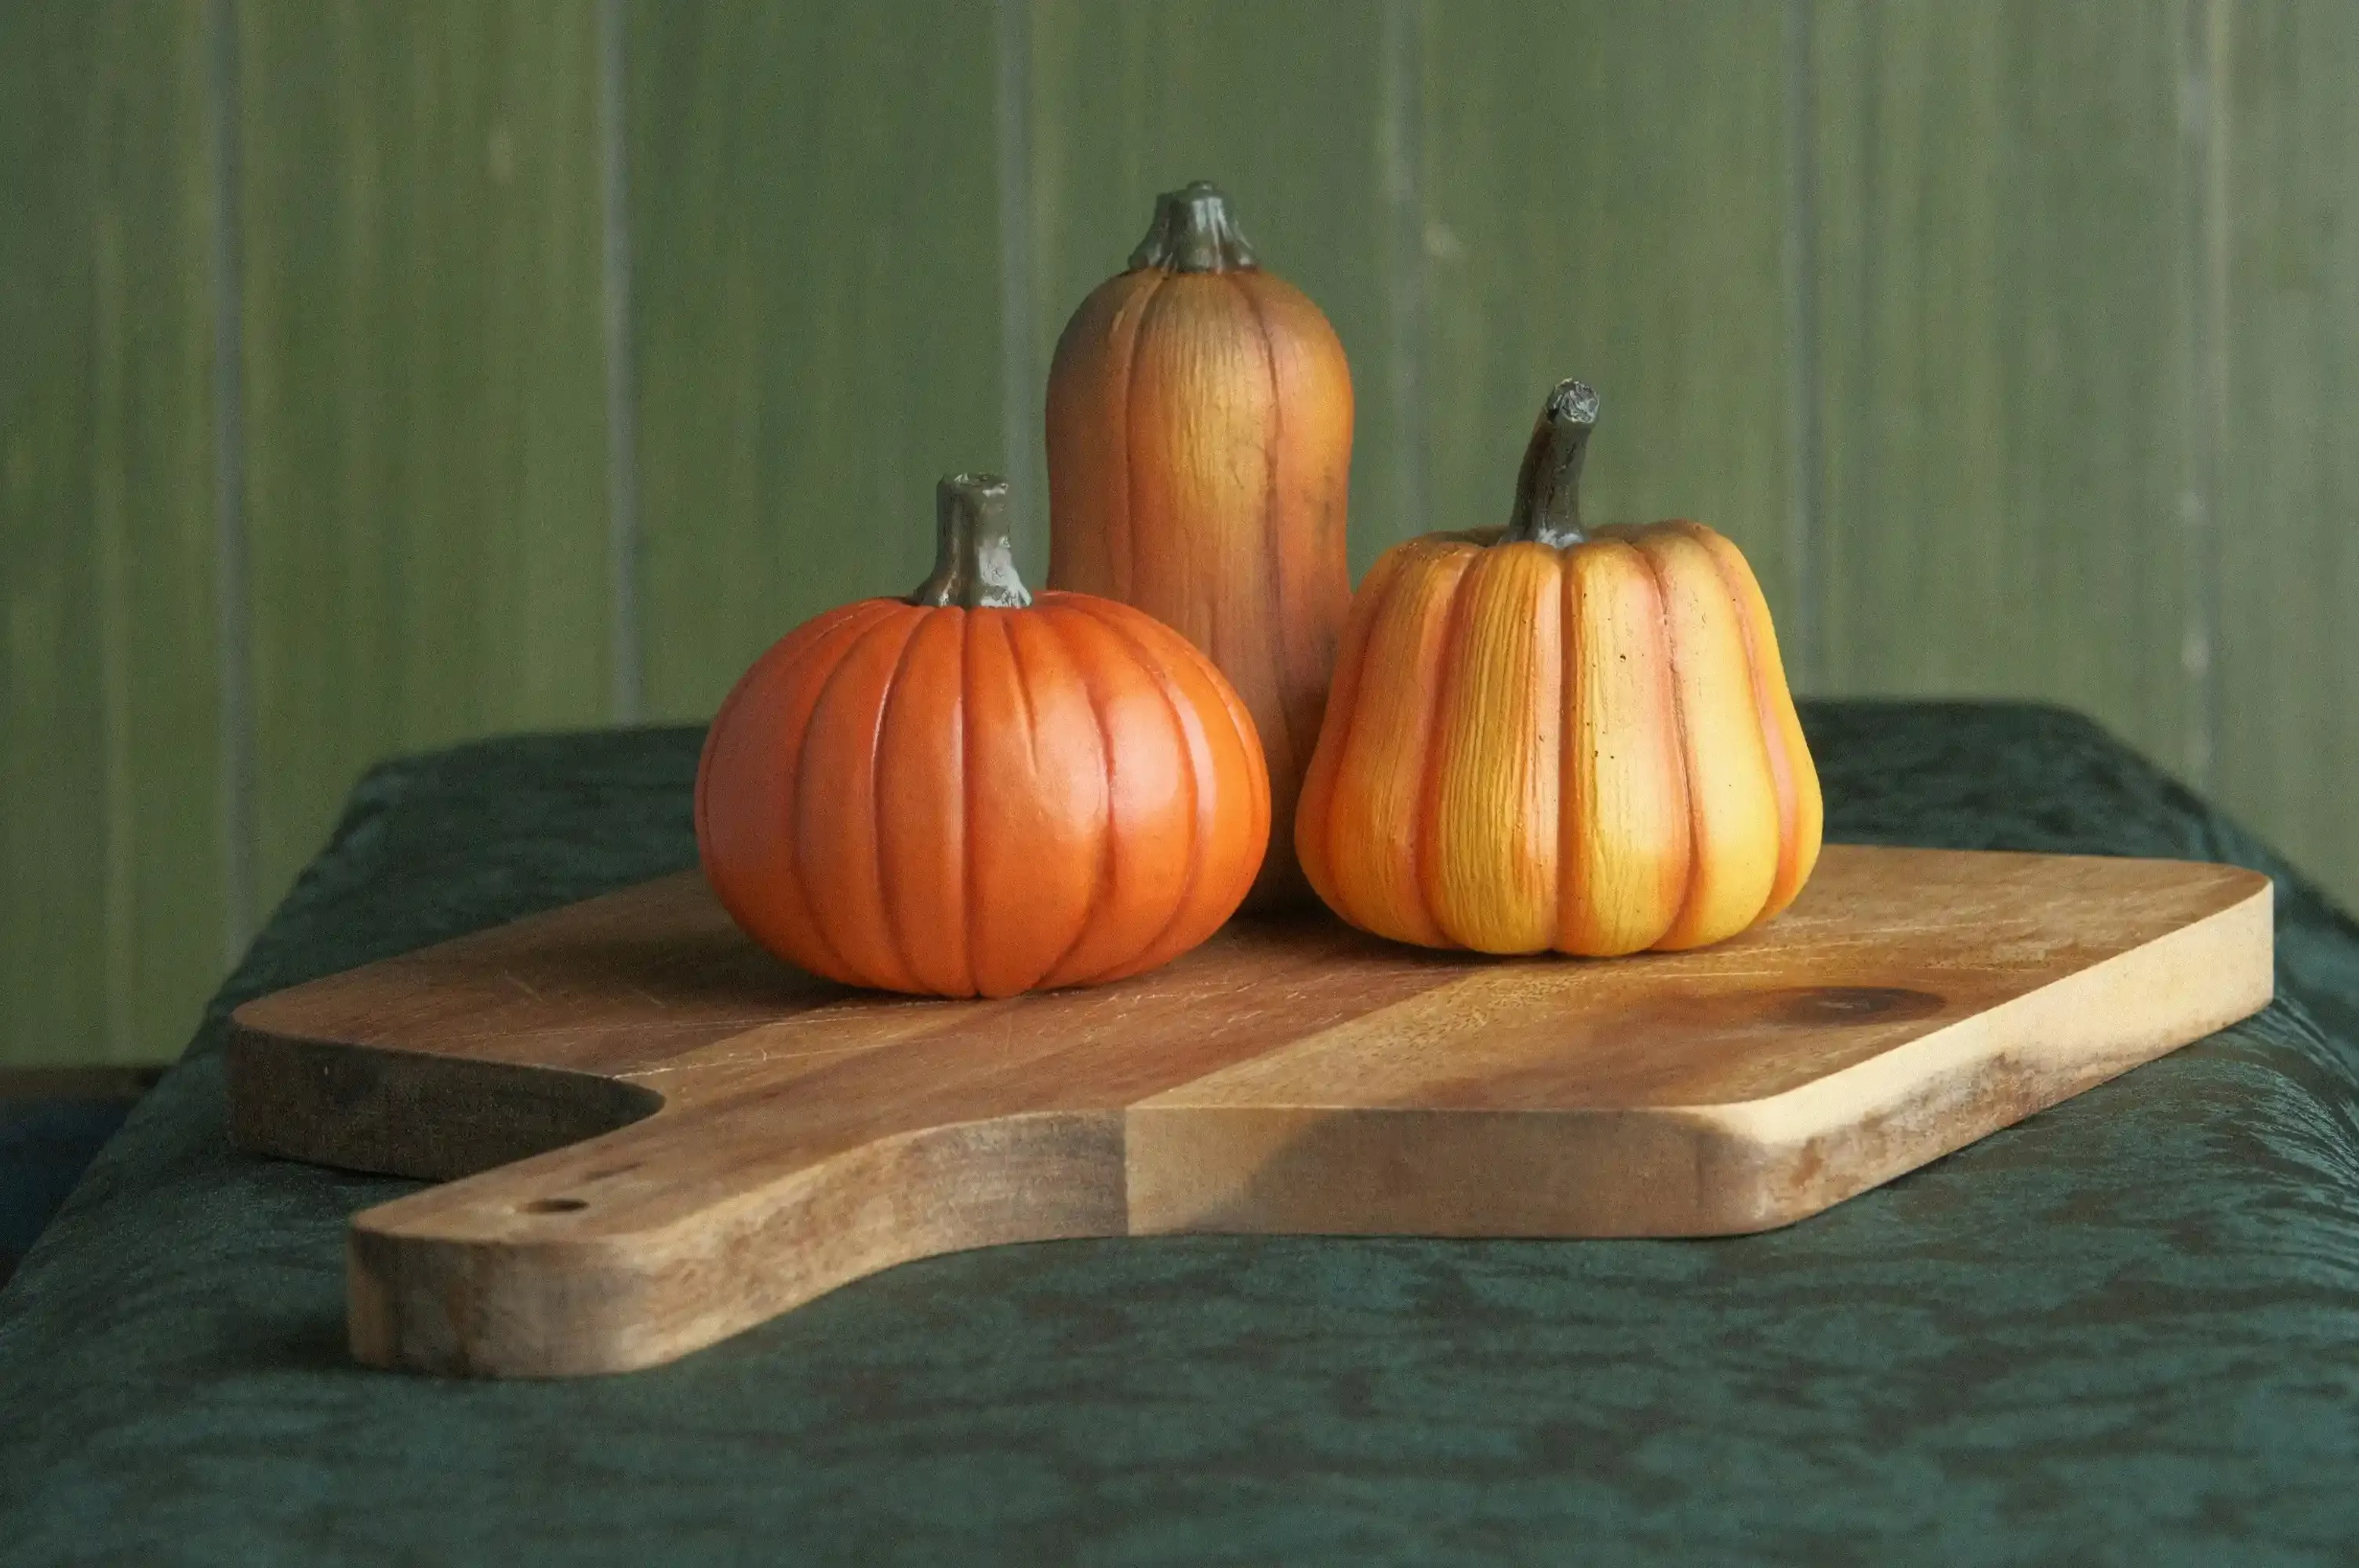
Before any carving happens, you need the right canvas. Not all pumpkins are created equal for carving. You want one that's firm, with no soft spots or bruises – those are weak points waiting to collapse. Look for a pumpkin with smooth skin; bumpy textures make transferring designs a pain. The stem should be firmly attached and dry, not green and mushy. A flat bottom is also key so it sits nicely without rolling over. Don't just grab the biggest one; sometimes a medium-sized pumpkin is easier to handle, especially for simpler designs.
- Look for firm, bruise-free skin.
- Choose a smooth surface for easier design transfer.
- Ensure the stem is dry and attached securely.
- Pick a pumpkin with a flat base so it sits steady.
- Consider size – smaller or medium pumpkins are often easier for beginners.
Tools and Tips for Effortless Pumpkin Carving
Tools and Tips for Effortless Pumpkin Carving
Essential Gear Beyond Mom's Kitchen Knife
Look, you could technically hack away at a pumpkin with any old knife, but unless you enjoy jagged edges and potential ER visits, invest in the right tools. Forget the flimsy plastic kits from the grocery store checkout line; they're practically disposable after one use. A decent pumpkin carving kit, usually found at craft stores or online, includes serrated saws (small and large), a scoop for gutting, and maybe a poker tool. These serrated blades cut through the thick pumpkin wall much more smoothly than a straight-edged knife, giving you cleaner lines. Don't underestimate a good, sturdy scoop either; wrestling out pumpkin guts with a spoon is a messy, inefficient nightmare.
Hollowing Out Without Making a Mess
Alright, the gross part. Hollowing out the pumpkin is crucial for carving and lighting. Cut a lid from the bottom, not the top. Why? Because a bottom lid means the sides of your pumpkin stay intact, and you can just place it over a light source. It also makes it less likely for the lid to fall inside later. Use your scoop or a large metal spoon to scrape down the walls until they're about an inch thick. Get all the stringy bits and seeds out. Seriously, all of them. Leftover guts can cause mold and make lighting less effective. It's a messy job, but necessary for success with your simple carving pumpkin designs.
Tool | Purpose | Why it Matters |
|---|---|---|
Serrated Saw (Small) | Cutting intricate details | Allows for tighter turns and cleaner lines than a large saw. |
Serrated Saw (Large) | Cutting the lid and larger shapes | Efficiently cuts through thick pumpkin rind. |
Pumpkin Scoop | Removing guts and seeds | Much faster and more effective than a regular spoon. |
Poker Tool | Transferring designs | Creates guide dots without tearing the paper or skin. |
Getting Your Design Onto the Pumpkin
You've got the tools, the pumpkin's empty, now for the design. For Tools and Tips for Effortless Pumpkin Carving, transferring your chosen simple carving pumpkin designs is key. Don't try freehand unless you're aiming for abstract horror. Draw or print your design on paper. Tape the paper securely to the smoothest part of your pumpkin. Use a poker tool, a thumbtack, or even a sharp pencil to poke holes along the lines of your design. Keep the holes close together so you can see the pattern clearly once the paper is removed. This dotted outline is your guide. Remove the paper, and you're ready to start cutting along the dots.
Classic and Creative Simple Carving Pumpkin Designs
Classic and Creative Simple Carving Pumpkin Designs
Tried and True Simple Designs That Always Work
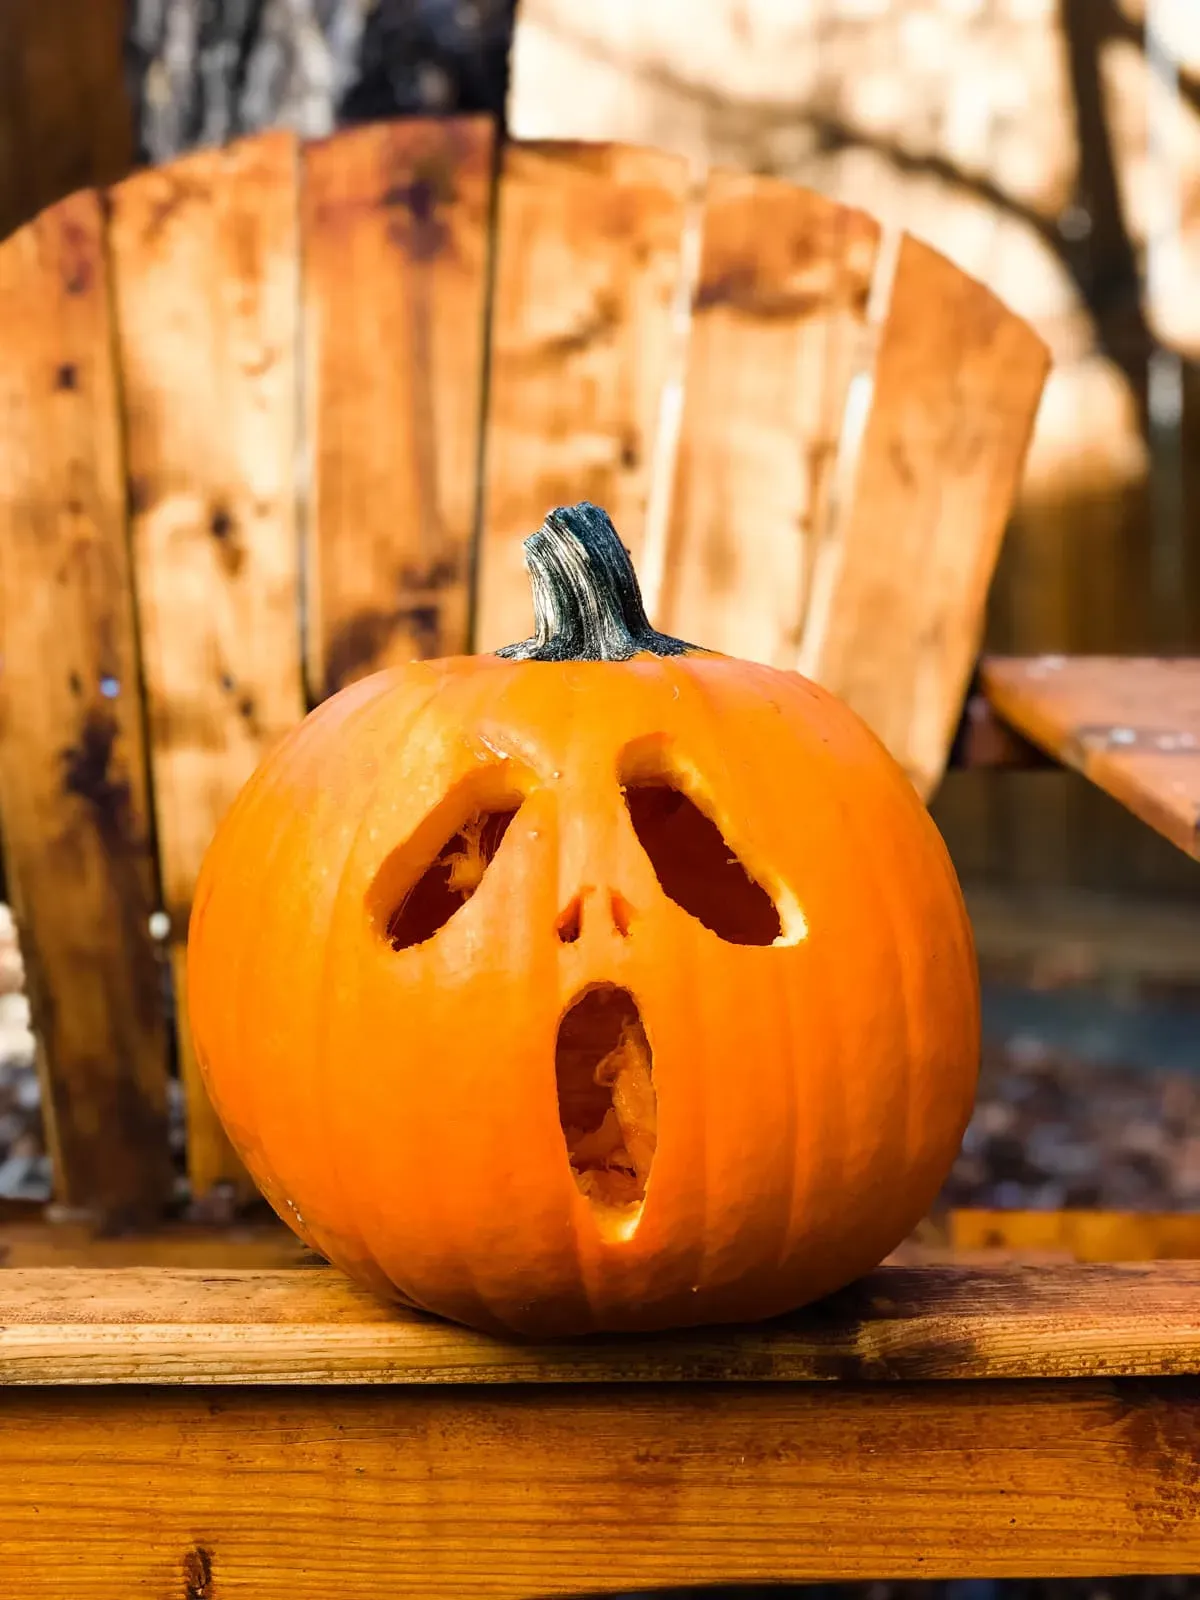
so you've prepped your pumpkin and you're ready to cut. What to carve? Forget the intricate portraits of your dog; we're talking about simple carving pumpkin designs that deliver maximum impact with minimal effort. The classic jack-o'-lantern face is a winner for a reason. Big triangles for eyes, a jagged smile, maybe a simple triangle nose. Done. It's instantly recognizable and surprisingly effective when lit. Another easy win is geometric shapes – stars, circles, squares cut out randomly or in a pattern. You can even do simple letters or numbers if you're feeling ambitious, like a spooky "BOO!" or the year. These designs are forgiving; slightly wobbly lines just add to the handmade charm. Don't overthink it. Sometimes, a few well-placed holes are all you need.
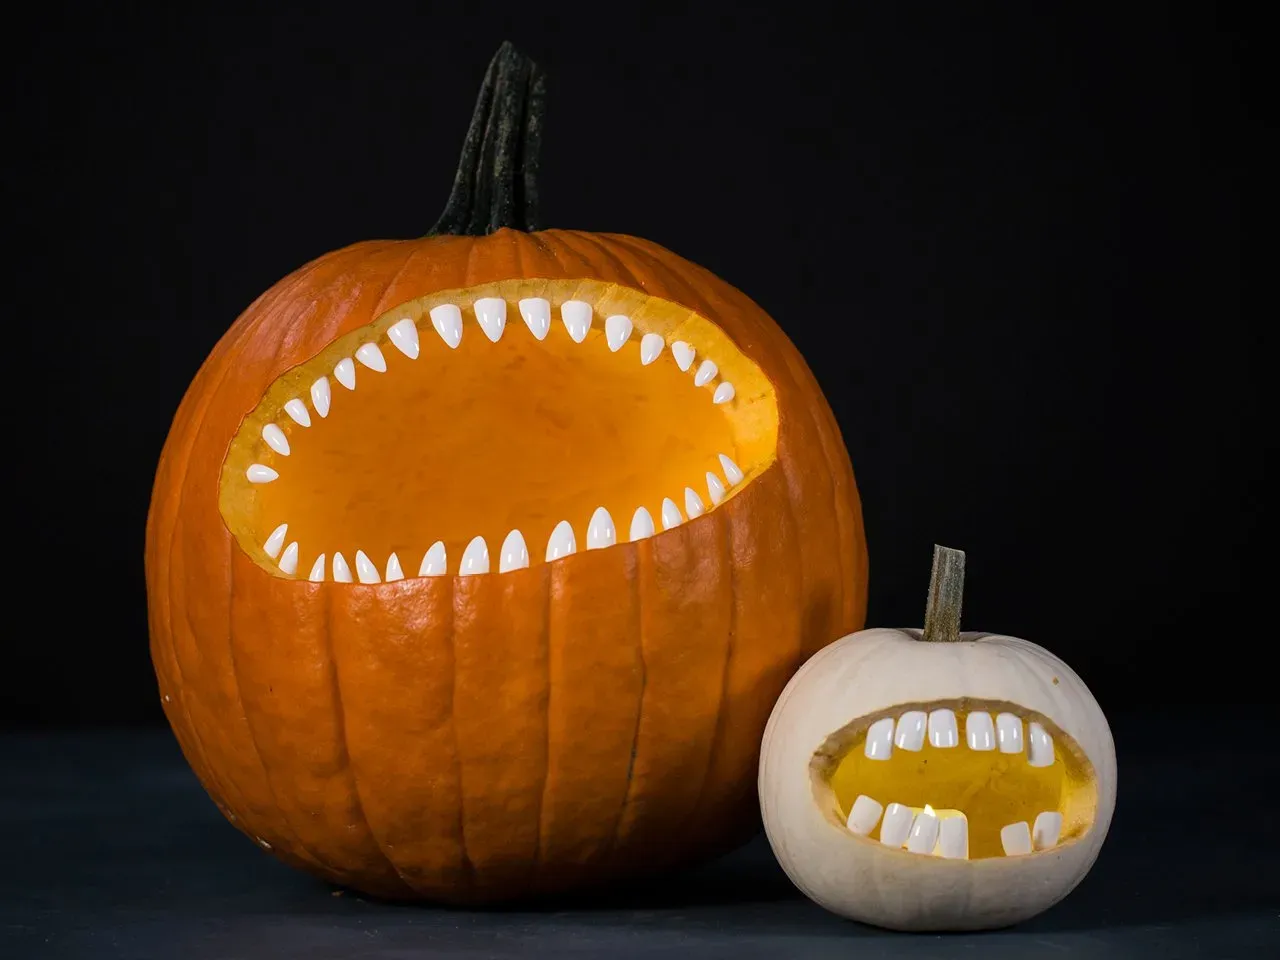
Adding a Twist to Your Simple Creation
Just because it's simple doesn't mean it has to be boring. Once you've mastered the basics, you can add little creative flourishes to your simple carving pumpkin designs. Instead of just cutting out shapes, try scraping away the top layer of skin (etching) to create translucent areas that glow differently. This works great for things like spiderwebs around cut-out spiders or ghost outlines next to carved windows. You can also play with negative space. Carve *around* a shape, leaving the shape itself intact, like carving the background away to make a silhouette stand out. Think beyond the face; carve a simple haunted house outline, a black cat arching its back, or a cluster of bats flying across the surface. A little bit of etching or a slightly different approach can make a simple design feel much more sophisticated.
- Classic Jack-o'-Lantern Face (Triangles, Jagged Smile)
- Geometric Shapes (Stars, Circles, Random Patterns)
- Simple Letters or Numbers (BOO, 2024)
- Basic Silhouettes (Cat, Bat, Ghost Shape)
- Etched Spiderwebs or Outlines
Making Your Simple Carving Pumpkin Designs Shine
Making Your Simple Carving Pumpkin Designs Shine
Choosing the Right Light Source
You've done the hard part: gutted the pumpkin, transferred your simple carving pumpkin designs, and cut them out without losing a digit. Now it's time for the payoff – making it glow. The classic choice is a real candle. There's a certain charm to that flickering flame, the smell of burnt pumpkin, the slight fire hazard. If you go this route, use a votive or tea light placed in a small glass holder inside the pumpkin to catch dripping wax and provide a stable base. Make sure the hole you cut (preferably the bottom lid) is large enough to easily get the candle in and out. Keep it away from flammable materials, obviously. Nobody wants their porch to become a bonfire.
However, for safety and longevity, especially if kids or pets are around, fake lights are the way to go. LED tea lights or small battery-operated string lights are fantastic options. They don't get hot, they won't blow out in the wind, and they last for days on a single set of batteries. Some even flicker like a real candle. You can stuff a whole string of lights inside for a brighter, more even glow. This is often better for showcasing the details of your carved shapes without the shadow play a single candle creates. Plus, no worrying about your carefully carved masterpiece going up in smoke.
Adding Extra Punch to the Glow
Lighting isn't just about sticking a candle or LED inside. You can enhance the effect of your simple carving pumpkin designs. Remember that etching technique we talked about? When you only scrape away the skin, those areas become translucent. When lit from inside, they glow with a softer, dimmer light than the fully carved-through sections. This contrast adds depth and interest to even the simplest shape. For example, you could carve out eyes and a mouth, but etch a spiderweb or some spooky lines around them. The etched parts will have a subtle glow, making the carved features pop even more.
Want to get a little wild? Try adding colored tissue paper or cellophane behind the carved openings. Red tissue paper gives a creepy, fiery glow to eyes or mouths. Green can make a ghostly effect. Just tape it securely to the inside wall of the pumpkin behind the cut-out shape. This is an easy way to add personality and a different mood to your lit pumpkin without needing complex carving skills. You could also try shining an external spotlight on the pumpkin from a distance for dramatic effect, highlighting the texture and shape even before the internal light takes over.
So, to recap some lighting options:
- Real Votive or Tea Light (Classic, Flickering, Fire Risk)
- Battery-Operated LED Tea Lights (Safe, Steady, Long-lasting)
- Small LED String Lights (Brighter, More Even Glow, Safe)
- Etching (Creates Translucent, Softer Glow Areas)
- Colored Filters (Adds Mood and Personality)
Keeping Your Simple Carving Pumpkin Designs Looking Fresh

Keeping Your Simple Carving Pumpkin Designs Looking Fresh
Why Your Masterpiece Starts to Sag (and How to Slow It Down)
you've put in the work. Your simple carving pumpkin designs look great, they're lit up, and your porch is looking festive. The sad truth is, pumpkins are organic, and they start to break down the moment you cut into them. Mold, bacteria, and dehydration are the enemies. The cut edges dry out and shrivel, the inside starts to get slimy, and eventually, the whole thing collapses into a sad, fuzzy mess. You're not going to stop this process entirely, but you can definitely buy yourself some extra time, maybe through Halloween night and a bit beyond, instead of having it look rough by October 28th.
Think of it like cut flowers; they need a little care to stay vibrant. Your pumpkin is basically a giant fruit with a big wound. Keeping it out of direct sunlight and extreme temperatures helps. If it's warm and sunny, it'll dry out faster. If it's too damp, mold moves in quicker. Finding a cool, shady spot is ideal for display. Some folks even bring them inside overnight if the weather is particularly harsh, though that's a bit high-maintenance for a simple project.
Simple Tricks to Extend Your Pumpkin's Shelf Life
Beyond just picking the right spot, there are a few easy things you can do to keep your Keeping Your Simple Carving Pumpkin Designs Looking Fresh for as long as possible. One common trick is to apply a thin layer of petroleum jelly (like Vaseline) or vegetable oil to all the cut edges. This creates a barrier that slows down moisture loss and keeps the edges from drying out and shrinking too quickly. It might sound weird, but it works surprisingly well to keep those clean lines looking sharp.
Another method is to give the pumpkin a bleach bath. After carving, you can dunk the whole pumpkin (or spray the inside and cut surfaces) with a solution of about one teaspoon of bleach per gallon of water. This kills some of the mold and bacteria trying to set up shop. Let it air dry completely before displaying or lighting. If your pumpkin starts looking a bit wilted after a few days, you can sometimes revive it temporarily by giving it another quick dip in cold water, letting it soak up some moisture.
Here are a few ways to help your pumpkin last:
- Apply petroleum jelly or vegetable oil to cut edges.
- Spray or dip the pumpkin in a weak bleach solution (1 tsp bleach per gallon water).
- Keep the pumpkin out of direct sun and extreme temperatures.
- Bring it inside during harsh weather if possible.
- Give a wilted pumpkin a soak in cold water.
Wrapping Up Your Simple Pumpkin Carving
There you have it. Tackling simple carving pumpkin designs doesn't require advanced skills or a workshop full of tools. It's about choosing achievable patterns, using the right techniques, and maybe accepting that not every cut will be perfect – and that's fine. You've got ideas for designs, tips on making them last, and pointers on lighting them up. The goal here is less about creating a masterpiece and more about enjoying the process and adding some handmade spooky charm to your Halloween setup. Grab a pumpkin, pick a simple design, and see what you can create. It's probably easier than you think.