Table of Contents
Ready to make your pumpkin patch a little wild this Halloween? Forget the scary faces; let's talk about adorable animals! If you're like me, you might think pumpkin carving is a bit of a hassle. But it doesn't have to be! This article is all about making it fun and easy, even for those of us who aren't exactly artistic geniuses. We're diving into the world of simple animal pumpkin carving ideas, and trust me, it's easier than you think. We'll start by picking the perfect pumpkin, one that's just begging to become a cute critter. Then, we'll go over some easy-peasy tools and tricks to make carving a breeze. Finally, we'll talk about how to make your pumpkin animal shine, literally, with the right lighting and display. So, if you're looking to bring a bit of the zoo to your front porch without any complicated carving, you're in the right place. Let's get started and turn those pumpkins into some adorable animal friends!
Choosing Your Pumpkin Pal: Easy Animal Shapes
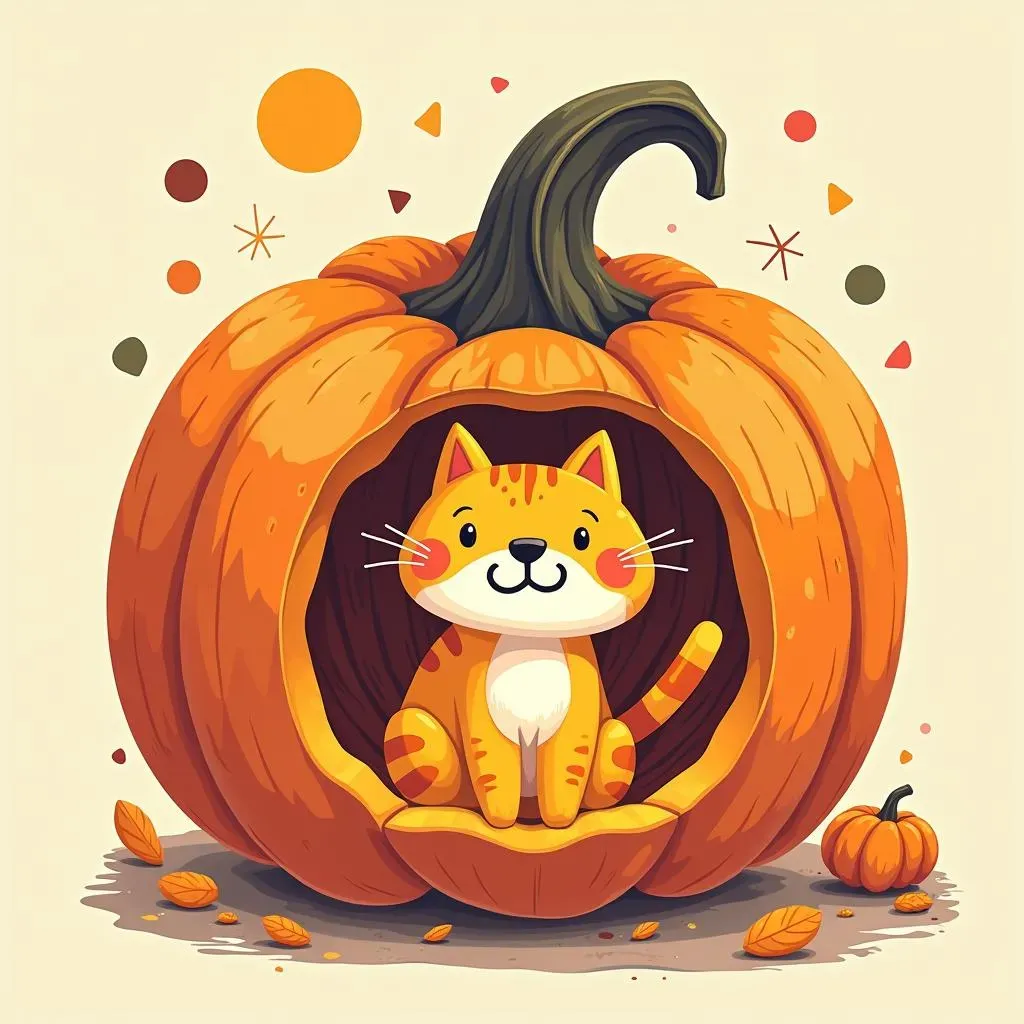
Choosing Your Pumpkin Pal: Easy Animal Shapes
Picking the Perfect Pumpkin
so you're ready to make a pumpkin animal, awesome! But hold your horses, not all pumpkins are created equal. For easy carving, you want a pumpkin that's smooth, not too bumpy, and has a nice, sturdy stem. Think of it like choosing a canvas; a good one makes the whole process way easier. Avoid pumpkins with soft spots or bruises; they're just asking for trouble and might not last. You also want to consider the size. A big pumpkin is cool, but it might be harder to manage, especially if you're new to this. I personally like medium-sized ones because they're easier to handle and still give you plenty of space to work with. And here's a secret: the flatter the pumpkin, the easier it is to carve because it gives you a more stable surface.
Also, consider the shape of the pumpkin and how it might lend itself to different animals. A round pumpkin is perfect for a chubby cat or owl, while a taller one might be great for a giraffe or a silly-looking goose. It’s all about seeing what the pumpkin is telling you. I remember one year I found this super lopsided pumpkin, and I was like, "That's totally a quirky little pig." So, keep an open mind and let the pumpkin inspire you!
Simple Shapes for Animal Success
Now, let’s talk animal shapes. When you are starting out, it is best to go with something simple. Think about basic shapes like circles, triangles, and ovals. These are your best friends for creating cute animals without getting frustrated. For example, a circle with some triangle ears? Boom, you have got a cat or a mouse. An oval with some simple beak? Hello there, cute bird! Don’t overcomplicate it, you don’t need to be a master artist. The simpler, the better, especially when you are just starting out. Remember, the goal is to have fun and create something adorable.
Animal | Basic Shapes | Extra Details |
|---|---|---|
Cat | Circle, triangles | Whiskers, small nose |
Owl | Circle, ovals | Big eyes, small beak |
Bird | Oval, small triangles | Small beak, simple wings |
Think About Your Animal's Features
you've got your pumpkin, and you’ve got your animal idea. Now, let’s plan the details. Think about the main features of the animal you've chosen. Does it have big eyes? Pointy ears? A long snout? These are the things that make your animal recognizable. For instance, if you're making a dog, you might want to focus on creating some floppy ears and a cute nose. If you are going for a bunny, maybe some large, round eyes and long ears are the way to go. Don't worry about getting every detail perfect; it’s the main features that will make your pumpkin come to life. I find that sometimes, the imperfections make the pumpkin even cuter. One time, I tried to carve a cat, and one ear was a bit bigger than the other, but it just made the cat look extra charming. So don’t be afraid to embrace the happy accidents!
Also, think about what kind of expression you want your animal to have. Do you want it to be happy? Silly? Curious? A simple change in the shape of the eyes or mouth can make a big difference. You can even add some simple details, like a few dots for whiskers or some small triangles for teeth. These little touches will make your pumpkin animal unique and full of personality. It is all about making something that makes you smile.
Tools and Tricks for Simple Animal Carving

Tools and Tricks for Simple Animal Carving
Gather Your Carving Crew
Alright, let's get into the nitty-gritty. You wouldn't build a house with just your bare hands, right? Same goes for pumpkin carving. You need the right tools, but don't worry, you don't need to buy a whole kit. A simple serrated knife, like a butter knife, works great for cutting out the larger shapes. Then, a scoop is a must for getting all those pumpkin guts out – trust me, you want to get them out. A smaller knife or a paring knife is handy for the finer details. And, if you're feeling fancy, some small carving tools can be helpful. But honestly, you can do a lot with just a knife and a scoop. It's all about being resourceful!
Also, don't forget about safety! Carving can be tricky, so make sure to have an adult around, especially if you're a kid. And always cut away from yourself, never towards your hand. It's like a rule of thumb – or a rule of knife, I guess. And a marker is also good to have, for sketching out your design before you start cutting. It's like having a blueprint for your pumpkin animal. I usually use a washable marker so I can easily wipe away any mistakes. Believe me, I've had my share of those.
Easy Peasy Carving Techniques
Now that you have your tools, let's talk technique. The key is to take it slow and be patient. Don’t try to force the knife through the pumpkin; instead, use a gentle sawing motion. This will give you more control and prevent any accidental slips. Start with the big shapes first, then move on to the smaller details. It’s like building a sculpture; you start with the basic form and then refine it. And don’t be afraid to make mistakes. I’ve found that some of my best creations have come from happy accidents. It's all part of the fun of carving.
Also, think about using stencils or templates, especially if you're new to carving. You can find tons of free templates online, or you can even make your own. Just print them out, tape them to your pumpkin, and trace the lines with your marker. Then, you have a guide to follow, which makes carving so much easier. And if you are trying to carve a complex shape, don't be afraid to break it into smaller, more manageable pieces. It makes the process less daunting and gives you better control.
Tool | Purpose | Tips |
|---|---|---|
Serrated Knife | Cutting big shapes | Use a sawing motion |
Scoop | Removing pumpkin guts | Get all of it out |
Paring Knife | Fine details | Use with caution |
Marker | Sketching design | Use a washable one |
Simple Carving, Big Impact
Remember, simple doesn't mean boring. Sometimes, the most basic designs are the most effective. Think about using different shapes to create your animal's features. For example, you can use circles for eyes, triangles for ears, and small rectangles for teeth. You don't need to be a fancy artist to create something amazing. The key is to focus on the essential elements of your animal and keep your lines clean and simple. And don't worry about making it perfect. It's the quirky, handmade charm that makes your pumpkin unique. I always say, the best art is the kind that makes you smile, and that's what we're aiming for here.
Also, think about negative space. Sometimes, what you don't cut out is just as important as what you do. For example, if you're carving a cat, you could just cut out the eyes and nose and leave the rest of the face intact. It creates a different effect and is a lot simpler to do. And if you are feeling extra creative, you can add some texture to your pumpkin by using a small tool to scrape away some of the surface. It’s like adding a bit of extra detail without having to cut all the way through. The point is to have fun and experiment.
Bringing Your Animal Pumpkin to Life: Lighting and Display
Bringing Your Animal Pumpkin to Life: Lighting and Display
Let There Be Light: Choosing Your Glow
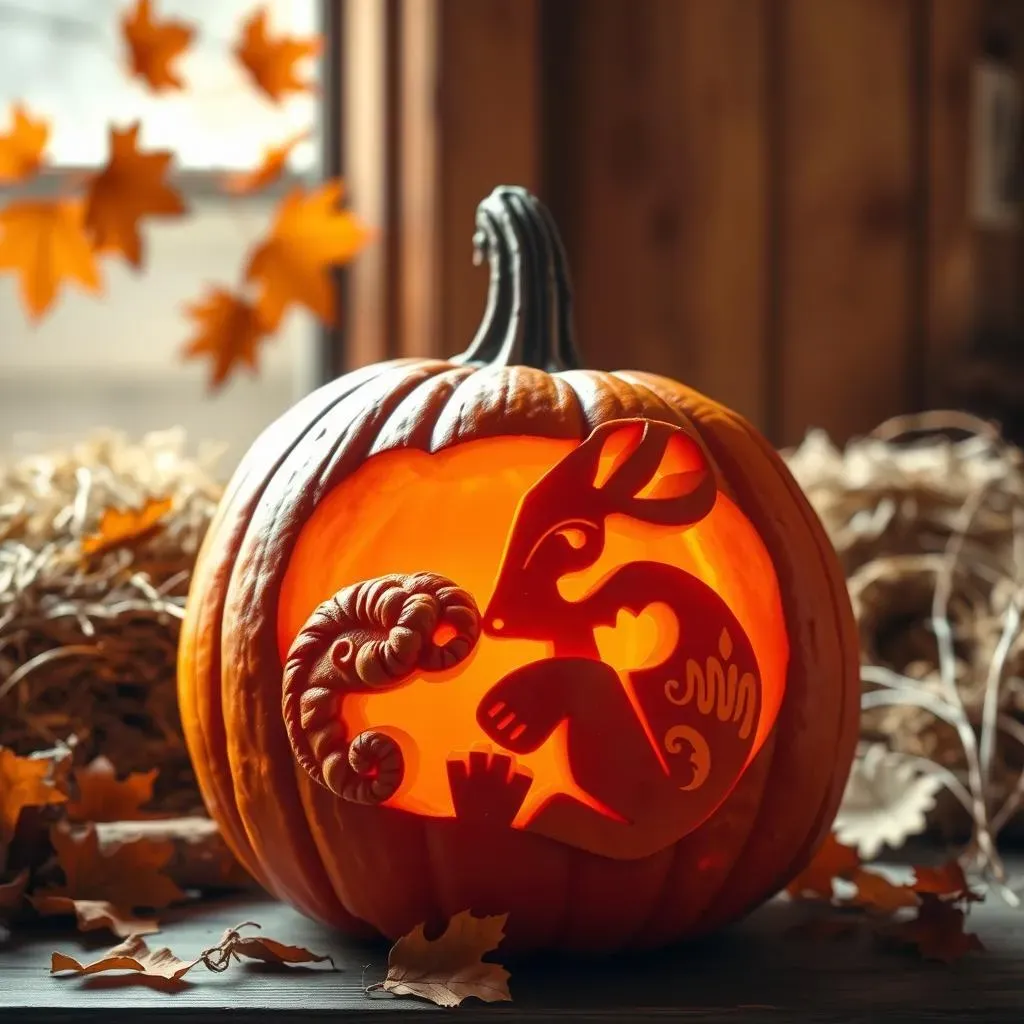
so you've got your adorable animal pumpkin carved, now it's time to make it shine! Lighting is key to bringing your creation to life, and you've got some options. The classic choice is a real candle, which gives a warm, flickering glow. I love the way it makes the pumpkin look all spooky and magical. But, and this is a big but, candles are a fire hazard, especially if you have little ones or pets running around. So if you go this route, make sure to place the candle in a glass jar or a stable holder and never leave it unattended. Safety first, always.
If you're like me and prefer something a bit less risky, battery-operated tea lights or LED lights are your best bet. They come in all sorts of colors and are super easy to use. Plus, they won't burn your pumpkin from the inside out. You can even get some that flicker to mimic a real candle. These are great for kids, and they make it easy to light up your pumpkin without any worries. I also like using them because they last longer than candles, so you can enjoy your pumpkin for days without having to constantly replace the light source. It's all about finding what works best for you and your situation.
Showtime: Displaying Your Pumpkin Pal
Alright, your pumpkin is glowing, now where do you put it? The display is just as important as the carving. A simple porch or doorstep is a great classic spot. But you can also get creative. You can group your animal pumpkins together, creating a whole zoo on your porch. I did this last year and it looked so fun! You can also use hay bales or autumn leaves to make a more festive scene. And if you are feeling extra, you can even add some spooky decorations around them, like spiderwebs or fake bats. It's all about setting the mood and having fun with it.
Also, consider the weather. If it's going to be rainy or windy, you might want to place your pumpkin in a sheltered spot or bring it inside. Rain can make your pumpkin soggy and cause it to decay faster, and wind can easily knock it over. And don't forget about the little details. You can use some string lights to add extra sparkle, or even place your pumpkin on a pedestal to make it stand out. The key is to make your pumpkin the star of the show. And most importantly, make sure it's somewhere where you can enjoy it and where everyone can admire your hard work! It's all about sharing the joy of your adorable animal pumpkin creations.
Lighting Option | Pros | Cons |
|---|---|---|
Real Candle | Warm, flickering glow | Fire hazard, needs supervision |
Battery-Operated Tea Lights | Safe, easy to use | May not have the same flicker |
LED Lights | Long-lasting, various colors | May look less natural |
Wrapping Up Your Wild Pumpkin Creations
So there you have it – a bunch of simple animal pumpkin carving ideas that are not only easy but also super cute. We've gone from choosing the right pumpkin to making it glow with the perfect lighting. Remember, the goal isn't perfection, it's fun! Whether you've created a majestic owl or a goofy-looking cat, you've added your own little touch of wild charm to Halloween. Now, go ahead and show off your pumpkin pals, and don't be surprised if they become the talk of the neighborhood. Happy carving, and even happier Halloween!