Table of Contents
Autumn's here, and that means one thing: it's pumpkin carving time! Whether you're a seasoned pro or a complete beginner, the joy of transforming a humble pumpkin into a spooky masterpiece is undeniable. This article is your ultimate guide to seasonal pumpkin carving ideas, overflowing with inspiration for Halloween and beyond. We'll explore everything from classic jack-o'-lanterns to innovative, unique designs that will wow your neighbors. Get ready to unleash your inner artist as we delve into easy seasonal pumpkin carving ideas perfect for families, intricate designs for the more experienced, and plenty of helpful tips and tricks to ensure your creations last throughout the season. Prepare to be amazed by the sheer variety of seasonal pumpkin carving ideas, from spooky spiders and grinning ghosts to charming autumnal scenes. So grab your carving tools, gather your pumpkins, and let's get carving! This year, your pumpkin creations will be the talk of the town, thanks to these amazing seasonal pumpkin carving ideas.
Amazing Seasonal Pumpkin Carving Ideas for Halloween
Amazing Seasonal Pumpkin Carving Ideas for Halloween
Classic Jack-o'-Lanterns: A Timeless Tradition
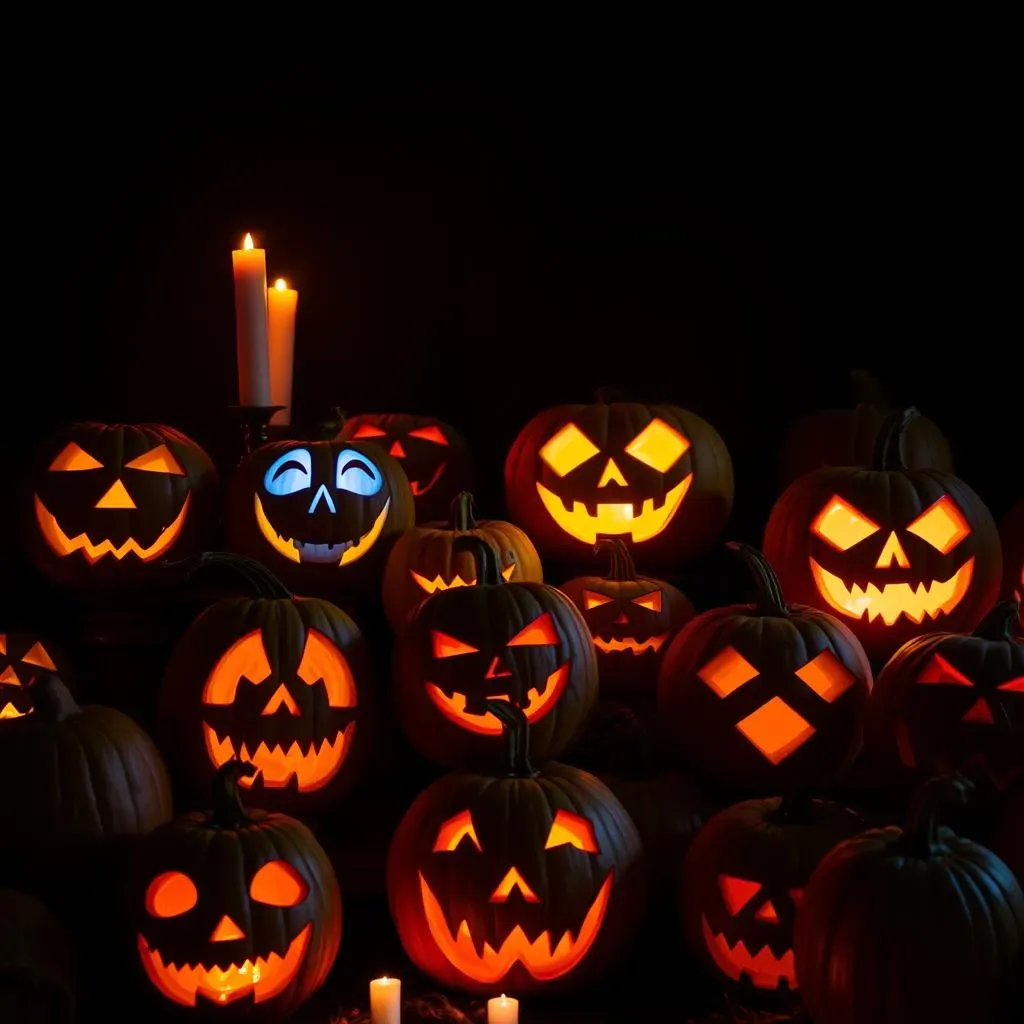
Let's start with the undisputed king of Halloween pumpkins: the classic jack-o'-lantern! Think triangular eyes, a mischievous grin, and maybe even a spooky hat. It's simple, it's effective, and it's a guaranteed crowd-pleaser. For extra impact, consider using different sized pumpkins to create a family of jack-o'-lanterns. Or, check out some Halloween-themed pumpkin carving ideas for some extra spooky inspiration!
Don't be afraid to experiment with the size and shape of the features. A wider grin can create a friendlier vibe, while narrower eyes can add a touch of menace. And remember, lighting is key! A flickering candle adds a truly eerie glow, while LED lights offer a safer, longer-lasting alternative. For more intricate designs, you might want to check out some pre-made stencils or even try freehand carving if you're feeling brave!
Pumpkin Size | Carving Difficulty | Lighting Suggestion |
|---|---|---|
Small | Easy | LED Tea Light |
Medium | Medium | LED String Lights |
Large | Hard | Candle (with caution!) |
Spooky & Scary Pumpkin Carvings
If you're aiming for a fright fest, then it's time to get creative with some truly spooky designs! Think creepy crawlies, menacing monsters, or even ghostly figures emerging from the pumpkin's depths. These more complex designs require a bit more skill and precision, but the results are well worth the effort. You can find tons of Halloween pumpkin carving themes online for some extra help!
Consider using different carving tools to achieve varied textures and depths. A small, sharp knife is perfect for fine details, while a larger scoop can be used to create dramatic gouges. Don't forget the finishing touches! Adding cobwebs, fake blood, or even some strategically placed plastic spiders can really elevate your spooky creations. And remember to take your time - rushing can lead to mistakes.
- Use stencils for intricate designs.
- Experiment with different carving tools.
- Don't be afraid to get messy!
Cute & Quirky Pumpkin Carvings
Not everyone wants a terrifying Halloween display. If you prefer something a little more lighthearted, then cute and quirky designs are the way to go! Think friendly faces, playful animals, or even whimsical characters from your favorite movies. These designs are often easier to carve than their spooky counterparts, making them a great option for families with young children. For some extra inspiration, check out our guide on movie character pumpkin carving!
One great idea is to use cookie cutters to create simple shapes and patterns on the pumpkin's surface. This is a fun and easy way to add some personality to your design, and it's perfect for beginners. You can also use paint to add extra details or to create a more vibrant look. Remember to choose pumpkins that are sturdy enough to withstand the carving process. And most importantly, have fun!
Beyond the Basics: Unique Seasonal Pumpkin Carving Designs
Geometric Pumpkin Carvings: A Modern Twist
Let's move beyond the traditional! Geometric pumpkin carvings offer a modern, minimalist approach. Think clean lines, sharp angles, and intricate patterns. These designs can be surprisingly simple to achieve, even for beginners, by using stencils or freehand sketching. The key is precision and patience. A sharp carving tool is essential for creating crisp, clean cuts. For extra visual interest, try incorporating different levels of depth to your geometric carving, creating a three-dimensional effect. Check out some themed pumpkin carving stencils online for inspiration!
Once you've got your design sketched out, take your time and make slow, deliberate cuts. Remember, you can always remove more material, but you can't put it back! A well-lit workspace is also crucial for accurate carving. After you've finished carving, you can enhance the geometric design by painting the cut-out areas with metallic paints or using glow-in-the-dark paint for a truly unique effect. This will add an extra layer of visual appeal to your masterpiece.
Design Element | Tool Suggestion | Tip |
|---|---|---|
Sharp Lines | X-Acto Knife | Use a ruler for straight lines |
Curved Lines | Small Gouge | Practice on a spare pumpkin first |
Intricate Details | Fine Detail Carving Tool | Use a stencil for complex designs |
Nature-Inspired Pumpkin Carvings: Autumnal Beauty
Embrace the beauty of autumn with nature-inspired designs! Think leaves, acorns, branches, and other elements of the fall season. These designs can be both simple and elegant, or incredibly complex and detailed depending on your skill level. Use stencils or freehand sketches to create your design, and consider using different carving techniques to add depth and texture. For example, you could use a small gouge to create the veins in a leaf, or a larger scoop to create a hollowed-out area to represent a bird's nest.
For a truly unique touch, consider adding natural elements to your design. For example, you could use small twigs to create branches, or moss to create a ground cover. You can also use paint to add extra detail or to create a more realistic look. Remember to seal your finished pumpkin with a sealant or varnish to protect it from the elements and help it last longer. Want more ideas? Check out these seasonal pumpkin carving themes!
- Use natural materials like twigs and leaves.
- Experiment with different carving depths.
- Seal your pumpkin to protect it.
3D Pumpkin Carvings: Adding Dimension
Ready for a real challenge? 3D pumpkin carving takes things to a whole new level. These designs create the illusion of depth and dimension by carving through multiple layers of the pumpkin's surface. This requires a high level of skill and precision, but the results are truly breathtaking. Start with a simple 3D design and gradually work your way up to more complex creations. You can find many tutorials online to help you learn the techniques involved, and don't be afraid to practice on a few pumpkins before attempting a more complicated design.
Remember, patience is key when it comes to 3D pumpkin carving. Take your time, and don't be afraid to make mistakes. It's all part of the learning process. And remember, the most important thing is to have fun! Experiment with different lighting techniques to highlight the 3D aspects of your design. A combination of spotlights and backlighting can create a truly dramatic effect. To find more inspiration, explore themed pumpkin carving ideas that can help you create stunning 3D designs.
Easy Seasonal Pumpkin Carving Ideas for Beginners
Simple Stencil Designs: Easy Peasy Pumpkin Carving
Let's face it, not everyone's a Michelangelo with a carving knife. That's perfectly okay! Start with simple stencil designs. You can find tons of free printable stencils online, or even make your own using cardstock and a simple design. Choose designs with large, bold shapes – think basic ghosts, cats, or even just fun geometric patterns. These are way easier to cut out than intricate designs. Plus, you can use them year after year! For extra help finding the perfect stencil, check out our selection of themed pumpkin carving stencils.
Once you've got your stencil, tape it securely to your pumpkin. Use a sharp pin or toothpick to carefully trace the design onto the pumpkin's surface. Then, grab your carving tools – a simple paring knife or even a melon baller will work wonders. Slowly and carefully cut along the traced lines. Don't rush! Take your time, and remember that practice makes perfect. And don't forget the lighting – a simple LED tea light will add a magical glow to your creation.
Stencil Type | Skill Level | Recommended Tools |
|---|---|---|
Simple Shapes | Beginner | Paring Knife, Melon Baller |
More Intricate | Intermediate | Small Carving Saw, X-Acto Knife |
Cookie Cutter Carving: A Fun & Easy Approach
Who needs carving knives when you've got cookie cutters? This method is super fun, especially for kids! Choose a variety of cookie cutters – stars, hearts, bats, pumpkins – whatever you fancy. Make sure they're sturdy enough to push into the pumpkin's flesh without bending. Gently press the cookie cutters into the pumpkin, creating neat little shapes. You can create a whole pattern this way, or just use them as accents in a bigger design. For some extra inspiration, check out our collection of themed pumpkin carving patterns!
This method is perfect for creating a textured surface on your pumpkin. You can use different sized cookie cutters to create a variety of shapes and patterns. Once you've finished using the cookie cutters, you can add extra details using a marker or paint. A simple candle or LED light will illuminate your cookie cutter masterpiece beautifully. Remember to carefully remove the cut-out pieces to reveal the design.
- Use different sized cookie cutters for variety.
- Experiment with different patterns and arrangements.
- Add paint or markers for extra details.
No-Carve Pumpkin Decorating: Get Creative Without the Mess
Not into carving? No problem! There are tons of fun ways to decorate pumpkins without lifting a knife. Think painting, gluing on embellishments, or even using markers to draw directly onto the pumpkin's skin. You can create stunning designs using just paint and a little imagination. Get creative with colors, patterns, and textures – the possibilities are endless! For extra ideas, check out our page on holiday pumpkin carving ideas which include plenty of no-carve options.
For added flair, glue on buttons, beads, sequins, or even small toys to create a truly unique pumpkin. Use glue that's specifically designed for crafting to ensure it adheres well to the pumpkin's surface. You can also use glitter or other sparkly embellishments to add some extra sparkle. Let your creativity run wild – there are no rules when it comes to decorating pumpkins! And the best part? No messy carving involved!
Tips and Tricks for Stunning Seasonal Pumpkin Carving
Choosing the Perfect Pumpkin
Picking the right pumpkin is half the battle! Look for pumpkins that are firm, without soft spots or bruises. A slightly heavier pumpkin for its size usually indicates more flesh, giving you more room for intricate designs. Consider the shape and size – a taller pumpkin might be perfect for a spooky tower, while a round one lends itself to friendly faces. Don't forget about color too! Some pumpkins have beautiful variations in color and texture, which can add to your design. For even more pumpkin carving inspiration, check out these themed pumpkin carving ideas!
Avoid pumpkins with deep cuts or blemishes, as these can weaken the structure and make carving more difficult. If you're planning on using a stencil, choose a pumpkin with a relatively smooth surface for easier application. If you're a beginner, a smaller pumpkin is easier to manage, while experienced carvers might tackle larger pumpkins for more elaborate designs. Remember, the perfect pumpkin is the one that speaks to your creativity!
Pumpkin Type | Best For |
|---|---|
Small, Round | Simple designs, beginners |
Large, Tall | Intricate designs, experienced carvers |
Warty | Unique texture |
Carving Tools & Techniques
Having the right tools makes all the difference. A good set of carving tools includes various sizes of knives (for different levels of detail), a scoop (for removing the insides), and a sturdy mallet (if using cookie cutters). Always keep your knives sharp – dull knives are more likely to slip and cause injury. Before you start carving, sketch your design lightly onto the pumpkin using a pencil or marker. This helps you visualize the design and ensures accuracy. For more detailed stencils, consider using these themed pumpkin carving stencils for precise cutting.
When carving, work slowly and deliberately. Take your time and make small, controlled cuts to avoid mistakes. If you're using a stencil, make sure it's securely taped to the pumpkin to prevent slippage. After carving, use a spoon to clean out the inside of the pumpkin thoroughly. This prevents mold and helps your pumpkin last longer. Finally, use a sealant or varnish to help preserve your masterpiece.
- Sharp knives are essential for clean cuts.
- Sketch your design before carving.
- Clean out the inside thoroughly.
- Use a sealant to preserve your pumpkin.