Table of Contents
Halloween's creeping closer, and you're probably thinking about pumpkins. But the thought of carving those orange gourds into jack-o'-lanterns fills you with dread? Fear not, fellow fright fan! There are tons of ways to achieve maximum spookiness without wielding a single knife. Forget the mess and potential finger-slicing incidents. This year, we're embracing the world of scary pumpkin decorating ideas without carving.
Eerily Easy: Painted Scary Pumpkin Faces and Designs
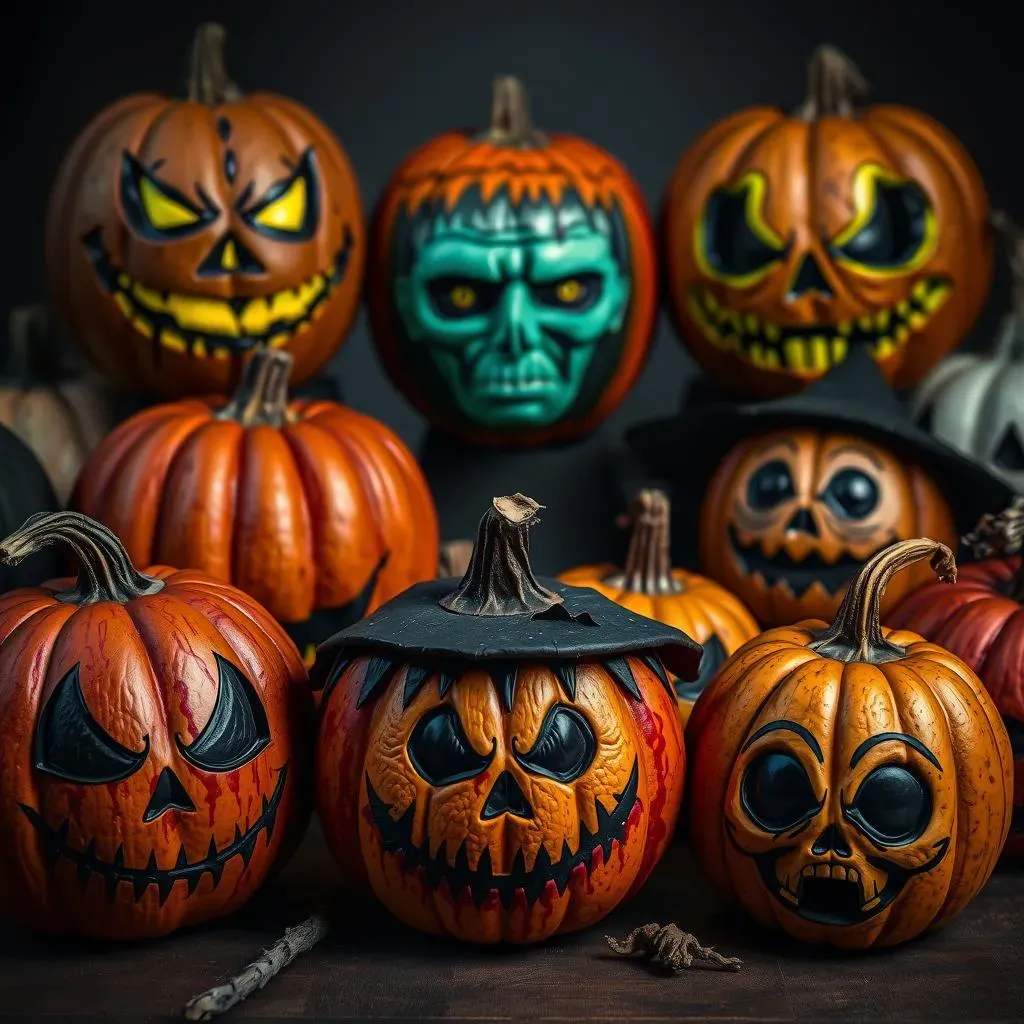
Eerily Easy: Painted Scary Pumpkin Faces and Designs
Unleash Your Inner Ghoul with Paint
Forget intricate carving; paint is your new best friend for achieving seriously spooky pumpkin faces. It's quick, relatively mess-free (especially compared to carving), and allows for endless customization. Think beyond the classic triangle eyes and jagged mouth. We're talking dripping blood effects, sinister smiles, and eyes that seem to follow you.
Acrylic paints work best as they adhere well to the pumpkin's surface and dry quickly. Start with a base coat of black, white, or a creepy green to set the mood. Then, let your imagination run wild. Don't be afraid to experiment with different brush sizes and techniques to create texture and depth.
From Classic to Creepy: Design Ideas Galore
Need some inspiration? How about a ghostly white pumpkin with hollow black eyes and a mournful expression? Or a vibrant orange pumpkin transformed into a menacing monster with jagged teeth and fiery red eyes? The possibilities are truly limitless. Consider using stencils for precise designs, or embrace the freehand approach for a more organic, unsettling look.
You could even draw inspiration from your favorite horror movies or classic Halloween characters. Frankenstein's monster, a menacing scarecrow, or a cackling witch – all are perfect subjects for your painted pumpkin masterpiece.
Adding Depth and Dimension to Your Painted Masterpiece
To take your painted pumpkins to the next level, consider adding some extra details to enhance the scary effect. Glow-in-the-dark paint is perfect for creating eerie eyes or ghostly accents that come alive in the dark. Crackle paint can add a weathered, aged look to your pumpkin, making it seem like it's been unearthed from a forgotten graveyard.
You can also use dimensional paint or puffy paint to create raised textures, such as scars, warts, or dripping slime. These tactile elements will add a whole new level of creepiness to your pumpkin creation.
Technique | Description | Scary Factor |
|---|---|---|
Glow-in-the-Dark Paint | Adds eerie glowing accents | High |
Crackle Paint | Creates a weathered, aged look | Medium |
Dimensional Paint | Adds raised textures like scars | Very High |
Creepy Crawlies: Decorating Pumpkins with Spiders and Bugs for a Scary Effect

Creepy Crawlies: Decorating Pumpkins with Spiders and Bugs for a Scary Effect
Embrace the Ick Factor: Spiders, Bugs, and More!
let's talk about adding some serious "eww" factor to your pumpkins! Nothing says "Halloween" quite like creepy crawlies, and they're surprisingly easy to incorporate into your no-carve pumpkin designs. We're not just talking about a few plastic spiders haphazardly glued on. We're going for a full-blown infestation! Think swarms of ants, hordes of beetles, and webs galore.
The key is to use a variety of sizes and textures to create a truly unsettling effect. You can find realistic-looking plastic insects at most craft stores or online. For an extra touch of realism, consider painting them with a glossy finish to make them look slimy and disgusting.
Webs of Terror: Creating the Perfect Spooky Ambiance
No creepy crawly display is complete without a healthy dose of spiderwebs. Stretchable spiderweb material is your go-to for creating a tangled, haunted look. Drape it across your pumpkin, letting it cascade down the sides and pool on the surface below. For a more dramatic effect, consider using black or grey webbing instead of the traditional white.
To really amp up the creepiness, add a few strategically placed spiders lurking within the webs. You can also use hot glue to attach small twigs and leaves to the webbing, creating a more natural and organic look. The goal is to make it look like your pumpkin has been abandoned and taken over by creepy crawlies.
Beyond Spiders: Expanding Your Insect Arsenal
While spiders are a classic choice for Halloween decorations, don't limit yourself! There are tons of other insects and creepy crawlies that can add to the overall scare factor. Think about incorporating centipedes, millipedes, beetles, or even cockroaches into your design. For a truly terrifying touch, consider using glow-in-the-dark insects that will come alive in the dark.
You can also use edible insects for a truly unique and disturbing display. Chocolate-covered ants or candied worms are sure to make your guests squirm. Just be sure to label them clearly so that people know they're edible! Safety first, even when you're trying to be scary.
Insect Type | Description | Scary Factor |
|---|---|---|
Spiders | Classic Halloween staple | High |
Centipedes/Millipedes | Long, segmented bodies | Medium |
Cockroaches | Universally disliked | Very High |
Edible Insects | For a truly disturbing display | Off the Charts |
Mummy Mayhem: Wrapping Pumpkins for a Frightening NoCarve Look

Mummy Mayhem: Wrapping Pumpkins for a Frightening NoCarve Look
Bandages and Beyond: Creating the Mummy Effect
Want a super easy, super effective scary pumpkin? Mummify it! This is one of those scary pumpkin decorating ideas without carving that's both simple and visually striking. All you need are some rolls of cheesecloth, gauze, or even strips of an old white sheet. The key is to wrap the pumpkin haphazardly, leaving some gaps and overlaps to create a truly ancient and decaying look.
Start by securing one end of your chosen wrapping material to the back of the pumpkin with hot glue or tape. Then, begin wrapping, overlapping each layer slightly. Don't worry about being too neat; the messier, the better! Leave some areas exposed to reveal the pumpkin's orange skin, adding to the overall creepy vibe.
Eyes That Pierce the Darkness: Adding the Final Touch
A mummy isn't complete without eyes, right? But we're not talking about cute, cartoony eyes. We're going for something truly unsettling. Think glowing red eyes peering out from the bandages, or hollow black sockets that seem to stare into your soul. You can achieve this effect in a variety of ways. One option is to use glow-in-the-dark paint to create eerie, luminescent eyes. Simply paint two small circles onto the exposed pumpkin beneath the bandages, and watch them come alive in the dark.
Another option is to use plastic googly eyes, but with a twist. Instead of gluing them on straight, try angling them in different directions to create a cross-eyed, deranged look. You can also paint the googly eyes with red or black paint to make them even more menacing. For a truly terrifying touch, consider using doll eyes or even ping pong balls cut in half and painted to resemble eyeballs.
Accessorizing Your Mummy: Taking it to the Next Level
Want to take your mummy pumpkin to the next level? Consider adding some accessories to enhance the overall creepy effect. A few strands of fake spiderwebs draped across the bandages can add a touch of decay and neglect. You can also glue on some small plastic spiders or insects to make it look like your mummy has been infested by creepy crawlies.
Another option is to add some tattered scraps of fabric to the bandages, creating a more weathered and ancient look. Burlap, cheesecloth, or even old rags can work well for this purpose. Simply tear the fabric into strips and glue them onto the bandages, allowing them to fray and dangle for a truly authentic mummy effect.
Accessory | Description | Scary Factor |
|---|---|---|
Spiderwebs | Adds a touch of decay | Medium |
Plastic Insects | Creates an infestation effect | High |
Tattered Fabric | Enhances the weathered look | Medium |
Shadowy Silhouettes: Creating Scary Pumpkin Scenes with Cutouts and Stencils
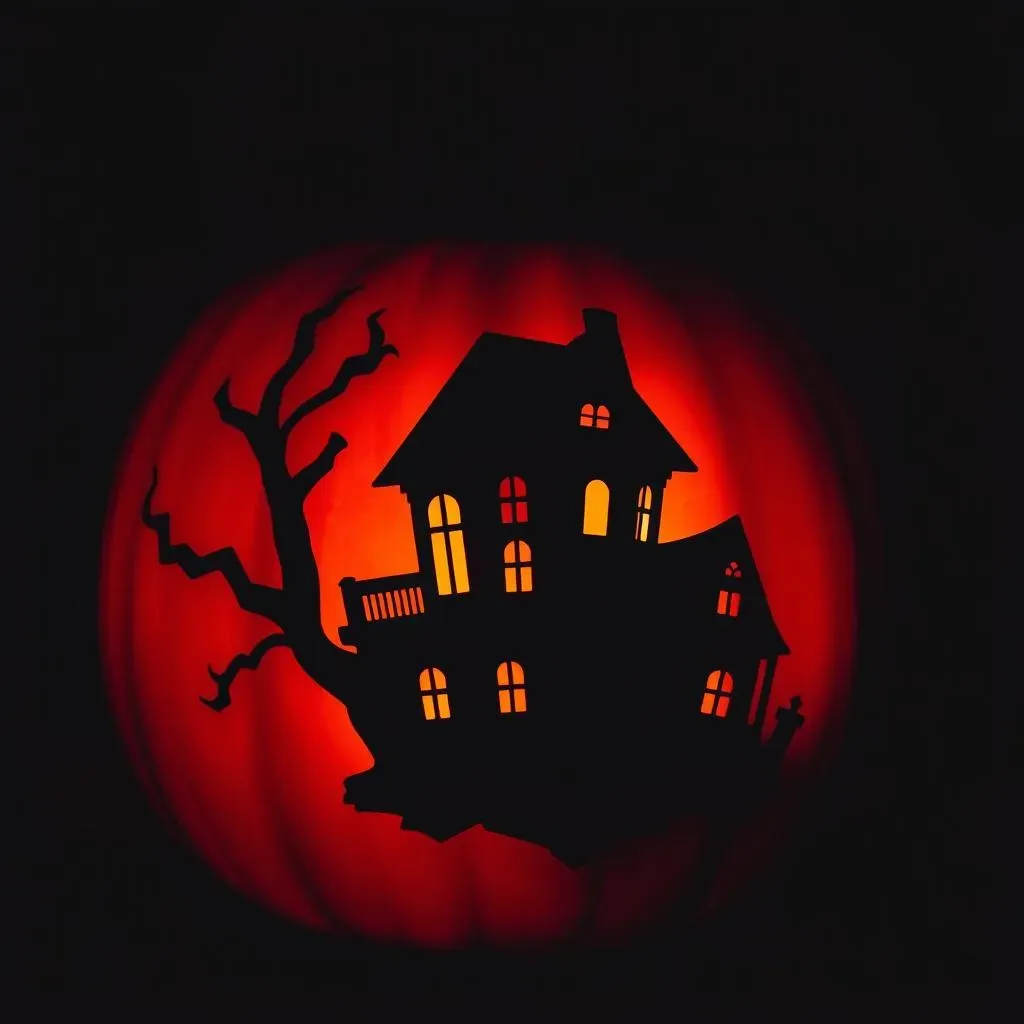
Shadowy Silhouettes: Creating Scary Pumpkin Scenes with Cutouts and Stencils
Stencils and Silhouettes: A World of Possibilities
so you want drama? You want intrigue? You want scary pumpkin decorating ideas without carving that will make the neighbors do a double-take? Then it's time to embrace the power of silhouettes! This technique is all about creating dark, mysterious shapes against the pumpkin's surface, like a spooky shadow play. And the best part? It's incredibly easy to do with stencils or freehand cutouts.
Grab some black construction paper, cardstock, or even craft foam. Then, decide on your design. Are you thinking a classic haunted house, a menacing witch on a broomstick, or maybe a swarm of bats taking flight? Once you've got your image, either trace it onto your chosen material using a stencil or draw it freehand. Then, carefully cut out the shape using scissors or a craft knife. Safety first, folks! Always cut away from yourself.
Bringing Your Shadows to Life: Techniques and Tips
Now for the fun part: attaching your silhouettes to the pumpkin! There are a few different ways to do this, depending on the material you're using. For paper or cardstock cutouts, you can use glue dots, double-sided tape, or even a thin layer of craft glue. Just be sure to apply the adhesive sparingly to avoid any unsightly drips or smudges.
If you're using craft foam, hot glue is your best bet. It'll provide a strong, secure hold that will withstand the elements. Once your silhouettes are attached, consider adding some extra details to enhance the overall effect. A coat of black spray paint can help to blend the cutouts seamlessly with the pumpkin's surface, creating a more cohesive and professional look. You can also use a dry brush technique to add some subtle highlights and shadows, giving your silhouettes a more three-dimensional appearance.
Material | Attachment Method | Pros | Cons |
|---|---|---|---|
Paper/Cardstock | Glue Dots/Tape | Easy to use, inexpensive | Less durable, prone to tearing |
Craft Foam | Hot Glue | Durable, weather-resistant | Requires hot glue gun, can be messy |
No Carve, All Thrills: Mastering Scary Pumpkin Decorating
So, there you have it – a treasure trove of scary pumpkin decorating ideas without carving to elevate your Halloween game. Forget the messy carving tools and embrace the boundless possibilities of paint, glue, and a little imagination. Whether you opt for a spider-infested masterpiece, a menacing mummy pumpkin, or a shadowy silhouette scene, the key is to have fun and let your creativity run wild. With these no-carve techniques, you can create stunningly spooky pumpkins that will impress trick-or-treaters and Halloween party guests alike. Happy haunting!