Table of Contents
Halloween is lurking just around the corner, and what better way to embrace the spooky season than with some seriously **scary pumpkin carving pictures**? Forget the friendly jack-o'-lantern grins; we're diving headfirst into a world of ghoulish faces, terrifying creatures, and pumpkin portraits that will make your neighbors jump.
Gallery of Ghoulish Delights: SpineChilling Scary Pumpkin Carving Pictures
Gallery of Ghoulish Delights: SpineChilling Scary Pumpkin Carving Pictures
Horror Movie Homages
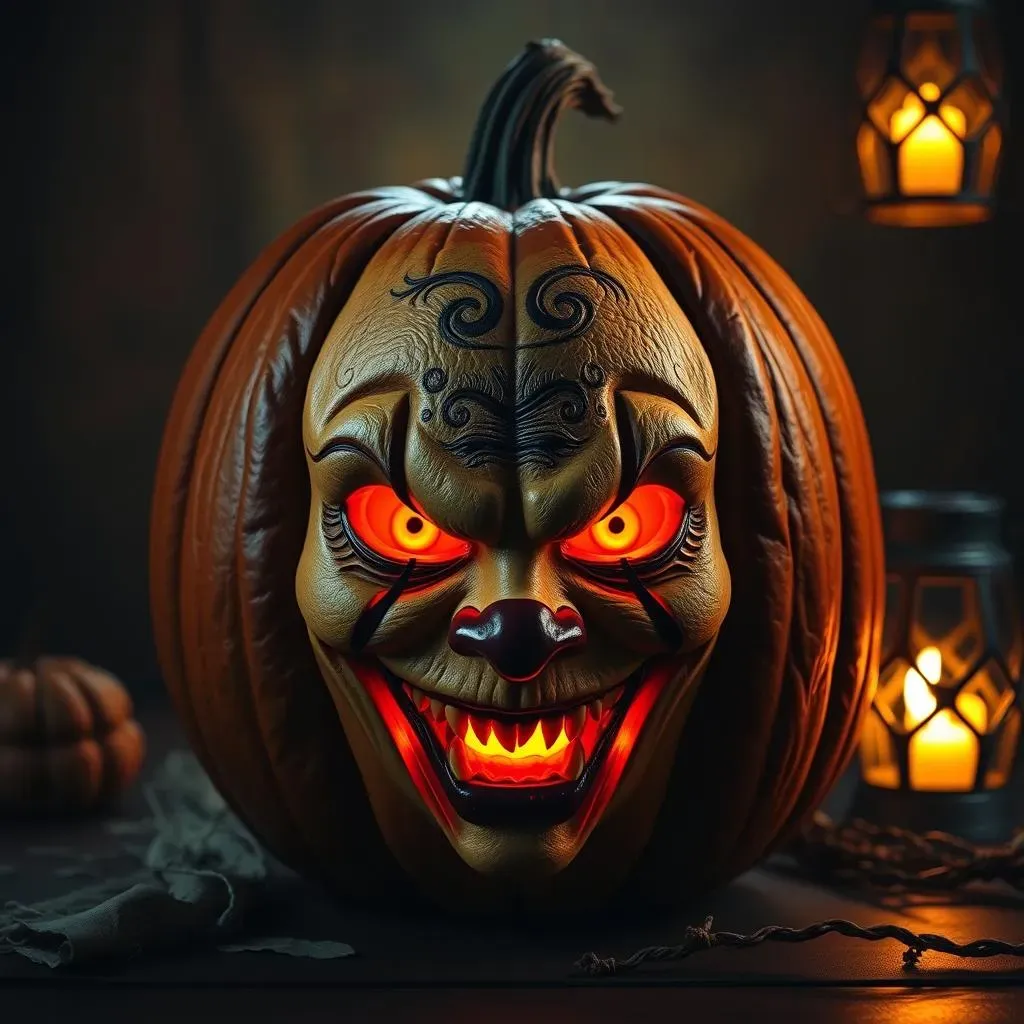
Ever thought about turning your pumpkin into Pennywise from "It," or maybe a Xenomorph bursting forth? The dedication some folks put into these carvings is mind-blowing! We're talking hyper-realistic portrayals of iconic villains, complete with intricate details that capture every menacing wrinkle and terrifying glare. It's not just carving; it's pumpkin portraiture, horror movie style.
These artists aren't afraid to get gory, either. Think dripping blood effects achieved with strategic cuts and lighting, or gaping maws filled with jagged teeth crafted from smaller pumpkin pieces. It’s all about creating a truly unsettling visual that pays homage to the masters of horror. The best part? It's a fantastic way to show off your fandom and scare the trick-or-treaters at the same time!
Twisted Takes on Classic Monsters
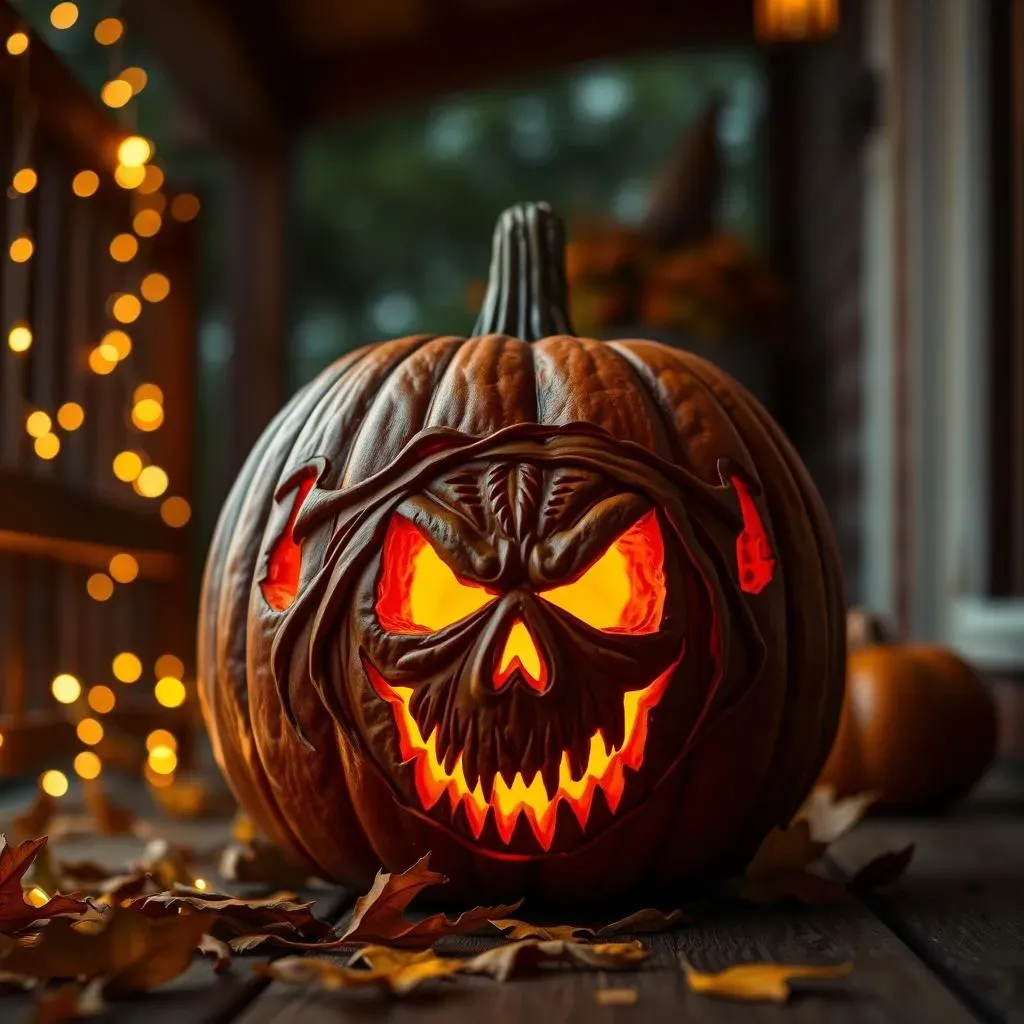
Forget the cute Frankenstein's monster. Picture a pumpkin carving that reimagines classic creatures like Dracula, werewolves, and zombies with a truly terrifying twist. Maybe Dracula with elongated fangs that seem to drip with pumpkin guts "blood," or a werewolf mid-transformation, its face contorted in a horrifying snarl. These aren't your storybook monsters; they're nightmarish visions brought to life on a gourd.
What sets these carvings apart is the level of detail and creativity. The artists use shading, texture, and even strategically placed holes to create depth and dimension, making these monsters practically leap off the pumpkin's surface. The result is a collection of truly unique and disturbing designs that push the boundaries of pumpkin carving art.
Gothic Horror Landscapes
Beyond the character portraits, there's a whole world of scary pumpkin carving pictures that depict eerie landscapes and gothic scenes. Think haunted houses perched atop craggy hills, graveyards shrouded in mist, or ancient forests teeming with unseen horrors. These carvings often incorporate intricate details like tiny bats silhouetted against the moon, gnarled trees with skeletal branches, and tombstones etched with cryptic epitaphs.
- Haunted Mansions: Carve a spooky, dilapidated mansion with intricate window details.
- Graveyard Scenes: Create a chilling graveyard with tombstones, skeletal figures, and eerie trees.
- Witches' Lairs: Design a witch's lair with bubbling cauldrons, spell books, and magical symbols.
These landscape carvings create a sense of atmosphere and dread, drawing the viewer into a miniature world of gothic horror. They're perfect for creating a truly immersive Halloween display that will transport your visitors to another realm.
DIY Nightmares: How to Carve Your Own Scary Pumpkin Masterpieces
DIY Nightmares: How to Carve Your Own Scary Pumpkin Masterpieces
Choosing Your Victim (Pumpkin, That Is)
First things first, you can't carve a masterpiece without the right canvas. When selecting your pumpkin, don't just grab the biggest one you see. Look for a pumpkin that's relatively smooth, with a sturdy stem and a flat bottom so it won't wobble. Give it a gentle tap – you want it to sound hollow. Avoid pumpkins with soft spots or blemishes, as these indicate rot. And hey, while size matters, remember a larger pumpkin means more carving surface, and potentially more complexity. If you're a beginner, maybe start with something medium-sized.
Consider the shape too. A tall, slender pumpkin might be perfect for a creepy witch, while a rounder one could become a monstrous face. Think about your design beforehand and let that guide your pumpkin selection. I personally love the oddly shaped ones; they add character!
Pumpkin Characteristic | Why It Matters |
|---|---|
Smooth Surface | Easier to carve intricate details. |
Sturdy Stem | Provides a handle and indicates freshness. |
Flat Bottom | Ensures stability when displayed. |
Hollow Sound | Indicates ripeness and less pulp to remove. |
From Sketch to Scare: Planning Your Design
you've got your pumpkin. Now, before you start hacking away, take a moment to plan your design. I always recommend sketching it out on paper first. This allows you to experiment with different ideas and refine your vision before committing to the pumpkin. Think about the overall shape of your design, the level of detail you want to include, and how you'll use light and shadow to create a spooky effect.
Once you're happy with your sketch, transfer it to the pumpkin using a stencil or freehand drawing. Stencils are great for beginners, as they provide a clear outline to follow. You can find tons of free stencils online, ranging from simple ghosts and bats to elaborate horror movie characters. If you're feeling adventurous, try drawing your design directly onto the pumpkin with a marker. Don't worry about making mistakes; you can always wipe them away with a damp cloth.
Remember, the key is to keep it simple, especially if you're new to pumpkin carving. Intricate designs can be challenging to execute, and you don't want to get discouraged halfway through. Start with a basic shape and add details as you go. And don't be afraid to get creative! The best scary pumpkin carving pictures are those that are unique and original.
Carving Calamity Avoidance: Tips and Tricks
Alright, let's talk carving. First, invest in a good pumpkin carving kit. Those flimsy plastic tools you find at the grocery store? They're not going to cut it (pun intended). Look for a kit that includes a variety of saws, gouges, and scrapers. A good poking tool is essential for transferring patterns from paper to pumpkin. And don't forget a sturdy scoop for removing all that gooey pumpkin pulp!
When carving, start with the smallest details first. This will help prevent you from accidentally damaging larger areas. Use short, controlled strokes and be patient. It's better to take your time and carve accurately than to rush and make mistakes. And remember, safety first! Always carve on a stable surface and keep your fingers out of the path of the blade. Consider wearing gloves to protect your hands from the sticky pumpkin pulp (and potential cuts).
Pro tip: If you accidentally cut off a piece, don't panic! You can often reattach it with toothpicks. Just insert the toothpicks into the pumpkin flesh on either side of the cut and gently press the piece back into place. And if all else fails, embrace the imperfection! Sometimes, mistakes can add character and make your pumpkin even scarier.
Tools of Terror: Essential Gear for Creating Scary Pumpkin Carving Pictures
Tools of Terror: Essential Gear for Creating Scary Pumpkin Carving Pictures
The Essential Carving Kit
Alright, so you're serious about creating some spine-chilling **scary pumpkin carving pictures**? Ditch the plastic utensils and let's talk real tools. A good carving kit is an absolute must-have. Look for one that includes a variety of serrated saws in different sizes. These are perfect for cutting out both large sections and intricate details. A scoop is essential for gutting the pumpkin, but don't settle for a flimsy spoon. Get one with a sturdy handle and a sharp edge for scraping the sides clean.
Beyond the basics, consider a kit with specialized tools like gouges, which are great for creating curved lines and adding dimension, and v-shaped cutters for fine details like teeth and wrinkles. A poking tool or tracing wheel is invaluable for transferring your design from paper to pumpkin. And don't underestimate the power of a good scraper for thinning out the pumpkin walls, allowing more light to shine through your design. Trust me, investing in a quality kit will make a world of difference in the final result.
Tool | Purpose | Why It's Essential |
|---|---|---|
Serrated Saws (Various Sizes) | Cutting out large sections and intricate details | Provides precision and control |
Sturdy Scoop | Removing pumpkin pulp | Makes gutting the pumpkin easier and more efficient |
Gouges | Creating curved lines and adding dimension | Adds depth and realism to your design |
V-Shaped Cutters | Fine details like teeth and wrinkles | Allows for intricate and realistic details |
Poking Tool/Tracing Wheel | Transferring designs from paper to pumpkin | Ensures accurate design placement |
Scraper | Thinning pumpkin walls for better light | Enhances the visibility of your design |
Beyond the Kit: Lighting and Extras
you've got your carving tools sorted, but don't forget about the finishing touches that will really make your **scary pumpkin carving pictures** pop! Lighting is key. While a traditional candle can work, LED lights are a safer and more versatile option. You can find battery-operated LED lights in a variety of colors, allowing you to create different moods and effects. Consider using flickering LED candles to mimic the eerie glow of a real flame, or opt for colored lights to add a spooky ambiance.
Beyond lighting, think about other ways to enhance your design. Stencils are a great starting point, especially for beginners. You can find tons of free stencils online or create your own using a printer and some cardstock. If you're feeling ambitious, consider adding props like fake blood, plastic spiders, or even small branches to create a truly terrifying scene. And don't forget about presentation! Place your finished pumpkin on a hay bale or surround it with other Halloween decorations to create a captivating display.
From Cute to Creepy: Inspiring Scary Pumpkin Design Ideas
From Cute to Creepy: Inspiring Scary Pumpkin Design Ideas
Subtly Spooky Silhouettes
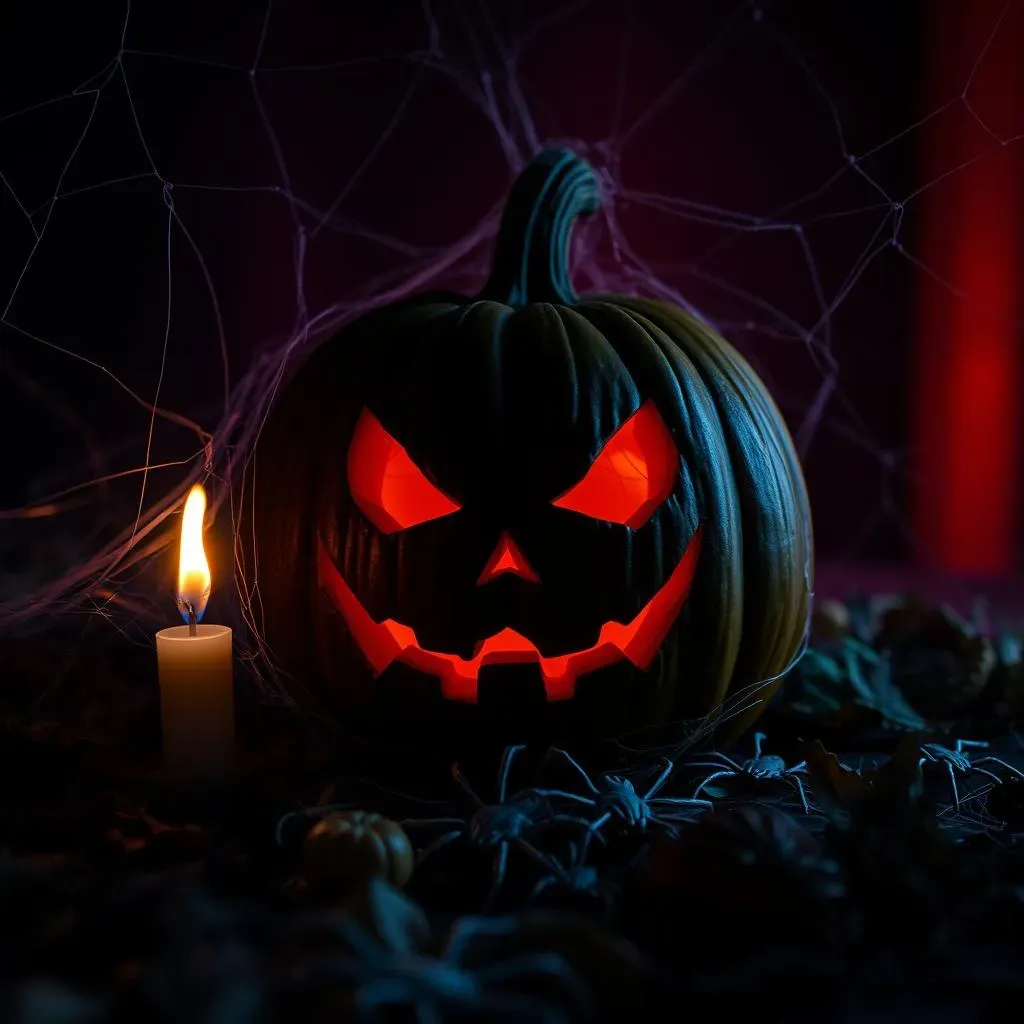
Not every scary pumpkin needs to be a blood-soaked monstrosity. Sometimes, the most effective designs are the simplest. Think about carving silhouettes of classic Halloween imagery – black cats, bats, spiders, or gnarled trees against a full moon. These designs are easy to execute, even for beginners, and they can be incredibly striking when illuminated. The key is to focus on clean lines and strong contrasts. A well-placed silhouette can create a sense of mystery and foreboding without being overtly gruesome.
Consider using different sized carving tools to create varying levels of depth within your silhouette. This will add dimension and prevent your design from looking flat. You can also experiment with different lighting techniques to enhance the spooky effect. Try placing a colored LED light behind your pumpkin to cast an eerie glow, or use a strobe light to create a flickering, unsettling effect. Remember, sometimes less is more when it comes to scary pumpkin carving pictures!
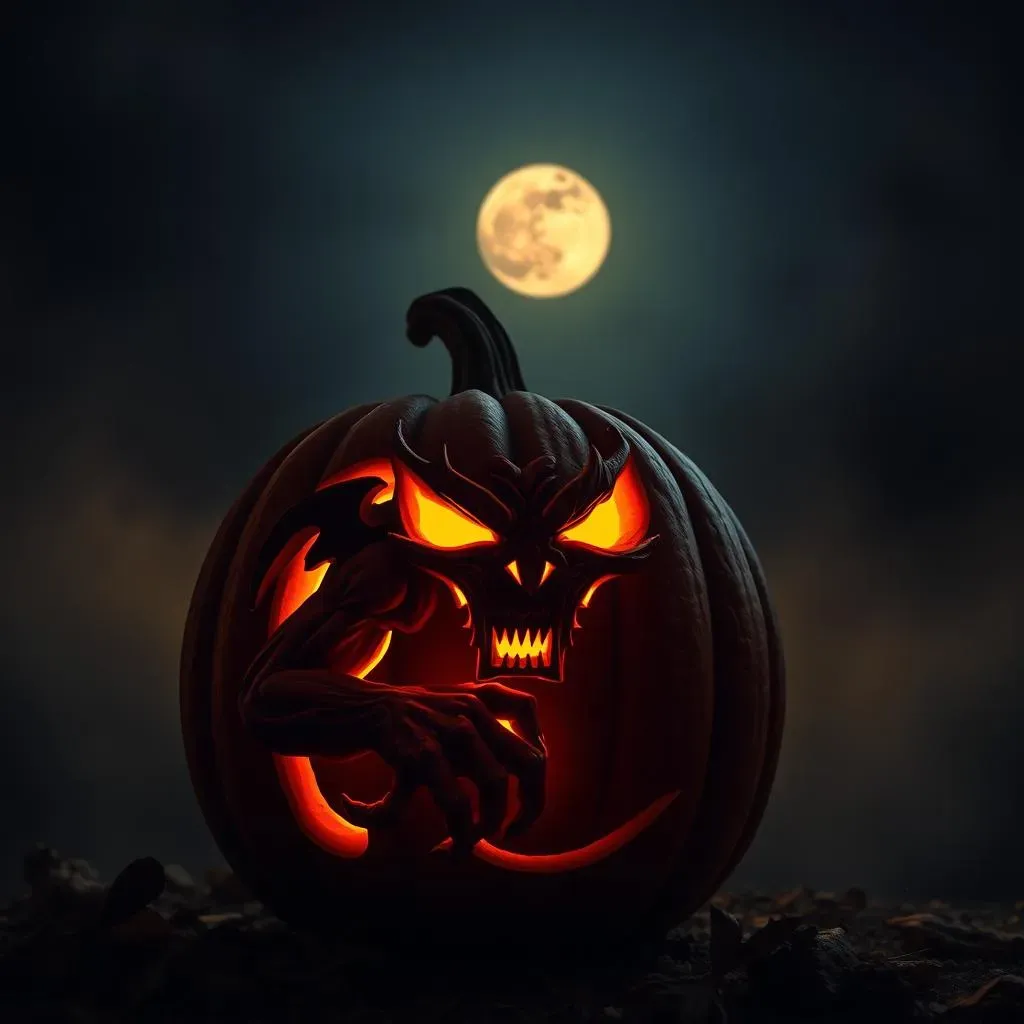
Going Beyond the Face: Full-Body Frights
Why limit yourself to just carving a face? Take your **scary pumpkin carving pictures** to the next level by creating full-body designs! Think about carving a crouching gargoyle, a skeletal hand reaching out from the pumpkin's surface, or a spider crawling down the side. These designs are more challenging, but they offer a unique opportunity to showcase your creativity and carving skills. To pull off a full-body design, you'll need to carefully plan your layout and consider the pumpkin's shape and size. Use stencils or freehand drawings to map out your design, and be prepared to spend some extra time carving intricate details.
One cool idea is to use multiple pumpkins to create a scene. For example, you could carve a zombie bursting out of one pumpkin and reaching for another. Or, you could create a graveyard scene with multiple pumpkins acting as tombstones. The possibilities are endless! Just remember to prioritize safety and use the right tools for the job. And don't be afraid to experiment and have fun. The best scary pumpkin carvings are those that are truly original and unexpected.
Design Idea | Description | Difficulty |
|---|---|---|
Crouching Gargoyle | A detailed gargoyle figure clinging to the pumpkin. | Intermediate |
Skeletal Hand | A bony hand reaching out from the pumpkin's surface. | Intermediate |
Crawling Spider | A realistic spider crawling down the pumpkin's side. | Advanced |
Zombie Busting Out | A zombie figure emerging from the pumpkin. | Advanced |
Illuminate the Fright: Displaying Your Scary Pumpkin Carving Pictures
Illuminate the Fright: Displaying Your Scary Pumpkin Carving Pictures
Setting the Stage: Location, Location, Location
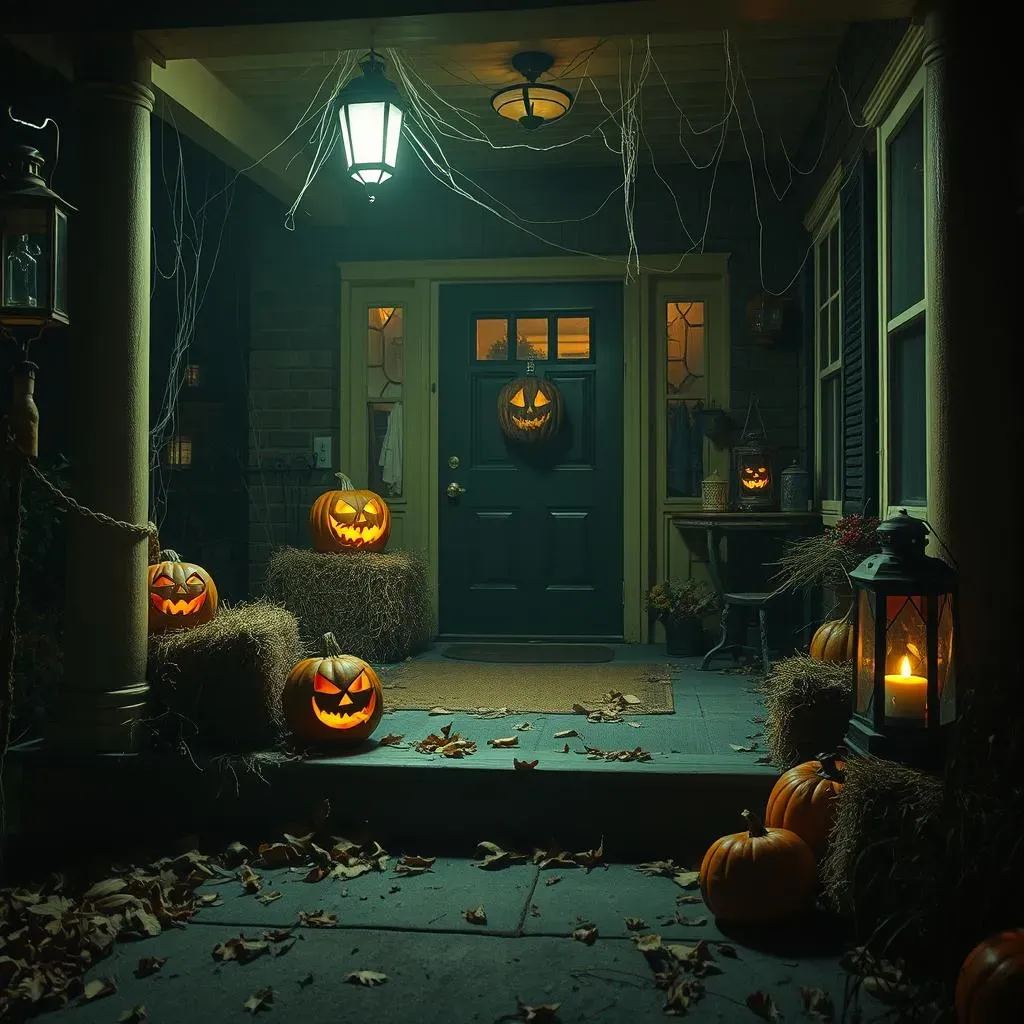
Alright, you've poured your heart and soul (and pumpkin guts) into creating some truly terrifying **scary pumpkin carving pictures**. Now, you can't just plop them down on the porch and call it a day! The way you display your pumpkins is just as important as the carving itself. Think about creating a spooky tableau that will send shivers down your neighbors' spines. Consider the location carefully. A dimly lit porch, a shadowy garden path, or even a strategically placed window can all serve as the perfect backdrop for your ghoulish creations.
Don't be afraid to get creative with your surroundings. Scatter some fallen leaves around your pumpkins, drape some cobwebs over nearby bushes, or add some eerie lighting to enhance the atmosphere. You can even use props like hay bales, old crates, or antique lanterns to create a vintage horror vibe. The key is to create a sense of mystery and intrigue that will draw people in and make them want to take a closer look (if they dare!).
Display Element | Spooky Enhancement |
|---|---|
Location | Choose dimly lit or shadowy areas |
Fallen Leaves | Scatter around pumpkins for an autumnal, eerie feel |
Cobwebs | Drape over bushes or pumpkins for a haunted look |
Lighting | Use colored or flickering lights to enhance the mood |
Props | Incorporate hay bales, crates, or lanterns for a vintage vibe |
Embrace the Fright: Your Scary Pumpkin Carving Adventure Awaits
So, you've journeyed through the realm of scary pumpkin carving pictures, armed yourself with the right tools, and gathered inspiration for designs that would make Dracula proud. Now, it's time to unleash your inner artist and bring those visions of pumpkin terror to life. Remember, the goal isn't just to carve a pumpkin, but to craft a chilling masterpiece that captures the spirit of Halloween. Whether you opt for a classic ghoulish face or a more elaborate scene of horror, let your creativity run wild. And don't forget to share your scary pumpkin carving pictures with the world – you might just inspire the next generation of frightful artists! Happy haunting!