Table of Contents
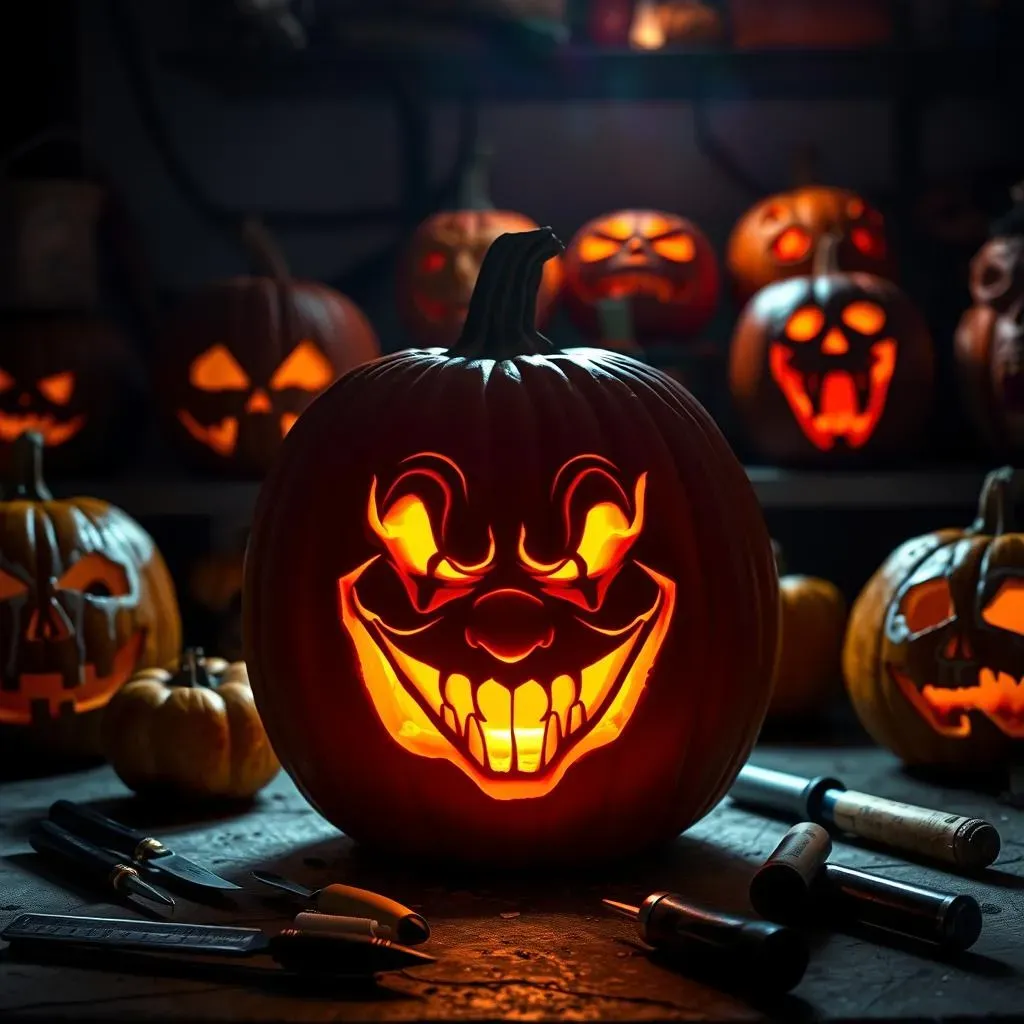
Halloween is creeping closer, and that means it's time to ditch the basic triangle-eyed pumpkin. Are you ready to unleash some serious fright this year? Forget those friendly grins; we're diving headfirst into the world of scary pumpkin carving ideas templates. This year, transform your porch into a chilling spectacle that will make trick-or-treaters think twice before ringing your doorbell. We're not just talking about simple ghosts; think menacing monsters, creepy clowns, and downright disturbing designs that will set your jack-o'-lantern apart from the pumpkin patch.
Level Up Your Jacko'Lantern Game with Scary Pumpkin Carving Ideas Templates
Level Up Your Jacko'Lantern Game with Scary Pumpkin Carving Ideas Templates
Alright, so you want to seriously level up your jack-o'-lantern game this Halloween? You're in the right place. Forget those wobbly, uneven smiles that look like a toddler attacked a pumpkin with a butter knife. We're talking about transforming your gourd into a masterpiece of macabre art. The secret? Scary pumpkin carving ideas templates. Think of them as your blueprints to pumpkin perfection. These aren't your grandma's clip-art ghosts; we're talking intricate designs that will make your neighbors do a double-take. From terrifying clowns to zombie faces, these templates will help you bring your scariest visions to life. It is important to note that having the right tools is also important. A good carving kit is essential. So, let's get started, shall we?
Choosing the right template is important.
- Consider your skill level: Start simple if you're a beginner.
- Think about the pumpkin's size: A small pumpkin needs a smaller, less detailed design.
- Don't be afraid to get creative: Tweak the template to add your personal touch!
Free Printable Scary Pumpkin Stencils: Monsters, Ghouls, and More
Free Printable Scary Pumpkin Stencils: Monsters, Ghouls, and More
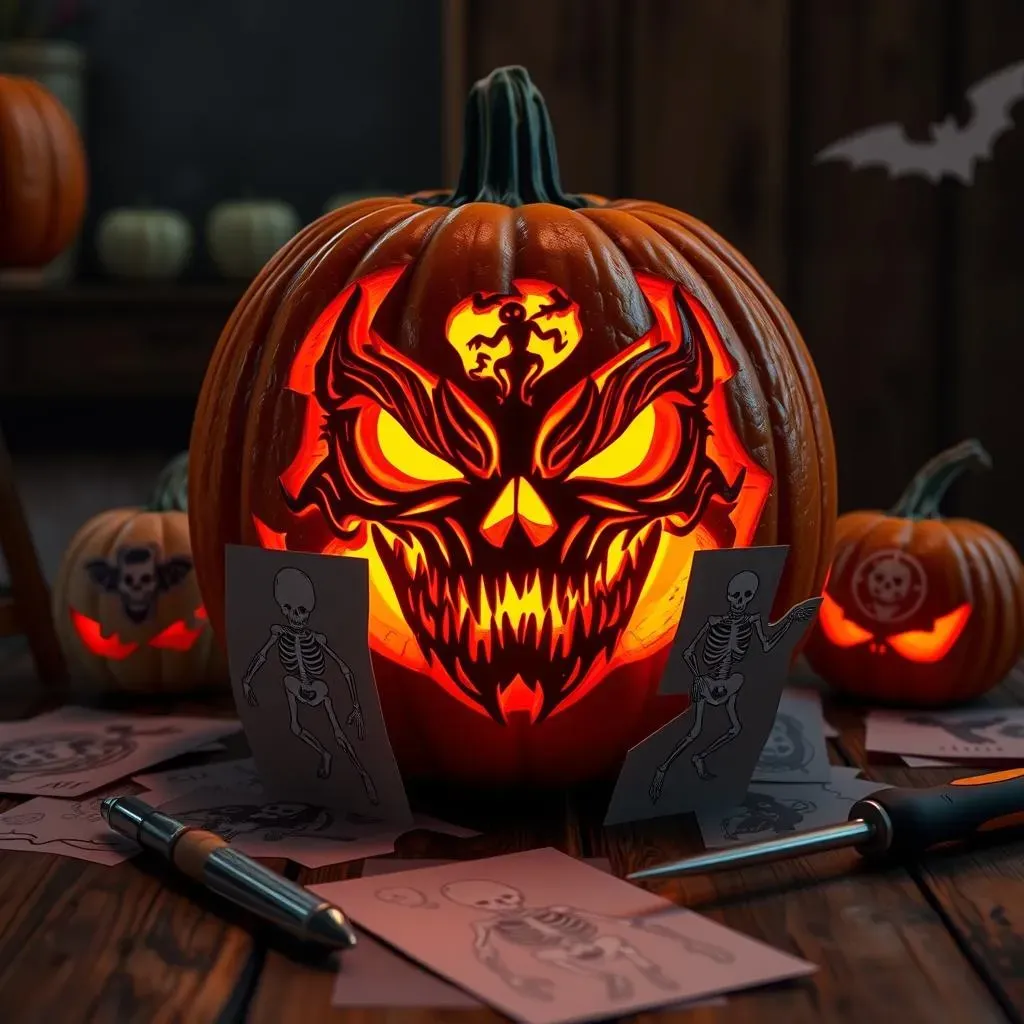
Alright, let's get to the good stuff: free stencils! The internet is overflowing with free printable scary pumpkin stencils, and trust me, there's something for everyone. Whether you're into classic monsters like Dracula and Frankenstein, creepy crawlies like spiders and bats, or downright disturbing ghouls and goblins, you'll find a stencil that fits the bill. A quick Google search for "free scary pumpkin stencils" will open up a treasure trove of options. Sites like Pinterest, and MusePrintables are goldmines, offering a huge variety of designs that you can download and print instantly.
Also consider checking out blogs and crafting websites; many offer exclusive stencils created by talented artists. Look for PDF files that are easy to download and print in the correct size for your pumpkin. Once you've found a few stencils you love, print them out and get ready to transfer them to your pumpkin. Finding the right stencil can be hard.
- UltimatePumpkinStencils.com: They have a wide array of scary patterns, from Medusa to skeleton hearts.
- MusePrintables.com: Offers free printable pumpkin stencils featuring scary designs of monsters and more.
- Pinterest: A great place to explore various Halloween stencils and pumpkin carving ideas.
Tools and Tips for Carving Scary Pumpkin Faces with Templates
Tools and Tips for Carving Scary Pumpkin Faces with Templates
Gather Your Arsenal
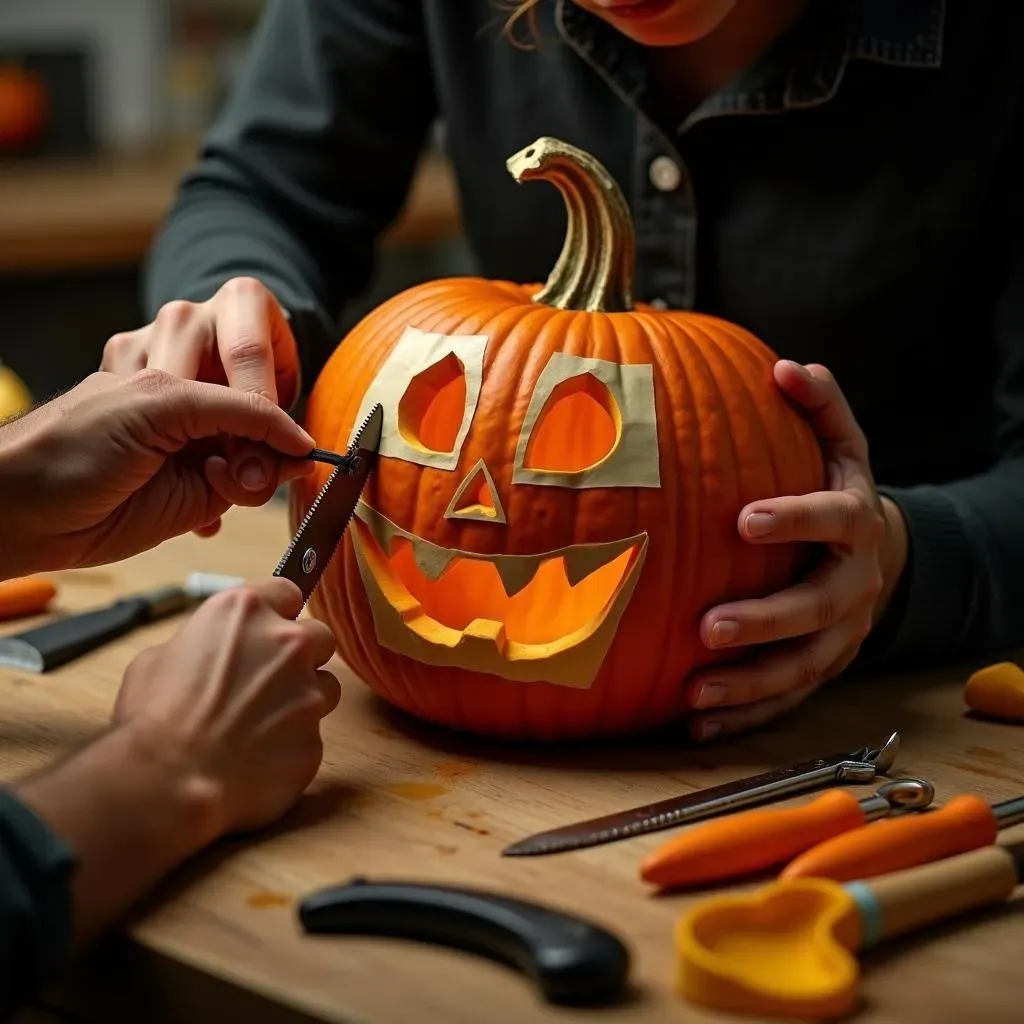
so you've got your scary pumpkin carving ideas templates printed and ready to go. Now, let's talk tools. You can't just go at a pumpkin with a kitchen knife and expect professional results (trust me, I've tried). A good pumpkin carving kit is your best friend. These kits usually include a variety of saws, scoops, and pokers specifically designed for pumpkin carving. A sturdy serrated knife is essential for cutting open the pumpkin and trimming larger areas. Smaller saws with finer blades are perfect for carving intricate details. And don't forget a good scoop to remove all those stringy guts! You'll also want a poking tool or awl to transfer your template onto the pumpkin.
Also, consider investing in some ribbon tools, these are amazing for shaving away the pumpkin skin to create depth and texture in your design. I love using them to add shadows around the eyes of a scary face to make it look extra menacing. Trust me, the right tools make all the difference.
- Serrated Knife: For cutting the lid and larger sections.
- Detail Saws: For intricate designs and fine lines.
- Scoop: To remove the pumpkin guts.
- Poker/Awl: For transferring the template.
- Ribbon Tools: For adding depth and texture.
Template Transfer Techniques
Alright, you've got your stencil. Now, how do you get that design onto your pumpkin? There are a few ways to transfer your scary pumpkin faces onto the pumpkin surface. The easiest method is to tape the template to the pumpkin and use a poker or awl to poke holes along the lines of the design. Make sure the holes are close enough together so you can easily see the outline when you remove the template. Another option is to use transfer paper. Simply place the transfer paper between the template and the pumpkin, trace the design, and the image will transfer onto the pumpkin.
If you're feeling fancy, you can even use a projector to project the image onto the pumpkin and trace it directly. This works especially well for large or complex designs. No matter which method you choose, make sure the design is securely transferred before you start carving. A shaky outline can lead to a wonky jack-o'-lantern.
What is your favorite method?
Method | Pros | Cons |
|---|---|---|
Poking Holes | Simple, requires minimal supplies | Can be less precise, time-consuming for detailed designs |
Transfer Paper | More precise than poking, relatively easy | Requires transfer paper, can smudge if not careful |
Projector | Very precise, good for complex designs | Requires a projector, needs a dark room |
Carving Like a Pro
Now for the fun part: carving! Before you start hacking away, take a deep breath and plan your attack. It's best to start with the smaller, more intricate details first. This way, if you make a mistake, it's less likely to ruin the entire design. Use short, controlled strokes with your detail saws. Don't try to force the blade through the pumpkin; let it do the work. If a piece gets stuck, gently push it out from the inside. Remember, patience is key. Rushing the process can lead to broken pieces and a less-than-scary result.
I would also suggest that you work in a well-lit area. This will help you see the details of your design and avoid making mistakes. And don't be afraid to take breaks! Carving a pumpkin can be tiring, so step away for a few minutes if you start to feel frustrated. With a little patience and practice, you'll be carving scary pumpkin faces like a pro in no time. Also remember to clean up your work area afterwards.
Creative Twists on Traditional Scary Pumpkin Carving Ideas
Creative Twists on Traditional Scary Pumpkin Carving Ideas
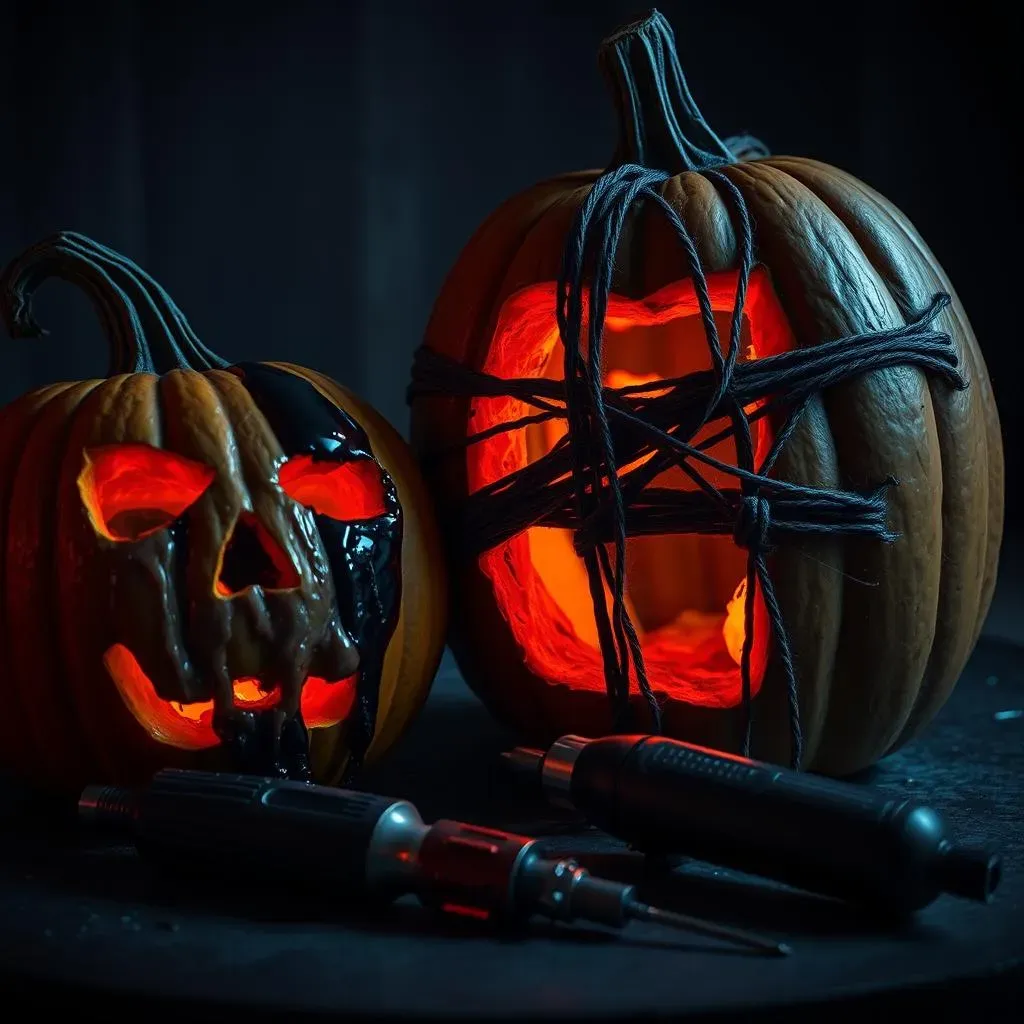
so you've mastered the basics of scary pumpkin carving ideas templates. Now it's time to get a little wild and explore some creative twists on traditional scary pumpkin carving ideas. Forget the same old toothy grins and googly eyes, let's think outside the box. How about a pumpkin that looks like it's melting? Or one that's been "stitched" back together with twine? The possibilities are endless. One cool idea is to use power tools to carve the pumpkin, like a Dremel. This allows you to create really intricate designs and textures that you just can't achieve with traditional carving tools. You could also try carving a pumpkin inside a pumpkin for a super creepy, layered effect.
Another fun twist is to incorporate other materials into your design. Think nails, screws, fake blood, or even old doll parts. A pumpkin with rusty nails sticking out of its head? Now that's scary! And don't forget about lighting. Instead of just plopping a candle inside, experiment with different colored lights, strobe lights, or even a small fog machine to create a truly spooky atmosphere. The goal here is to surprise and unnerve your audience. So, let your imagination run wild and see what kind of terrifying creations you can come up with.
Beyond the Carve: Decorating Your Scary Pumpkins for Maximum Fright
Beyond the Carve: Decorating Your Scary Pumpkins for Maximum Fright
Paint It Black (and Red, and Green...)
so you've got a killer carving, but why stop there? Let's take your scary pumpkins to the next level with some paint! Acrylic paints are your best bet; they're durable and come in a huge range of colors. Black is always a classic for adding shadows and depth, but don't be afraid to get creative with other colors too. A sickly green or a blood red can really amp up the creep factor. You can use paint to highlight certain features of your carving, like the eyes or mouth, or to add intricate details that would be too difficult to carve.
One cool technique is to dry brush some black paint over the entire pumpkin to create a weathered, aged look. This works especially well for zombie or monster designs. You could also try splattering some fake blood (or red paint) for a truly gruesome effect. Just remember to let the paint dry completely before adding any other decorations or lighting.
Accessorize Your Apocalypse
Alright, you've got the carving and the paint down. Now it's time to accessorize! Think of your scary pumpkin as a blank canvas and let your imagination run wild. Grab some craft supplies, raid your junk drawer, and see what kind of creepy embellishments you can find. Fake spiderwebs are always a classic, and they're super easy to attach with a little hot glue. You could also use twigs or branches to create creepy antlers or horns.
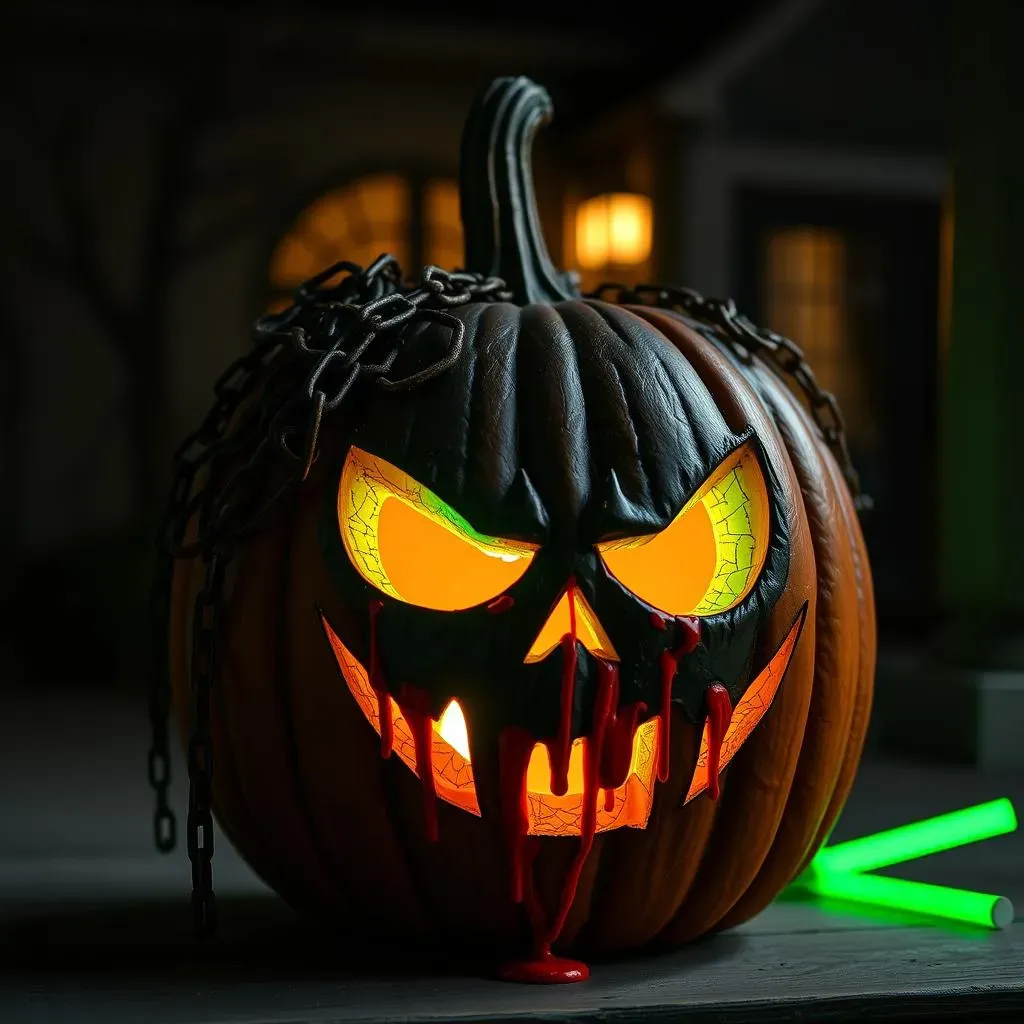
Glow sticks can be added for a cool lighting effect, or you can use battery-operated fairy lights to create a spooky glow. Old chains, rusty screws, and even doll parts can be used to add a touch of industrial horror. And don't forget about sound! A small motion-activated sound module that plays creepy noises can really take your pumpkin to the next level. The goal here is to create a pumpkin that's not just scary to look at, but also an experience for all the senses.
Accessory | Effect | Application |
|---|---|---|
Fake Spiderwebs | Adds a creepy, abandoned look | Attach with hot glue or tacks |
Glow Sticks | Provides eerie, colorful lighting | Place inside the pumpkin |
Rusty Chains | Gives an industrial horror vibe | Drape around the pumpkin |
Conclusion: Your Spooktacular Pumpkin Awaits
With a little creativity and the right scary pumpkin carving ideas templates, you can transform an ordinary pumpkin into a Halloween masterpiece of fright. Don't be afraid to experiment with different designs, tools, and techniques to achieve the ultimate scare factor. Whether you're a seasoned carver or a first-timer, remember that the most important thing is to have fun and embrace the spooky spirit of the season. So, light up your creations, step back, and enjoy the chilling ambiance they bring to your Halloween night!