Table of Contents
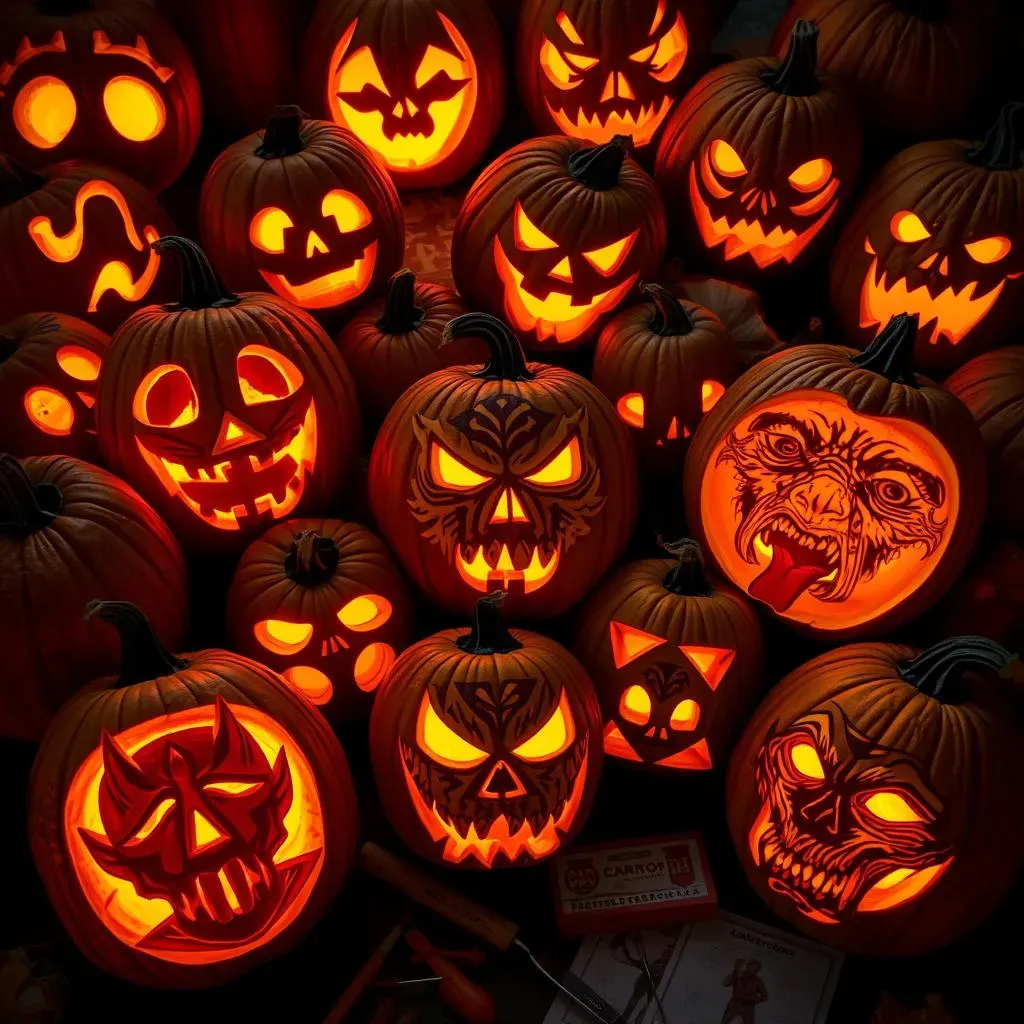
Halloween's creeping closer, and you know what that means: it's time to unleash your inner artist (or mad scientist) on a poor, unsuspecting pumpkin! Forget the cutesy grins and goofy faces. This year, we're diving headfirst into the realm of the truly terrifying. We're talking ghoulish grins, menacing monsters, and designs that will make even the bravest trick-or-treaters think twice before ringing your doorbell. If you're ready to ditch the basic and embrace the beastly, you've come to the right place. This guide is your one-stop shop for scary pumpkin carving ideas stencils that will transform your humble gourd into a spine-chilling masterpiece.
Level Up Your Halloween: Finding the Perfect Scary Pumpkin Carving Stencils
Level Up Your Halloween: Finding the Perfect Scary Pumpkin Carving Stencils
#1: Know Your Skill Level
listen up, future pumpkin Picasso! Before you even think about downloading a stencil, be honest with yourself about your carving skills. Are you a seasoned pro with a Dremel and a steady hand? Or are you more of a "stab-and-hope-for-the-best" kind of carver? There's no shame in starting small! A complex stencil with intricate details will only lead to frustration (and possibly a pumpkin-related injury) if you're not ready for it. Start with simpler designs featuring bold lines and fewer tiny details. Think classic ghosts, bats, or maybe a simple "Boo!" message. As you gain confidence, you can move on to more challenging stencils.
Think of it like this: you wouldn't try to run a marathon without training, right? Pumpkin carving is the same! Start with a 5k (easy stencil), then work your way up to the full 26.2 miles (super-detailed monster face). Plus, simpler designs can still be incredibly effective! A well-executed, minimalist scary face can be just as terrifying as a super-complex one. It's all about the execution.
#2: Dive into the Digital Dungeon: Where to Find Stencils
Alright, so you know your skill level. Now it's time to raid the internet for the perfect scary pumpkin carving stencils. Luckily, the web is overflowing with options, both free and paid. Free stencil sites are a great place to start, but be warned: the quality can vary wildly. Look for sites that offer printable stencils in PDF format. This ensures that the stencil will print at the correct size and resolution. Some great free options include MusePrintables.com and various Pinterest boards dedicated to Halloween stencils.
If you're willing to spend a few bucks, you can find some seriously impressive stencils on sites like Etsy or from independent artists. Paid stencils often feature more intricate designs and higher-quality templates. Plus, you're supporting artists, which is always a good thing! When searching, use keywords like "scary pumpkin stencil," "Halloween stencil," "monster pumpkin pattern," or even specific monster names like "zombie pumpkin stencil" or "vampire pumpkin stencil."
Stencil Source | Cost | Pros | Cons |
|---|---|---|---|
Free Stencil Sites | Free | Lots of options, easy to access | Quality can vary, limited selection of complex designs |
Etsy/Independent Artists | Paid | High-quality designs, supports artists | Can be more expensive than free options |
Pumpkin Carving Kits | Varies | Often include stencils, tools, and instructions | Stencil selection may be limited |
#3: Consider Your Pumpkin's Personality
This might sound a little woo-woo, but hear me out! Every pumpkin is unique, with its own size, shape, and quirks. Before you commit to a stencil, take a good look at your pumpkin and consider its personality. A tall, skinny pumpkin might be perfect for a creepy witch or a towering monster. A round, plump pumpkin could be ideal for a classic jack-o'-lantern face or a spooky spider. Think about how the stencil will fit onto the pumpkin's surface and how the natural contours of the pumpkin might enhance the design.
Also, consider the pumpkin's size. A tiny stencil on a giant pumpkin will look silly, and a huge stencil on a small pumpkin will be overwhelming. Choose a stencil that is appropriately scaled to your pumpkin. And don't be afraid to get creative! You can always modify a stencil to better fit your pumpkin or even combine elements from different stencils to create a truly unique design. The only limit is your imagination (and maybe your carving skills!). Happy haunting!
From Mild to Wild: Scary Pumpkin Carving Ideas for All Skill Levels
From Mild to Wild: Scary Pumpkin Carving Ideas for All Skill Levels
#1: Beginner Nightmares: Easy-Peasy Scary Faces
so you're a newbie to the pumpkin carving scene? No sweat! There are tons of scary pumpkin carving ideas stencils that are perfect for beginners. Think simple silhouettes, basic shapes, and minimal details. A classic ghost with two oval eyes and a jagged mouth is always a winner. Or how about a spooky black cat with pointy ears and glowing eyes? Bats are another great option – just a few simple triangles for wings and some pointy ears, and you're good to go. The key is to choose designs that are easy to trace and carve, with minimal small details that can be tricky to execute. Remember, less is often more when it comes to creating a scary effect. A simple, well-executed design can be far more impactful than a complex, poorly carved one.
Don't underestimate the power of simplicity! A single, menacing eye in the center of a pumpkin can be incredibly creepy. Or try carving a few random holes and then placing a flickering candle inside – instant spooky ambiance! You can also use cookie cutters to create simple shapes like stars, moons, or even skulls. Just press the cookie cutter into the pumpkin's surface to create an outline, then carve along the lines. These easy ideas are perfect for kids too, making pumpkin carving a fun and safe family activity.
#2: Intermediate Terrors: Upping the Ante
Ready to take your pumpkin carving skills to the next level? Awesome! It's time to move on to slightly more complex scary pumpkin carving ideas stencils that require a bit more patience and precision. Think about adding some depth and dimension to your designs. For example, instead of just carving out the eyes of a ghost, try carving around them to create sunken sockets. Or add some shading to a monster's face by carving the pumpkin's skin to different depths. This will create a more realistic and three-dimensional effect.
Consider incorporating more intricate details into your designs. A zombie with exposed brains, a vampire with sharp fangs, or a witch with a crooked nose and warts are all great options. You can also experiment with different carving techniques, such as using a small saw to create fine lines or a gouge to remove larger chunks of pumpkin. Don't be afraid to get creative and add your own personal touches to the stencils. Maybe your zombie has a missing eye or your vampire is wearing a tiny top hat. The possibilities are endless!
Skill Level | Stencil Complexity | Design Examples | Tools Needed |
|---|---|---|---|
Beginner | Simple silhouettes, basic shapes | Ghost, bat, cat, "Boo!" | Carving knife, scoop |
Intermediate | More detail, some shading | Zombie, vampire, witch | Carving knife, small saw, gouge |
Advanced | Intricate details, 3D effects | Detailed monster faces, portraits | Full carving kit, Dremel (optional) |
Tools of Terror: Essential Gear for Flawless Scary Pumpkin Carving
Tools of Terror: Essential Gear for Flawless Scary Pumpkin Carving
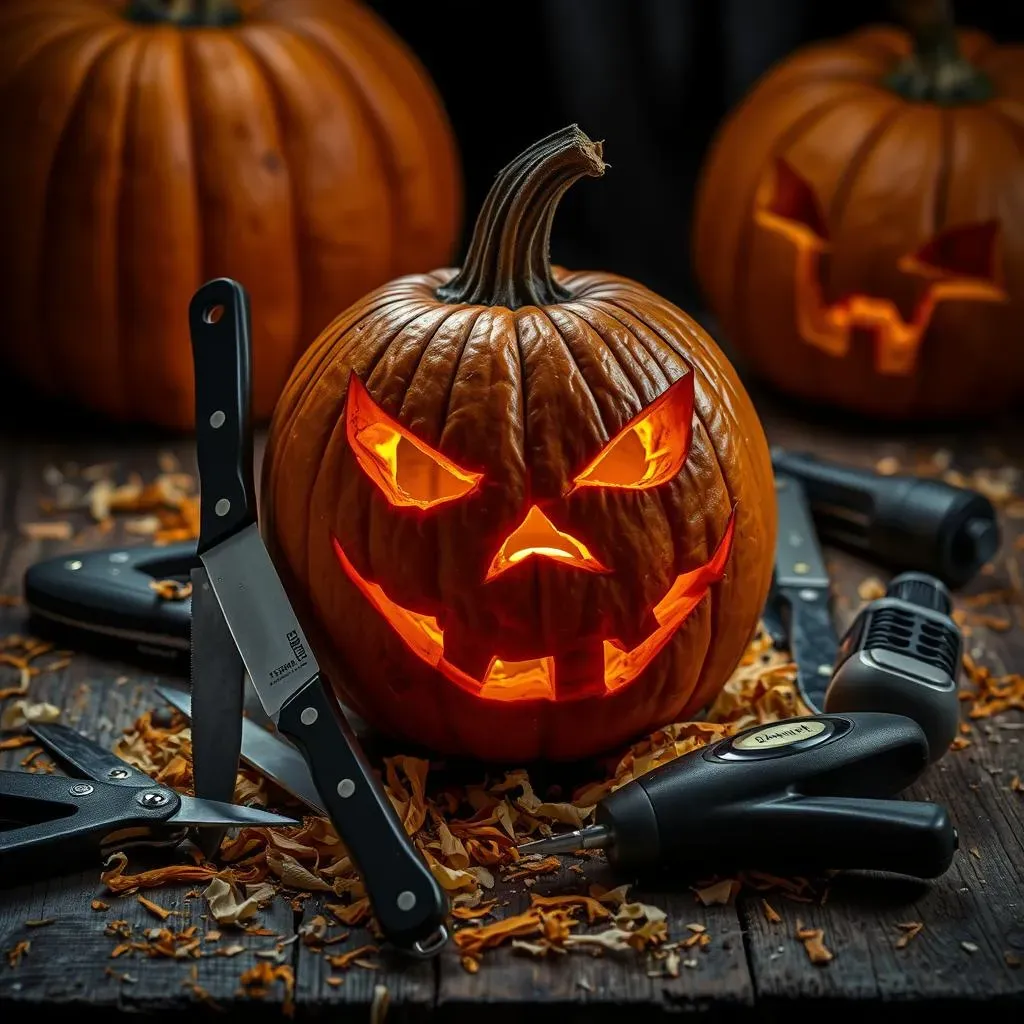
#1: The Carving Arsenal: Knives, Saws, and Gouges, Oh My!
Alright, let's talk tools! You can't carve a masterpiece with a butter knife (trust me, I've tried). To truly unleash your inner pumpkin Picasso, you're going to need some specialized equipment. A good carving kit is a great place to start. These kits typically include a variety of small saws, knives, and gouges that are specifically designed for pumpkin carving. Look for a kit with comfortable handles and sharp blades. Dull tools are not only frustrating but also dangerous!
For more intricate designs, consider investing in a few individual carving tools. A small, serrated saw is perfect for cutting out fine details, while a gouge can be used to remove larger chunks of pumpkin. And if you're serious about pumpkin carving, a Dremel with various attachments can be a game-changer. A Dremel allows you to create incredibly precise cuts and add texture to your designs. Just be sure to wear safety glasses and a dust mask when using a Dremel, as pumpkin carving can get messy!
#2: Illumination Inspiration: Lighting Up Your Fright
So, you've carved your scary masterpiece. Now it's time to bring it to life with some spooky illumination! The classic choice, of course, is a candle. But be careful! Candles can be a fire hazard, especially if you have curious pets or little monsters running around. Battery-operated tea lights are a much safer option. They provide a flickering, candle-like glow without the risk of fire. Plus, they last much longer than candles, so your pumpkin will stay illuminated all night long.
For an even more dramatic effect, consider using colored LED lights. Red, green, or purple lights can add an extra layer of creepiness to your pumpkin. You can also find LED lights that flicker or change colors, creating a truly mesmerizing effect. And if you're feeling really ambitious, you can even install a small spotlight inside your pumpkin to highlight specific features of your design. Just make sure the spotlight doesn't get too hot, as this could damage the pumpkin.
Tool | Use | Pros | Cons |
|---|---|---|---|
Carving Knife | Cutting out large sections | Versatile, easy to use | Can be difficult for fine details |
Serrated Saw | Cutting out fine details | Precise, good for intricate designs | Requires more skill and patience |
Gouge | Removing large chunks of pumpkin | Creates depth and texture | Can be difficult to control |
Dremel | Precise cuts and texture | Versatile, saves time | Requires more skill and safety measures |
Beyond the Stencil: Creative Ways to Elevate Your Scary Pumpkin Designs
Beyond the Stencil: Creative Ways to Elevate Your Scary Pumpkin Designs
#1: Add Some Texture: Carving Beyond the Surface
you've got your stencil, you've got your tools, and you've carved out the basic design. But why stop there? Let's add some texture to really make your scary pumpkin stand out! One simple way to do this is by varying the depth of your cuts. Instead of just carving straight through the pumpkin's skin, try carving some areas deeper than others. This will create shadows and highlights that add dimension and realism to your design. For example, you could carve the wrinkles on a witch's face deeper than the surrounding skin, or create a sunken effect around a monster's eyes. Another great technique is to use a gouge or a small knife to create textured surfaces. You can stipple the pumpkin's skin to create a rough, bumpy texture, or carve small lines to simulate fur or scales.
Don't be afraid to experiment with different tools and techniques to see what works best for you. You can even use household items like sandpaper or steel wool to add texture to your pumpkin. Just be careful not to damage the pumpkin's surface too much. Remember, the goal is to enhance the design, not to destroy it! And if you mess up, don't worry! Just embrace the imperfection and turn it into a unique feature of your design. After all, the best scary pumpkins are the ones that have a little bit of personality.
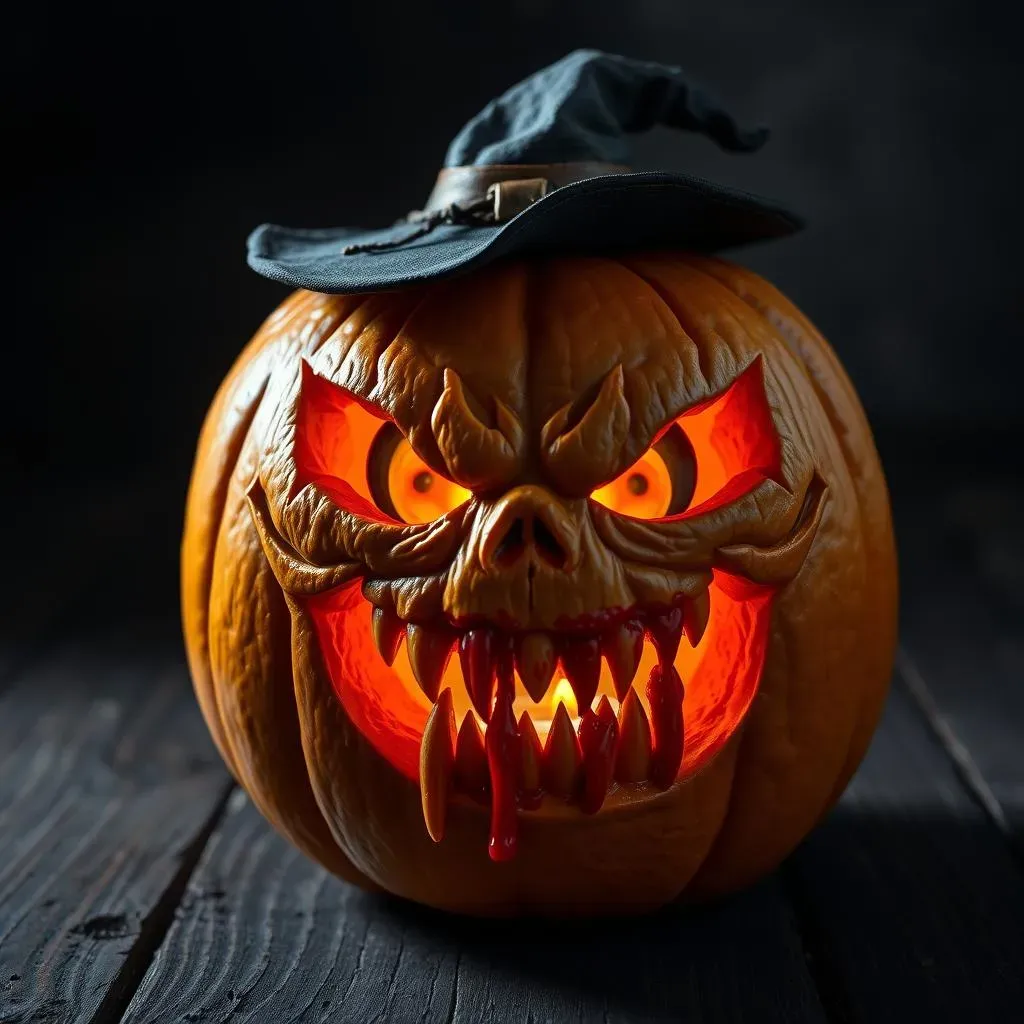
#2: Accessorize Your Abomination: Adding Props and Flair
Alright, your pumpkin is carved, textured, and illuminated. But it's still missing something... accessories! Adding props and flair is a fantastic way to take your scary pumpkin designs to the next level and really make them stand out from the crowd. Think about what kind of character you're trying to create and then brainstorm some accessories that would fit that character. A witch could wear a miniature hat and carry a tiny broom. A zombie could have fake blood dripping from its mouth and a few plastic eyeballs stuck in its head. A vampire could sport some pointy plastic fangs and a tiny velvet cape.
Get creative with your accessories! You can use anything from craft supplies to household items to create the perfect look. Hot glue is your friend here, but be careful not to burn yourself! You can also use toothpicks or skewers to attach accessories to the pumpkin. And don't forget about the environment! Consider using natural materials like twigs, leaves, and berries to decorate your pumpkin. A crown of thorns made from thorny branches can add a truly terrifying touch to your scary pumpkin design. The possibilities are endless! So, let your imagination run wild and create a pumpkin that is truly unique and unforgettable.
Accessory | Character | Materials |
|---|---|---|
Miniature Hat | Witch | Felt, cardboard, glue |
Fake Blood | Zombie, Vampire | Corn syrup, food coloring |
Plastic Fangs | Vampire | Plastic, glue |
Thorns | Monster | Branches, wire |
#3: Paint the Town (Pumpkin) Red: Using Color to Enhance the Scare
Don't limit yourself to just carving! Paint can be a powerful tool for enhancing the scariness of your pumpkin designs. A coat of black paint can make a simple ghost silhouette look incredibly spooky, while a splash of red paint can simulate blood dripping from a monster's fangs. Consider using glow-in-the-dark paint to make your pumpkin visible even in the darkest corners of your yard. You can also use different colors to highlight specific features of your design, such as painting a witch's eyes green or a zombie's skin gray.
When painting your pumpkin, be sure to use acrylic paints, as these are durable and water-resistant. You can also use spray paint for a quick and even coat of color. Just be sure to spray paint in a well-ventilated area and wear a mask to protect yourself from the fumes. And don't be afraid to get messy! Splatter paint, drip paint, and even finger painting can all add a unique and terrifying touch to your scary pumpkin designs. Just remember to have fun and let your creativity flow!
Unleash the Gourdian of Fear: Your Scary Pumpkin Masterpiece Awaits
So, there you have it – your ultimate guide to dominating the scary pumpkin carving game. Whether you're a seasoned pro or a first-time carver, armed with the right stencils, tools, and a dash of daring, you're ready to transform an ordinary pumpkin into a terrifying work of art. Don't be afraid to experiment, get creative, and most importantly, have fun conjuring up your spooktacular masterpiece. This Halloween, let your porch be the talk (and fright) of the neighborhood. Now go forth and carve some scares!