Table of Contents
Halloween's creeping closer, and what screams spooky season louder than a grinning, ghoulish Jack-O'-Lantern leering from your porch? But let's be real, not all of us are pumpkin Picasso. If you're a newbie wielding a carving knife, the thought of creating a truly terrifying masterpiece might seem daunting. Fear not, fellow fright fanatics! This guide is your treasure map to a trove of scary pumpkin carving ideas for beginners, free of charge and overflowing with inspiration. We're ditching the complicated techniques and embracing simple, yet effective, methods to transform your pumpkin into the scariest on the block.
Easy & Free Scary Pumpkin Carving Ideas for Beginners: No Skills Needed!
Easy & Free Scary Pumpkin Carving Ideas for Beginners: No Skills Needed!
Classic Creepy Faces: The Timeless Terror
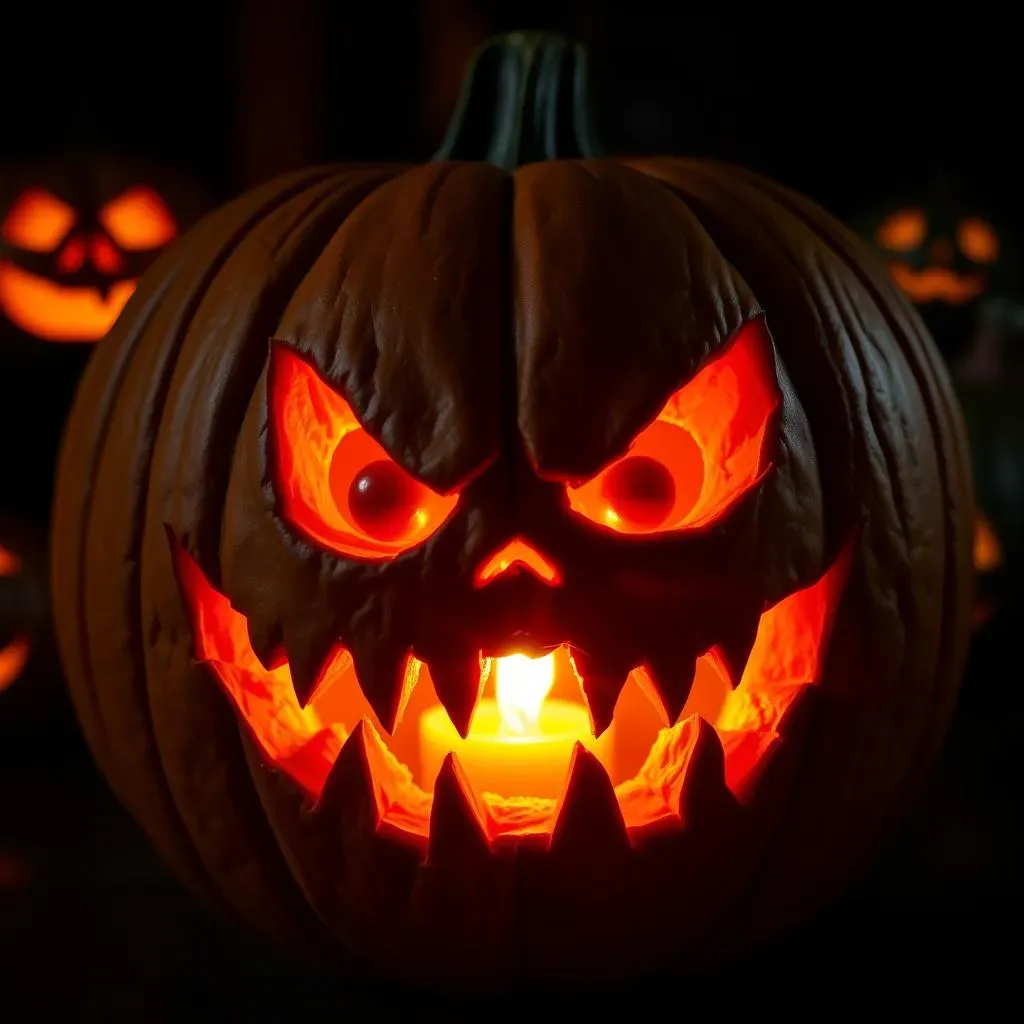
Let's start with the basics, because sometimes the simplest designs are the scariest! Think jagged teeth, wide, uneven eyes, and a menacing frown. You don't need to be an artist to pull this off. In fact, the more imperfect, the better! Uneven cuts add to the creep factor, making your pumpkin look like it was carved by a crazed monster rather than a careful crafter. Embrace the asymmetry and let your inner ghoul guide your knife (or, better yet, a kid-safe carving tool!).
Consider using cookie cutters to create simple shapes for the eyes and mouth. Press them firmly into the pumpkin skin and trace around them with your carving tool. This is a fantastic way to achieve consistent shapes without relying on freehand drawing. Remember, the goal isn't perfection; it's pure, unadulterated Halloween terror! Light it up with a flickering candle for extra spookiness.
Spooky Silhouettes: Shadowy Specters
Want to create a dramatic effect with minimal effort? Try carving silhouettes! Find a scary image online – a witch on a broomstick, a menacing bat, a creepy cat – and print it out. Tape the image to your pumpkin and trace the outline with a pencil. Then, carefully carve along the lines, removing the outer layer of the pumpkin skin but leaving the inner flesh intact. When you light it up, the silhouette will cast an eerie shadow, creating a truly haunting display. It's like a spooky shadow puppet show right on your porch!
For an extra layer of dimension, consider carving different depths within the silhouette. Carve some areas deeper than others to allow more light to shine through, creating a subtle gradient effect. This adds depth and visual interest to your design, making it look more complex than it actually is. And the best part? It's still incredibly easy for beginners! Think about adding a colored light inside to cast a vibrant, spooky hue.
Design Idea | Difficulty | Scare Factor |
|---|---|---|
Classic Creepy Face | Easy | Medium |
Witch Silhouette | Easy | High |
Bat Silhouette | Easy | Medium |
Level Up Your JackO'Lantern: BeginnerFriendly Scary Faces & Designs
Level Up Your JackO'Lantern: BeginnerFriendly Scary Faces & Designs
Googly Eyes Gone Ghastly: Exaggerated Features for Maximum Fright
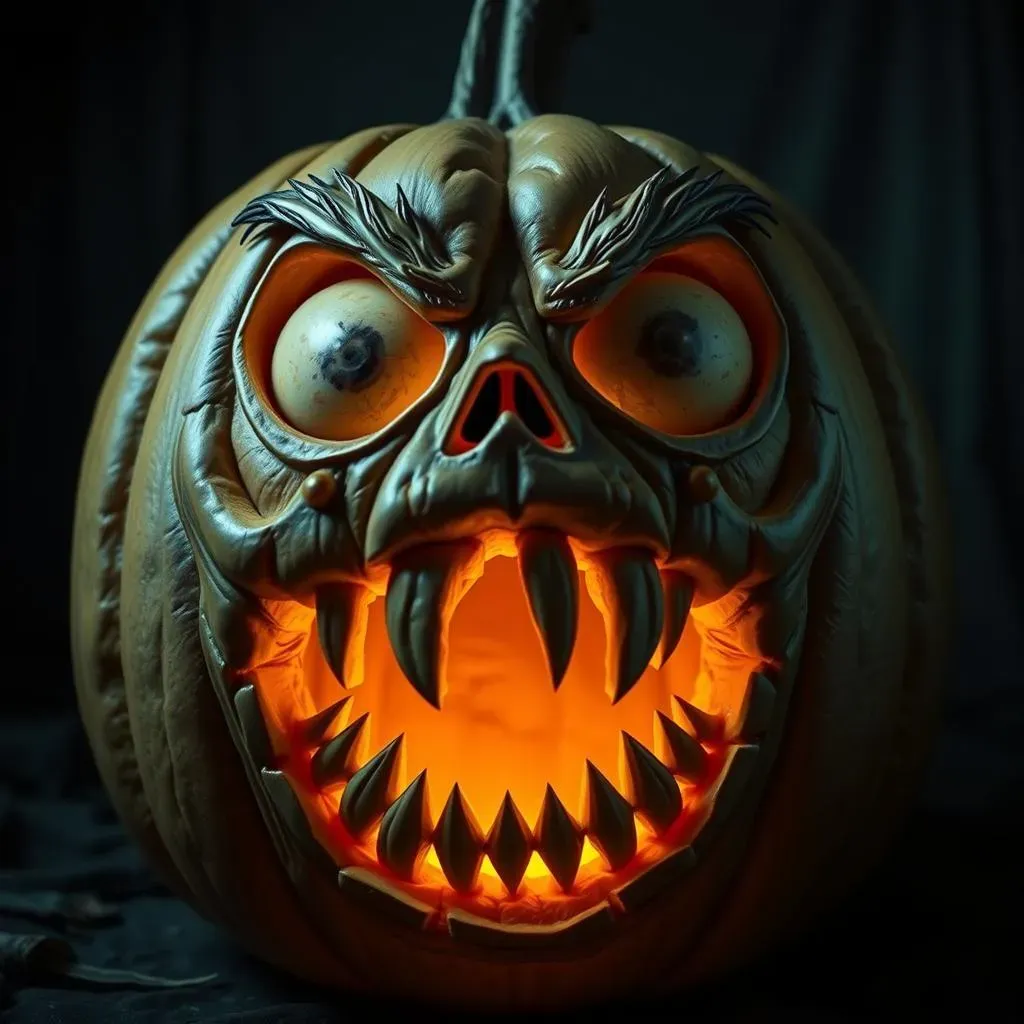
so you've mastered the basic triangle eyes and square mouth. Time to crank up the creep factor! Think about exaggerating those features to the extreme. Enlarge the eyes until they're practically bugging out of the pumpkin. Make the mouth a gaping maw filled with oversized, crooked teeth. The more cartoonishly grotesque, the better! This technique works especially well with silly monster faces, transforming them from cute to downright disturbing. Experiment with different shapes and sizes to create a truly unique and unsettling visage.
Don't be afraid to get creative with the placement of your features. Off-center eyes, a lopsided grin – these imperfections add to the overall sense of unease. Consider carving the eyebrows in an exaggerated, angry arch to convey a sense of rage or menace. Remember, the goal is to create a face that's both familiar and unsettling, playing on our primal fears. A little asymmetry goes a long way in the world of scary pumpkin carving!
The Power of the "O": Screaming Faces That Terrify
Want to instantly add a dose of horror to your Jack-O'-Lantern? Carve a wide, gaping "O" for the mouth. This simple shape evokes a sense of primal terror, as if your pumpkin is screaming in silent agony. The larger the "O," the more effective the effect. Experiment with different shapes and sizes to create a truly unique and unsettling visage. Make the "O" jagged and uneven for an even more disturbing look, like the pumpkin is in immense pain.
To enhance the screaming effect, consider adding other details around the mouth. Carve deep wrinkles around the "O" to suggest strain and anguish. Add sharp, pointed teeth along the edges of the mouth to create a more menacing appearance. You could even carve small tears near the eyes to imply that the pumpkin is crying out in terror. This simple technique can transform your pumpkin into a truly terrifying masterpiece, guaranteed to send shivers down the spines of trick-or-treaters.
Feature | Scary Enhancement |
|---|---|
Eyes | Make them HUGE and uneven! |
Mouth | A wide, jagged "O" for screaming terror. |
Eyebrows | Exaggerated, angry arches. |
Free Stencils & Templates for Spooky Pumpkin Carving: A Beginner's Guide
Free Stencils & Templates for Spooky Pumpkin Carving: A Beginner's Guide
Unleash the Power of Printables: Your Shortcut to Spooky
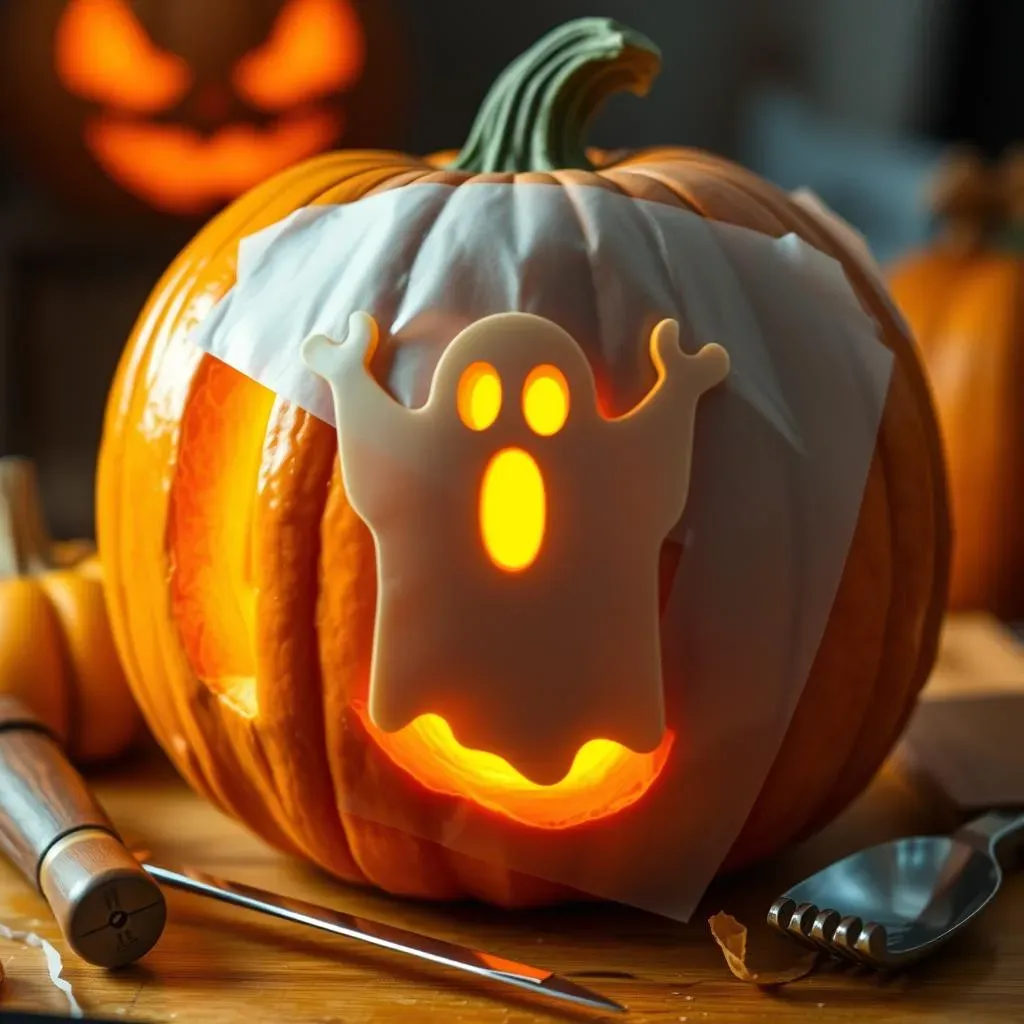
Alright, so maybe freehand carving isn't your jam. No sweat! That's where the magic of free stencils and templates comes in. The internet is overflowing with them, just waiting to be downloaded and plastered onto your pumpkin. Seriously, a quick search for "free pumpkin carving stencils" will open up a Pandora's Box of spooky possibilities. From classic ghosts and goblins to pop culture icons and intricate designs, there's a stencil out there for every skill level and scare preference. It's like having a professional artist guide your every cut!
Using stencils is ridiculously easy. Just print out your chosen design, tape it securely to your pumpkin, and use a poking tool (an awl, a thick needle, even a pen) to transfer the design onto the pumpkin's surface by creating a series of small dots along the stencil lines. Remove the stencil, and you've got a perfect roadmap for your carving adventure. Trace over the dots with your carving tool and you're golden! It’s a total game-changer for beginners, guaranteeing a recognizable and impressive result, every single time.
Finding the Perfect Fright: Where to Snag Free Stencils Online
So, where do you find these glorious free stencils? Well, a simple Google search is your best friend, but here are a few of my favorite haunts (pun intended!): Websites like Pumpkin Pile, DLTK-Holidays, and even Pinterest are goldmines for free, printable stencils. Many craft blogs also offer exclusive designs that you won't find anywhere else. Just be sure to check the terms of use before downloading and sharing, as some stencils may be for personal use only.
When choosing a stencil, consider your skill level and the size of your pumpkin. Intricate designs with lots of small details can be challenging for beginners, so it's best to start with something simpler. Also, make sure the stencil is appropriately sized for your pumpkin; a stencil that's too large or too small will look awkward and disproportionate. With a little bit of searching and a whole lot of spooky inspiration, you'll find the perfect stencil to transform your pumpkin into a frightful work of art. It’s like online window shopping, but for scaring the neighborhood kids!
Stencil Source | Pros | Cons |
|---|---|---|
Google Search | Massive selection, easy to find | Can be overwhelming, quality varies |
Pumpkin Pile | Well-organized, diverse designs | Some designs may require registration |
Visually appealing, lots of inspiration | Can be time-consuming to sort through |
From Goofy to Ghastly: Expert Tips for Scary Pumpkin Carving (Beginner Edition)
From Goofy to Ghastly: Expert Tips for Scary Pumpkin Carving (Beginner Edition)
Tool Time: Gearing Up for Ghastly Greatness
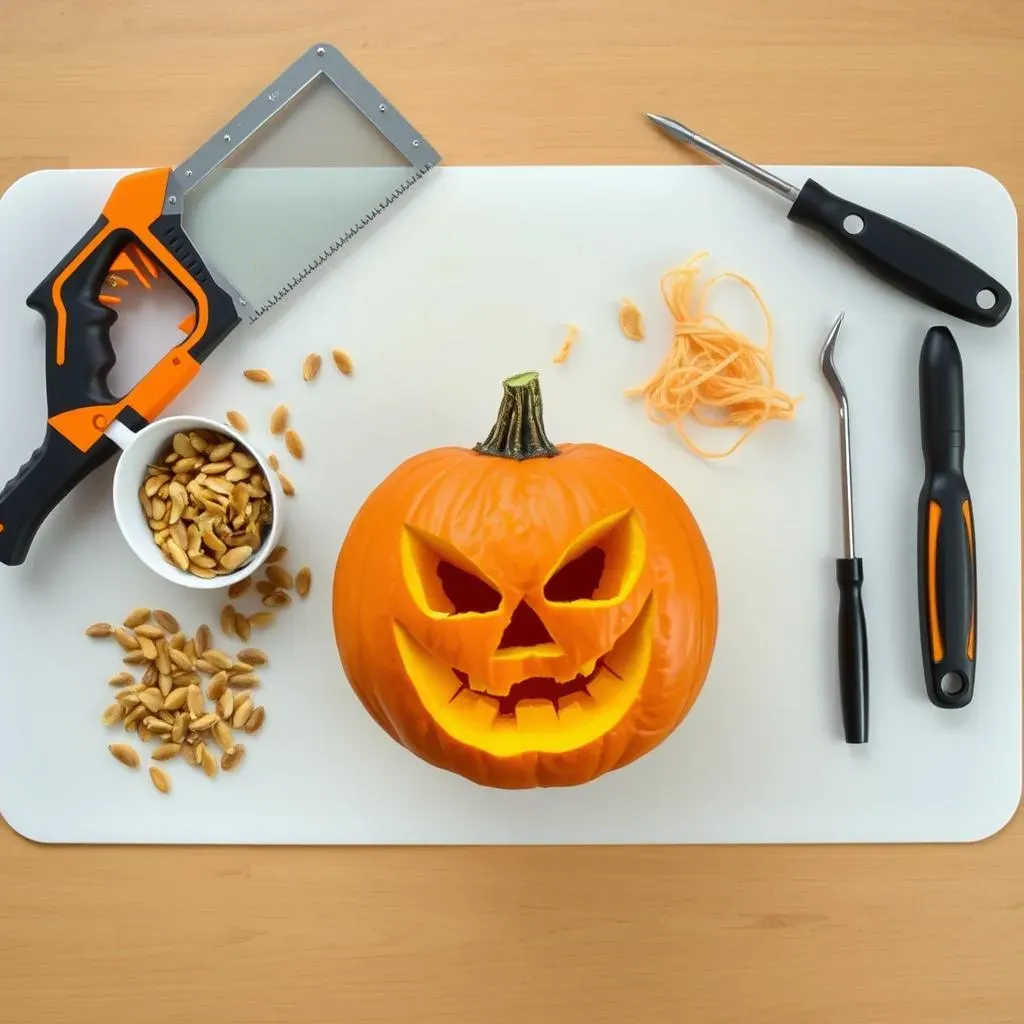
Alright, you've got your pumpkin, your stencil, and your spooky inspiration. But before you start hacking away, let's talk tools. Because using a butter knife is, well, not ideal. Invest in a basic pumpkin carving kit – you can find them at most grocery stores or craft stores for a few bucks. These kits usually include a small saw, a scoop, and a poking tool. The saw is perfect for making precise cuts, the scoop helps you gut the pumpkin like a pro, and the poking tool is essential for transferring stencils. Trust me, having the right tools makes a world of difference!
Beyond the basics, consider adding a few extra gadgets to your arsenal. A serrated knife can be useful for cutting through thick pumpkin skin, and a small paring knife is great for detail work. A flexible cutting board will protect your work surface, and a damp cloth will keep your hands clean. And don't forget a good light source! Carving in a well-lit area will help you see what you're doing and prevent any accidental stabs. Safety first, spooky second!
The Gut Reaction: Prepping Your Pumpkin for Peak Spookiness
so you've got your tools. Now it's time to get down and dirty with the pumpkin guts! Using your serrated knife, carefully cut a large circle around the stem. Angle the knife inwards slightly so that the lid will sit snugly back on top. Once you've cut all the way around, gently lift the lid off. Now comes the fun part: scooping out the insides! Use your pumpkin scoop (or a sturdy spoon) to scrape away the seeds and stringy pulp. Get as much of it out as possible, because the cleaner your pumpkin is on the inside, the longer it will last.
Pro tip: save the seeds! Roasted pumpkin seeds are a delicious and healthy snack. Just rinse them off, toss them with some olive oil and salt, and bake them in the oven until golden brown and crispy. But back to the task at hand. Once you've removed all the guts, scrape the inside walls of the pumpkin smooth. This will make it easier to carve and allow more light to shine through. Now your pumpkin is prepped and ready for its terrifying transformation. It's like giving your gourd a spa day, only instead of relaxation, it's getting ready for a night of fright!
Tool | Use | Beginner-Friendly? |
|---|---|---|
Pumpkin Carving Kit Saw | Precise cuts, stencil following | Yes |
Pumpkin Scoop | Gutting the pumpkin | Yes |
Poking Tool | Stencil transfer | Yes |
Beyond the Basic Boo: Advanced Scary Pumpkin Carving Ideas (Still BeginnerFriendly!)
Beyond the Basic Boo: Advanced Scary Pumpkin Carving Ideas (Still BeginnerFriendly!)
Layered Frights: Carving for Depth and Dimension
Ready to take your pumpkin carving to the next level without needing a degree in fine arts? Let's talk about layering! This technique involves carving at different depths to create a multi-dimensional effect. Instead of just cutting all the way through the pumpkin skin, experiment with shaving off layers to allow varying amounts of light to shine through. This adds depth, texture, and a whole lot of visual interest to your design. Think of it like sculpting with light and shadow. You can use this to create spooky details like sunken eyes, protruding cheekbones, or even the suggestion of muscles beneath the skin. It’s like giving your pumpkin a facelift, only way scarier!
To achieve this layered look, start by carving your basic design. Then, using a smaller carving tool or a wood carving gouge, carefully shave away the outer layers of the pumpkin skin in specific areas. The thinner the layer, the more light will shine through. Practice on a test pumpkin first to get a feel for how much pressure to apply. This technique is especially effective for creating realistic-looking faces, as it allows you to subtly define the contours of the face and create a more lifelike appearance. It might sound intimidating, but with a little patience and practice, you'll be amazed at the results. It’s all about adding those subtle details that make your pumpkin truly pop (and scare!).
Layer Depth | Light Effect | Best For |
|---|---|---|
Full Cut-Through | Brightest Light | Outlines, main features |
Shaved Layer (Thin) | Medium Light | Highlights, subtle details |
Shaved Layer (Thick) | Dim Light | Shadows, contours |
Posable Pumpkins: Adding Articulation for Extra Spook
Want to really freak out the trick-or-treaters? Give your pumpkin some articulation! By carving strategic joints and attaching different pumpkin parts together with skewers or dowels, you can create a posable pumpkin that can be arranged in all sorts of creepy configurations. Imagine a pumpkin skeleton with articulated arms and legs, or a zombie pumpkin reaching out from your porch. The possibilities are endless! This technique requires a bit more planning and precision, but the payoff is well worth it. It’s like building your own Frankenstein's monster, but with gourds!
To create a posable pumpkin, start by sketching out your design and identifying the areas where you want to create joints. Carefully carve out these joints, making sure to leave enough pumpkin flesh to attach the different parts together. Use skewers or dowels to connect the parts, allowing them to pivot and rotate. You can even use wire or string to create more complex movements. For added spookiness, consider adding sound effects or motion sensors to your posable pumpkin. Imagine a zombie pumpkin that lunges at unsuspecting passersby! This is a guaranteed way to win the "scariest house on the block" award. Just be prepared for some screams (of delight, of course!).
Unleash Your Inner Ghoul: Mastering Scary Pumpkin Carving for Beginners
So, you've journeyed through the realm of easy scares and emerged victorious, armed with newfound pumpkin-carving prowess. Remember, the best Jack-O'-Lantern isn't about perfection; it's about embracing the spooky spirit and having fun. Whether you stuck with a classic creepy grin or dared to venture into more creative frights, you've now got the skills and inspiration to make this Halloween unforgettable. Don't be afraid to experiment, add your personal touch, and most importantly, let your inner ghoul shine! Now go forth, carve your heart out, and unleash a wave of delightful terror upon your neighborhood. Happy haunting!