Table of Contents
Halloween's creeping closer, and you're probably thinking about pumpkins, right? Forget those boring, basic triangle eyes and goofy grins. This year, we're cranking up the scare factor with some seriously spooky pumpkin carving ideas for beginners. I get it; you don't want to spend hours wrestling with a pumpkin, only to end up with a lopsided mess. That's why I've gathered the easiest, yet most terrifying, designs that'll have your neighbors screaming with delight (or fright!).
Easy & Spooky: BeginnerFriendly Scary Pumpkin Carving Ideas
Easy & Spooky: BeginnerFriendly Scary Pumpkin Carving Ideas
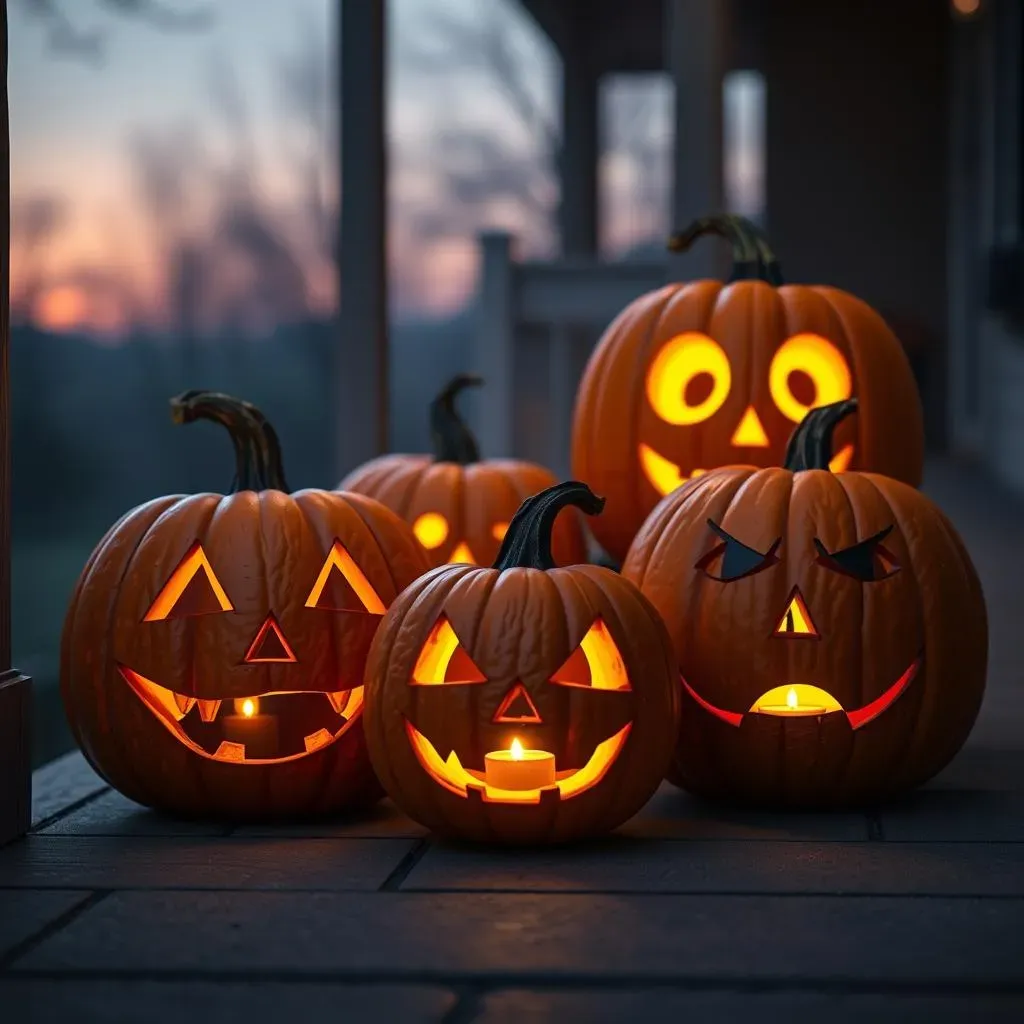
Alright, so you want to carve a pumpkin that'll make the neighborhood kids think twice about trick-or-treating at your place? Good. Let's start with the basics. Forget intricate designs that require an art degree. We're talking simple shapes that create maximum scare. Think jagged teeth, menacing eyes, and maybe a crooked nose. The key is asymmetry – perfectly symmetrical scary faces are, ironically, less scary. A little imperfection makes it look more menacing, like something's gone terribly wrong. I remember one year, I tried to carve a "perfect" skull, and it ended up looking like a friendly cartoon character. Lesson learned: embrace the chaos!
- Classic Jack-o'-Lantern: Triangle eyes, jagged mouth. Can't go wrong!
- Ghostly Ghoul: Oval eyes, a wide, surprised mouth. Spooky and easy.
- Wicked Witch: A crooked nose, slanted eyes. Add a wart for extra effect.
One of my favorite super-easy tricks is to use cookie cutters. Seriously! Find some spooky-shaped cookie cutters (bats, ghosts, skulls) and hammer them gently into the pumpkin skin. Then, just carve along the edges. Boom! Instant scary design. Plus, you get cookies later. It's a win-win.
Tools of Terror: Essential Pumpkin Carving Supplies for Beginners
Tools of Terror: Essential Pumpkin Carving Supplies for Beginners
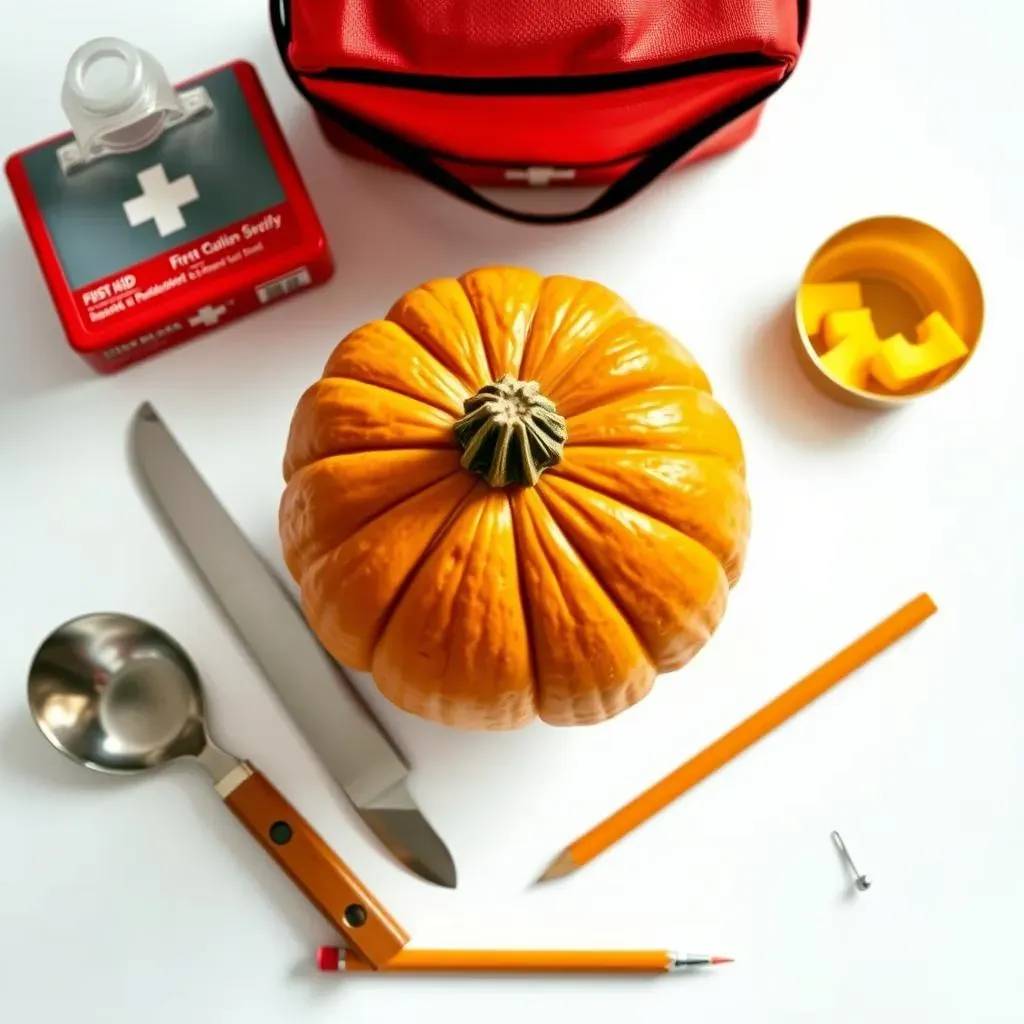
Alright, so you've got your scary pumpkin carving ideas brewing. But before you dive in, you need the right tools. Don't worry, you don't need a fancy surgeon's kit. We're keeping it simple and budget-friendly. Think of these tools as your trusty sidekicks in the battle against the gourd. I remember trying to carve a pumpkin with a butter knife one year. It was a disaster. The knife slipped, I almost lost a finger, and the pumpkin ended up looking like it had been attacked by a rabid squirrel. So, trust me, invest in the right tools. It'll save you a lot of frustration (and potential ER visits).
Tool | Why You Need It | Beginner-Friendly Alternative |
|---|---|---|
Serrated Pumpkin Carving Knife | For cutting clean lines and intricate details. | A thin, serrated kitchen knife. |
Pumpkin Scoop | To easily remove the pumpkin guts and seeds. | A large metal spoon or ice cream scoop. |
Pencil or Marker | For drawing your design onto the pumpkin. | Any pen or marker you have lying around. |
Pushpin or Poker Tool | For creating a stencil by poking holes along your design. | A skewer or nail. |
Beyond the basics, consider a small saw for more detailed work and a sturdy work surface to avoid any wobbly pumpkin mishaps. And for goodness' sake, have a first-aid kit nearby! Pumpkin carving can get messy, and accidents happen. Better to be safe than sorry. I once sliced my finger open while carving a particularly menacing grin. A little bandage and some disinfectant, and I was back in the game, but it was a good reminder to always be careful.
From Mild to Wild: Scaling the Scary Pumpkin Carving Difficulty
From Mild to Wild: Scaling the Scary Pumpkin Carving Difficulty
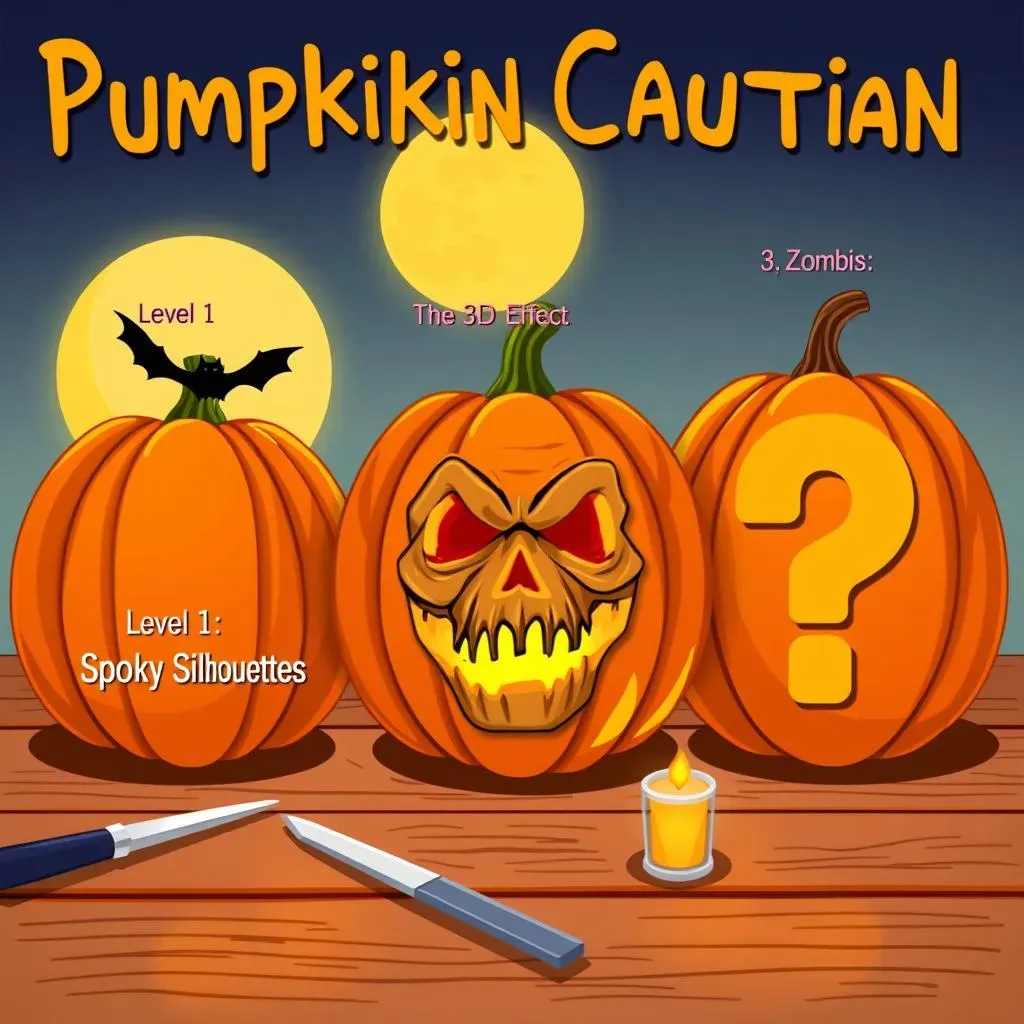
Level 1: Spooky Silhouettes
So, you've mastered the basic Jack-o'-Lantern. Now what? Let's move on to silhouettes! These are surprisingly easy but look super impressive when lit up. Think bats flying across a full moon, a creepy cat perched on a fence, or a haunted house against a stormy sky. The trick is to find a simple silhouette image online, print it out, and tape it to your pumpkin. Then, use your pushpin or poker tool to trace the outline by poking holes through the paper and into the pumpkin skin. Remove the paper, and connect the dots with your carving knife. Voila! Instant spooky scene. I remember one year, I carved a silhouette of a graveyard scene, complete with tombstones and a gnarled tree. It was a huge hit, and nobody guessed how easy it was to make!
Don't be afraid to experiment with different silhouette designs. You can find tons of free templates online, or even create your own. Just remember to keep it simple – the less detail, the easier it will be to carve. And don't worry if it's not perfect. A little imperfection adds to the spooky charm. After all, who wants a perfectly symmetrical haunted house? That's just weird.
Silhouette Idea | Difficulty | Spookiness Factor |
|---|---|---|
Bat Flying Across Moon | Easy | Medium |
Creepy Cat on Fence | Easy | Medium |
Haunted House | Medium | High |
Level 2: The 3D Effect
Ready to take your pumpkin carving to the next level? Let's try creating a 3D effect. This involves carving different depths into the pumpkin skin to create shadows and highlights. It sounds complicated, but it's actually pretty straightforward. Start by drawing your design onto the pumpkin as usual. Then, instead of cutting all the way through the skin, carve some areas only partially. The thinner the pumpkin skin, the more light will shine through, creating a brighter highlight. The thicker the skin, the less light will shine through, creating a darker shadow. I once carved a zombie face using this technique, and the sunken eyes and rotting flesh looked incredibly realistic (and terrifying!).
The key to mastering the 3D effect is patience and practice. Start with a simple design and gradually work your way up to more complex ones. And don't be afraid to experiment! Try using different carving tools to create different textures and depths. You can also use sandpaper to smooth out the edges and create a more polished look. Just remember to take your time and have fun with it. After all, pumpkin carving is supposed to be a fun and creative activity, not a stressful chore. Unless you're carving a pumpkin for a competition. Then, all bets are off!
- Use a small gouge or wood carving tool for better depth control.
- Start with shallow cuts and gradually deepen them.
- Use a flashlight to check the light levels as you carve.
Light Up the Night: Displaying Your Scary Pumpkin Carvings

Light Up the Night: Displaying Your Scary Pumpkin Carvings
You've poured your heart (and maybe some blood) into carving the perfect scary pumpkin. Now, it's time to show it off! But simply plopping it on your porch with a tea light inside? That's amateur hour. We need to amplify the spookiness! Think dramatic lighting, creative placement, and maybe even a little fog. I remember one year, I rigged up a strobe light inside my pumpkin, and it looked like it was possessed by a demon. The neighbors loved it (or at least, they pretended to).
First things first: ditch the tea light. Those things are weak and boring. Opt for an LED candle or a string of fairy lights. They're brighter, last longer, and won't blow out in the wind. Plus, you can get them in different colors to create different effects. A red light can make your pumpkin look like it's filled with blood, while a green light can give it an eerie, otherworldly glow. Get creative!
Lighting Option | Pros | Cons | Spookiness Factor |
|---|---|---|---|
LED Candle | Safe, long-lasting, reusable | Can look a bit artificial | Medium |
Fairy Lights | Creates a magical, whimsical effect | Can be a bit fiddly to arrange | Medium |
Strobe Light | Creates a dramatic, disorienting effect | Can be annoying to some people | High |
Unleash Your Inner Ghoul: Mastering Scary Pumpkin Carving for Beginners
So, there you have it! Transforming a simple pumpkin into a terrifying masterpiece doesn't require expert skills. With these scary pumpkin carving ideas for beginners, a few basic tools, and a dash of creativity, you're all set to spookify your Halloween. Whether you choose a classic creepy face or a more elaborate design, remember the goal is to have fun and unleash your inner ghoul. Now go forth, carve boldly, and may your pumpkins be the scariest on the block!