Table of Contents
Halloween's creeping closer, and what's a spooky season without a grinning, ghoulish pumpkin leering from your porch? If you're tired of the same old triangle eyes and snaggle-toothed grin, you've come to the right haunted house. We're diving deep into the world of scary face pumpkin carving ideas, offering a monstrous collection of inspiration to transform your pumpkin from friendly gourd to frightful fiend. From easy-peasy designs perfect for beginners to intricate masterpieces that'll make the neighbors scream (with delight, of course), we've got something for every skill level. Ready to ditch the dull and embrace the dread? This guide will walk you through a graveyard of scary face pumpkin carving ideas, breaking them down into easy-to-digest steps. We'll start with simple designs that even the kids can help with, then ramp up the terror with intermediate and advanced techniques. Plus, we'll explore some creative twists to truly make your pumpkin stand out in the patch. So grab your carving tools, light a candle, and prepare to unleash your inner pumpkin Picasso – it's time to get spooky!
Unleash Your Inner Artist: Simple Scary Face Pumpkin Carving Ideas
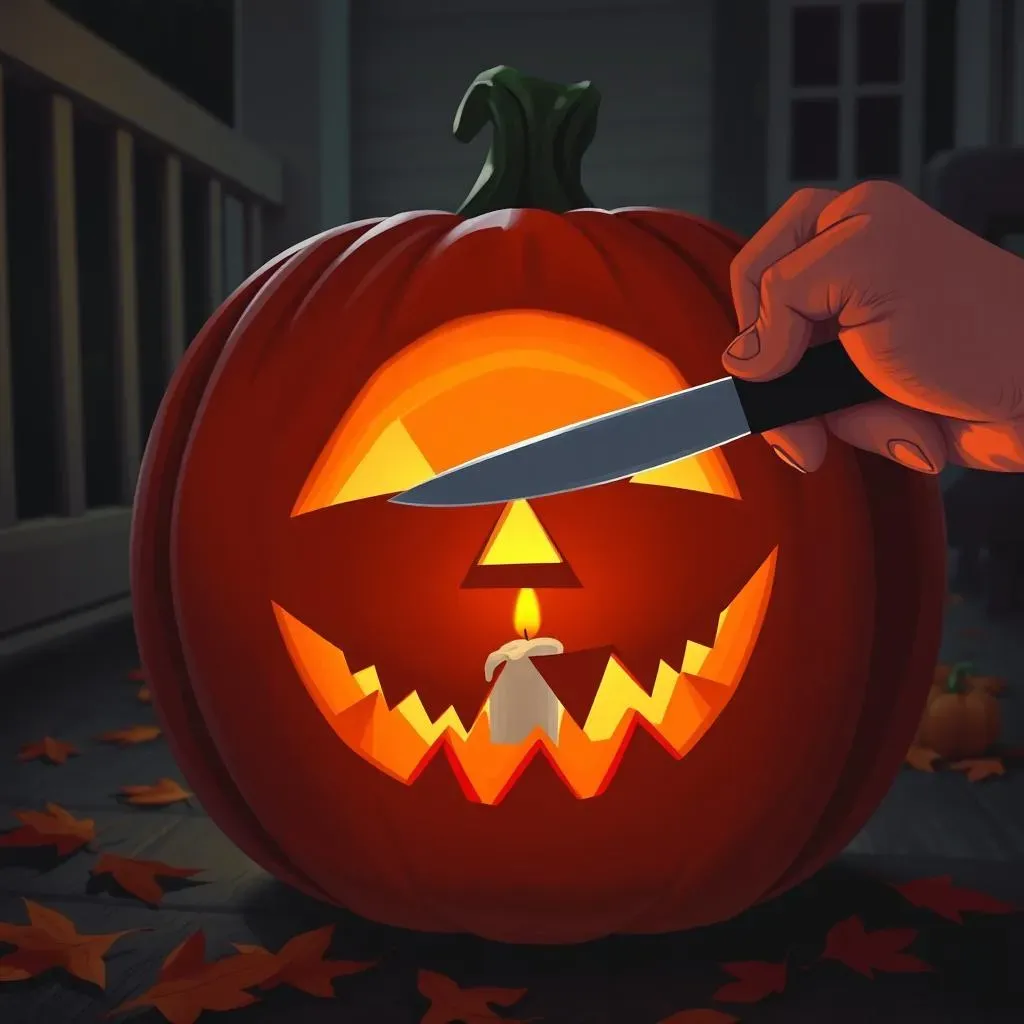
Unleash Your Inner Artist: Simple Scary Face Pumpkin Carving Ideas
Alright, so you're ready to dive into the pumpkin patch, but maybe you're not exactly Michelangelo with a carving knife? No sweat! We're starting with the basics – simple, scary faces that anyone can pull off. Think classic Jack-o'-Lantern vibes, but with a little extra oomph. The key here is to keep the shapes bold and the cuts clean. We're talking triangles, squares, and maybe a zig-zag or two. Forget about intricate details for now; we're going for maximum impact with minimal effort. Trust me, even the simplest scary face can look amazing with a little creativity and a well-placed candle.
Before you even touch that pumpkin, sketch out your design on paper. This will give you a roadmap and prevent any "oops, I just carved off half the face" moments. Consider using stencils if you're feeling extra cautious. You can find tons of free templates online – just print them out, tape them to your pumpkin, and trace away. Remember, it's all about having fun and embracing the spooky spirit. Don't be afraid to experiment and put your own spin on things. After all, the best scary faces are the ones that are a little bit unique!
Level Up Your Carving Game: Intermediate Scary Pumpkin Face Designs
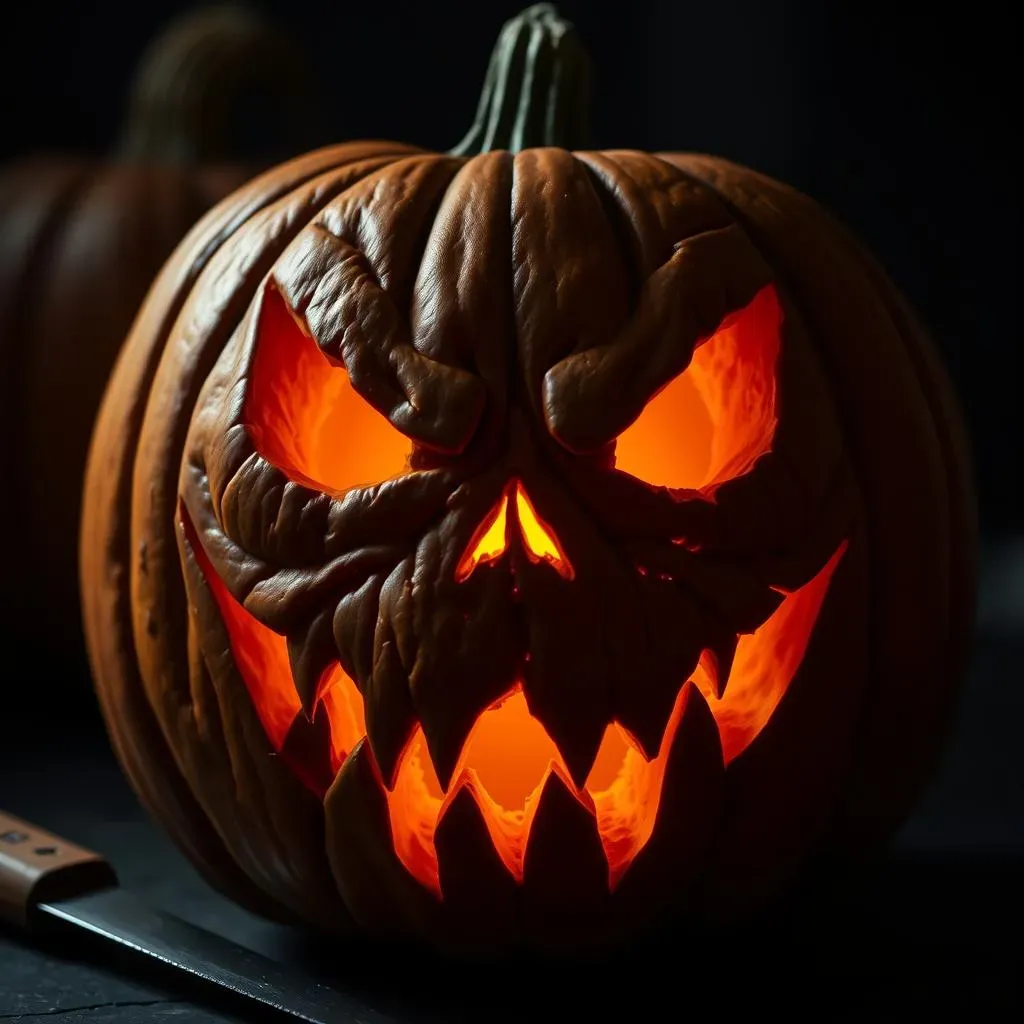
Level Up Your Carving Game: Intermediate Scary Pumpkin Face Designs
Sharpen Your Skills: Adding Depth and Dimension
So, you've conquered the basic triangle-eyed ghost. Now it's time to inject some real personality – or should I say, *scary*sonality – into your pumpkin. This is where you start playing with depth and dimension. Think about using different carving tools to create varying thicknesses in the pumpkin's flesh. Shave away the outer layer to let light filter through for a spooky glow, while leaving other areas thicker for a more menacing shadow. This technique is especially effective for creating realistic-looking eyes, noses, and mouths. Forget the flat, cartoonish faces; we're going for something that looks like it crawled straight out of a nightmare.
Another trick is to start thinking about negative space. What you *don't* carve is just as important as what you *do* carve. Use strategic cuts to create the illusion of wrinkles, scars, or other gruesome details. Consider adding some simple 3D elements, like a protruding brow or a jagged tooth, by carefully carving around them. And don't be afraid to experiment with different shapes and textures. A jagged, uneven mouth can be much scarier than a perfectly symmetrical one. The goal is to create a face that's both unsettling and visually interesting.
Unleash the Stencils: Finding the Perfect Intermediate Design
Stencils are your best friend when it comes to intermediate-level carving. They provide a solid framework for your design, allowing you to focus on the finer details. There are tons of free and paid stencils available online, ranging from classic horror movie monsters to more original and creative designs. Look for stencils that incorporate shading, depth, and interesting textures. Avoid anything too simple or cartoonish; you want something that will challenge your skills and push you to the next level. Once you've found the perfect stencil, carefully transfer it to your pumpkin using a tracing wheel or a pin. Then, grab your carving tools and get to work!
When carving your stencil, remember to take your time and pay attention to the details. Use a variety of tools to create different effects, and don't be afraid to experiment with your own techniques. If you're feeling particularly ambitious, you can even try modifying the stencil to add your own personal touch. The key is to have fun and let your creativity flow. And remember, even if you make a mistake, it's just a pumpkin! You can always start over with a new one. So go ahead, unleash your inner artist and create a scary face that will terrify and amaze your friends and neighbors.
Tool | Use |
|---|---|
Small Saw | Cutting out large sections |
Detail Knife | Adding fine lines and details |
Scoop | Thinning out the pumpkin wall |
Master the Macabre: Advanced Scary Face Pumpkin Carving Techniques
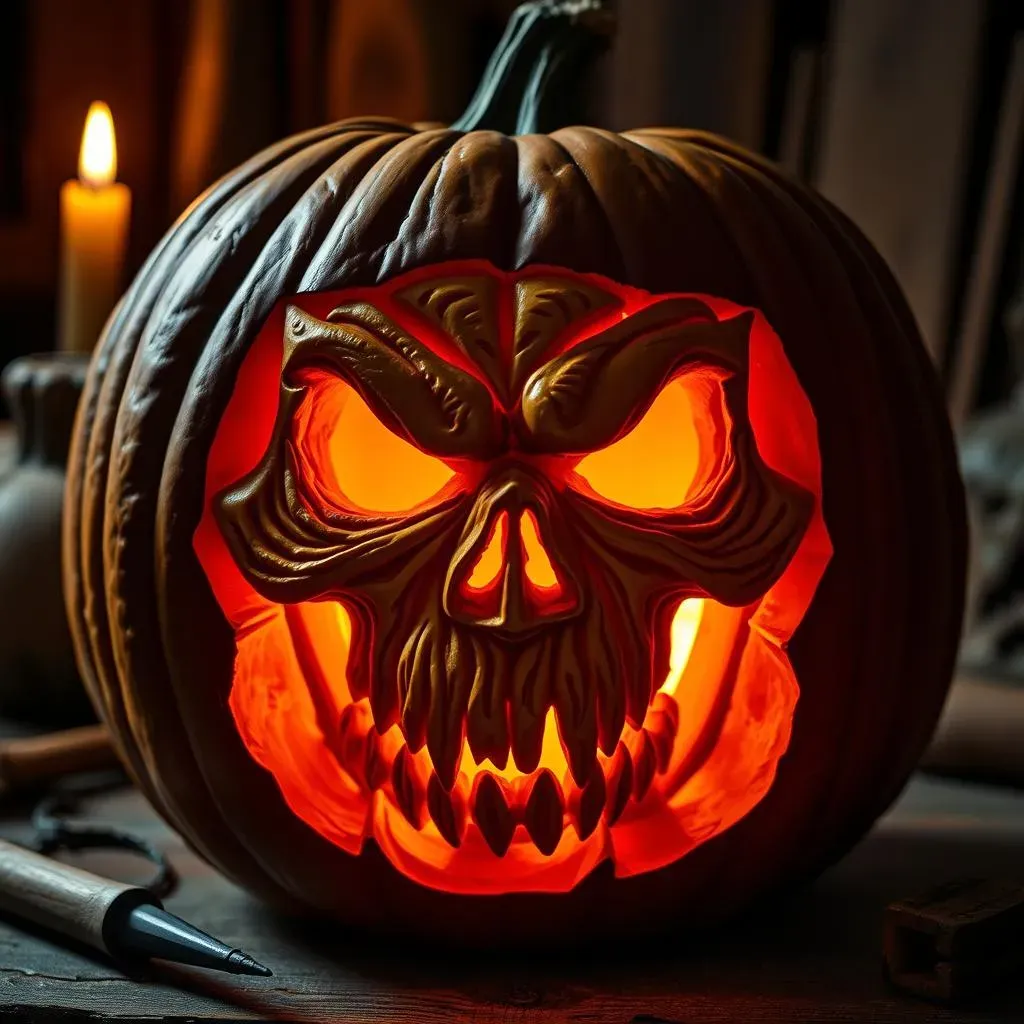
Master the Macabre: Advanced Scary Face Pumpkin Carving Techniques
Sculpting Nightmares: 3D Carving and Realistic Details
Alright, my fellow horror aficionado, now we're talking! Forget those simple stencils, we're diving into the deep end of pumpkin artistry. This is where you transform your humble gourd into a true masterpiece of macabre. We're talking 3D carving, intricate details, and realistic textures that will make your neighbors question their sanity. Think less "cute Halloween decoration" and more "prop from a low-budget horror film." The key here is patience, precision, and a healthy dose of morbid imagination.
To achieve this level of realism, you'll need to ditch the flimsy plastic carving tools and invest in some serious equipment. We're talking wood carving gouges, sculpting tools, and maybe even a rotary tool with various bits. These tools will allow you to create fine details, subtle shading, and dramatic three-dimensional effects. Start by sketching your design directly onto the pumpkin's surface, paying close attention to the contours and shadows. Then, slowly and carefully begin carving away the excess pumpkin flesh, building up the details layer by layer. Remember, it's always better to remove too little than too much. You can always carve away more, but you can't put it back!
Beyond the Blade: Incorporating Light and Shadow
Carving is only half the battle. To truly elevate your scary face pumpkin carving, you need to master the art of light and shadow. This means strategically carving away different thicknesses of pumpkin flesh to create varying levels of illumination. For example, you can create a subtle glow by shaving away the outer layer of the pumpkin, or create a dramatic spotlight effect by carving a deep hole behind a specific feature. You can also use different types of light sources to create different moods and effects. A flickering candle can create a spooky, unsettling atmosphere, while a bright LED light can highlight the intricate details of your carving.
Consider using multiple light sources to create even more dramatic effects. For example, you can place one light inside the pumpkin and another behind it to create a silhouette effect. You can also use colored lights to add a touch of surrealism to your carving. Imagine a pumpkin with glowing red eyes and a sickly green grin – now that's scary! The possibilities are endless, so don't be afraid to experiment and see what you can come up with. Just remember to be safe and use caution when working with open flames or electrical devices. We want to scare the neighbors, not burn down the house!
Technique | Description | Effect |
|---|---|---|
Shaving | Removing the outer layer of the pumpkin skin | Subtle glow, highlights details |
Deep Carving | Carving all the way through the pumpkin wall | Dramatic shadows, stark contrast |
Backlighting | Placing a light source behind the carving | Silhouette effect, emphasizes shape |
Beyond the Basics: Creative Twists on Scary Face Pumpkin Carvings
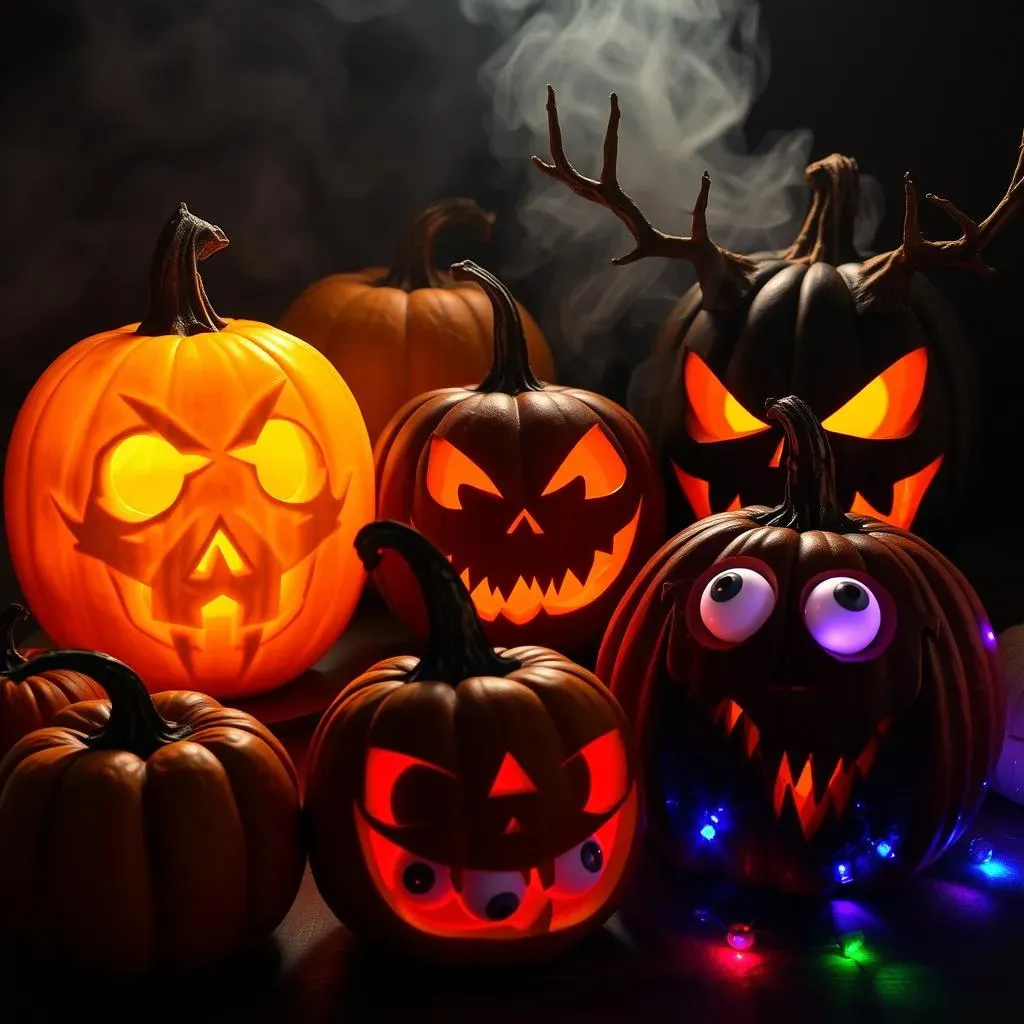
Beyond the Basics: Creative Twists on Scary Face Pumpkin Carvings
Ditch the Orange: Alternative Pumpkin Canvases
so you've mastered the classic scary face. Now it's time to break free from the pumpkin patch norms and explore some truly unique canvases. Who says you have to stick with orange? White pumpkins, for example, offer a ghostly pale surface that's perfect for creating ethereal, otherworldly designs. You can even paint your pumpkin black for a super dramatic, shadowy effect. Or, get really wild and try carving a watermelon or a butternut squash! Each different canvas offers its own unique texture and color palette, allowing you to create a truly one-of-a-kind scary face.
Don't be afraid to experiment with different sizes and shapes, too. A tall, skinny pumpkin can be perfect for a creepy, elongated face, while a round, squat pumpkin might be ideal for a monstrous, grinning visage. And remember, you don't even have to carve a traditional face at all! You could carve a spooky scene, a creepy creature, or even an abstract design. The only limit is your imagination. So go ahead, ditch the orange and unleash your inner pumpkin artist!
Adding Props and Effects: Taking Your Pumpkin to the Next Level
Want to really make your scary face pumpkin stand out from the crowd? Consider adding some props and effects! A few strategically placed accessories can transform your pumpkin from a simple carving into a true work of art. For example, you could use twigs to create creepy branches or antlers, or glue on some fake eyeballs for an extra unsettling effect. You could even add some fake blood or gore for a truly terrifying touch. Just be sure to use non-toxic materials and avoid anything that could be a fire hazard.
Lighting is another key element to consider. In addition to the traditional candle or LED light, you could experiment with different colors, patterns, and effects. A flickering strobe light can create a spooky, disorienting atmosphere, while a laser pointer can add a touch of futuristic terror. You could even use a small fog machine to create a creepy, misty effect around your pumpkin. The key is to think outside the box and use your imagination to create a truly unforgettable Halloween display. So go ahead, add some props and effects and take your pumpkin to the next level of scariness!
Prop/Effect | Description | Scare Factor |
|---|---|---|
Fake Eyeballs | Glue plastic eyeballs onto the pumpkin | High |
Twig Antlers | Attach small branches to the top of the pumpkin | Medium |
Fog Machine | Place a small fog machine near the pumpkin | High |
Farewell Frights: Your Pumpkin Carving Masterpiece Awaits
So, you've journeyed through our gallery of ghoulish grins and terrifying teeth, armed with inspiration and ready to carve. Remember, the most important thing is to have fun and let your creativity run wild. Don't be afraid to experiment with different techniques, add your own spooky spin, and most of all, embrace the imperfections – after all, what's Halloween without a little bit of delightfully dreadful chaos? Now go forth, carve your heart out, and let your scary face pumpkin shine as a beacon of Halloween horror!