Table of Contents
Halloween is creeping closer, and you're probably brainstorming how to out-spook last year's decorations. Forget friendly ghosts and grinning goblins; this year, it's all about maximum fear factor. What better way to terrify trick-or-treaters than with some seriously **scary clown pumpkin carving ideas**? We're not talking cute circus clowns; think more along the lines of Pennywise from "IT" or twisted, sinister grins that'll haunt your nightmares. Ready to transform your humble pumpkin into a masterpiece of macabre art? This guide will walk you through everything from simple, spooky faces perfect for beginners, to advanced carving techniques inspired by the silver screen's most terrifying clowns. We'll also delve into painting and accessorizing to truly bring your scary clown pumpkin to life. Finally, we'll explore creative ways to display your horrifying creation, ensuring it becomes the centerpiece of your Halloween fright-fest. Get ready to unleash your inner horror artist and carve some nightmares!
Terrifying Clown Faces: Scary Clown Pumpkin Carving Ideas to Get You Started
Terrifying Clown Faces: Scary Clown Pumpkin Carving Ideas to Get You Started
The Basics: Simple Scary Clown Faces
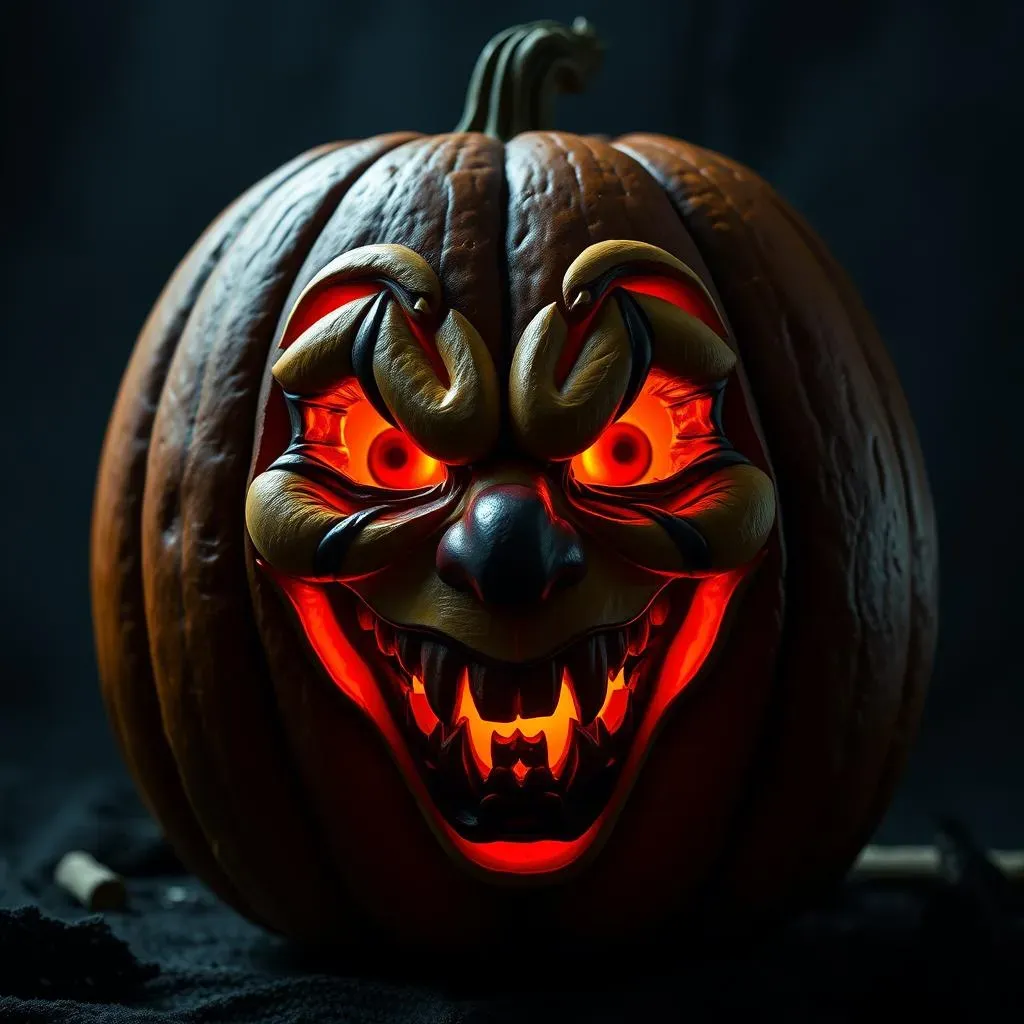
Alright, let's kick things off with the basics. If you're new to pumpkin carving or just want a quick and easy scare, these simple scary clown faces are your best bet. Think exaggerated features – massive grins, huge, menacing eyes, and maybe a pointy nose. The key here is to keep the shapes bold and clear. You don't want to get bogged down in tiny details that'll be lost in the flickering candlelight. A simple stencil can be a lifesaver for beginners. You can find tons of free templates online; just search "scary clown pumpkin stencil."
Level Up: Adding Depth and Dimension
so you've mastered the basic scary clown face. Now, let's add some depth! Grab your carving tools and start thinking about creating different levels within your design. Instead of just cutting all the way through the pumpkin skin, try shallow cuts to let some light through, creating a spooky glowing effect. Think about using this technique to highlight the clown's eyebrows, making them look perpetually angry, or to add shadows around the mouth, making that grin even more sinister.
Tools of the Trade: What You'll Need
Before you dive headfirst into carving, make sure you have the right tools for the job. A good pumpkin carving kit is essential. These kits usually include various saws, scoops, and poking tools that will make your life a whole lot easier. A sturdy serrated knife is great for cutting open the pumpkin and removing the guts (the messiest part, but someone's gotta do it!). You'll also want a poking tool or awl for transferring your stencil onto the pumpkin. And don't forget a good light source – a well-lit workspace is crucial for avoiding any carving mishaps.
Essential Tools for Scary Clown Pumpkin Carving
- Pumpkin Carving Kit
- Serrated Knife
- Scoop
- Poking Tool/Awl
- Stencils (Optional)
- Light Source
Pennywise Pumpkin Panic: Advanced Scary Clown Carving Techniques
Pennywise Pumpkin Panic: Advanced Scary Clown Carving Techniques
Diving into the Details: Pennywise's Signature Look
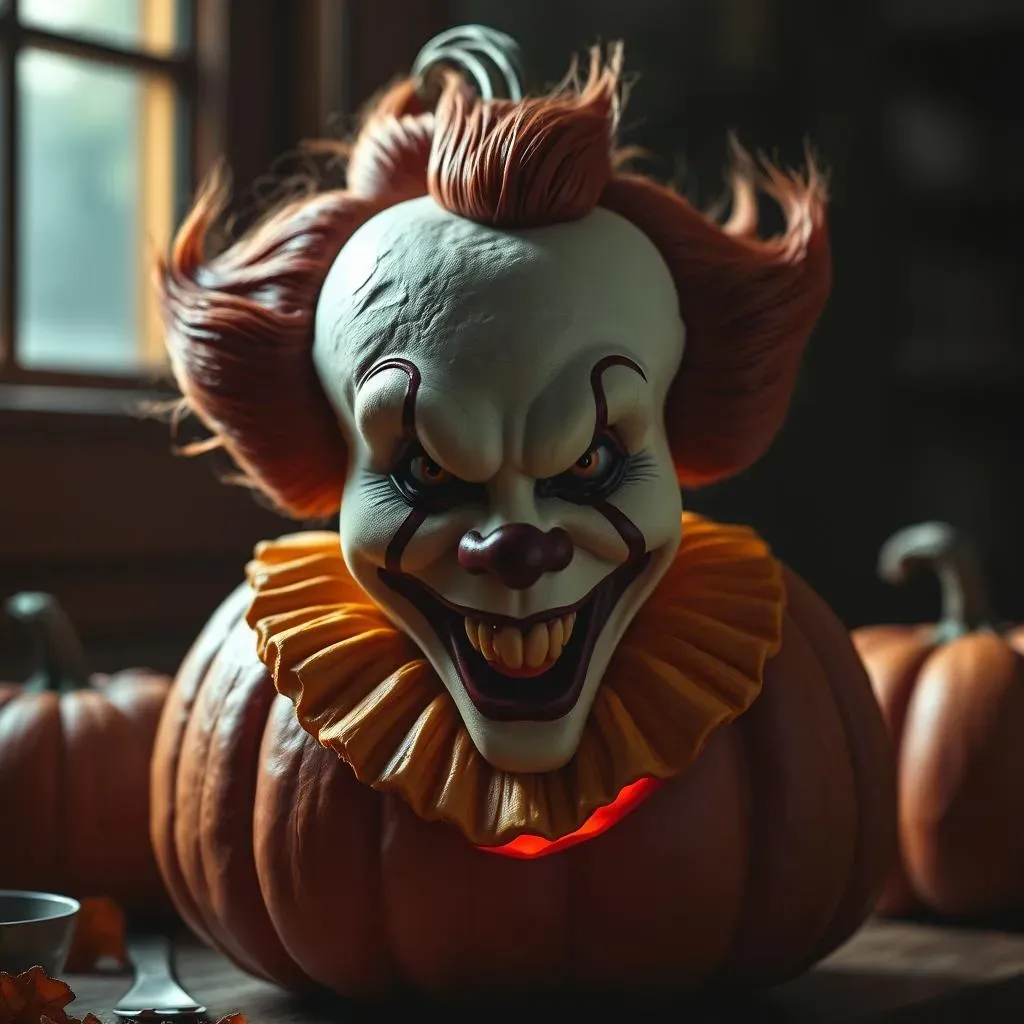
so you want to carve a Pennywise pumpkin that'll make Georgie run the other way? Excellent! This is where things get seriously fun. Pennywise is all about the details, and it's those nuances that will elevate your pumpkin from "meh" to "OMG!" Think about his menacing grin, the lines etched into his forehead, and those piercing eyes. To really nail it, grab some high-quality reference photos. Pay close attention to the way the light hits his face, the subtle shadows, and the way his makeup is applied. These details are your roadmap to carving success.
When transferring the design, don't be afraid to break it down into smaller sections. Focus on one area at a time – the eyes, then the mouth, then the forehead. This will help you maintain accuracy and prevent you from getting overwhelmed. Remember, patience is key here. Rushing through the process will only result in a sloppy, less-than-terrifying Pennywise.
Mastering the Multi-Layer Carve: Bringing Pennywise to Life
Now for the real magic: multi-layer carving. This technique involves carving different depths into the pumpkin skin to create a three-dimensional effect. For Pennywise, this is crucial for capturing the depth of his facial features. For example, you can carve deeper around his eyes to make them appear sunken and menacing. You can also use shallow cuts to create subtle shadows on his forehead and around his mouth, adding to his overall creepiness.
Experiment with different carving tools to achieve different textures. A small V-gouge can be great for creating fine lines, while a larger U-gouge can be used for carving out larger areas. Don't be afraid to make mistakes! Pumpkin carving is all about trial and error. If you mess up, you can always try to blend it in with the rest of the design or even start over with a new pumpkin. The most important thing is to have fun and let your creativity run wild.
Carving Technique | Tool Recommendation | Effect |
|---|---|---|
Deep Carving | Serrated Knife, Large U-Gouge | Creates strong shadows and defined features. |
Shallow Carving | Small V-Gouge, Detail Knife | Adds subtle texture and highlights. |
Etching | Poking Tool, Awl | Creates fine lines and details. |
From Creepy to Killer: Painting and Accessorizing Your Scary Clown Pumpkins
From Creepy to Killer: Painting and Accessorizing Your Scary Clown Pumpkins
Paint It Black (and Red, and White): Choosing Your Colors
Alright, so you've got your scary clown carved. Now it's time to take it to the next level with paint! Don't underestimate the power of a good paint job. It can transform a decent carving into a truly terrifying masterpiece. When it comes to color, think classic clown palettes – stark white, blood red, and deep black are always winners. But don't be afraid to experiment! A touch of sickly green or a splash of vibrant purple can add an extra layer of unsettling weirdness. Acrylic paints are your best friend here; they're durable, water-resistant, and come in a huge range of colors.
Before you start slapping on the paint, make sure your pumpkin is clean and dry. A quick wipe-down with a damp cloth will do the trick. Then, apply a base coat of white to help the other colors pop. Once the base coat is dry, you can start adding the details. Use thin brushes for fine lines and larger brushes for filling in bigger areas. And remember, less is often more. You don't want to completely cover up your carving; the paint should enhance it, not hide it.
Accessorize to Terrorize: Wigs, Makeup, and More
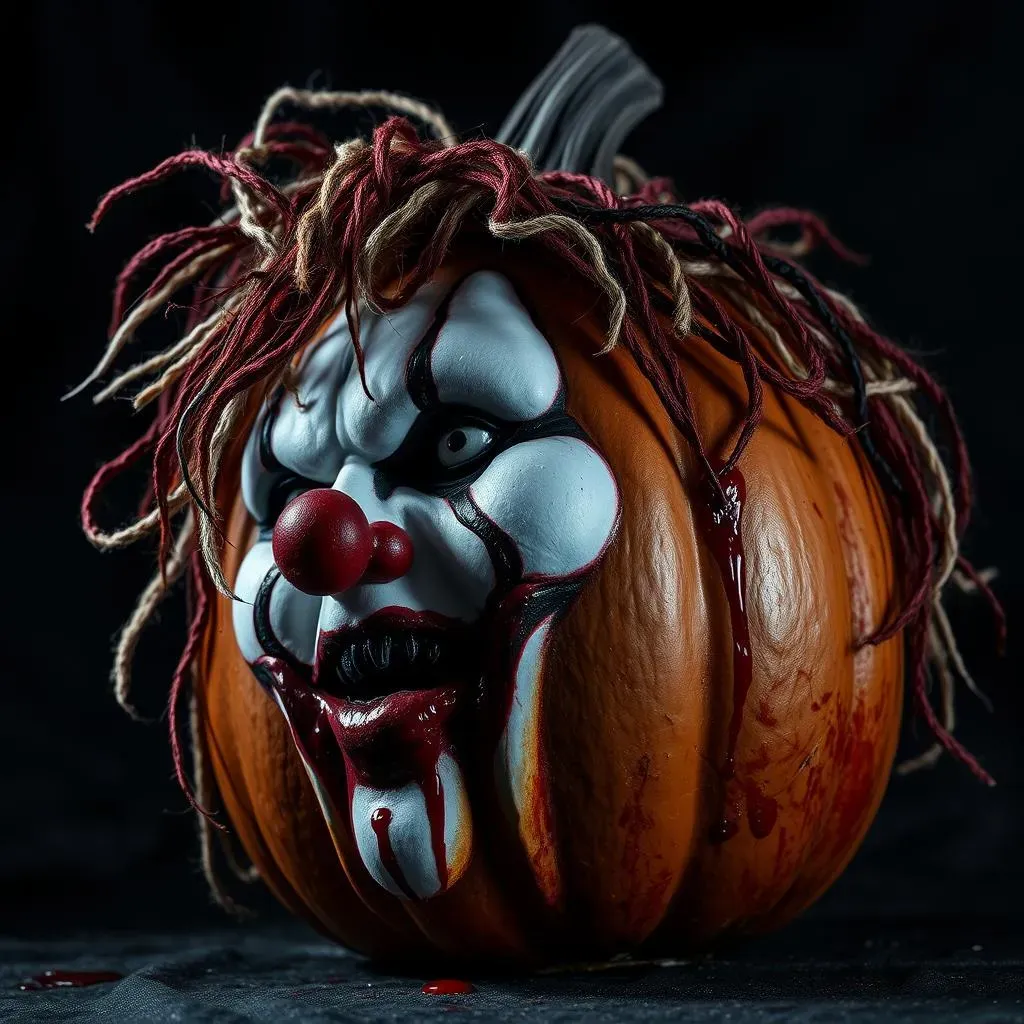
paint job's done? Awesome! Now let's talk accessories. This is where you can really let your creativity shine and turn your scary clown pumpkin into a true work of art. A cheap clown wig can instantly add a touch of insane realism. Look for something messy, tangled, and slightly off-kilter. You can even tease it out and spray it with hairspray to make it extra wild.
And don't forget the makeup! Fake blood is a must-have for any scary clown. Drip it down the corners of the mouth, splatter it around the eyes, or even create a blood-soaked handprint on the pumpkin's surface. You can also use black eyeliner to add extra detail to the eyes or to create creepy, exaggerated eyebrows. Get creative and have fun with it! The goal is to make your pumpkin as disturbing and unsettling as possible.
Accessory | Effect | Where to Find |
|---|---|---|
Clown Wig | Adds realism and a touch of insanity. | Party supply stores, online retailers. |
Fake Blood | Creates a gruesome and terrifying effect. | Halloween stores, costume shops. |
Black Eyeliner | Enhances details and adds creepiness. | Drugstores, makeup counters. |
Beyond the Carve: Displaying Your Scary Clown Pumpkin Masterpieces
Beyond the Carve: Displaying Your Scary Clown Pumpkin Masterpieces
Setting the Stage: Creating a Spooky Ambiance
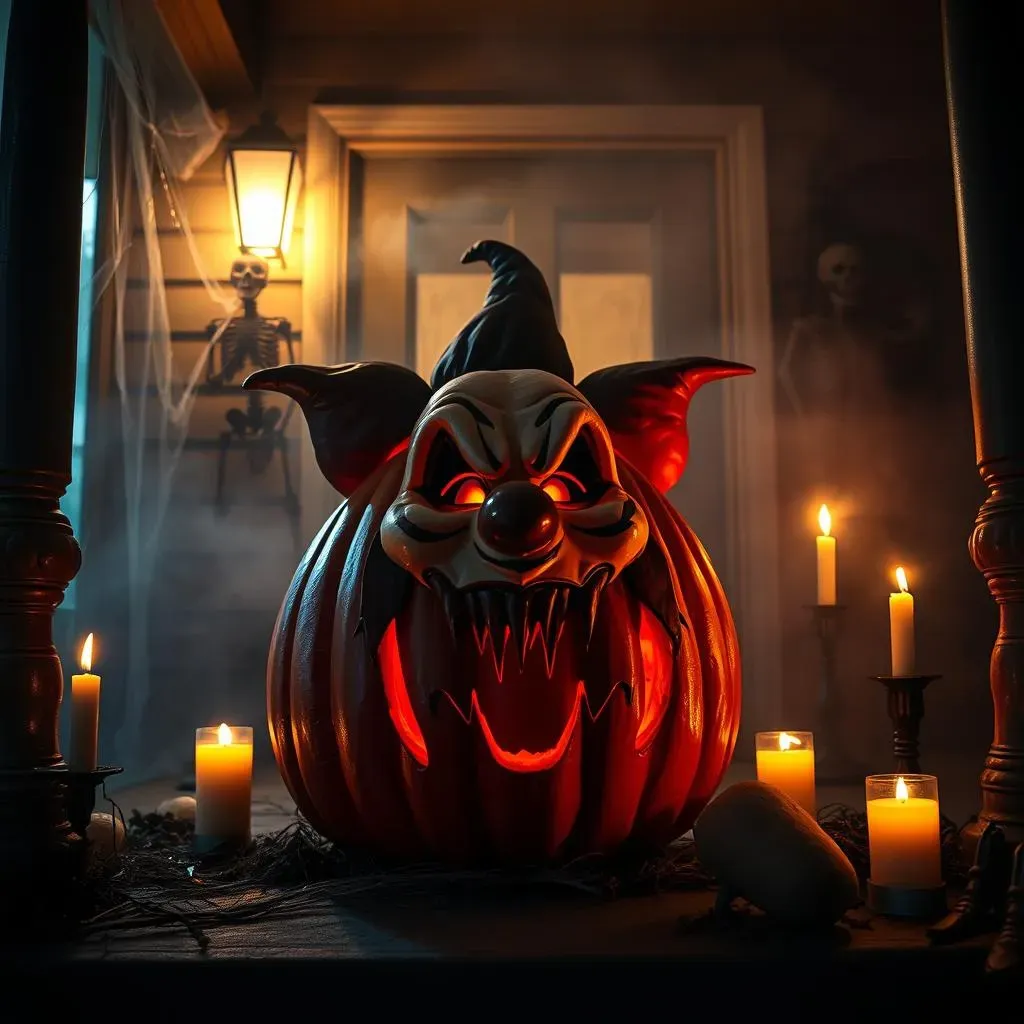
you've poured your heart and soul into carving and decorating the most terrifying clown pumpkin the neighborhood has ever seen. Now what? Don't just plop it on your doorstep and call it a day! The way you display your masterpiece is just as important as the carving itself. Think about creating a whole spooky scene to really amplify the fear factor. Dim lighting is your best friend here. Forget bright porch lights; opt for flickering candles, eerie spotlights, or even strategically placed colored bulbs to cast unsettling shadows.
Consider adding some creepy props to complete the tableau. Cobwebs draped across your porch, hanging skeletons, or even a fog machine can all contribute to the overall atmosphere of dread. And don't forget the sound effects! A strategically placed speaker playing creepy carnival music or unsettling whispers can really send shivers down trick-or-treaters' spines. Remember, the goal is to create an immersive experience that will leave a lasting impression (of terror, of course!).
Safety First, Scares Second: Candle Alternatives and Placement Tips
Before you go all-in on the spooky ambiance, let's talk safety. While candles can create a wonderfully eerie glow, they also pose a fire hazard, especially around flammable decorations and excited trick-or-treaters. Luckily, there are plenty of safe and equally effective alternatives. Battery-operated LED candles are a great option; they provide a realistic flicker without the risk of an open flame. You can also find LED spotlights that cast a spooky glow on your pumpkin from a safe distance.
When it comes to placement, think strategically. Elevate your pumpkin on a pedestal or crate to make it more visible. Place it in a location where it will catch the most attention, but also where it won't be easily knocked over. And be mindful of foot traffic! You don't want anyone accidentally tripping over your scary clown masterpiece in the dark. A well-placed "CAUTION" sign can be a helpful reminder for trick-or-treaters to watch their step.
Display Element | Safety Considerations | Spooky Enhancement |
|---|---|---|
Candles | Use battery-operated LED candles instead of real flames. | Provides a realistic flicker without the fire hazard. |
Fog Machine | Keep away from electrical outlets and ensure proper ventilation. | Creates an eerie and mysterious atmosphere. |
Placement | Ensure the pumpkin is stable and won't be easily knocked over. | Elevates the pumpkin for maximum visibility. |
Scary Clown Pumpkin Carving: A Final Fright
So, you've braved the world of scary clown pumpkin carving and hopefully created a masterpiece of terror. Remember, the key is to embrace the creepy, experiment with techniques, and let your imagination run wild. Whether you've opted for a classic Pennywise grin or a uniquely twisted design, your scary clown pumpkin is sure to be the talk of the neighborhood – and maybe even fuel a few nightmares along the way. Happy haunting!