Table of Contents
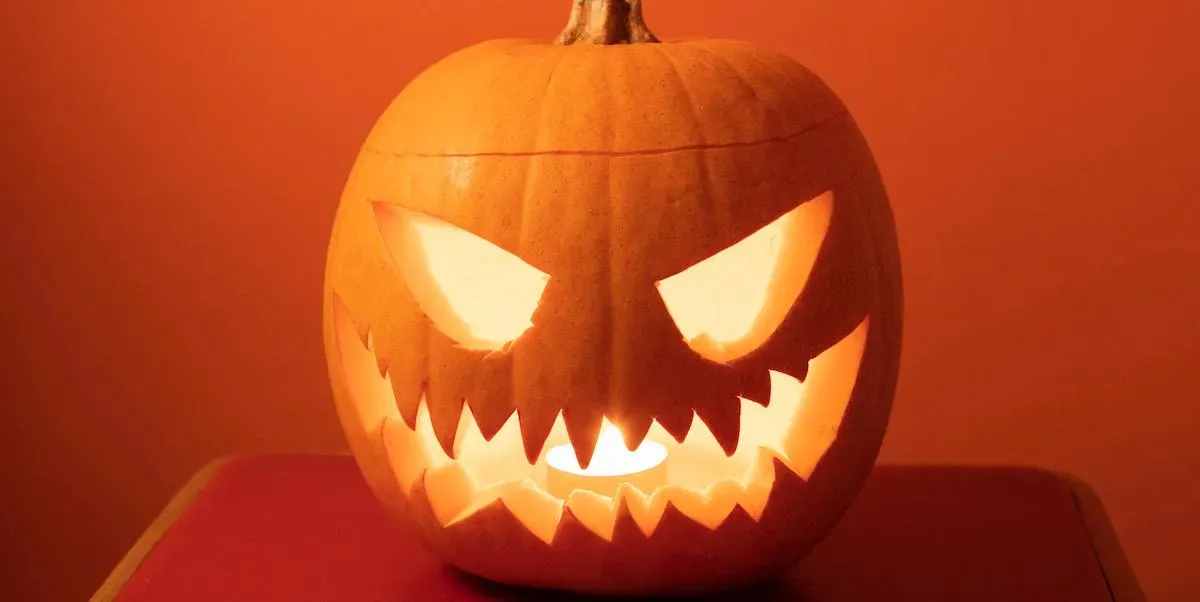
Every year, the same Halloween dilemma rolls around. You picture a terrifying, intricate jack-o'-lantern guarding your porch, a masterpiece of spooky artistry. Then you remember the reality: dull knives, bruised fingers, and a final result that looks less like a ghoulish masterpiece and more like a lopsided, slightly sad orange blob. Forget the hours spent wrestling with complex patterns that belong on a professional sculptor's bench. What you really need arescary and easy pumpkin carving ideas. The kind that deliver maximum fright factor with minimum frustration.
Why Scary and Easy Pumpkin Carving Ideas Are Your Halloween MVP
Why Scary and Easy Pumpkin Carving Ideas Are Your Halloween MVP
Look, Halloween is chaos. Between finding a costume that doesn't make you look like you tried too hard (or not hard enough), stocking up on candy before the neighborhood kids descend, and maybe, just maybe, attempting some spooky decor, your time is limited. That's whyscary and easy pumpkin carving ideasaren't just a nice-to-have; they're essential. You want that chilling effect on your porch, the one that makes trick-or-treaters pause for a second, but you don't want to spend three hours hunched over a gourd, risking carpal tunnel for a result that looks like a potato with a bad attitude. Efficiency is key when you're trying to conjure Halloween spirit without sacrificing your sanity.
Simple Tools for Scary and Easy Pumpkin Carving Ideas

Simple Tools for Scary and Easy Pumpkin Carving Ideas
Forget the Fancy Kits, Grab Kitchen Basics
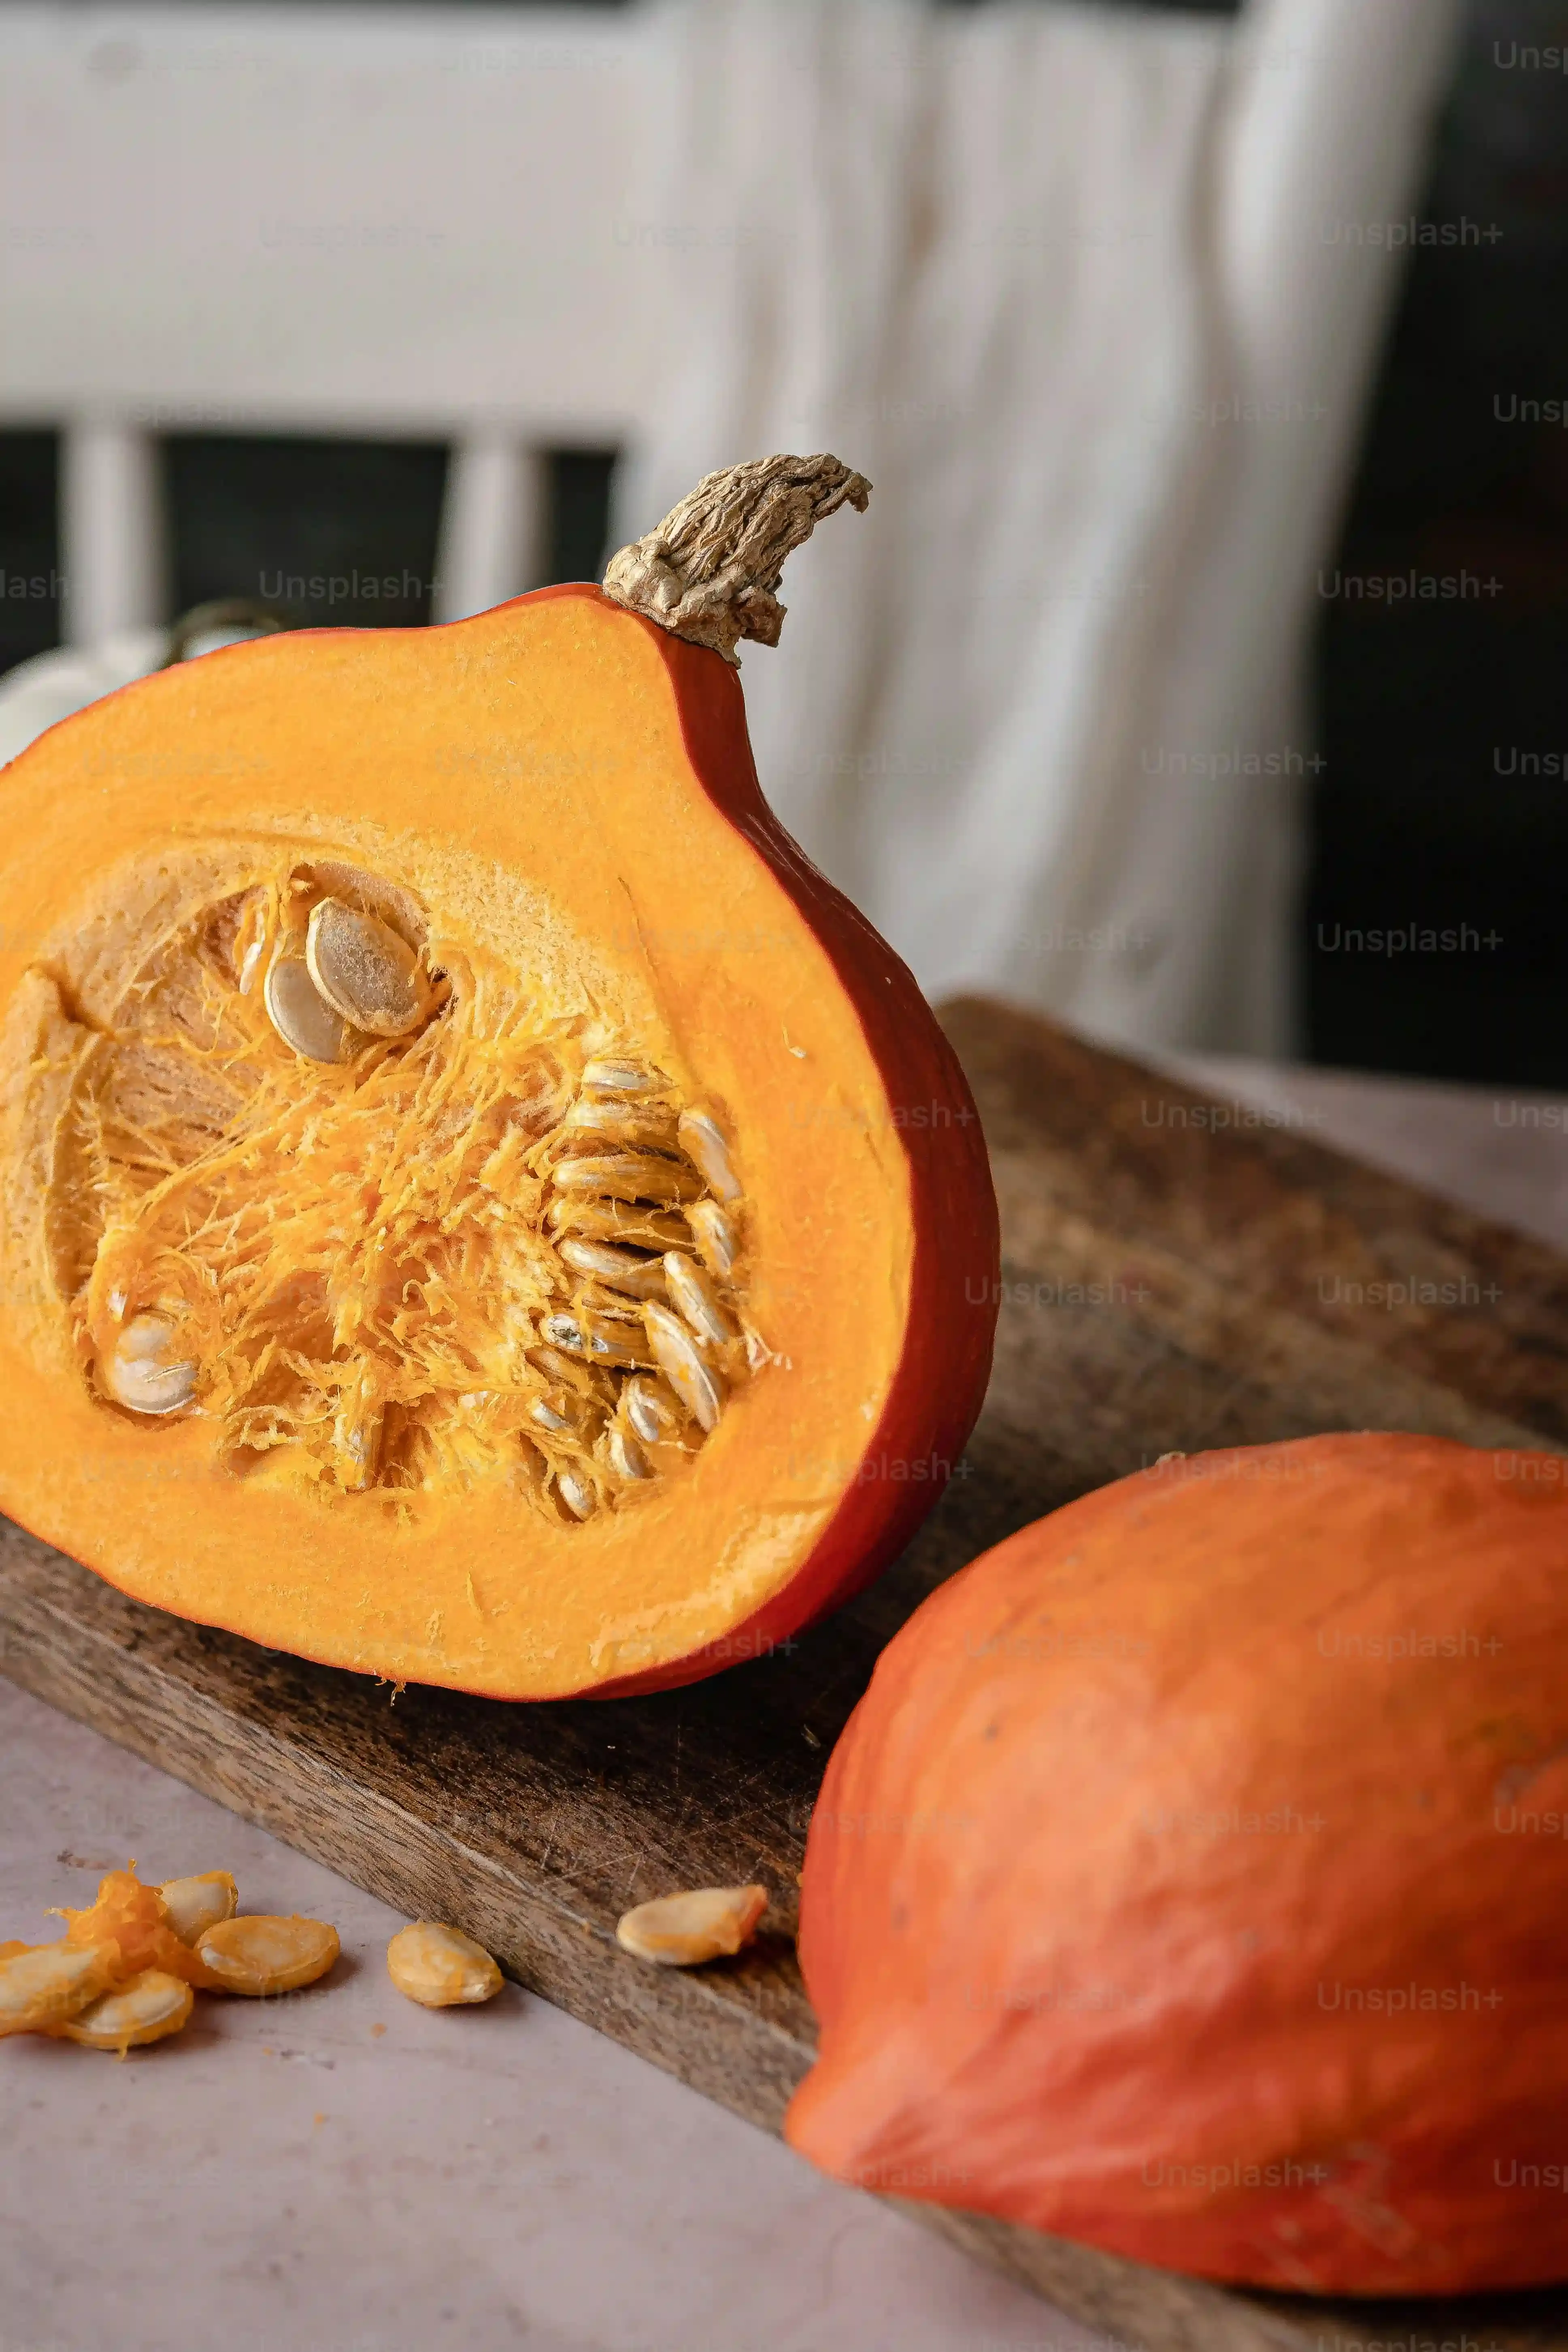
When you're aiming forscary and easy pumpkin carving ideas, don't fall for the marketing hype around those expensive, plastic carving kits with a million tiny, confusing tools. Most of what you need is probably already in your kitchen drawer. A sturdy, sharp chef's knife is crucial for cutting off the top (or bottom, for stability). A large spoon or ice cream scoop works perfectly for scraping out the guts – the stringy bits and seeds are the enemy of a clean design. For the actual carving, a small paring knife gives you decent control for cutting out basic shapes like eyes and mouths. It's about leveraging what you have, not buying more clutter.
Level Up with a Few Inexpensive Additions
While kitchen knives get the job done for basic shapes, a few inexpensive additions can make yourscary and easy pumpkin carving ideaslook a lot sharper. A small, serrated pumpkin saw (often found in those cheap kits, but you can buy them individually) is excellent for cleaner cuts and tighter corners than a straight blade. Detail tools, like those loop tools used for pottery or even just a sturdy metal skewer, are great for scraping away pumpkin skin or creating small holes and textures without cutting all the way through. Think of it as adding definition without the risk of hacking off a vital piece of your monster's face.
Here are a few essential tools for your spooky projects:
- Sturdy chef's knife (for the lid)
- Large spoon or scoop (for gutting)
- Small paring knife (for basic cuts)
- Small serrated pumpkin saw (for better control)
- Metal skewer or detail tool (for fine work and texture)
Spooky Silhouettes: Scary and Easy Pumpkin Carving Ideas Using Stencils
Spooky Silhouettes: Scary and Easy Pumpkin Carving Ideas Using Stencils
Why Stencils Are Your Shortcut to Spooky Success
Let's be honest. Freehand carving often looks like a five-year-old attempted surgery on a cantaloupe. If you want genuinelyscary and easy pumpkin carving ideasthat actually look like something recognizable (and terrifying), stencils are your best friend. They take the guesswork out of design. You’re not trying to sketch a believable monster face onto a bumpy, curved surface. You're simply tracing lines. This method drastically reduces the chance of carving off an ear when you meant to carve an eye, saving you frustration and precious pumpkin real estate.
Finding and Transferring Your Frightful Design
You don't need to be an artist to find great stencils. The internet is overflowing with free printable patterns, from classic spooky faces to bats, spiders, and creepy trees. Just search for "free pumpkin carving stencils." Once you've printed one, tape it securely to the smoothest side of your cleaned-out pumpkin. The trick is getting the design onto the pumpkin surface accurately. A simple way is to use a pin or a thumbtack to poke small holes along the lines of the stencil pattern. These dots create a guide on the pumpkin skin that you can then connect with your carving tools.
- Search online for "free pumpkin carving stencils."
- Print your chosen design.
- Tape the stencil firmly to the pumpkin.
- Use a pin or thumbtack to poke holes along the stencil lines.
- Remove the stencil to reveal your dot-to-dot guide.
Carving Along the Dotted Line
With your pattern transferred as a series of dots, the carving becomes significantly easier. Use your small serrated pumpkin saw or paring knife to connect the dots, carefully cutting out the shapes. Don't rush this part; slow, steady strokes are better than trying to power through. Forscary and easy pumpkin carving ideasusing stencils, focus on clean cuts. The less jagged the edges, the sharper your spooky silhouette will look when lit. If a piece gets stuck, gently push it out from the inside. Resist the urge to yank it, or you might tear the surrounding pumpkin flesh.
Beyond the Toothpick: Creative Twists for Scary and Easy Pumpkin Carving Ideas
Beyond the Toothpick: Creative Twists for Scary and Easy Pumpkin Carving Ideas
Scrape, Don't Just Cut: Playing with Layers
Who saysscary and easy pumpkin carving ideasonly involve cutting holes all the way through? Sometimes, just removing the top layer of skin can create an incredibly eerie effect. Use a linoleum cutter, a sturdy U-gouge, or even just the loop tool mentioned earlier to scrape designs into the pumpkin's surface. Think spooky words etched into the side, swirling mist patterns, or areas where the lighter flesh underneath is exposed to create contrast. When you light the pumpkin, these scraped areas will glow differently than the untouched skin, adding depth and a subtle, unsettling look without the risk of collapse that comes with complex cutouts.
This technique is forgiving. If you mess up a line, you can often blend it in or turn it into a scar. It's perfect for creating textures too, like rough patches of skin on a monster or pitted surfaces on a creepy creature. You're essentially drawing with light, which feels a bit more sophisticated than just hacking holes, and frankly, it's a lot less likely to end with a trip to the emergency room.
What if your design needs something more than just light and shadow?
Adding Elements for Extra Creepiness
Yourscary and easy pumpkin carving ideasdon't have to stop at the pumpkin's surface. Think outside the gourd. Once you've carved or scraped your design, consider adding props. Toothpicks are great for attaching things. Stick some plastic spiders crawling out of the mouth. Use dried twigs as gnarled branches around the eyes. Push small, fake eyeballs into strategic holes. A little fake blood dripping from the mouth or eyes adds an instant gross-out factor with zero carving skill required. These simple additions take minimal effort but dramatically crank up the scare factor, turning a carved pumpkin into a miniature horror scene.
You can also play with the environment around the pumpkin. Scatter some fake cobwebs, place it among dried leaves, or surround it with eerie battery-operated candles. The overall presentation matters just as much as the carving itself in setting a spooky mood. It’s about creating an atmosphere, not just a single piece of art.
Lighting Up Your Scary and Easy Pumpkin Carving Ideas

Lighting Up Your Scary and Easy Pumpkin Carving Ideas
Candles? Maybe Skip the Fire Hazard
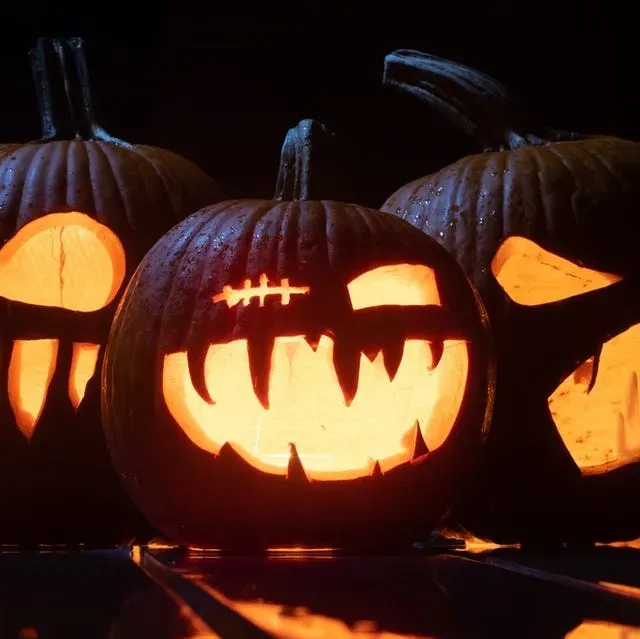
So you've put in the work, yourscary and easy pumpkin carving ideasare taking shape, or maybe you've just scraped a truly unsettling pattern into the surface. Now comes the moment of truth: lighting it up. The classic image is a flickering candle inside, casting spooky shadows. And yeah, a real flame has a certain undeniable charm, a primal flicker that feels right for Halloween. But let's be real, they're a pain. They blow out in the wind, they scorch the top of your pumpkin, and leaving them unattended is a definite fire hazard, especially if you have trick-or-treaters with flowing costumes or a porch full of dried leaves. There are safer, more reliable ways to illuminate your ghoulish creation.
Batteries Are Your Best Friend
For trulyscary and easy pumpkin carving ideasthat stay lit all night without constant fuss, battery-operated lights are the way to go. Small LED tea lights are cheap, readily available, and produce a surprising amount of light. They don't get hot, so no risk of pumpkin-lid-charring or worse. Plus, many come on timers, meaning you can set it and forget it – your pumpkin automatically lights up as dusk falls. You can also find small battery-powered string lights or puck lights, which offer more flexibility in how you distribute the light inside the pumpkin, potentially highlighting specific carved areas.
Consider the color too. A standard warm white is fine, but green or red LEDs can make a simple carved face look instantly more sinister. Experimenting with different colors is an easy way to add mood without touching a carving tool again.
- LED tea lights: Affordable, safe, often have timers.
- Battery-operated string lights: Flexible placement for even light distribution.
- LED puck lights: Brighter, good for larger pumpkins or designs.
- Colored LEDs: Green, red, or purple lights enhance the spooky mood.
Placement and Effect: Making Light Work for You
Where you put the light source inside your pumpkin makes a difference. For simple carved faces, a single light in the center is usually sufficient. But for scraped designs or more intricate patterns, you might need to get strategic. Placing the light closer to the front can make shallow cuts glow more intensely. For taller pumpkins, consider using multiple lights stacked vertically or a string of lights spiraled inside to ensure even illumination from top to bottom. Think about what parts of yourscary and easy pumpkin carving ideasyou want to emphasize and position the light accordingly. A light placed low can make eye sockets look deeper and more menacing, for instance.
Your Scary and Easy Pumpkin Carving Ideas Await
So there you have it. Creatingscary and easy pumpkin carving ideasisn't some dark art reserved for the patient and the practiced. It's about choosing smart techniques, using the right tools, and embracing the fact that sometimes, the simplest shapes are the most unnerving. Stop stressing about perfection and start having fun making your porch the spookiest one on the block. Grab a pumpkin, pick a simple design, and let the eerie glow begin.