Table of Contents
Let's be honest, the annual pumpkin carving ritual can feel less like festive fun and more like a messy, frustrating battle against a stubborn gourd. You envision a masterpiece, but often end up with something vaguely lopsided that looks like it lost a fight. Forget those overly complicated stencils and fancy tools that promise perfection but deliver headaches. If you've ever stared at a blank pumpkin wondering where to even begin, or perhaps swore off carving entirely after a disastrous attempt, this is for you. We're diving into the world of really easy pumpkin carving ideas – designs and techniques that won't require an art degree or specialized equipment. We'll walk through picking the right pumpkin, the simple tools you actually need, and straightforward methods to get a cool-looking jack-o'-lantern without the fuss. You'll learn how to make those first cuts count, discover simple design alternatives beyond the classic scary face, and even pick up a few tricks to keep your creation looking fresh for longer. Ready to conquer that pumpkin without the usual drama? Stick around, and let's make this Halloween carving thing genuinely easy for a change.
Picking the Perfect Pumpkin for Really Easy Carving

Picking the Perfect Pumpkin for Really Easy Carving
Size and Shape Matter for Easier Carving
Alright, let's talk pumpkins. You see those giant, bumpy behemoths that look like they belong on a farm stand postcard? Steer clear of those for really easy pumpkin carving ideas. Bigger isn't always better, especially when your goal is minimal frustration. Medium to large pumpkins, think bowling ball to basketball size, offer a decent surface area without being cumbersome to handle. Look for one with a relatively flat bottom so it doesn't wobble precariously while you're trying to make a cut. A stable pumpkin means fewer accidental slips and dramatically increases your chances of success.
Skin Deep: Smooth is Your Friend
Now, feel it up. Seriously. The texture of the pumpkin's skin is crucial when you're aiming for really easy pumpkin carving. Wart-covered, deeply ribbed, or super-hard shells might look cool sitting on the porch, but they are a nightmare to cut through with basic tools. You want a pumpkin with smooth, firm skin. Press on it gently; it should feel solid, not soft or squishy anywhere. Check the stem too – it should be firmly attached and dry, not green or wobbly. A good stem gives you something to grab onto while you're scooping out the guts or making those initial cuts.
- Choose medium to large sizes (bowling ball to basketball).
- Ensure a flat bottom for stability.
- Select pumpkins with smooth, firm skin.
- Avoid heavily ribbed or warty surfaces.
- Check for a dry, firmly attached stem.
Essential Tools and Simple Tricks for Really Easy Pumpkin Carving
Essential Tools and Simple Tricks for Really Easy Pumpkin Carving
Gathering Your Simple Pumpkin Carving Kit
let's talk tools. You don't need that 50-piece professional carving kit that looks like something a brain surgeon would use. Seriously, put it down. For really easy pumpkin carving ideas, you need just a few basic things, most of which you probably already have in your kitchen drawer. A sturdy spoon or ice cream scoop is perfect for gutting the pumpkin – way better than those flimsy plastic scrapers. You'll definitely need a sharp knife; a small serrated utility knife or even a steak knife works well for the initial cuts. A smaller paring knife is handy for more detailed (but still easy!) shapes. And maybe a dry-erase marker? It lets you sketch your design and wipe it off if you mess up. That’s it. No need for saws, drills, or anything that requires an instruction manual.
Making the Cut: Simple Carving Techniques
Now, for the actual carving part. Forget trying to saw through the thickest part of the pumpkin wall in one go. The trick to really easy pumpkin carving is patience and using the right angle. Instead of cutting straight in, angle your knife slightly inwards towards the center of the pumpkin. This creates a bevel, making it easier for the cut-out piece to just pop right out instead of getting stuck. Don't try to make long, sweeping cuts. Work in shorter strokes, following your outline slowly. Think of it like connecting the dots. If a piece is being stubborn, don't force it; gently wiggle it or use the tip of your knife to loosen any spots you missed. And always, always cut away from yourself. Seems obvious, but trust me, in the heat of the carving moment, things happen.
- Use a sturdy spoon or scoop for gutting.
- Opt for a small serrated utility knife or steak knife.
- Keep a paring knife handy for smaller details.
- Sketch designs with a dry-erase marker for easy corrections.
- Angle cuts inwards (beveling) for easier piece removal.
- Use short, controlled strokes instead of long sweeps.
- Always cut away from your body.
First Cuts: Your Starting Point for Really Easy Pumpkin Carving Ideas
First Cuts: Your Starting Point for Really Easy Pumpkin Carving Ideas
Making the First Cut: Top or Bottom?
you've got your pumpkin and your basic tools. Time to make the first incision. Traditionally, everyone goes for the top, cutting around the stem to make a lid. This works just fine, and it's probably the most classic approach for really easy pumpkin carving ideas. You simply draw a circle or a jagged pattern around the stem with your dry-erase marker, then carefully cut along that line, remembering to angle your knife inwards. Once you've gone all the way around, the lid should lift right off, often requiring a little wiggle. Some folks prefer cutting a hole in the bottom of the pumpkin instead. This is a smart move because it lets you just plop the finished pumpkin over a light source, and you don't have to worry about the lid falling inside. Either way is perfectly acceptable; pick the one that feels less intimidating to you.
- Option 1: Cut around the stem at the top (classic lid).
- Option 2: Cut a hole in the bottom (easier lighting later).
- Always angle your knife inwards when making the cut.
- Go slow and steady; don't rush the first cut.
Beyond the Face: More Really Easy Pumpkin Carving Ideas
Beyond the Face: More Really Easy Pumpkin Carving Ideas
Simple Shapes and Silhouettes
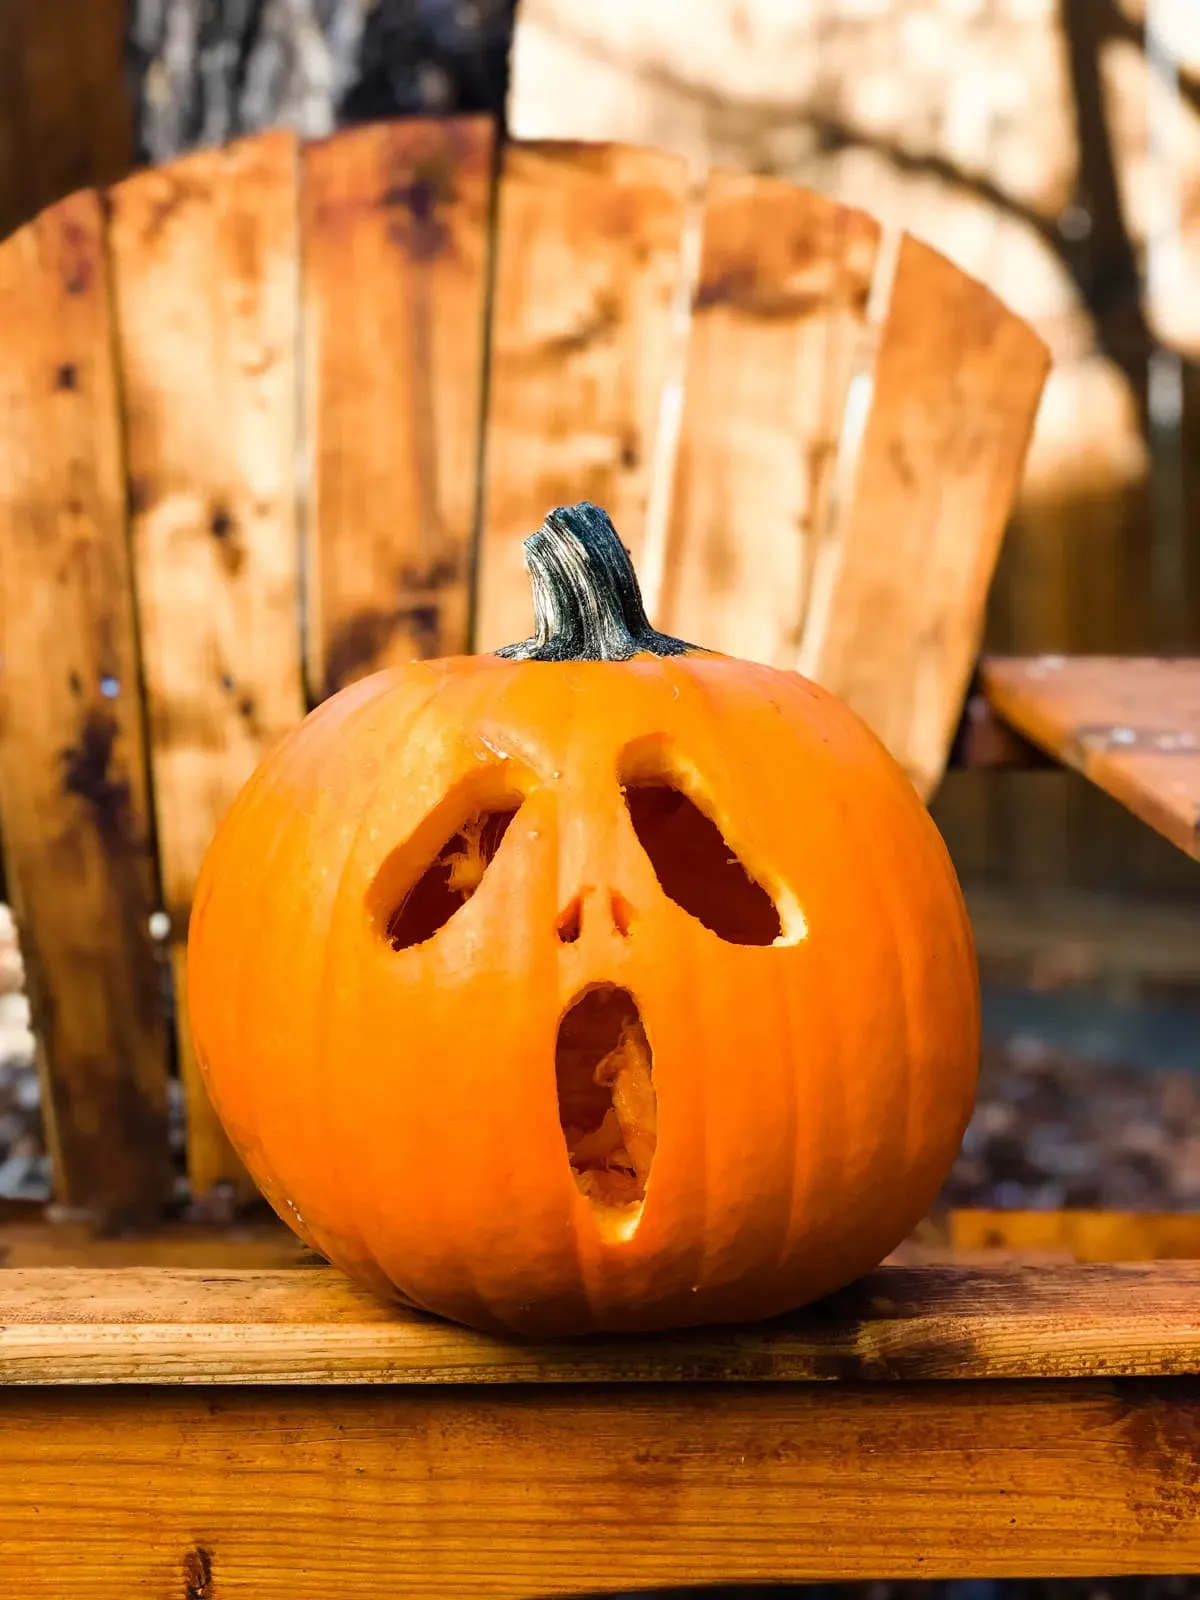
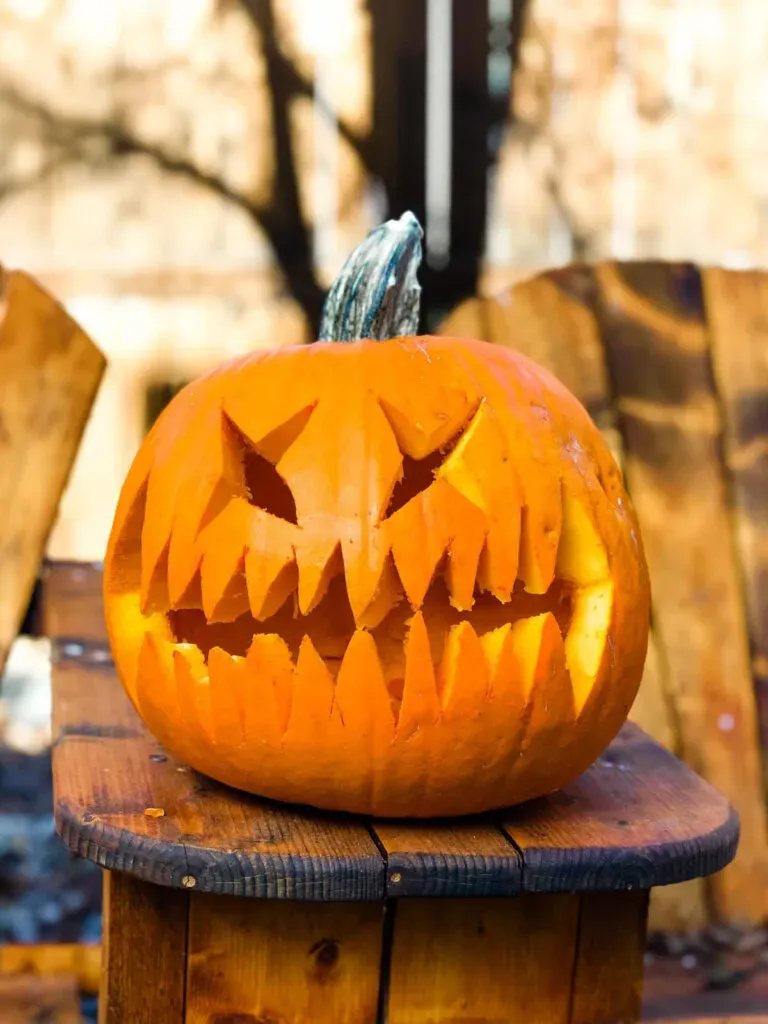
so maybe the classic triangle eyes and jagged mouth feel a bit... done. Or maybe wrestling with curves and points just sounds like too much work. Good news: really easy pumpkin carving ideas don't have to involve a face at all. Think simpler. Geometric shapes are your friend – circles, squares, stars. You can cut out a pattern of different sized dots, or maybe rows of simple triangles. Silhouettes are also surprisingly easy. A basic cat shape, a bat, or even just the outline of a spooky tree can look incredibly effective when lit from within, and they often involve fewer intricate cuts than a detailed face. Don't overthink it; sometimes the simplest designs make the biggest impact, especially when you're aiming for low-stress carving.
What's the easiest shape you can think of to cut out?
Making Your Really Easy Carved Pumpkin Last Longer
Making Your Really Easy Carved Pumpkin Last Longer
Keep it Hydrated, Not Drenched
you've successfully executed some really easy pumpkin carving ideas. Your jack-o'-lantern looks fantastic! Now, the clock starts ticking. Pumpkins, once carved, are basically just big vegetables exposed to the air, and they start to dry out faster than a forgotten sponge. You need to keep them hydrated, but don't think you can just dunk them in a tub of water. That’ll turn them mushy and moldy in no time. The best approach is a gentle misting. Use a spray bottle filled with water and lightly mist the inside and cut edges daily. Think of it like giving it a refreshing facial, not a bath.
Location, Location, Location
Where you put your newly carved masterpiece makes a huge difference in how long it lasts. Direct sunlight is the enemy. It's like putting your pumpkin in a dehydrator. Heat speeds up the wilting and rotting process dramatically. Your best bet is a cool, shaded spot. A porch that doesn't get direct afternoon sun, a cooler entryway, or even bringing it inside during the hottest part of the day can significantly extend its lifespan. Think about Goldilocks: not too hot, not too cold, but just right, and definitely out of the direct glare.
- Mist daily with water using a spray bottle.
- Avoid direct sunlight exposure.
- Place in a cool, shaded location.
- Consider bringing it indoors during the day if it's warm.
- Never submerge the pumpkin in water.
The Vaseline Secret (and other tricks)
Want a simple trick to help seal in moisture right at the cuts? Petroleum jelly, like Vaseline, is your friend. Once your carving is done, lightly smear a thin layer of Vaseline on all the cut edges. This creates a barrier that slows down the dehydration. It might sound weird, but it works surprisingly well. Some people also swear by a quick dip in a very diluted bleach solution (about one teaspoon of bleach per quart of water) to kill surface bacteria before drying and applying Vaseline, but honestly, for really easy pumpkin carving ideas, the Vaseline alone does a decent job of keeping it from looking like a shriveled mess for a few extra days.
Wrapping Up Your Easy Pumpkin Carving Project
So there you have it. Tackling a pumpkin doesn't have to involve complex blueprints or a trip to the emergency room. By choosing the right gourd, sticking to simple tools, and focusing on straightforward designs, you can absolutely create something cool for Halloween. It might not win any fine art awards, but it'll light up your porch and probably survive longer than the overly ambitious attempts you've abandoned in the past. The goal here was less stress, more seasonal cheer, and a carved pumpkin that actually looks like you intended it to. Go ahead, give one of these easy ideas a shot.