Table of Contents
Alright, let's talk pumpkins. That time of year is rolling around, and if your idea of carving involves hacking out two triangles and a jagged mouth, it's time for an upgrade. You want your porch display to be less "sad vegetable" and more "neighborhood legend." But figuring out how to get those intricate designs or just make the darn thing last longer? That often requires tapping into some collective wisdom. Enter the vibrant online hub known as r pumpkin carving. This isn't your grandma's carving tutorial; it's a community where enthusiasts share their triumphs, their tool recommendations, and the hard-won lessons learned from pumpkin guts and snapped saw blades. In this piece, we'll cut through the mess to show you what makes r pumpkin carving such a valuable resource. We'll cover the must-have tools that go beyond the flimsy plastic kit, dive into some genuinely epic carving ideas pulled straight from community posts, and give you the lowdown on how to join the conversation and maybe even share your own masterpiece. Get ready to elevate your pumpkin game.
What is r Pumpkin Carving and Why Join the Community?
What is r Pumpkin Carving and Why Join the Community?
So, you're diving into the world of seasonal gourds and sharp objects? Excellent choice. When folks talk about r pumpkin carving, they're usually referring to the subreddit on Reddit dedicated entirely to this autumnal art form. Think of it as a global online workshop and gallery combined. People post photos of their finished pumpkins, ask for advice on tools or techniques, share progress shots, and generally just geek out over turning a simple squash into something extraordinary, or at least slightly spooky. It's a place where you can see everything from simple, classic jack-o'-lanterns to incredibly detailed, almost sculptural pieces. Joining isn't just about scrolling through cool pictures; it's about tapping into a collective brain trust. Got a question about preventing mold? Someone there has probably tried every trick in the book. Wondering if a specific type of knife works better for fine details? You'll get opinions and examples. It cuts through the trial-and-error process significantly.
Essential Tools and Techniques for Killer Pumpkin Carvings
Essential Tools and Techniques for Killer Pumpkin Carvings
Beyond the Plastic Saw: Must-Have Tools
Forget that flimsy plastic saw that came with the grocery store kit. If you want to get serious, or even just avoid frustration, you need better gear. The folks on r pumpkin carving are always sharing their go-to instruments. Think clay sculpting tools – those loop tools are fantastic for scraping and thinning the pumpkin walls, which is crucial for getting light to shine through different depths. Wood carving chisels and gouges come in handy for removing larger sections or creating textured effects. And yes, there are actually specialized pumpkin carving sets with various small, sharp blades designed specifically for detail work. A small, sharp paring knife is also indispensable for initial cuts. Don't forget a good scoop, maybe even an ice cream scoop, for getting all that goop out cleanly.
Techniques That Make a Difference
you've got the tools. Now, how do you actually make something cool? One technique you'll see discussed a lot on r pumpkin carving is "thinning the walls." This means scraping down the inside of the pumpkin where you want light to come through. Thicker walls mean less light; thinner walls mean more light. Varying the thickness lets you create gradients and shading, not just simple cutouts. Another common technique is pattern transfer – printing a design and then using a poker tool or even just pushing pins through the paper to mark the outline on the pumpkin surface. For more advanced designs, people use layering, cutting away different depths of the pumpkin flesh to create a multi-dimensional effect. It takes practice, sure, but seeing examples on the subreddit helps you visualize how it works.
Essential Pumpkin Carving Gear
- Small, sharp paring knife
- Clay sculpting loop tools
- Detail carving set (look for metal blades)
- Wood carving gouges (small sizes)
- Sturdy pumpkin scoop
- Poker tool or push pins for pattern transfer
- Small LED light for illumination (safer than candles)
Epic r Pumpkin Carving Ideas: From Mario to Monsters
Epic r Pumpkin Carving Ideas: From Mario to Monsters
Pop Culture and Gaming Icons
If you spend any time browsing r pumpkin carving, you'll quickly notice a trend: pop culture rules the patch. People aren't just carving spooky faces anymore; they're recreating characters from their favorite games, movies, and TV shows with impressive accuracy. We're talking detailed renderings of Baby Yoda, intricate designs of Pokémon, or even entire scenes from classic horror films. The Mario pumpkin you saw mentioned earlier? That's just the tip of the iceberg. Someone recently posted a multi-pumpkin display depicting the entire cast of Stranger Things, complete with glowing portals. It takes patience and a good reference image, but seeing these familiar faces (or monsters) brought to life on a gourd is pretty cool. It shows how carving has evolved beyond just a simple holiday craft into a genuine art form, fueled by shared fandoms.
Beyond the Basics: Unique and Challenging Ideas
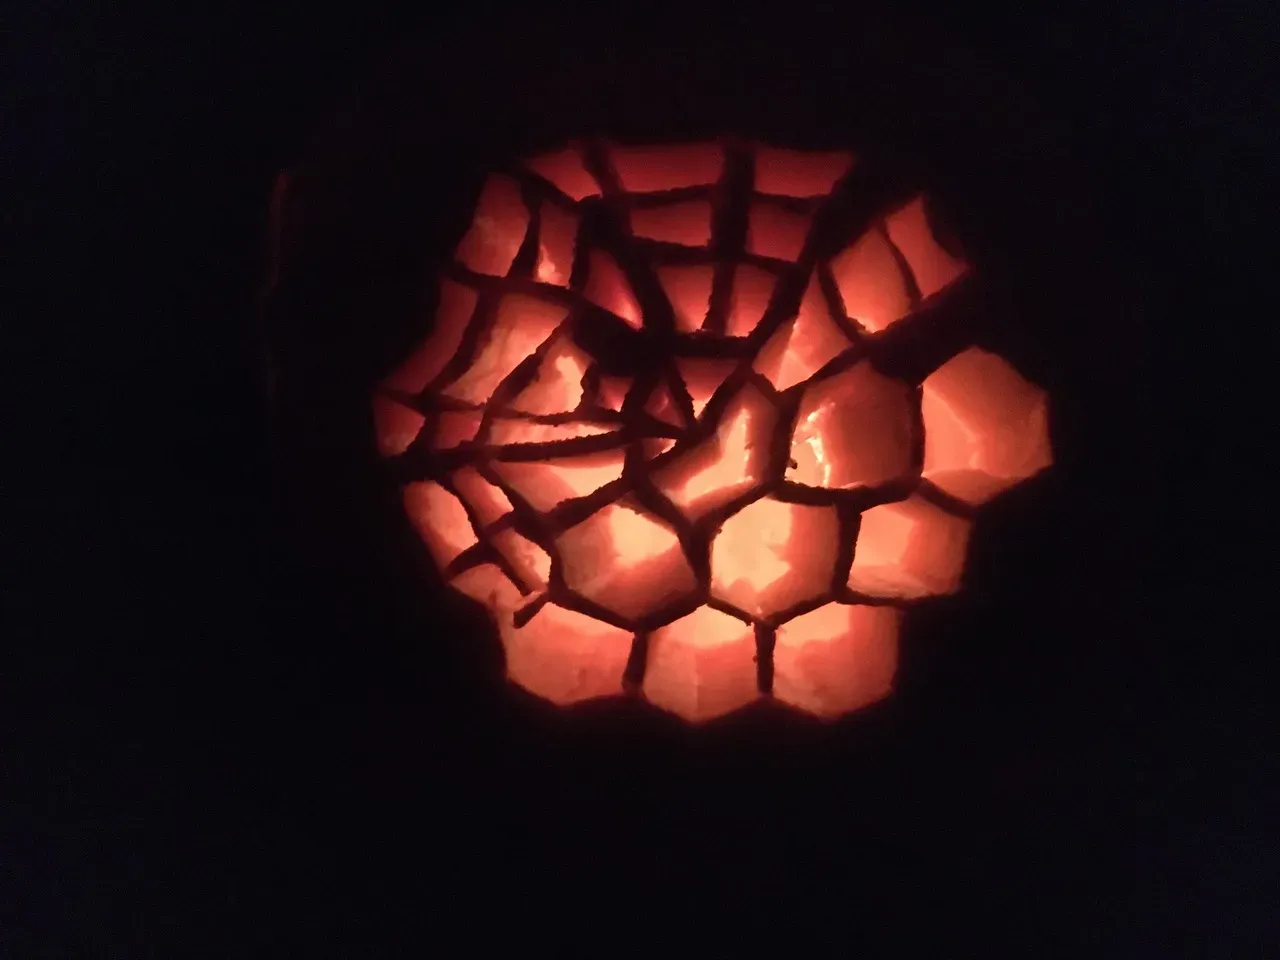
While pop culture is huge, r pumpkin carving also showcases some seriously original and challenging ideas. Think intricate lace patterns carved into the pumpkin skin, creating a delicate, almost glowing effect. Or elaborate scenes carved in relief, where layers are removed to create depth and shadow. Some carvers even use multiple pumpkins to build larger sculptures or dioramas. You'll see people experimenting with different lighting techniques, using colored LEDs or strobe lights to enhance the effect. It's here you find the truly ambitious projects, the ones that probably took someone hours, maybe even days, hunched over a messy table. These posts often come with questions about structural integrity or how to prevent certain parts from collapsing, offering valuable insights into the real struggles of advanced carving.
Popular Pumpkin Carving Themes on r/halloween and Beyond:
- Video Game Characters (Mario, Pokémon, Zelda)
- Movie and TV Show Icons (Star Wars, Stranger Things, Horror Classics)
- Classic Monsters (Ghosts, Vampires, Zombies)
- Intricate Patterns and Designs
- Famous Art Recreations
- Animal and Nature Scenes
Level Up Your r Pumpkin Carving Skills and Share Your Work
Level Up Your r Pumpkin Carving Skills and Share Your Work
Practice Makes... Less Messy
so you've got the tools, you've seen the epic creations on r pumpkin carving, and you're feeling inspired. The biggest hurdle for most people is just getting started and then sticking with it. Don't expect your first attempt with detail tools to look like a museum piece. It's going to be messy. You'll make mistakes. Blades will slip. Thin walls will break. That's part of the process. Think of those early attempts as learning exercises. Start with simpler designs to get a feel for the tools and the pumpkin flesh itself. Pay attention to how different tools remove material and how much pressure you need. Don't be afraid to experiment on a smaller, cheaper pumpkin before tackling that prize-winning giant you bought. Watch time-lapse videos posted by experienced carvers on the subreddit or other platforms – seeing their workflow can reveal techniques you hadn't considered. Sometimes, just understanding the order of operations makes a huge difference.
Show Off Your Gourd-eous Creation
Once you've put in the work and finished a pumpkin you're proud of, the best part is sharing it, especially with the community on r pumpkin carving. When you post, try to include a few good photos. Show different angles, especially if you have details that are only visible from the side. Good lighting is crucial – natural light is often best, but if you're lighting it from the inside, make sure it's even and shows off your carving, not just a bright blob. Add a little context in your post title or comments: what inspired the design? What tools did you use? Did you run into any particular challenges? People on the subreddit are generally supportive and offer constructive feedback if you ask for it. It's a great way to get tips for your next project and celebrate your progress. Don't be shy; everyone started somewhere, and seeing fellow enthusiasts' work, no matter the skill level, is what makes the community thrive.
Tips for Improving Your Carving:
- Start simple and gradually increase complexity.
- Always use sharp tools; dull blades are dangerous and frustrating.
- Thin pumpkin walls carefully for better light diffusion.
- Use reference images and transfer patterns accurately.
- Clean your tools frequently while working.
- Don't rush the process; take breaks if you get frustrated.
- Learn from mistakes – every broken piece teaches you something.
- Experiment with different lighting inside the pumpkin.
Ready to Carve? Join the r Pumpkin Carving Crew
So, there you have it. Stepping up your pumpkin carving game doesn't have to be a solo, frustrating endeavor ending with a lopsided mess. The r pumpkin carving community offers a wealth of practical advice, tool reviews that actually matter, and inspiration drawn from countless hours of gourd-gouging experience. Whether you're aiming for a hyper-realistic portrait or just want to make sure your simple design doesn't collapse by Halloween night, the tips and tricks shared there can genuinely make a difference. Stop wrestling with dull knives and start seeing your visions come to life. Grab those tools, pick out a prime pumpkin, and don't be shy about sharing your results – the internet wants to see what you create.