Table of Contents
Alright, let's be honest. Every year around spooky season, you see those incredible pumpkin carvings online. You know, the ones that look like they were sculpted by tiny, highly-skilled goblins? Then you look at your own attempt, maybe a lopsided triangle-eyed grin, and think, "How do they do that?" You're not alone. A massive part of the fun, and the frustration, of the season involves getting your hands gooey with pumpkin guts.
Why Bother with r Pumpkin Carving? Finding Your Tribe
Why Bother with r Pumpkin Carving? Finding Your Tribe
Beyond the Front Porch: Connecting Through Gourd Gore
You might think carving a pumpkin is a solo mission, just you, a cheap plastic saw, and a stubborn squash. And sure, you *can* do it that way. But honestly, it's way more fun, and you learn a lot faster, when you tap into a community. That's where the r pumpkin carving corners of the internet shine. It's not just about seeing cool pictures; it's about finding people who get it. They understand the frustration when a knife slips, the triumph of getting a tricky detail just right, and the sheer joy of seeing a glowing face on your doorstep.
Scrolling through posts, you see everything from absolute masterpieces that look like they belong in a museum to hilarious, slightly melted attempts. People ask questions, share techniques, lament their snapped tools, and celebrate each other's efforts. It’s a low-stakes environment where the common ground is a shared love for turning an autumnal fruit into something spooky, funny, or downright artistic. You get feedback, find inspiration you never would have thought of, and frankly, feel less like you're just talking to yourself while covered in seeds and stringy bits.
More Than Just Pretty Pictures: Learning the Ropes
The real magic of places dedicated to r pumpkin carving isn't just the eye candy. It's the collective knowledge base. Someone struggled with carving thin lines? Chances are, ten people before them did too, and they shared their solutions. Need to know the best way to light a complex carving? Someone's already tested fifteen different methods and posted the results. You get access to tips on everything from picking the right pumpkin shape for your design to preserving your creation so it doesn't turn into a sad, moldy mess two days before Halloween.
Think of it as a free, ongoing workshop led by thousands of enthusiasts. You see someone achieve an effect you love, you ask how they did it, and they often tell you the exact tool and technique. This kind of practical, in-the-trenches advice is gold. You bypass a lot of trial and error (and wasted pumpkins) by learning from others' experiences, both good and bad. It speeds up your learning curve dramatically and opens your eyes to possibilities you might not have imagined.
- Find unique design inspiration beyond standard stencils.
- Learn new carving tools and techniques from experienced carvers.
- Troubleshoot common problems like pumpkin collapse or rot.
- Connect with others who share your spooky season passion.
- Gain confidence by sharing your work and getting constructive feedback.
Hunting for Killer Ideas for Your r Pumpkin Carving
Hunting for Killer Ideas for Your r Pumpkin Carving
Beyond Basic Stencils: Where the Good Stuff Lives
so you've decided the triangle eyes and jagged mouth are officially retired. Good. Now comes the fun part: figuring out what incredible, slightly intimidating design you're going to tackle this year. Sure, you could hit up the seasonal aisle at the grocery store, but those flimsy stencils? They're the training wheels of the pumpkin carving world, and frankly, you're past that.
The real goldmine for inspiration, the place where people push the limits of what a squash can become, is the online community, especially dedicated spots like those focused on r pumpkin carving. You'll see everything from intricate pop culture icons to terrifying original monsters to surprisingly detailed portraits. These communities are a visual feast, showing you what's possible and sparking those "aha!" moments.
Don't just scroll passively, though. Pay attention to what catches your eye. Is it the shading? The complexity? The sheer absurdity? Note down themes, characters, or techniques that look interesting. Sometimes the best ideas come from seeing someone else's cool concept and thinking, "How can I put my own twist on that?" It's less about copying and more about building on a shared creative energy.
From Memes to Masterpieces: Filtering Your Feed
Finding inspiration isn't just about looking at pretty pictures; it's about finding ideas that are *right* for your skill level and the time you're willing to invest (because let's be real, some of those carvings take serious hours). The beauty of places like the r pumpkin carving subreddit is the sheer variety. One post might be a simple, clever pun carved into a mini-pumpkin, while the next is a multi-gourd sculpture of a dragon.
Think about what you enjoy. Are you into horror movies, video games, classic literature, or just plain silliness? Chances are, someone has carved a pumpkin related to it. Consider the complexity of the design versus the tools you have available. A highly detailed portrait requires different equipment and patience than a bold, graphic design.
Here are a few common places carvers pull ideas from:
- Pop Culture (Movies, TV, Video Games, Memes)
- Classic Halloween Themes (Ghosts, Witches, Monsters)
- Nature and Animals (Spiders, Bats, Owls, Spooky Trees)
- Abstract Patterns and Designs
- Political or Social Commentary (Approach with caution and maybe a sense of humor)
Translating Vision to Gourd: It's Not Always Easy
So you've found a killer idea. Maybe it's a complex character from your favorite show or a terrifying creature from a nightmare you had. Great! Now comes the slightly daunting task of translating that image onto a round, uneven, often frustrating surface. This is where the rubber meets the road, or rather, the carving tool meets the rind.
Many carvers start with a stencil or a printed image they can transfer onto the pumpkin. You can find tutorials online within the r pumpkin carving community detailing various transfer methods, from tape and tracing paper to projectors for the truly ambitious. Remember, even experienced carvers don't usually freehand intricate designs; they rely on a guide.
Don't get discouraged if your first attempt doesn't look exactly like the picture. Pumpkins are forgiving... up to a point. Sometimes a happy accident with a slipped knife turns into a unique scar that adds character. The goal isn't always perfection; it's creating something that makes you smile, or ideally, makes the neighbor kids jump a little.
The Right Tools Make All the Difference in r Pumpkin Carving
The Right Tools Make All the Difference in r Pumpkin Carving
Equipping Your Gourd-Sculpting Workshop
Look, you *can* try to carve a masterpiece with that tiny, flimsy saw that came with the grocery store kit. You know, the one that bends if you look at it funny? Good luck with that. The truth is, trying to achieve anything beyond a basic triangle face with inadequate tools is like trying to build a house with a plastic spoon. It’s frustrating, slow, and the results are usually disappointing. This is where spending a little time browsing the advice in r pumpkin carving communities pays off. They've tested the cheap stuff, the fancy stuff, and everything in between, and they're not shy about telling you what works and what's a waste of your time and pumpkin.
Techniques to Elevate Your r Pumpkin Carving Game
Techniques to Elevate Your r Pumpkin Carving Game
Beyond the Cut-Through: Mastering Depth and Detail
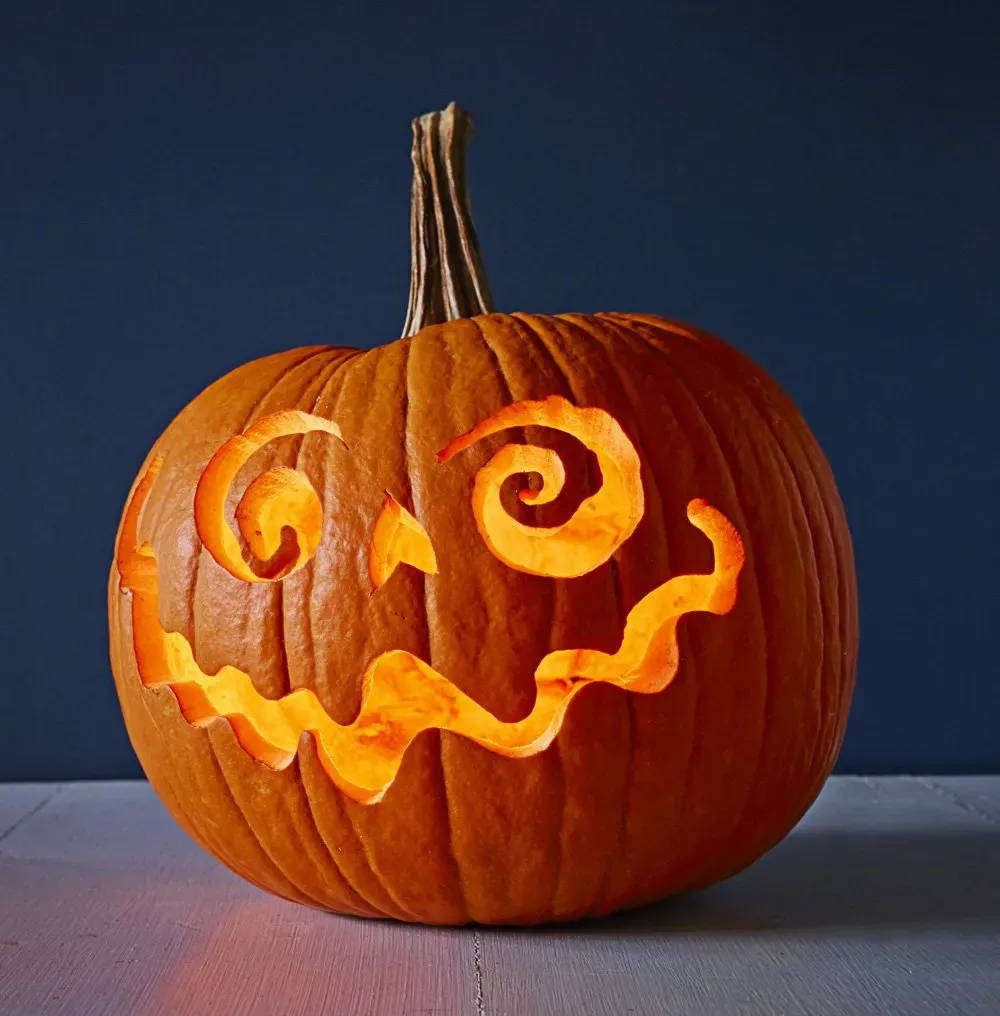
you've got your design transferred, maybe splurged on some halfway decent tools thanks to tips from the r pumpkin carving crowd. Now what? If you're still just cutting holes all the way through the pumpkin wall, you're missing out on a huge part of what makes those online carvings pop. The real magic often happens when you *don't* cut all the way through. Scraping away layers of the rind to different depths allows light to filter through, creating gradients and shading. This is how carvers make things look rounded, textured, or give them a spooky glow without just being a silhouette.
Think about it like sculpting. You're not just removing material; you're shaping it. Learning to control the depth of your cuts is a game-changer. It takes practice, sure, and you'll probably poke through accidentally a few times (it happens to everyone, just ask on r pumpkin carving and you'll get commiseration and tips). But once you get the hang of thinning areas for light and leaving others thick for contrast, your pumpkins will go from flat cutouts to something with real dimension.
- **Scraping:** Removing the outer skin and some flesh to let light through subtly.
- **Shading:** Varying the thickness of the wall to create lighter and darker areas.
- **Incising:** Making shallow cuts just through the rind for fine lines and details.
- **Chip Carving:** Removing small chips of pumpkin for texture or small patterns.
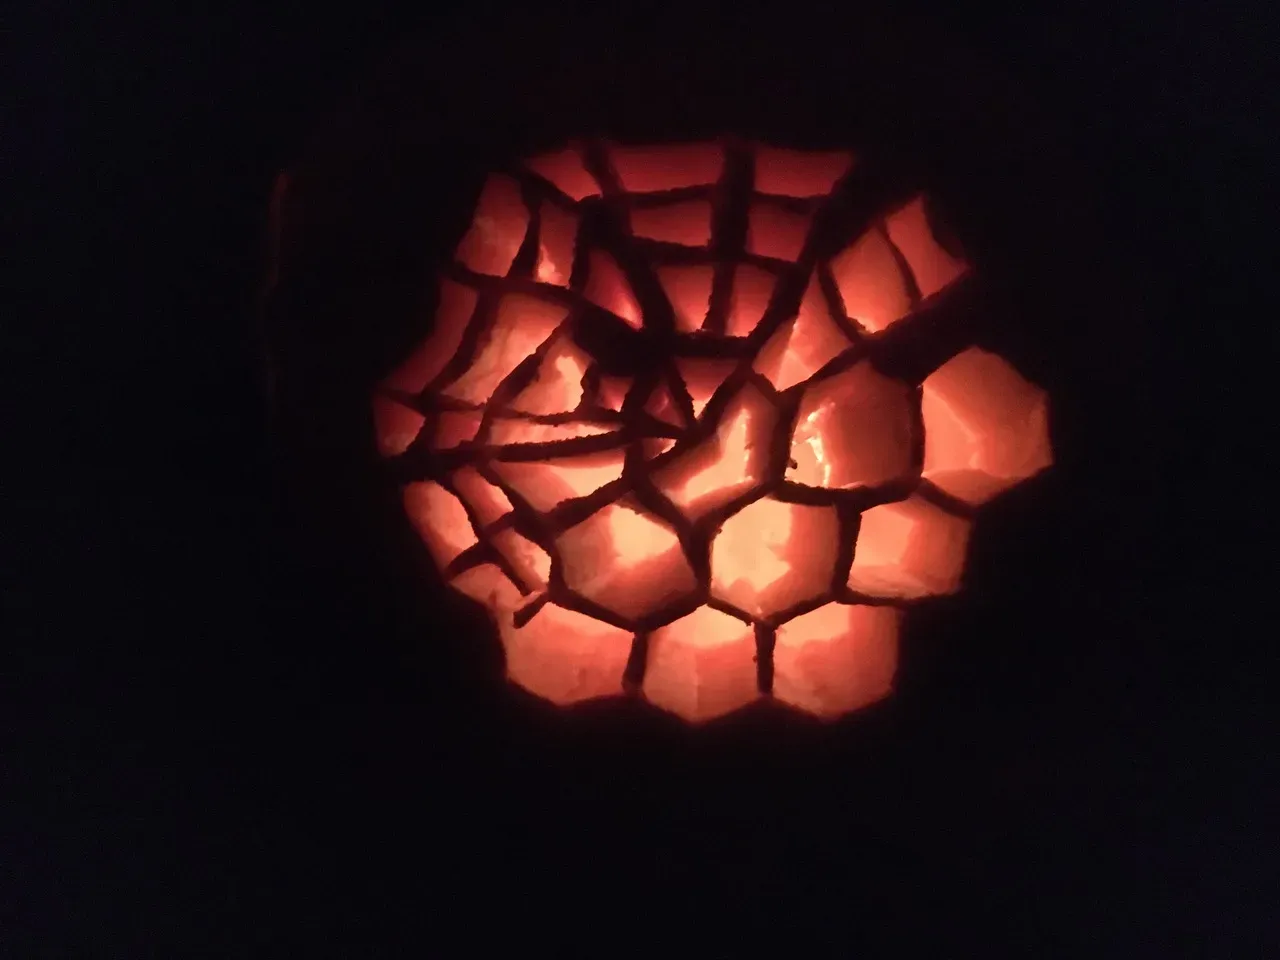
- **Backlighting:** Considering how the light source inside will interact with your carving depths.
Tools of the Trade: From Clay Loops to Dremels
Once you start experimenting with depth and detail, you'll quickly realize that the standard serrated pumpkin saw is about as useful for fine work as a butter knife is for surgery. This is where diving into the tools discussed in r pumpkin carving communities becomes essential. Clay sculpting tools, especially loop tools of various sizes, are fantastic for scraping and smoothing. Wood carving gouges can create interesting textures and remove larger sections cleanly. For truly intricate details or carving tough rinds, some ambitious folks even break out rotary tools like Dremels (use eye protection, seriously).
Don't feel like you need to buy everything at once. Start with a basic set of scraping tools and maybe a few different sized detail knives. As you tackle more complex designs, you'll figure out what's missing from your toolkit. The key is matching the tool to the technique you want to achieve. Trying to scrape large areas with a tiny detail knife is frustrating; trying to carve fine lines with a giant scoop is impossible. Pay attention to what the experienced carvers on r pumpkin carving recommend for specific effects – they've already done the trial and error for you.
Sharing Your r Pumpkin Carving Triumphs (And Fails)
Sharing Your r Pumpkin Carving Triumphs (And Fails)
Show Off or Learn From the Wreckage
After hours hunched over a gourd, scraping away the innards and meticulously carving details (or wildly hacking with a dull knife), you’ve got something. Maybe it’s a masterpiece that will make the neighbors weep with envy, or maybe it looks like it lost a fight with a badger. Either way, the final step for many carvers is sharing their creation with the world, and for a lot of enthusiasts, that world is the online community, specifically places like r pumpkin carving. This is where you post your finished product, basking in the upvotes and compliments, or bravely showing your epic fail and getting commiseration and tips on what went wrong. It's a mixed bag – you might get genuine praise and helpful critique, or occasionally, some internet stranger telling you your skill level matches that of a toddler with a spork. But mostly, it's a supportive space where people appreciate the effort, the creativity, and the shared mess.
Wrapping Up Your r Pumpkin Carving Adventure
So, you've navigated the sometimes-messy world of pumpkin guts, wrestled with a stencil, maybe nicked a finger (it happens), and hopefully, created something you're proud of. Engaging with communities like r pumpkin carving isn't just about finding the perfect pattern or the sharpest tool; it's about the shared experience of transforming a humble squash into a temporary piece of art. Whether your final product is gallery-worthy or looks like it survived a minor explosion, the process itself, and the connection with others doing the same thing, is a solid win for the Halloween season. Keep practicing, keep sharing, and definitely keep an eye on what everyone else is creating – you never know where the next great idea will come from.