Table of Contents
Halloween is creeping up, and suddenly you realize that perfect, elaborate pumpkin masterpiece you envisioned might take more time than you actually have. Don't sweat it. Life gets busy, and sometimes you just need a fast track to festive. That's where quick pumpkin carving ideas come in. You don't need hours of intricate work or surgeon-level precision to create a cool jack-o'-lantern that will look great on your porch.
Why You Need Quick Pumpkin Carving Ideas This Halloween

Why You Need Quick Pumpkin Carving Ideas This Halloween
Life Gets Busy, Halloween Doesn't Wait
Look, we all have grand plans for Halloween. Epic costumes, spooky decorations covering every square inch, and a pumpkin carving that would make a professional sculptor nod in approval. Then reality hits. Work piles up, kids have school events, that one friend decides to throw a last-minute party you can't miss. Before you know it, it's October 30th, you have a sad, uncarved pumpkin sitting by the door, and panic starts to set in. This is precisely why you need quick pumpkin carving ideas. You don't have hours to meticulously shave off layers or recreate Van Gogh's Starry Night on a gourd. You need something fast, effective, and still visually decent.
Maximum Spook, Minimum Effort
Maybe you're not short on time, but you just don't *want* to spend an entire evening elbow-deep in pumpkin guts, wrestling with a flimsy carving tool. Maybe you've tried complex designs before, and they ended up looking less like a terrifying monster and more like... well, a melted mess. Quick pumpkin carving ideas aren't just for the time-pressed; they're for anyone who wants a cool jack-o'-lantern without the potential frustration and mess of an overly ambitious project. Get a great look without the drama.
Here’s why speed matters:
- More time for candy procurement (essential).
- Less risk of slicing your finger (common).
- Pumpkins decay, fast carving means it looks better longer.
- You can actually enjoy the rest of October.
Essential Tools and Techniques for Quick Pumpkin Carving

Essential Tools and Techniques for Quick Pumpkin Carving
Grab the Right Gear
Alright, let's talk tools. Trying to carve a pumpkin quickly with a dull kitchen knife is like trying to win a drag race on a unicycle – it's not happening, and you'll probably injure yourself. For quick pumpkin carving ideas to work, you need the right equipment. You don't need a fancy, expensive kit, but a few key items make a massive difference. A sturdy, serrated pumpkin saw is your best friend for cutting through the thick rind fast. Forget butter knives; they just get stuck. Look for a set that includes a scoop for cleaning out the guts – a metal one is way faster and more efficient than trying to use your hands or a spoon. Small detail saws or etching tools are great for adding finer touches quickly without full cut-throughs. And seriously, get some gloves if you hate sticky pumpkin goo. It saves cleanup time later.
Super Quick Pumpkin Carving Ideas: Etching and Stencils

Super Quick Pumpkin Carving Ideas: Etching and Stencils
Etching: The Speed Demon of Pumpkin Decorating
If you're truly pressed for time, or maybe just intimidated by cutting all the way through, etching is your best friend for quick pumpkin carving ideas. It's like giving your pumpkin a cool tattoo instead of surgery. Instead of cutting out shapes, you only remove the top layer of the pumpkin's rind, exposing the lighter flesh underneath. This is way faster because you're not sawing through thick walls. You can use simple tools for this – even a sturdy linoleum cutter or a scraping tool from a cheap carving kit works. Draw your design right on the pumpkin with a marker, or tape on a simple stencil, then just scrape away the skin within your lines. Simple shapes, spooky eyes, spiderwebs, or even just scratching your house number into it – it all works and takes a fraction of the time of traditional carving.
Stencils Aren't Cheating, They're Smart
some purists might scoff, but using stencils is one of the fastest ways to execute quick pumpkin carving ideas that still look impressive. You don't have to be an artist; the stencil does the heavy lifting. Find a design you like online or in a kit, tape it securely to the pumpkin, and then use a poker tool (usually comes with carving kits) to make small holes along the lines of the stencil. Once the outline is transferred, you connect the dots with your carving saw. For even more speed, choose stencils with large, simple shapes and minimal internal cuts. Think classic ghost shapes, simple triangles for eyes and a jagged mouth, or bold letters spelling out "BOO." Less intricate cuts mean less time hunched over the pumpkin.
Quick Stencil & Etching Tips:
- Keep designs simple: Bold lines and large shapes are fastest.
- Secure your stencil: Tape it down well so it doesn't shift.
- Use a poker tool: Transferring the design with dots is quicker than drawing freehand for many.
- Etch first: If your design has both etched and cut-out parts, do the etching before cutting to maintain structural integrity.
- Think beyond faces: Simple patterns, stars, or even just stripes can look great when etched or stenciled quickly.
Simple and Spooky: More Quick Pumpkin Carving Ideas
Simple and Spooky: More Quick Pumpkin Carving Ideas
Classic Shapes, Done Fast
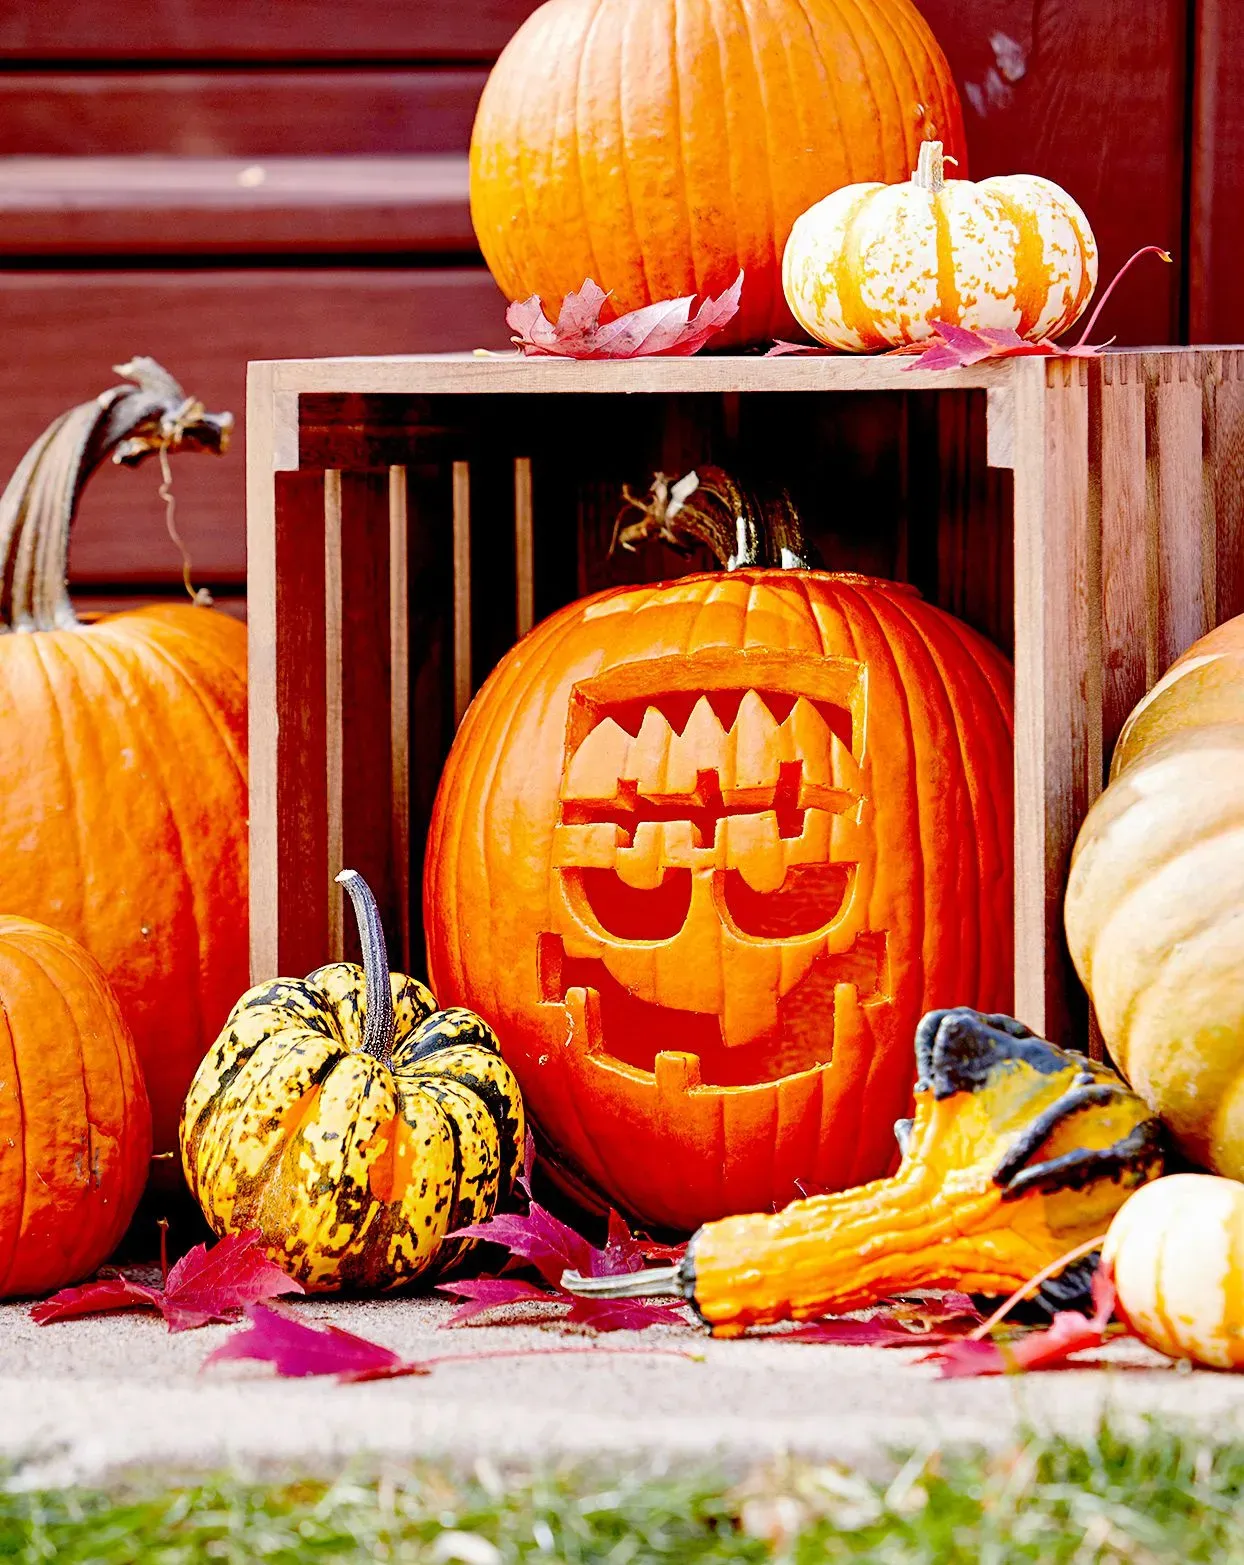
Sometimes the quickest way is the most traditional, just streamlined. Forget those intricate tooth patterns or swirling eyes. We're talking about bold, simple shapes cut clean through. A classic triangle for eyes, another for the nose, and a jagged or simple curved smile takes minutes, not hours. Think back to the basic jack-o'-lanterns you drew as a kid – they worked then, they work now, and they are the definition of quick pumpkin carving ideas. Use a sturdy saw and keep your cuts decisive. Don't fuss over perfection; a slightly wobbly line just adds character, right? This is the go-to when you've got five pumpkins to carve and guests arriving in an hour.
Beyond the Knife: Drills and Cookie Cutters
Who says you only need a saw? Get creative with other tools lying around. A power drill with different sized bits can create spooky patterns of holes in seconds. Think constellations, abstract designs, or even just scattered "bug holes." It's fast, relatively clean (compared to gutting), and looks surprisingly effective, especially when lit. For smaller pumpkins or specific shapes, metal cookie cutters can be hammered through the rind (carefully!) to pop out shapes. This is particularly good for stars, moons, or simple geometric forms. Just make sure the cutter is sturdy and you use a mallet or rubber hammer, not your hand.
Tools for Speedier Designs:
- Power drill with various bits
- Sturdy metal cookie cutters
- Rubber mallet or hammer
- Melon baller for scooping out small circles
- Apple corer for perfect round holes
No-Carve? Still Spooky and Quick
technically not carving, but if the goal is a quick, spooky pumpkin, sometimes skipping the knife entirely is the fastest route. Painting is your friend here. Black spray paint for a spooky silhouette effect, or white paint with black details for ghost pumpkins. You can use stick-on felt shapes for eyes and mouths, or even just wrap the pumpkin in gauze like a mummy. Hot glue on some plastic spiders or googly eyes. These methods take minutes and avoid the mess and potential hazards of carving, making them top-tier quick pumpkin carving ideas for families or the truly time-crunched.
Keeping Your Quick Pumpkin Carvings Looking Good
Keeping Your Quick Pumpkin Carvings Looking Good
Hydration is Key, Even for Gourds
So you whipped up some seriously cool quick pumpkin carving ideas and they look great right now. Problem is, pumpkins are basically big, thick-skinned vegetables, and once you cut into them, they start drying out faster than a bad stand-up routine. The cut edges shrivel, the details sag, and before you know it, your spooky creation looks less terrifying and more just... sad. To slow this down, hydration is your best friend. Giving your carved pumpkin a soak in a tub of cold water for a few hours each day, or at least misting it regularly, can help keep the flesh plump. Think of it as giving your pumpkin a spa treatment. It won't last forever, nothing does, but it buys you a few extra days of looking respectable.
Deterring the Rot and Critters
Beyond just drying out, carved pumpkins are basically an open invitation for mold, bacteria, and various creepy crawlies looking for a snack. Especially with quick pumpkin carving ideas where you might have left some flesh exposed, you're creating an ideal environment for decay. To fight back, a thin layer of petroleum jelly (Vaseline) rubbed onto the cut edges can create a barrier against moisture loss and some microbes. Some folks swear by a bleach solution spray (about a teaspoon of bleach per quart of water) to kill bacteria, but be careful with that stuff. Keeping the inside clean is also crucial; any leftover strings or seeds are just fuel for the rot party. And try to keep it out of direct sunlight or pouring rain.
Quick Preservation Hacks:
- Soak in cold water for a few hours daily.
- Mist with water frequently.
- Apply petroleum jelly to cut edges.
- Spray lightly with a diluted bleach solution (use caution).
- Keep the inside clean of debris.
- Avoid direct sun and rain.
Lighting Smartly Extends Life
How you light your quick pumpkin carving ideas matters for its longevity. Traditional wax candles generate heat, which speeds up the drying and decay process. Plus, they're a fire hazard, which is less spooky and more just dangerous. Battery-operated LED lights are the way to go. They provide a consistent glow without the heat or the risk of burning down your porch. They come in various colors and flicker options now, so you can still get that classic jack-o'-lantern effect. Using LEDs means less stress about the pumpkin degrading from the inside out due to heat, letting your speedy carving project shine for longer.
Wrap Up: Your Quick Carving Mission Accomplished
So there you have it. Getting a decent-looking pumpkin ready for Halloween doesn't require dedicating your entire weekend to the task. With the right tools, a few smart techniques like etching or simple stencils, and a willingness to embrace speed over intricate detail, you can knock out a jack-o'-lantern in surprisingly little time. These quick pumpkin carving ideas prove that sometimes, less really is more, especially when you're short on hours and long on Halloween spirit (and possibly procrastination). Now go forth and carve something fast.