Table of Contents
Alright, let's be honest. Every fall, you see those ridiculously intricate pumpkin carvings online and think, "Yeah, maybe I'll spend three hours scraping pumpkin guts and risk losing a finger for that." Then reality hits. Or maybe you just want something that looks good on the porch without requiring an engineering degree or a full weekend commitment. If that sounds familiar, you're in the right place. Forget the elaborate, time-consuming projects that end up looking nothing like the picture anyway. We're talking about quick easy pumpkin carving ideas. The kind you can actually pull off after work, with tools you probably already have, and still have time left for questionable Halloween candy. This isn't about winning a carving competition; it's about getting a decent jack-o'-lantern out there without the fuss. We'll walk through picking the right pumpkin and tools, toss around some genuinely simple design ideas, talk lighting that won't set your porch on fire, and even cover how to keep your creation from turning into a sad, moldy mess too fast. Ready to skip the frustration and get straight to the spooky fun?
Getting Started: Tools & Pumpkins for Quick Easy Carving
Getting Started: Tools & Pumpkins for Quick Easy Carving
Picking Your Canvas for Quick Easy Pumpkin Carving Ideas
Alright, step one for any quick easy pumpkin carving ideas: snagging the right pumpkin. Don't just grab the biggest one you see; size doesn't always mean carving success. Look for a pumpkin with smooth, firm skin. Bumps and deep ridges look cool until you try to cut a straight line through them. Check the bottom too – you want it flat and stable so it doesn't roll over on your porch like a drunk bowling ball. A sturdy stem is a good sign it's healthy, but honestly, you're probably cutting the top off anyway, so don't stress too much about that. Just avoid anything bruised, soft, or already leaking questionable liquid. Those are past their prime and will probably collapse mid-carve.
Essential Gear for Quick Easy Pumpkin Carving
Forget those flimsy plastic tools that come in cheap kits. They break, they bend, and they make you want to give up after five minutes. For quick easy pumpkin carving ideas that actually work, you need a few decent tools. A sturdy, serrated knife is your best friend for cutting the top or bottom off. An ice cream scoop is surprisingly effective for scraping out the guts – way better than your hand. Metal biscuit cutters? Perfect for punching out simple shapes like circles or stars without needing surgical precision. A small, sharp paring knife or even a dedicated pumpkin carving saw (the small, jagged kind) gives you more control for details, even simple ones. You don't need a whole arsenal, just the right basics.
- Serrated knife (kitchen variety works)
- Sturdy ice cream scoop
- Metal biscuit cutters (various shapes)
- Small paring knife or carving saw
- Newspaper or old towels (for the mess, trust me)
Prepping the Pumpkin Without the Drama
Now for the messy part – getting the insides out. Most people cut the top off, and that's fine, but cutting a hole in the bottom can make it easier to place your light source later. Your call. Either way, cut a generous opening. Angle your knife slightly inward so the lid has a lip to rest on and doesn't fall in. Then, grab that ice cream scoop and go to town. Scrape out all the seeds and stringy bits. Get it as clean as you can. The thicker the wall, the harder it is to carve, so thin it down a bit, maybe to about an inch thick. This step is crucial for making those quick easy pumpkin carving ideas actually *quick* and *easy*.
Beyond the Basic Face: Simple & Quick Easy Pumpkin Carving Ideas
Beyond the Basic Face: Simple & Quick Easy Pumpkin Carving Ideas
Ditching the Drab for Dabbling Designs
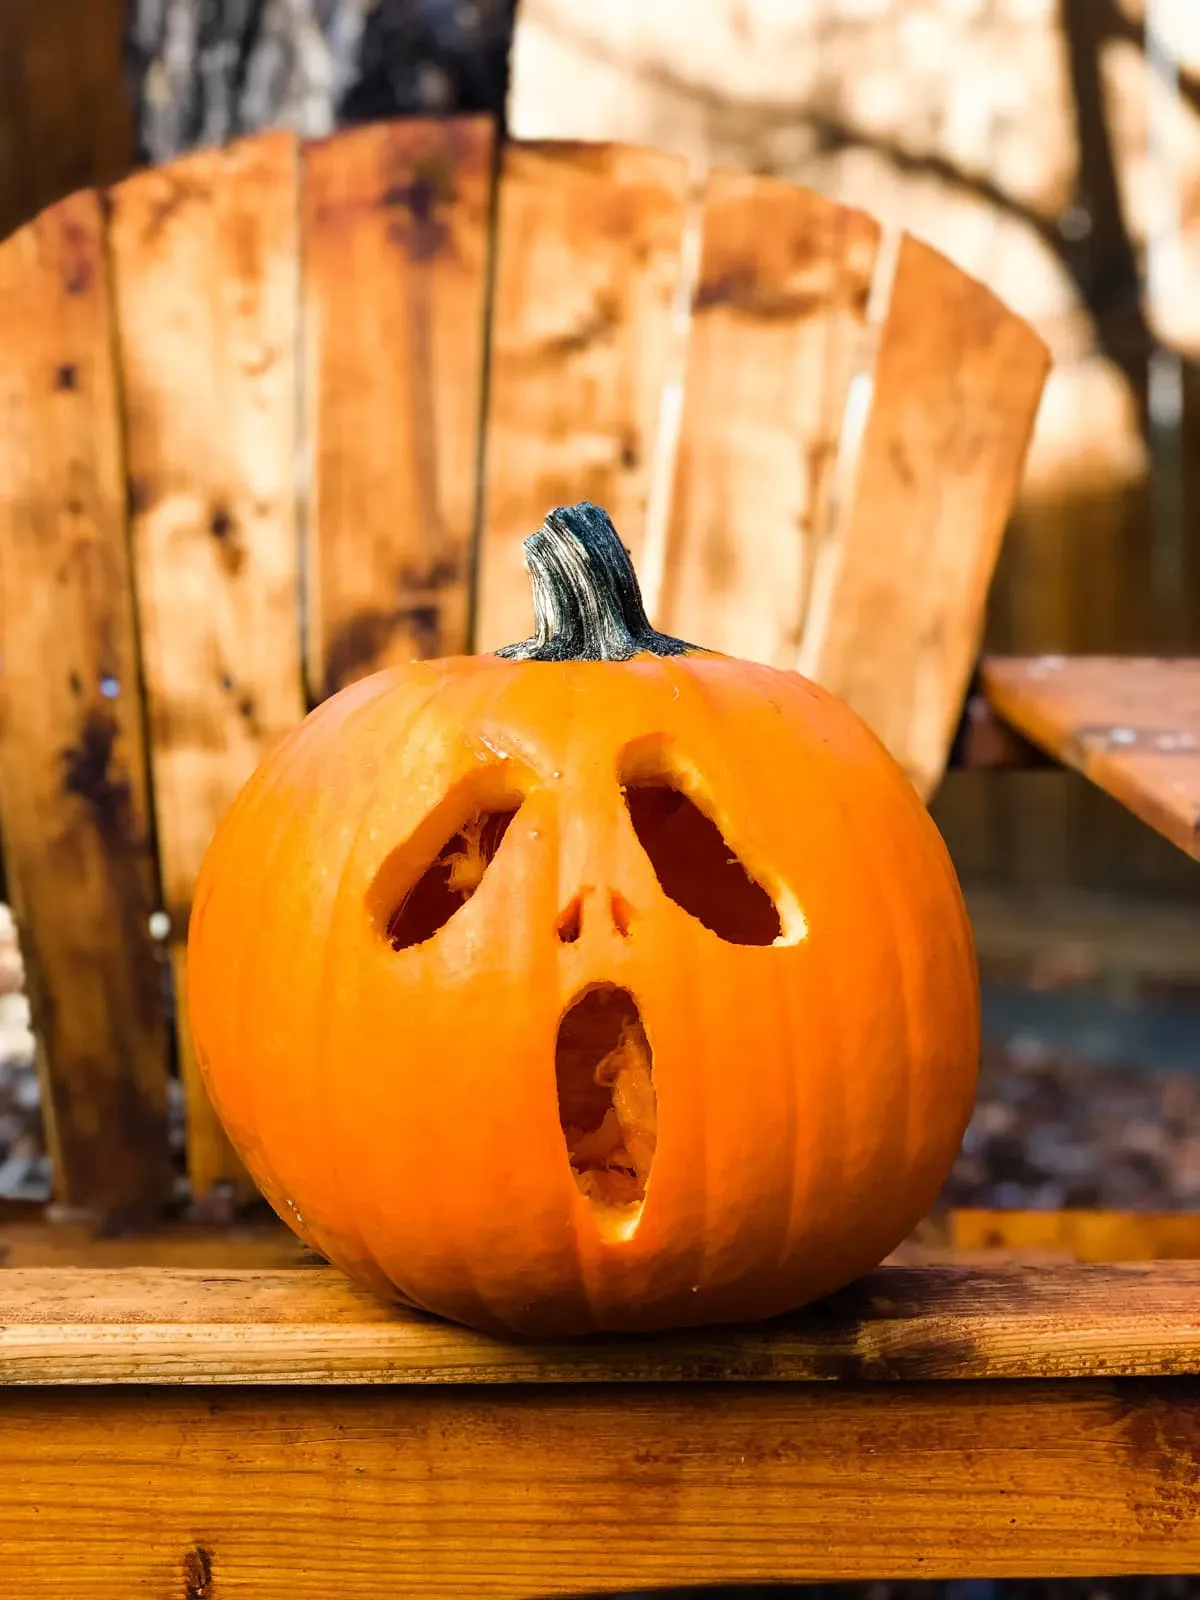
we've all seen the classic jack-o'-lantern: triangle eyes, maybe a crooked smile with a few missing teeth. It's traditional, sure, but also kind of… boring. And honestly, getting those sharp angles perfect can be more frustrating than you'd think, especially with a dull knife. For genuinely quick easy pumpkin carving ideas, you need to think differently. Instead of trying to replicate complicated faces, focus on simpler shapes and techniques. Think about what you can achieve with basic tools and minimal effort. It's less about artistic mastery and more about making something recognizable and fun in under an hour.
Simple Shapes, Maximum Impact
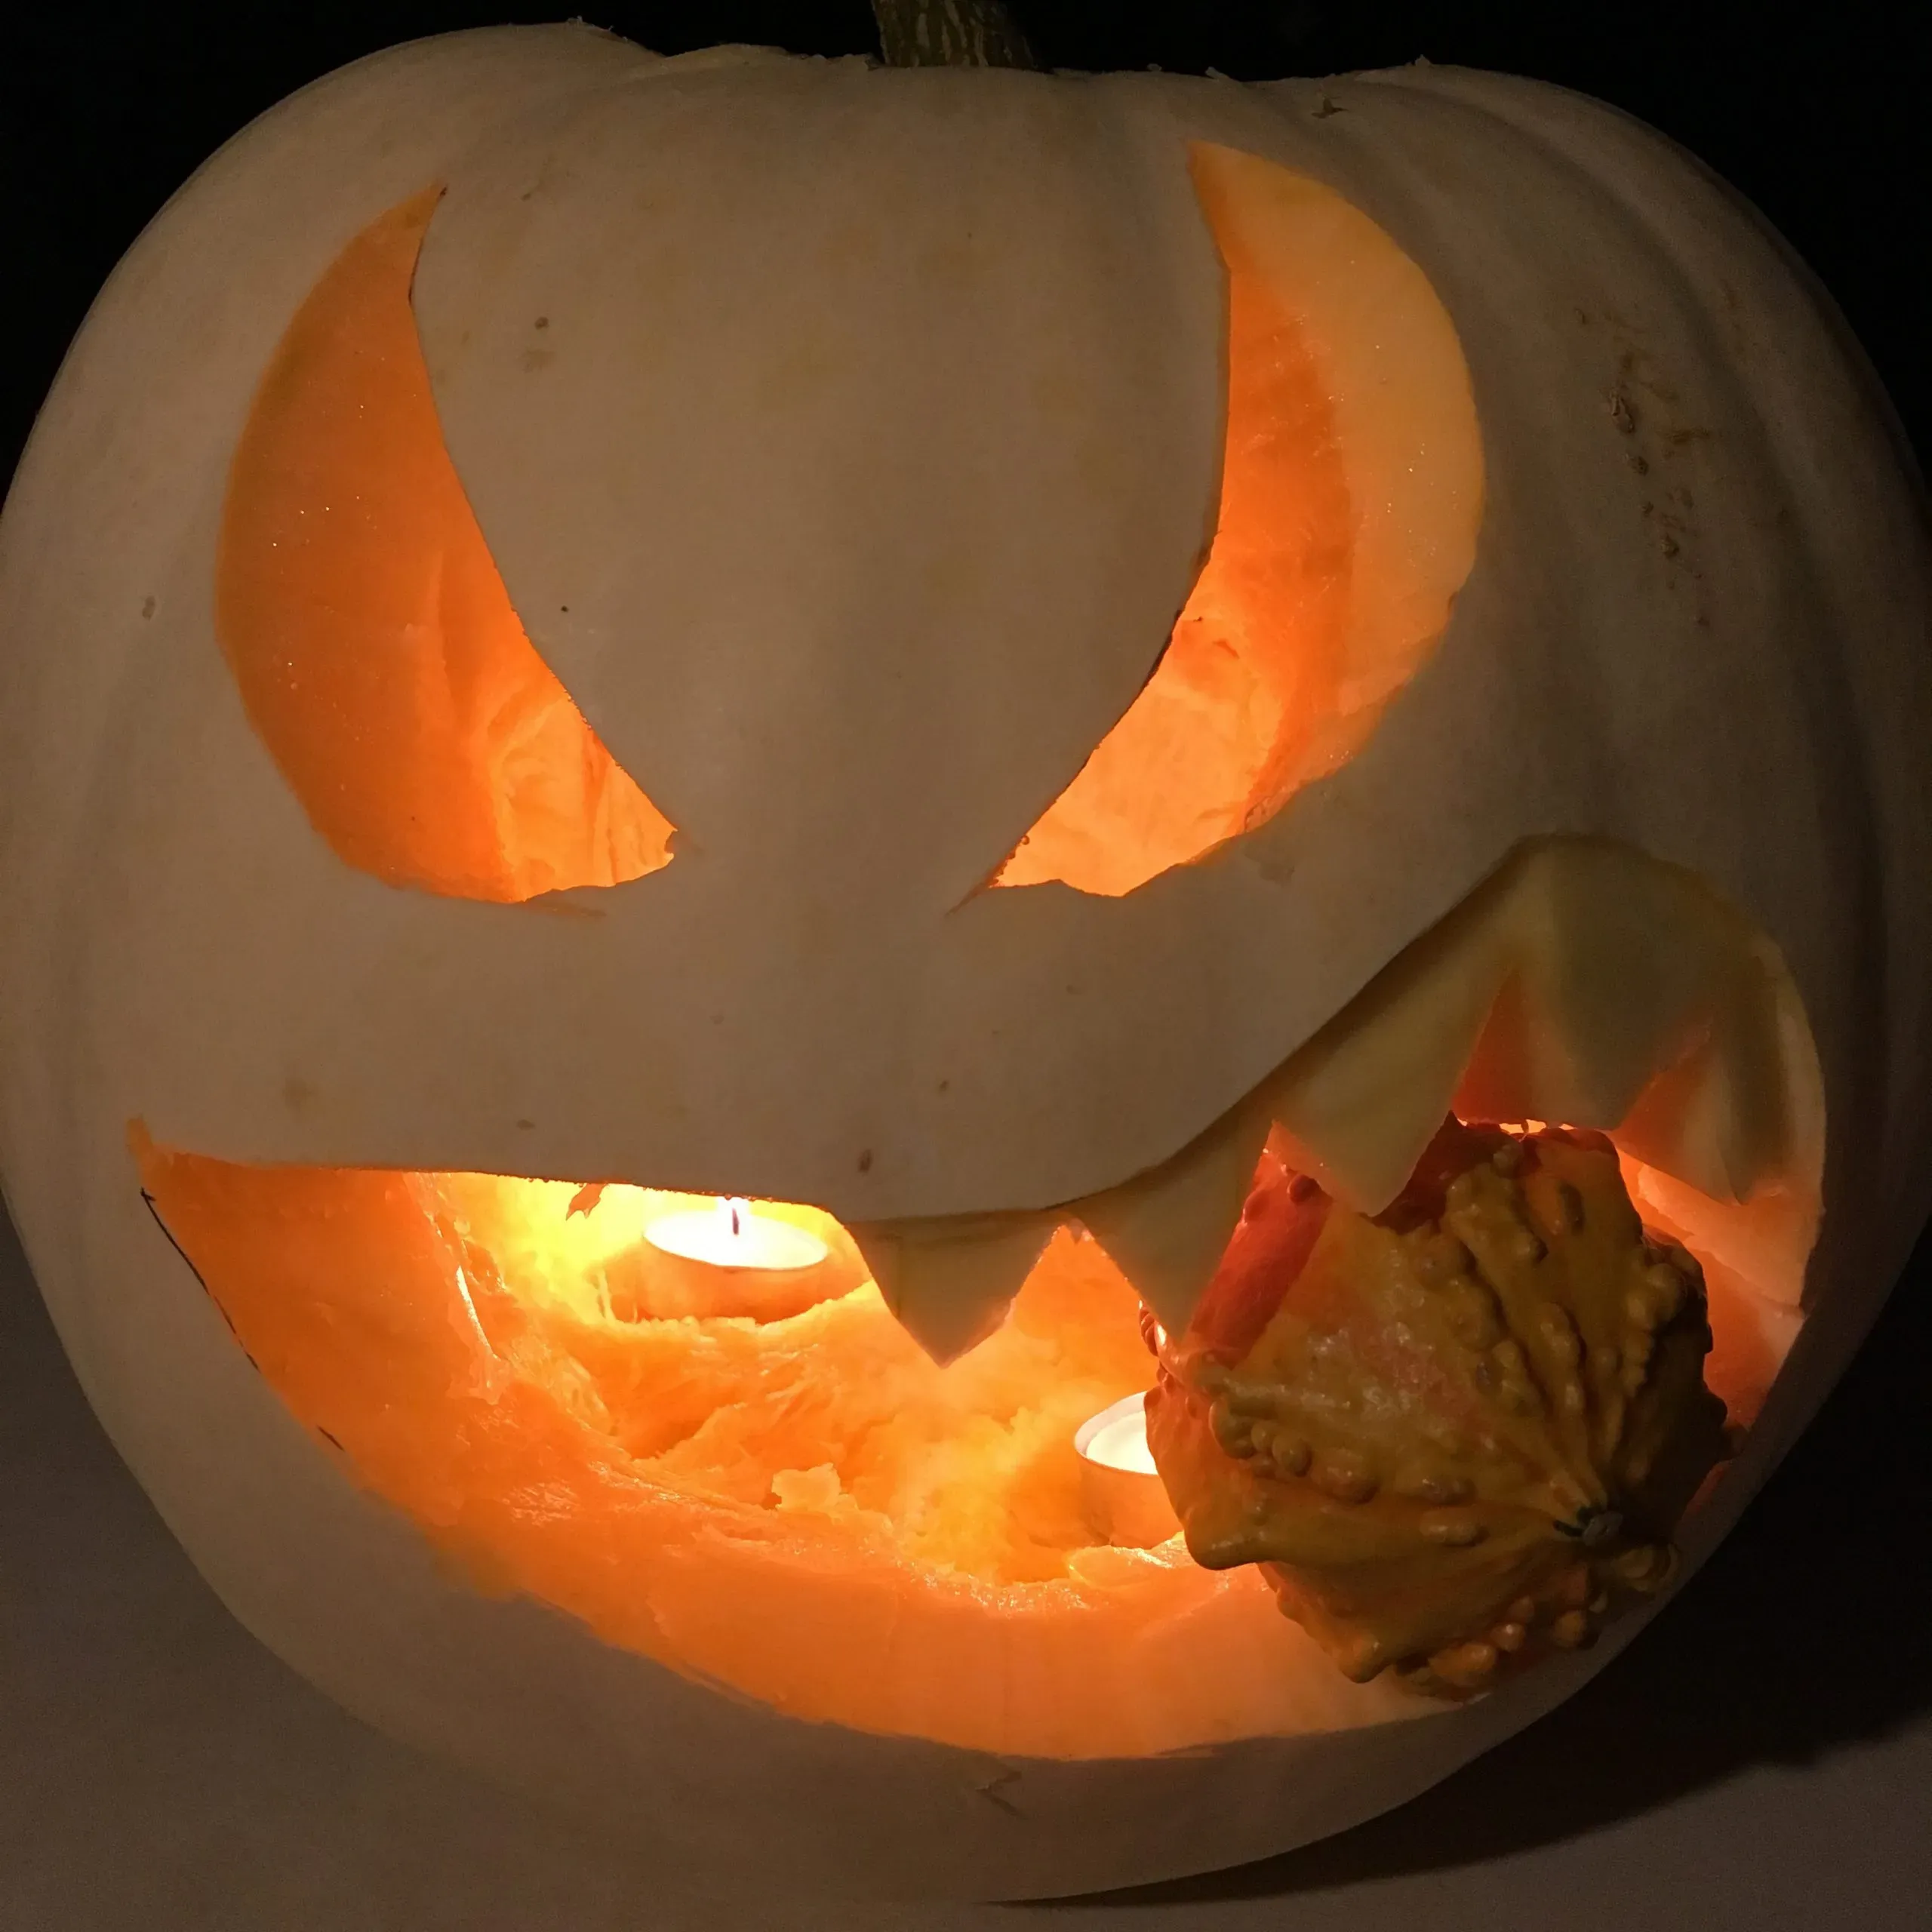
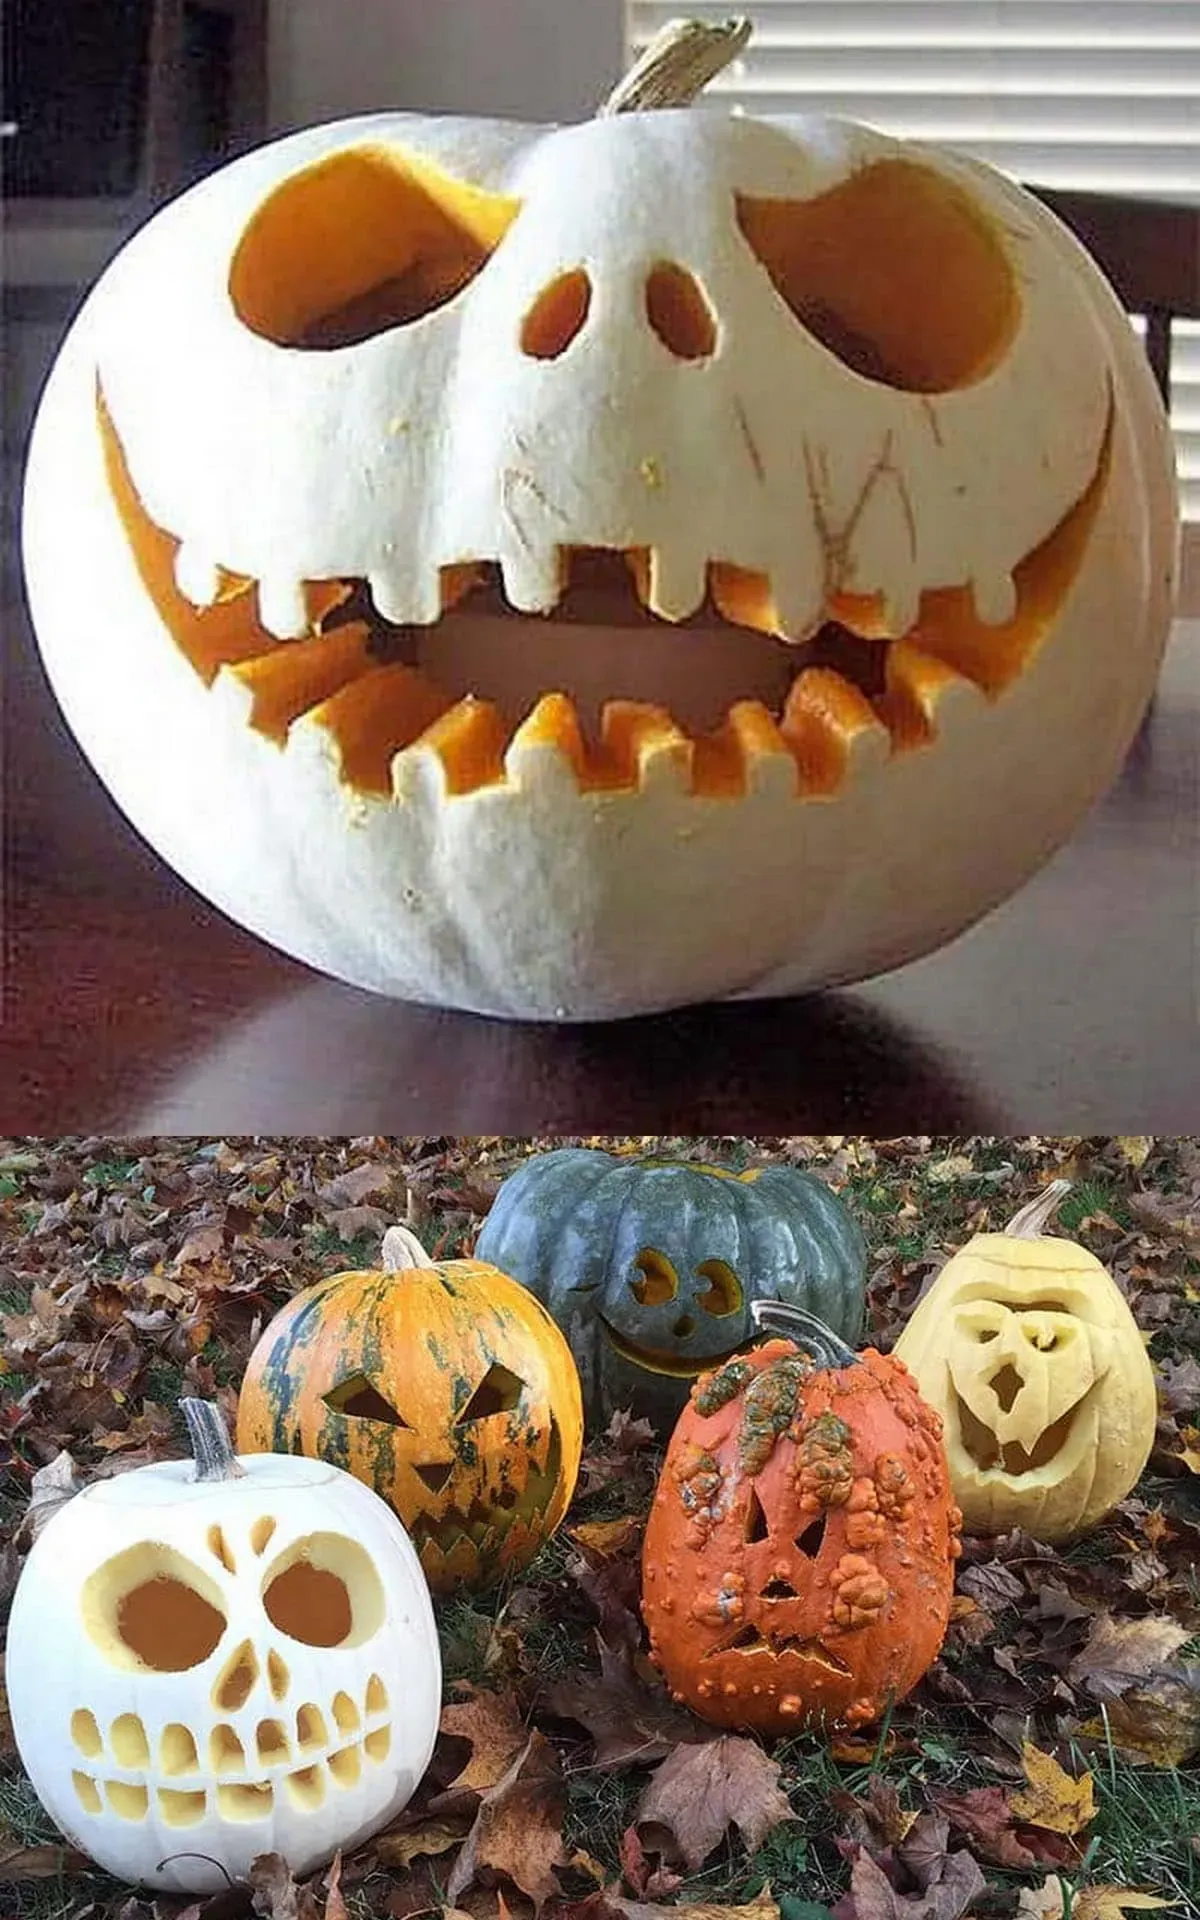
Let's get concrete with some quick easy pumpkin carving ideas that go beyond the standard. Forget intricate details; focus on bold cutouts. Stars, circles, dots, maybe a simple crescent moon. You can use those metal biscuit cutters we talked about to punch out perfect shapes with minimal effort. Arrange them randomly for a starry night effect, or create patterns. How about a simple ghost shape, or just the outline of a bat? Stencils can help, but often just freehanding large, simple forms is faster and looks just as good in the dark. A few well-placed large holes can be way more striking than a poorly executed detailed face.
What's the easiest shape you can think of to cut out?
- Polka dots (use different sized drill bits or corers)
- Simple stars or moons (biscuit cutters are your friend)
- Ghost outline (think cartoon simple)
- Bat silhouette (just a simple wing shape)
- Initials or a single bold number
- Abstract geometric patterns
Even More Quick Easy Pumpkin Carving Ideas (No Fancy Kits Required)
Even More Quick Easy Pumpkin Carving Ideas (No Fancy Kits Required)
so maybe you looked at the biscuit cutter idea and thought, "Still too much effort." Fair enough. The real secret to quick easy pumpkin carving ideas often lies in subtraction, not intricate addition. Think about etching or scraping instead of cutting all the way through. A potato peeler, for instance, can be used to peel away the outer layer of skin, creating designs that glow differently than the carved-through parts. Simple patterns, outlines, or even just removing patches of skin can look surprisingly effective when lit. An apple corer is great for making perfect little circles – think eyes, or a whole bunch of them for a cool polka-dot effect. Even a sturdy spoon can scrape away skin for wider areas. You're not sculpting; you're just modifying the surface to let light play tricks.
What simple tool in your kitchen could become your next pumpkin carving secret weapon?
Lighting Your Quick Easy Pumpkin Masterpiece

Lighting Your Quick Easy Pumpkin Masterpiece
you've gutted the thing, you've carved some genuinely quick easy pumpkin carving ideas onto its surface. Now comes the part that actually makes it look cool in the dark: lighting. Forget trying to rig up some complicated internal lighting system. For quick and easy, you have three main options. The classic is a real candle, specifically a tea light. They're cheap, they flicker nicely, but they're also a fire hazard, especially if your pumpkin is near anything flammable or if it gets windy. A much safer, and arguably easier, option is a fake LED tea light or even a small battery-operated LED puck light. They give off a steady, often warm glow, they don't get hot, and you don't have to worry about them burning out or tipping over. Plus, you can just drop them in and forget about it until the batteries die. Pick the one that fits your comfort level and the look you're going for.
Making Your Quick Easy Pumpkin Carving Last
Making Your Quick Easy Pumpkin Carving Last
The Sad Reality of Pumpkin Decay
You spent maybe an hour, tops, getting your quick easy pumpkin carving ideas onto that gourd, and it looks pretty decent under the porch light. Great. Now for the bad news: it's a ticking clock. Carved pumpkins are basically just big, exposed fruit, and they start breaking down the second you cut into them. We're talking maybe three to five days before things start looking... questionable. Soft spots appear, edges curl, and if you're unlucky, mold makes an early appearance. It's a harsh truth, but your temporary masterpiece isn't built for the long haul. Especially if the weather is warm or wet.
Simple Tricks to Extend the Spooky Life
While you can't stop nature, you can definitely slow it down a bit. Think of it as putting your pumpkin on temporary life support. One classic method involves petroleum jelly. Smear a thin layer along all the cut edges, inside and out. This creates a barrier that helps hold moisture in and keeps the edges from drying out and shrinking too fast. Some folks swear by a quick dip in a bleach solution (about a teaspoon of bleach per quart of water) for a few minutes to kill off surface bacteria and mold spores. Just make sure it dries thoroughly afterward. Keeping the pumpkin cool helps too; if it's not display time, stick it in the fridge if you have space, or a cool garage.
- Apply petroleum jelly to all cut surfaces.
- Consider a brief dip in a dilute bleach solution (dry completely after!).
- Store in a cool place when not on display.
- Avoid direct sunlight or heat sources.
Accepting the Inevitable (and Maybe Getting Another Pumpkin)
Look, you did your best with your quick easy pumpkin carving ideas, and you took steps to make it last. But let's be real: it's still a pumpkin. It's going to rot. There's no magic spray that makes it last until Thanksgiving looking pristine. Sometimes, despite your efforts, a warm spell hits, or a squirrel decides your jack-o'-lantern is a tasty snack, and it's game over. Don't mourn too long. That's the beauty of quick and easy – you didn't invest a month of your life. You can always grab another pumpkin and try a different simple design if the first one bites the dust prematurely. It's part of the Halloween cycle.
Wrapping Up Your Quick Easy Pumpkin Project
So there you have it. Turns out, getting a decent-looking jack-o'-lantern doesn't require pulling an all-nighter or buying a specialized kit that costs more than the pumpkin itself. With a few basic tools, a bit of common sense in picking your gourd, and some straightforward designs, you can actually manage quick easy pumpkin carving ideas that look pretty good on your doorstep. Remember the lighting and the Vaseline trick – they actually help. It's about making the most of the season without adding another complicated task to your list. Go ahead, grab a pumpkin, and get it done. Your porch (and your stress levels) will thank you.