Table of Contents
Halloween is creeping closer, and what better way to celebrate than with a creatively carved pumpkin? Forget the basic triangle eyes and toothy grin. This year, it's time to unleash your inner ghoul and dive into the world of pumpkin scary carving! Whether you're a seasoned carving pro or a first-time slicer, we've got the inspiration and guidance to help you create a Jack-O-Lantern that will send shivers down spines.
Unleash Your Inner Artist: Scary Pumpkin Carving Designs
Unleash Your Inner Artist: Scary Pumpkin Carving Designs
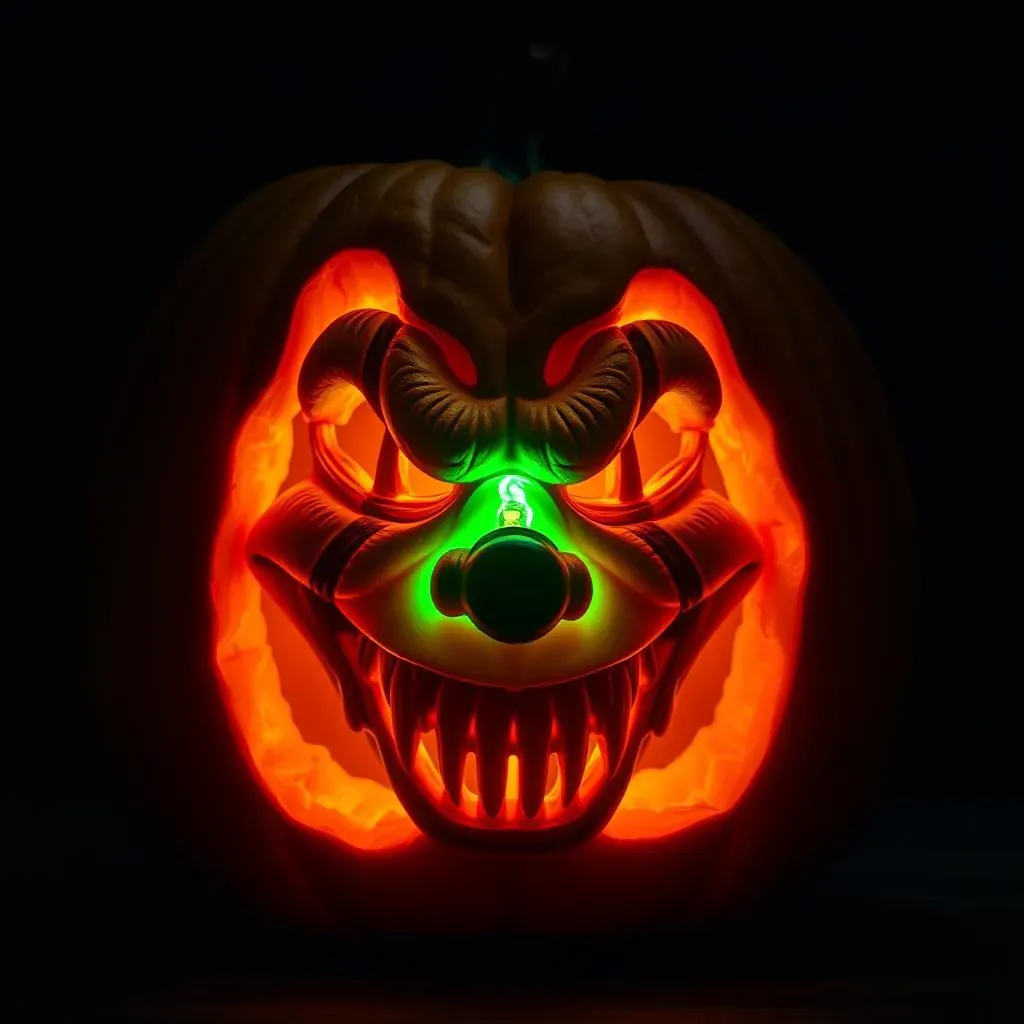
Alright, let's ditch the predictable and dive into some truly terrifying pumpkin designs! Think beyond the basic ghost and consider iconic horror movie villains. How about Pennywise's menacing grin, complete with those signature lines etched around his mouth? Or maybe a chilling rendition of a zombie, with rotting flesh meticulously carved into the pumpkin's surface. If movies aren't your thing, explore folklore creatures. A grotesque gargoyle, perched atop your porch, would certainly make a statement. The key here is detail. The more intricate the carving, the more unsettling the final product.
Don't be afraid to experiment with different tools to achieve various textures and effects. A small gouge can create realistic wrinkles, while a drill can add depth and dimension to your design. And remember, lighting is everything! Play around with different colored lights to cast eerie shadows and enhance the scare factor. A flickering green bulb can transform a friendly pumpkin into a monster straight from a swamp. Or try a strobe light for a truly disorienting effect.
Easy & Spooky: Pumpkin Carving Stencils for Beginners
Easy & Spooky: Pumpkin Carving Stencils for Beginners
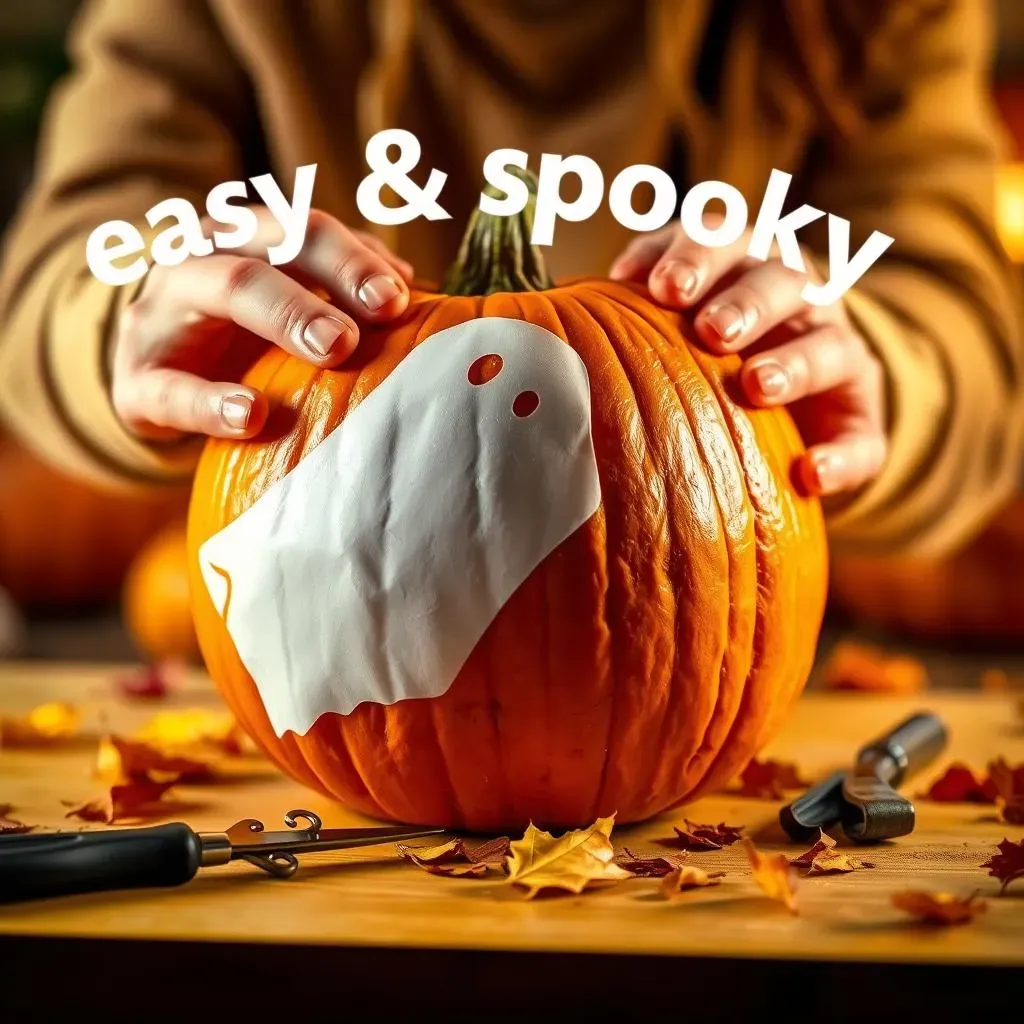
New to the pumpkin carving game? No sweat! Stencils are your secret weapon to achieving a seriously spooky Jack-O-Lantern without needing expert-level skills. Think of stencils as training wheels for carving. You can find tons of free, printable stencils online – from classic ghosts and bats to more modern designs featuring popular characters or creepy phrases. Once you've chosen your stencil, simply tape it to your pumpkin, and use a poking tool or awl to transfer the design onto the surface. Then, grab your carving tools and follow the dotted lines. It's like connect-the-dots, but with a menacing twist!
Stencil Type | Difficulty | Spook Factor |
|---|---|---|
Classic Ghost | Easy | Medium |
Simple Bat | Easy | Medium |
Creepy Cat | Easy | Medium |
"Boo!" Message | Easy | Low |
Smiling Skull | Medium | High |
Beyond the Grin: Advanced Pumpkin Scary Carving Techniques
Beyond the Grin: Advanced Pumpkin Scary Carving Techniques
Sculpting with Light and Shadow
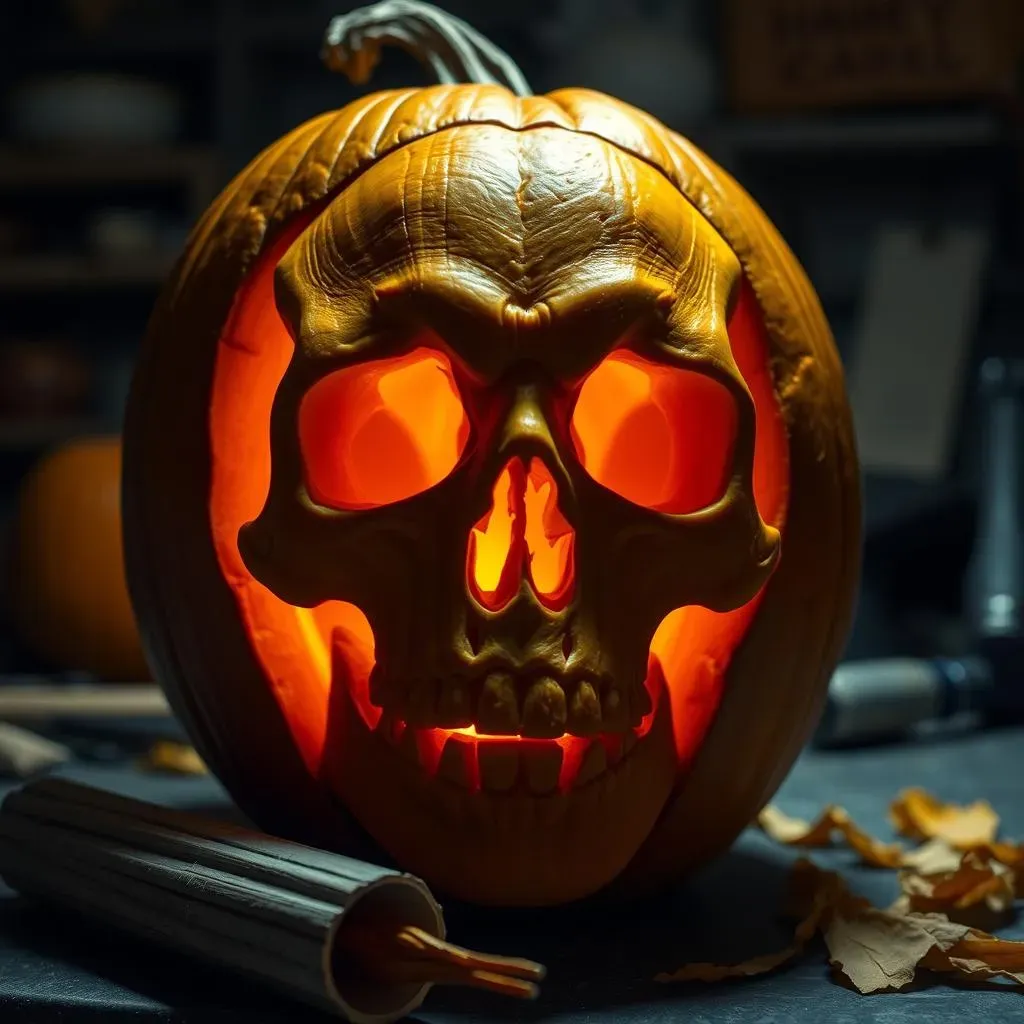
Ready to take your pumpkin carving to the next level? Forget flat, two-dimensional designs. Advanced carving is all about sculpting! Think of your pumpkin as a three-dimensional canvas. Start by thinning the pumpkin wall in areas where you want light to shine through. This creates depth and allows you to play with light and shadow in truly dramatic ways. Use specialized tools like wood carving gouges or rotary tools to carefully remove layers of pumpkin flesh, creating intricate details and textures. Imagine carving a realistic skull, with sunken eye sockets and a subtly contoured brow. The key is patience and a steady hand.
Experiment with different carving depths to achieve varying levels of illumination. Thin areas will glow brightly, while thicker areas will remain dark, creating a stunning contrast. Don't be afraid to make mistakes! Pumpkin is forgiving. You can always reattach a piece with toothpicks or skewers if you accidentally remove too much. And remember, safety first! Always carve in a well-lit area and use caution when handling sharp tools.
Adding Dimension and Detail
To truly elevate your pumpkin scary carving, consider adding extra elements to your design. This could involve using sculpting clay to create protruding features, such as horns or teeth. Or you could incorporate found objects like twigs, leaves, or even small bones to add texture and realism. For example, you could create a terrifying scarecrow pumpkin, complete with straw hair and button eyes. Or perhaps a monstrous spider, with spindly wire legs and glowing red eyes. The possibilities are endless!
Don't underestimate the power of paint! A carefully applied coat of black paint can enhance shadows and create a more dramatic effect. While glow-in-the-dark paint can add an eerie luminescence to your design. And for the ultimate scare factor, consider adding sound effects. A hidden speaker playing spooky music or creepy sound effects can transform your pumpkin into a truly terrifying Halloween prop.
Technique | Description | Difficulty |
|---|---|---|
Layered Carving | Carving at different depths for light and shadow. | Advanced |
Sculpting Clay Additions | Adding clay features for protruding elements. | Medium |
Found Object Integration | Incorporating twigs, leaves, etc., for texture. | Medium |
Paint Detailing | Using paint to enhance shadows and add color. | Easy |
Sound Effects | Adding spooky music or creepy sounds. | Medium |
Embrace the Fright: Your Pumpkin Scary Carving Masterpiece Awaits
As the autumn leaves fall and the spooky season reaches its peak, your creatively carved pumpkin stands ready to greet trick-or-treaters and add a touch of eerie charm to your Halloween display. Whether you opted for a simple, spooky stencil or tackled a more ambitious design, the most important thing is to have fun and let your creativity shine. So, light up your Jack-O-Lantern, step back, and admire your handiwork. You've successfully embraced the fright and crafted a pumpkin scary carving masterpiece that's sure to impress!