Table of Contents
Introduction
Let's be honest. Carving a pumpkin sounds like a fun, festive activity until you're elbow-deep in guts, wrestling with a dull knife, and the design you envisioned looks more like a crime scene than a spooky masterpiece. Maybe you've tried before and ended up with a slumped, sad-looking gourd on your porch. Or perhaps you're just short on time and patience but still want that classic Halloween vibe. You're not alone. Plenty of folks skip carving altogether because it feels overwhelming. But what if you could create something cool and festive without the frustration? That's where simple pumpkin ideas easy carving comes in. Forget those intricate, multi-hour projects you see online. This article is your guide to getting a great-looking jack-o'-lantern (or decorative pumpkin) onto your step without the tears or the need for professional tools. We'll walk you through choosing the right pumpkin, share genuinely easy designs, offer quick tips to make the process smoother, and even tell you how to keep your creation from collapsing before Halloween night. Stick around to discover how easy pumpkin carving can actually be.
Don't Botch It: Picking the Right Pumpkin for Easy Carving Ideas

Don't Botch It: Picking the Right Pumpkin for Easy Carving Ideas
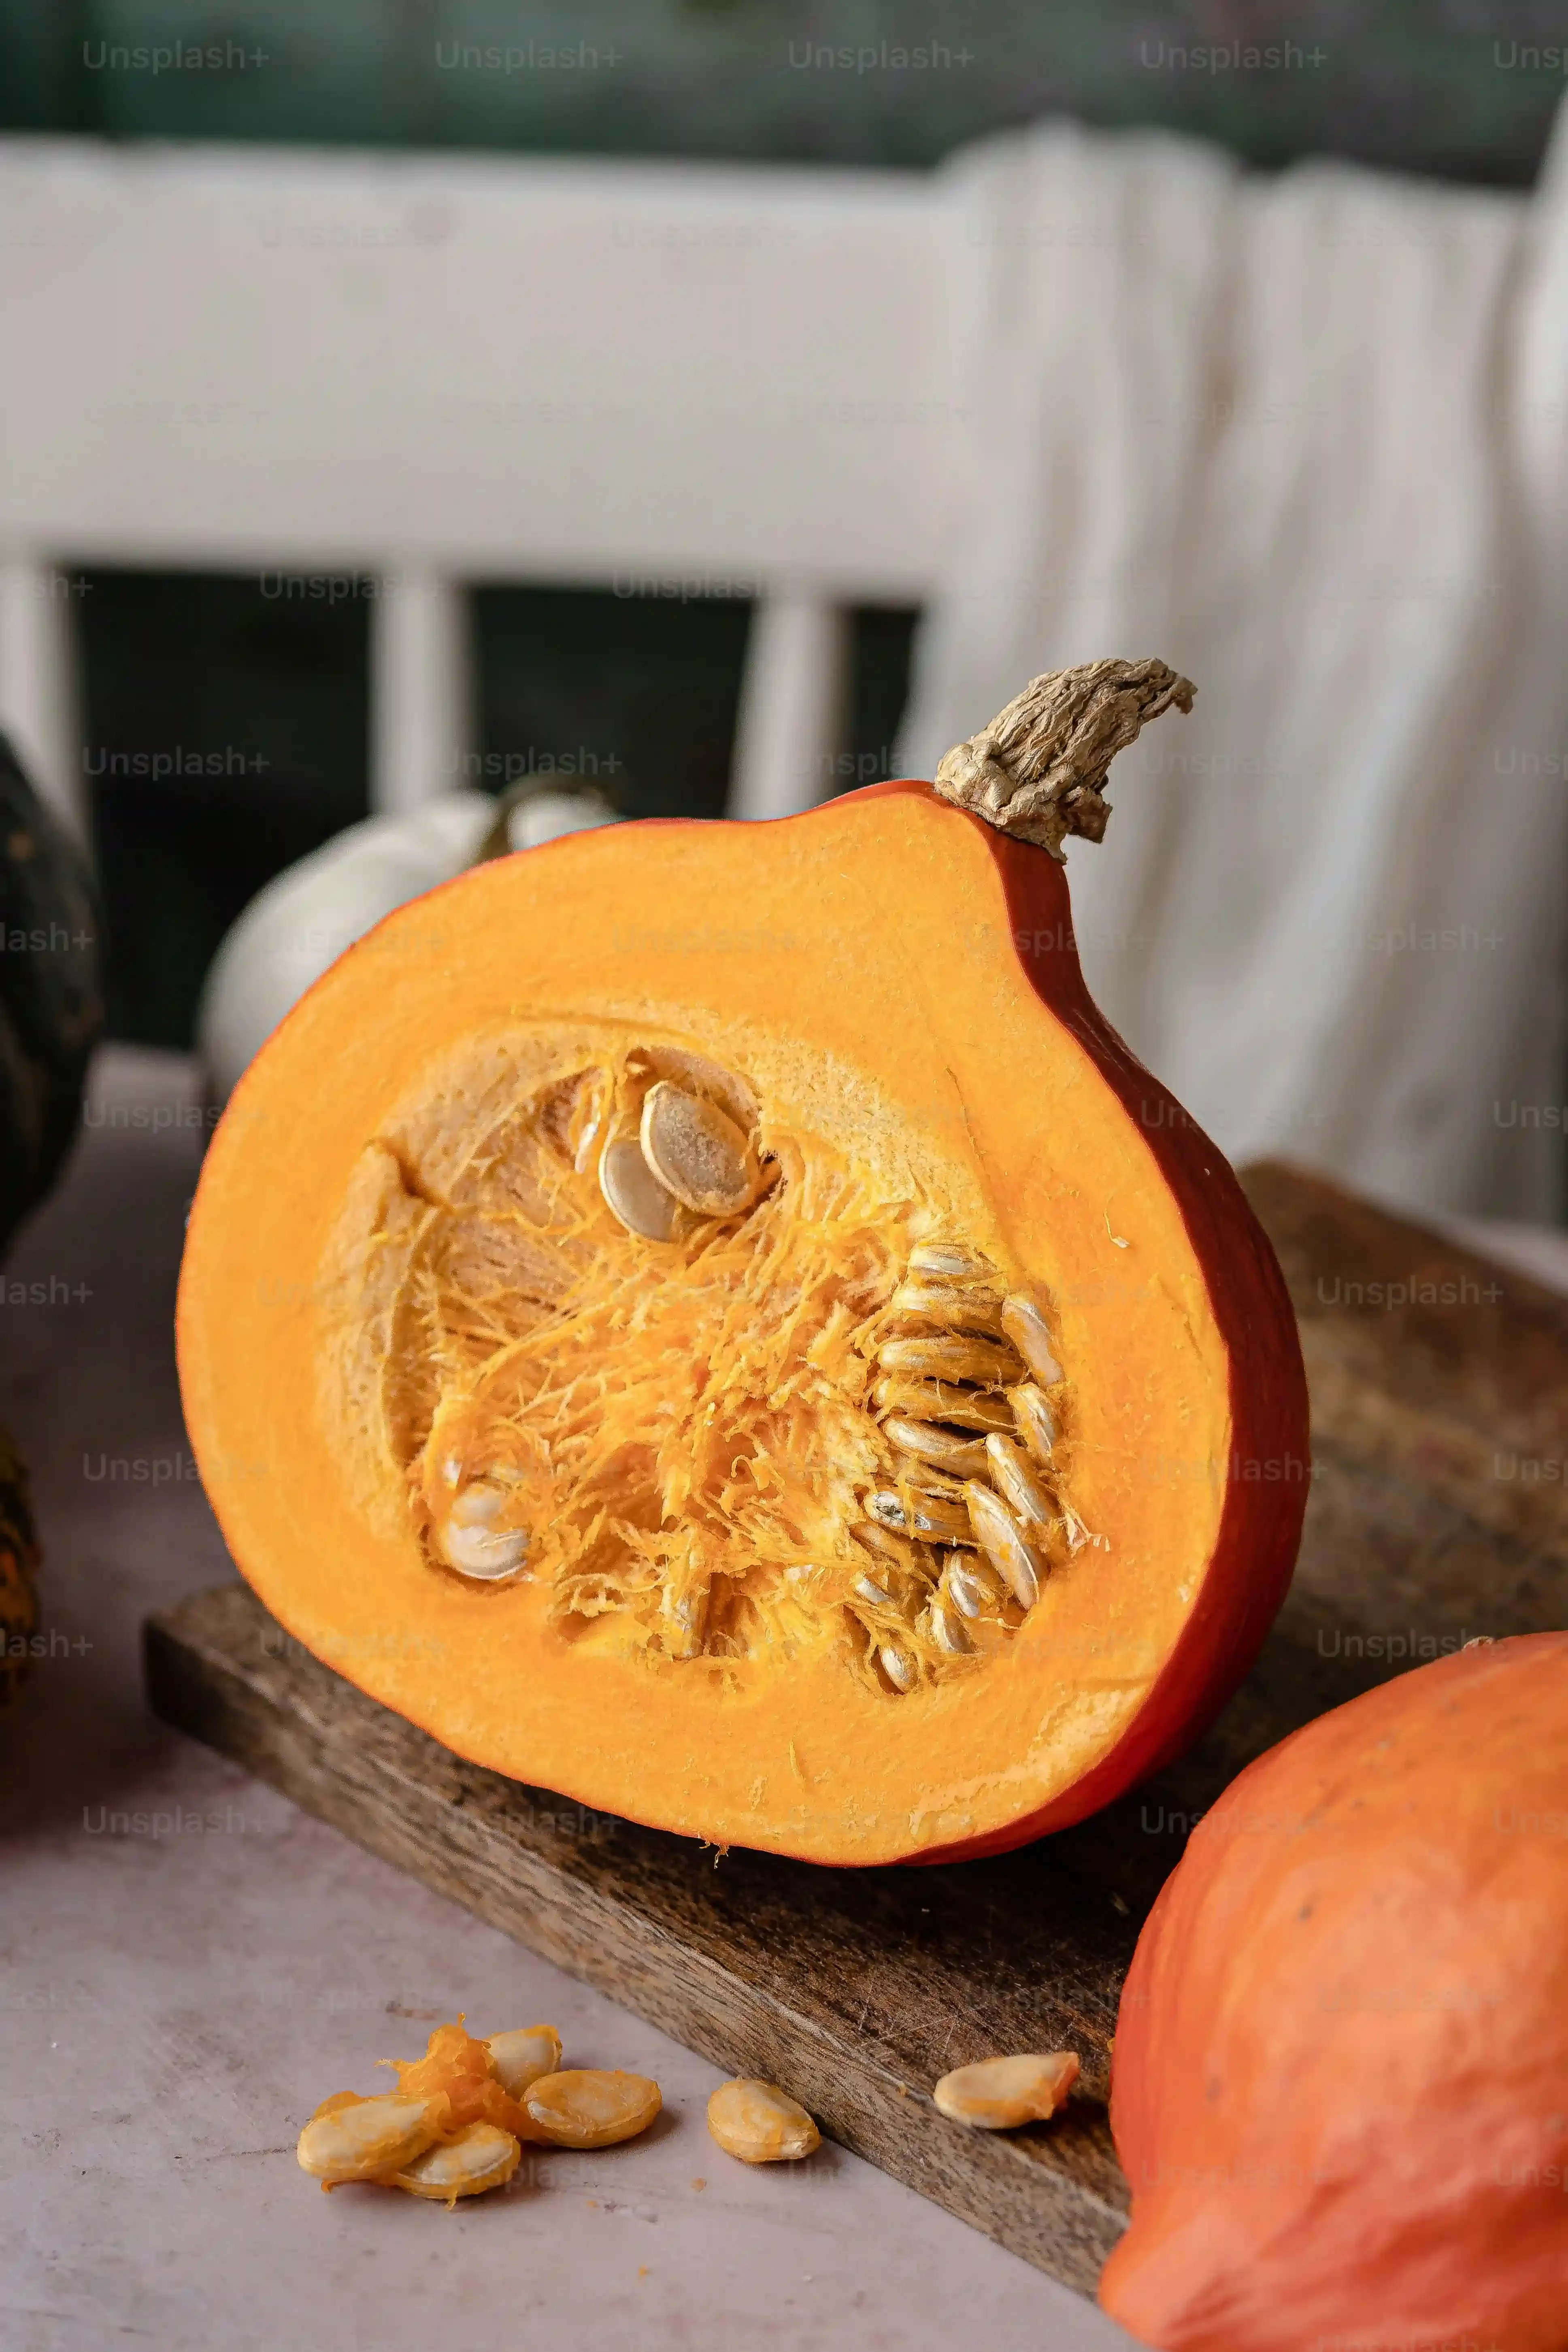
Alright, so you're ready to tackle a pumpkin for those easy carving ideas you've got swirling around. But hold up. You can't just grab the first orange orb you see at the grocery store or patch and expect things to go smoothly. Choosing the *right* pumpkin is half the battle when you're aiming for easy carving. You want one that's firm, feels heavy for its size, and has relatively smooth skin. Avoid anything with soft spots, bruises, or deep gouges – those are just weak points waiting to crumble under your knife. A pumpkin with a flatter bottom is also your friend; it won't roll away while you're trying to work your magic. Think of it as selecting your canvas; a good one makes the art much less frustrating.
The Absolute Easiest Pumpkin Ideas: Carving When You're Lazy (or Busy)
The Absolute Easiest Pumpkin Ideas: Carving When You're Lazy (or Busy)
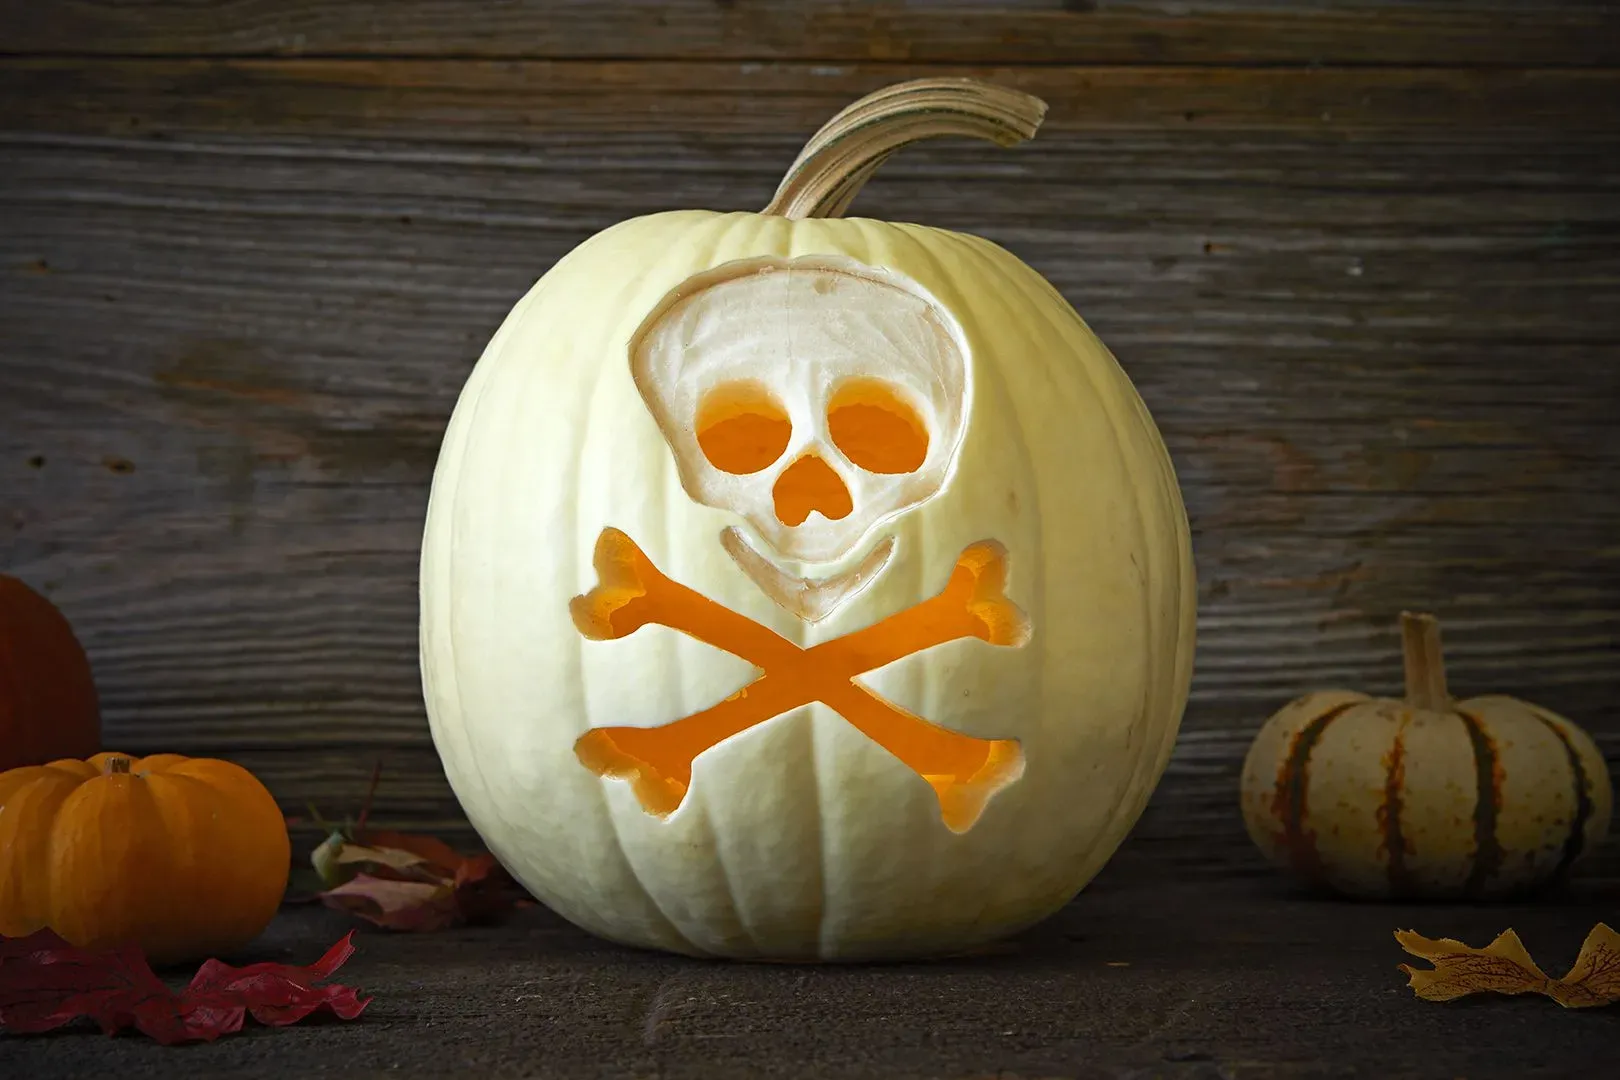
you've got your prime pumpkin, the one that didn't look like it lost a fight with a truck. Now, let's talk about actually putting a knife to it without needing an engineering degree or three hours you don't have. If you're after truly easy pumpkin ideas for carving because, well, life happens or you just prefer maximum impact for minimum effort, think simple shapes. Forget intricate spiderwebs or hyper-realistic portraits of your cat. The absolute easiest designs involve basic geometric shapes – circles, triangles, squares. Classic eyes and a jagged mouth? Timeless, surprisingly effective, and takes about ten minutes if you're moving at a snail's pace. Even simpler? A few scattered circles of different sizes for a bubbly look, or just punching holes with a drill (carefully, obviously) for a starry effect. These are the kind of pumpkin ideas easy carving was invented for – minimal fuss, maximum "Hey, I did a thing!" satisfaction.
Still Easy, Just Cooler: Creative Pumpkin Ideas for Simple Carving

Still Easy, Just Cooler: Creative Pumpkin Ideas for Simple Carving
Beyond Basic Shapes: Etching and Simple Silhouettes
so you've mastered the triangle eye and jagged mouth. Maybe you want something a little more visually interesting, but still firmly in the "easy" camp for your pumpkin ideas easy carving project. This is where etching comes in. Instead of cutting all the way through the pumpkin wall, you just scrape off the top layer of skin. This creates a cool, translucent effect when the light shines through. Think simple stars, swirling lines, or even etching out the outline of a ghost or bat instead of cutting it out entirely. It requires less precision than full cut-throughs and hides minor mistakes better. You can use etching tools, or frankly, just a sturdy spoon or a linoleum carving tool works fine. It gives your pumpkin some personality without demanding surgical precision.
Using Stencils and Simple Tools for Effect
Feeling slightly more ambitious but still want training wheels? Stencils are your best friend for easy pumpkin ideas carving. Seriously, don't reinvent the wheel. Print out a simple design – maybe a crescent moon, a single large spider, or block letters spelling "BOO". Tape it onto your pumpkin. Use a poker tool (or even a thick needle) to poke holes along the lines of the stencil. Once you remove the paper, you've got a dot-to-dot guide. Now, you can either connect the dots with your carving knife or, for even easier options, just leave the pinpricks for a subtle, glowing effect. Another trick? Cookie cutters. Got a star or a bat cookie cutter? Hammer it into the pumpkin skin (gently!) to create an outline, then just cut or etch along that line. Simple tools unlock cooler looks without adding complexity.
- Etch simple patterns like swirls or stars instead of cutting through.
- Use printed stencils and a poker tool to create guides.
- Connect stencil dots with shallow cuts or leave as pinpricks.
- Try hammering cookie cutters for easy shape outlines.
- Focus on removing just the skin layer for a glowing effect.
Combining Techniques for Low-Effort Impact
The real trick to easy pumpkin ideas carving that looks cooler than average is often combining a couple of simple techniques. Maybe you cut out classic triangle eyes but etch a spiderweb around them. Or you use a stencil for a central design like a haunted house silhouette and then just punch random small holes around it for stars. Don't feel pressured to make every part of the pumpkin complex. A single, clean etched design on one side can be more striking than a messy, over-carved mess. Focus on one or two simple elements that complement each other. It's about smart choices, not advanced carving skills. You're aiming for "Wow, that looks neat!" not "Did a professional do that?" And honestly, the "neat" pumpkins often required far less effort anyway.
Proish Tips to Make Pumpkin Ideas Easy Carving Even Simpler
Proish Tips to Make Pumpkin Ideas Easy Carving Even Simpler
you've got your pumpkin picked and a simple design in mind for your pumpkin ideas easy carving project. Now, let's talk about the actual mechanics. A few little tricks can make a world of difference. First off, resist the urge to use that big, clunky kitchen knife. Those small, specialized carving tools you can get in kits? They're cheap and they work. Especially the little saw-like ones. They give you more control and are less likely to get stuck or cause you to overshoot your lines. Also, when you cut the top off, cut it at an angle, not straight down. This creates a little ledge for the lid to sit on, so it doesn't just fall into the pumpkin later. And speaking of the inside, scoop *all* the guts and seeds out. Get it really clean. A thinner wall is easier to cut through, and cleaning it now means less mess later when you're trying to place a light inside. These small steps don't add much time but significantly reduce the frustration factor, making those pumpkin ideas easy carving live up to their name.
Keeping Your Easy Carved Pumpkin Ideas Looking Fresh (So They Don't Rot Instantly)
Keeping Your Easy Carved Pumpkin Ideas Looking Fresh (So They Don't Rot Instantly)
Cleanliness is Next to Gourd-liness
Alright, you've put in the minimal effort for your pumpkin ideas easy carving, and it actually looks pretty decent. Now, the enemy isn't your lack of artistic skill, it's nature itself – specifically, rot. To give your creation a fighting chance, you need to be ruthless about cleanliness *after* carving. Once you're done cutting and scraping, wipe down the inside and all the cut edges thoroughly. Get rid of any lingering pumpkin guts or slime. That stuff is a welcome mat for mold and bacteria. You can use a damp cloth, or some people even use a spray bottle with a little bit of bleach solution (like one teaspoon of bleach per quart of water) to sanitize the inside and cut surfaces. Just make sure to let it air dry completely afterward before putting a light source in. A dry, clean surface resists decay much better than a sticky, wet one.
Seal the Deal (or the Skin)
Once your pumpkin is clean and dry, the next step in Keeping Your Easy Carved Pumpkin Ideas Looking Fresh (So They Don't Rot Instantly) is to protect those exposed surfaces from drying out or getting infected. When the cut edges dry out, they shrivel and pull back, distorting your design. You can rub petroleum jelly (like Vaseline) onto all the cut edges. This creates a barrier that locks in moisture and keeps the edges from shrinking. Another option is to spray the entire pumpkin, inside and out, with an acrylic craft spray or even hairspray. This helps seal the pores and slow down both drying and decay. Some old-timers swear by soaking the whole carved pumpkin in a cold water bath for a few hours to rehydrate it, then applying a sealant. Whatever method you choose, adding a protective layer is key to extending its lifespan beyond a couple of days.
- Wipe down all cut surfaces inside and out immediately after carving.
- Sanitize the inside and cuts with a dilute bleach solution (1 tsp bleach per quart water).
- Allow the pumpkin to air dry completely before sealing.
- Rub petroleum jelly on all cut edges to prevent shriveling.
- Spray the entire pumpkin with an acrylic sealant or hairspray.
- Consider a cold water bath soak to rehydrate before sealing.
Wrapping Up Your Easy Pumpkin Carving Adventure
So there you have it. Getting a decent-looking pumpkin on your porch doesn't require an art degree or a trip to the emergency room. By picking the right gourd, sticking to straightforward designs, and using a few simple tricks, you can skip the stress and still get into the Halloween spirit. Your pumpkin might not win any national contests, but it'll look a darn sight better than an empty stoop or, worse, a lopsided mess that looks like it lost a fight with a raccoon. Give these simple pumpkin ideas easy carving a shot and see for yourself how manageable it can be.