Table of Contents
Alright, let's talk pumpkins. Every year, the pressure mounts. You see those impossibly intricate carvings online, the ones that look like they belong in a museum or maybe a horror movie set. And maybe you think, "Yeah, I could totally do that!" Then you buy the pumpkin, stare at it, and realize your artistic skills peak somewhere around drawing stick figures. The stress kicks in, the mess seems inevitable, and suddenly that festive gourd feels less like a fun activity and more like a looming, orange obligation.
Why Bother with Pumpkin Easy Carving Ideas?
Why Bother with Pumpkin Easy Carving Ideas?
Ditching the Stress and the Sculpture Degree
Let's be honest. Scrolling through Pinterest around Halloween can make you feel utterly inadequate. People are carving dragons, intricate haunted houses, portraits of their pets... it's enough to make you want to just paint a smiley face on your pumpkin and call it a day. The traditional, complex carving process often involves sharp tools, slippery insides, and the very real possibility of ruining the whole thing with one wrong cut. It's less festive fun and more high-stakes surgery on a squash. Nobody needs that kind of pressure during spooky season.
More Fun, Less Fuss, Faster Results
This is where embracing simplicity becomes your superpower. Focusing onpumpkin easy carving ideasmeans you spend less time wrestling with a stubborn rind and more time actually enjoying the process. It's quicker, requires less specialized equipment, and drastically reduces the chances of ending up with a sad, lopsided mess that looks like it lost a fight. Think of it as the difference between building IKEA furniture blindfolded versus assembling a simple shelf with clear instructions. One is a nightmare, the other is, well, manageable.
- Saves time (seriously, minutes vs. hours).
- Reduces frustration levels significantly.
- Requires fewer intimidating tools.
- Great for involving kids without constant supervision (though still supervise!).
- You can actually make *several* pumpkins instead of just one epic, stressful one.
Still Making an Impact with Minimal Effort
Just because a design is simple doesn't mean it can't be effective. A few well-placed cuts can create a striking silhouette, a funny face, or a cool pattern that looks great lit up at night.Why Bother with Pumpkin Easy Carving Ideas?Because they prove you don't need to be a master carver to add some serious Halloween spirit to your porch. It's about smart design and knowing how to get the most bang for your carving buck. Plus, when someone compliments your pumpkin, you can just shrug and say, "Oh, this old thing? Took me five minutes."
Essential Tools for Pumpkin Easy Carving Ideas

Essential Tools for Pumpkin Easy Carving Ideas
Skip the Fancy Kits (Mostly)
Look, you don't need a professional surgeon's kit to tackleEssential Tools for Pumpkin Easy Carving Ideas. Walk into any seasonal aisle, and you'll see those elaborate sets with a dozen different oddly shaped metal bits. Most of them are overkill for simple designs. You'll use maybe three of them, lose the rest by next year, and feel slightly ripped off. The goal here is minimal fuss, remember? You probably have half the necessary items in your kitchen drawer right now. We're focusing on function over form, utility over unnecessary gadgetry.
The Real MVPs of Easy Carving
So, what *do* you need? Start with a sturdy, sharp spoon or pumpkin scoop. Getting the guts out is half the battle, and a flimsy plastic scraper just makes you angry. Next, a small serrated knife is key – think something like a paring knife or the saw from a basic pumpkin kit. It gives you better control for cutting shapes than a big kitchen knife. A washable marker is non-negotiable; draw your design first, so you don't freehand a disaster. Finally, a poking tool, even something as simple as a skewer or drill bit, is great for making simple dots or outlines. That's really about it for most easy designs.
Tool | Why It's Essential |
|---|---|
Sturdy Scoop/Spoon | Gets the messy insides out fast. |
Small Serrated Knife/Saw | Offers control for cuts, less likely to slip. |
Washable Marker | Plan your design before you cut – saves mistakes. |
Poking Tool (skewer, drill bit) | Perfect for dots, outlines, or piercing details. |
Top 25 Pumpkin Easy Carving Ideas to Try
Top 25 Pumpkin Easy Carving Ideas to Try
Classic Faces and Simple Silhouettes
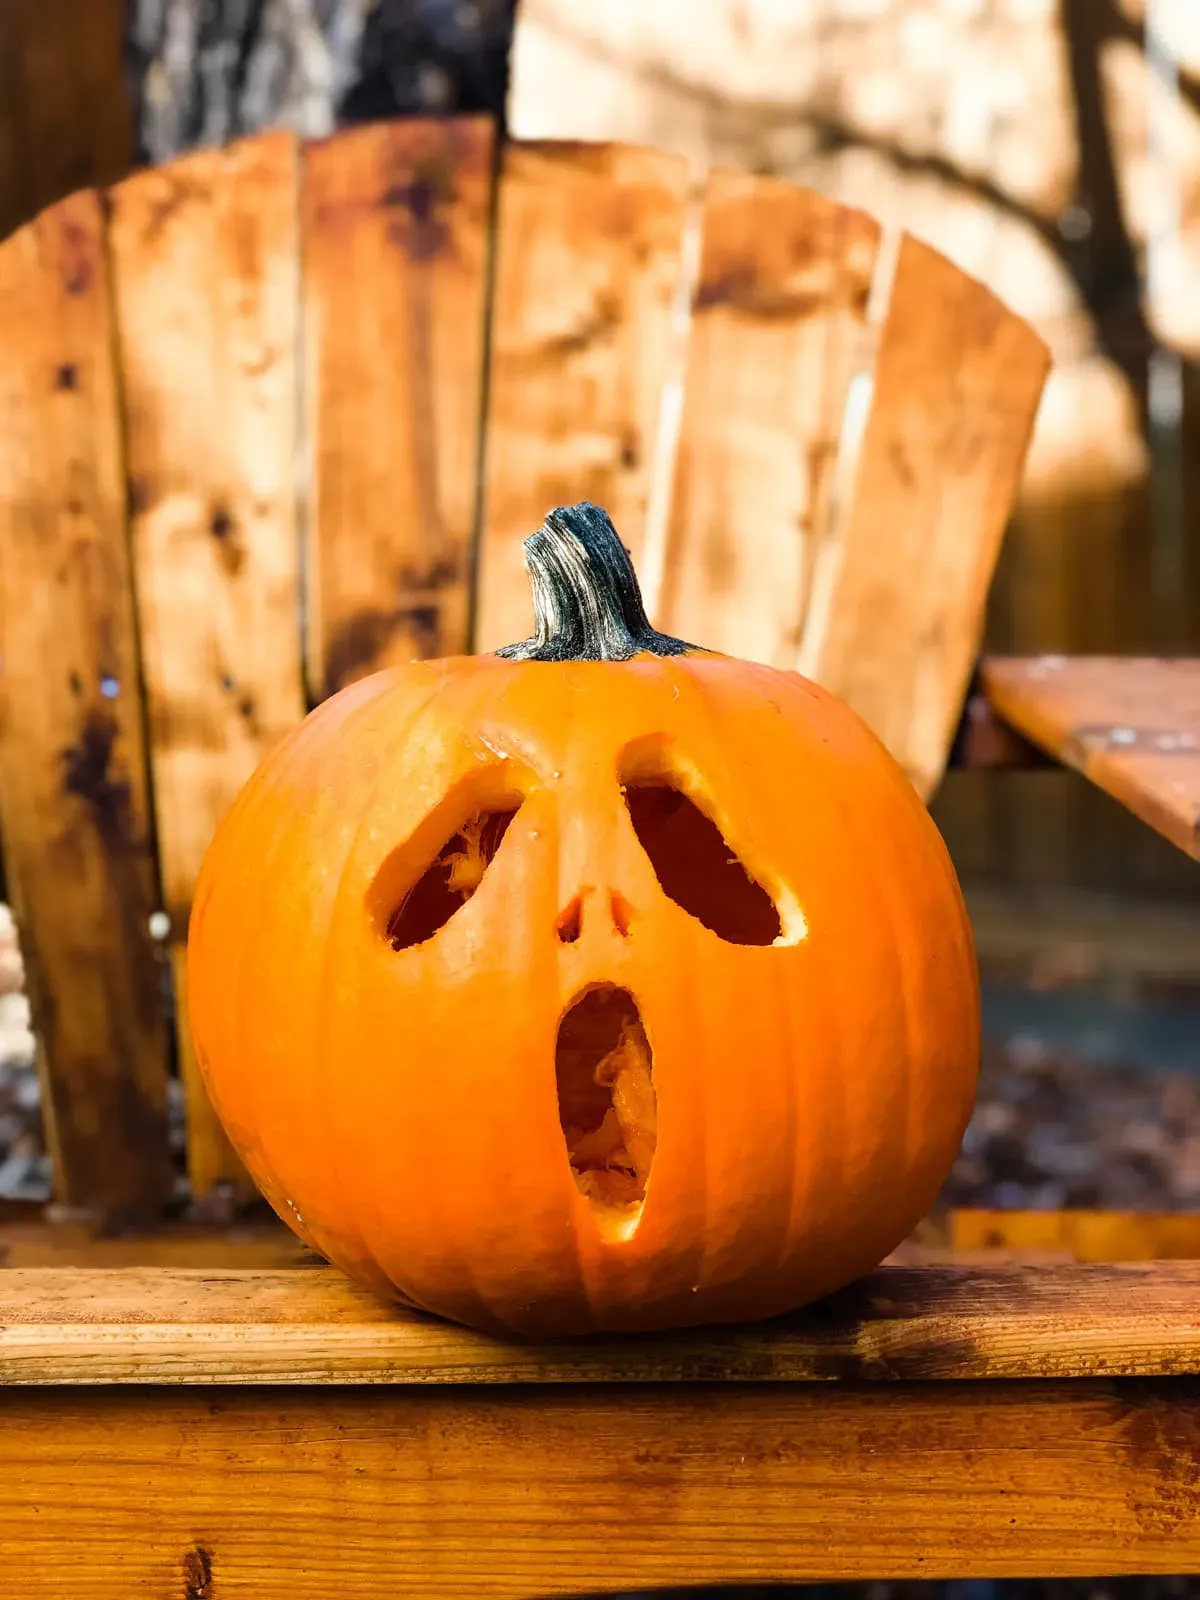
so you’ve got your pumpkin, your scoop, and that trusty little saw. Where do you even start withTop 25 Pumpkin Easy Carving Ideas to Try? Let’s begin with the absolute basics that still get the job done. The classic jagged-tooth grin and triangle eyes? Still a winner. It’s instantly recognizable, takes minimal precision, and always looks like a Jack-o'-lantern should. Think about simple shapes: circles, squares, stars. Cutting out a few different sized circles can make a surprisingly effective, modern pattern when lit from within. Silhouettes are also your friend. A simple ghost shape, a bat flying, or a crescent moon cut out against the pumpkin's surface creates a strong image without needing fine detail.
Sometimes, less is more. You don't need to carve the whole surface. Consider just carving the eyes and leaving the mouth as a painted detail, or vice versa. You can carve simple letter shapes to spell out "BOO" or "EEK." Geometric patterns are deceptively easy but look quite sophisticated; think alternating triangles or simple vertical lines. These ideas rely on bold cuts and clear shapes, minimizing the fiddly bits that lead to mistakes. They are perfect starting points, building confidence before you maybe (just maybe) try something slightly more complex next year.
- Jagged Grin & Triangle Eyes: The timeless classic.
- Simple Geometric Shapes: Circles, squares, stars, or alternating lines.
- Basic Silhouettes: Ghost, bat, moon shapes cut out.
- Carved Letters: Spell out simple Halloween words.
- Minimalist Designs: Carve just eyes or a simple mouth.
Beyond the Grin: Getting a Little More Creative (Easily)
Once you've mastered the basics, you might want to step it up just a notch, but still keep it firmly in the "easy" category. This is where you can start playing with themes that don't require intricate detail. Think about simple animal shapes – a cat arching its back, an owl's big eyes, a spider. These often use a combination of basic shapes but arranged in a recognizable form. Another approach is using negative space effectively. Instead of carving out the shape itself, you carve around it, leaving the shape raised. This works well for things like spiderwebs or simple spooky tree branches.
Consider using different parts of the pumpkin. The stem can become a nose, or you can carve shapes that interact with the pumpkin's natural bumps and ridges. Poking holes is another easy way to add detail without cutting. A constellation pattern made of poked holes looks fantastic when illuminated. You can also combine carving with other techniques, like painting details onto the carved surface or adding accessories. These ideas prove that easy doesn't mean boring; it just means smart design choices that deliver maximum impact with minimal effort and stress.
Idea Type | Examples | Complexity (Easy Scale) |
|---|---|---|
Animal Shapes | Cat, Owl Eyes, Spider | Low-Medium |
Negative Space | Spiderweb outline, Tree Branches | Medium |
Poked Patterns | Constellations, Dot Art | Very Low |
Combining Techniques | Carving + Paint/Accessories | Varies (depends on added element) |
Pro Tips to Make Your Easy Pumpkin Carvings Last
Pro Tips to Make Your Easy Pumpkin Carvings Last
Cleanliness is Next to Pumpkin Longevity
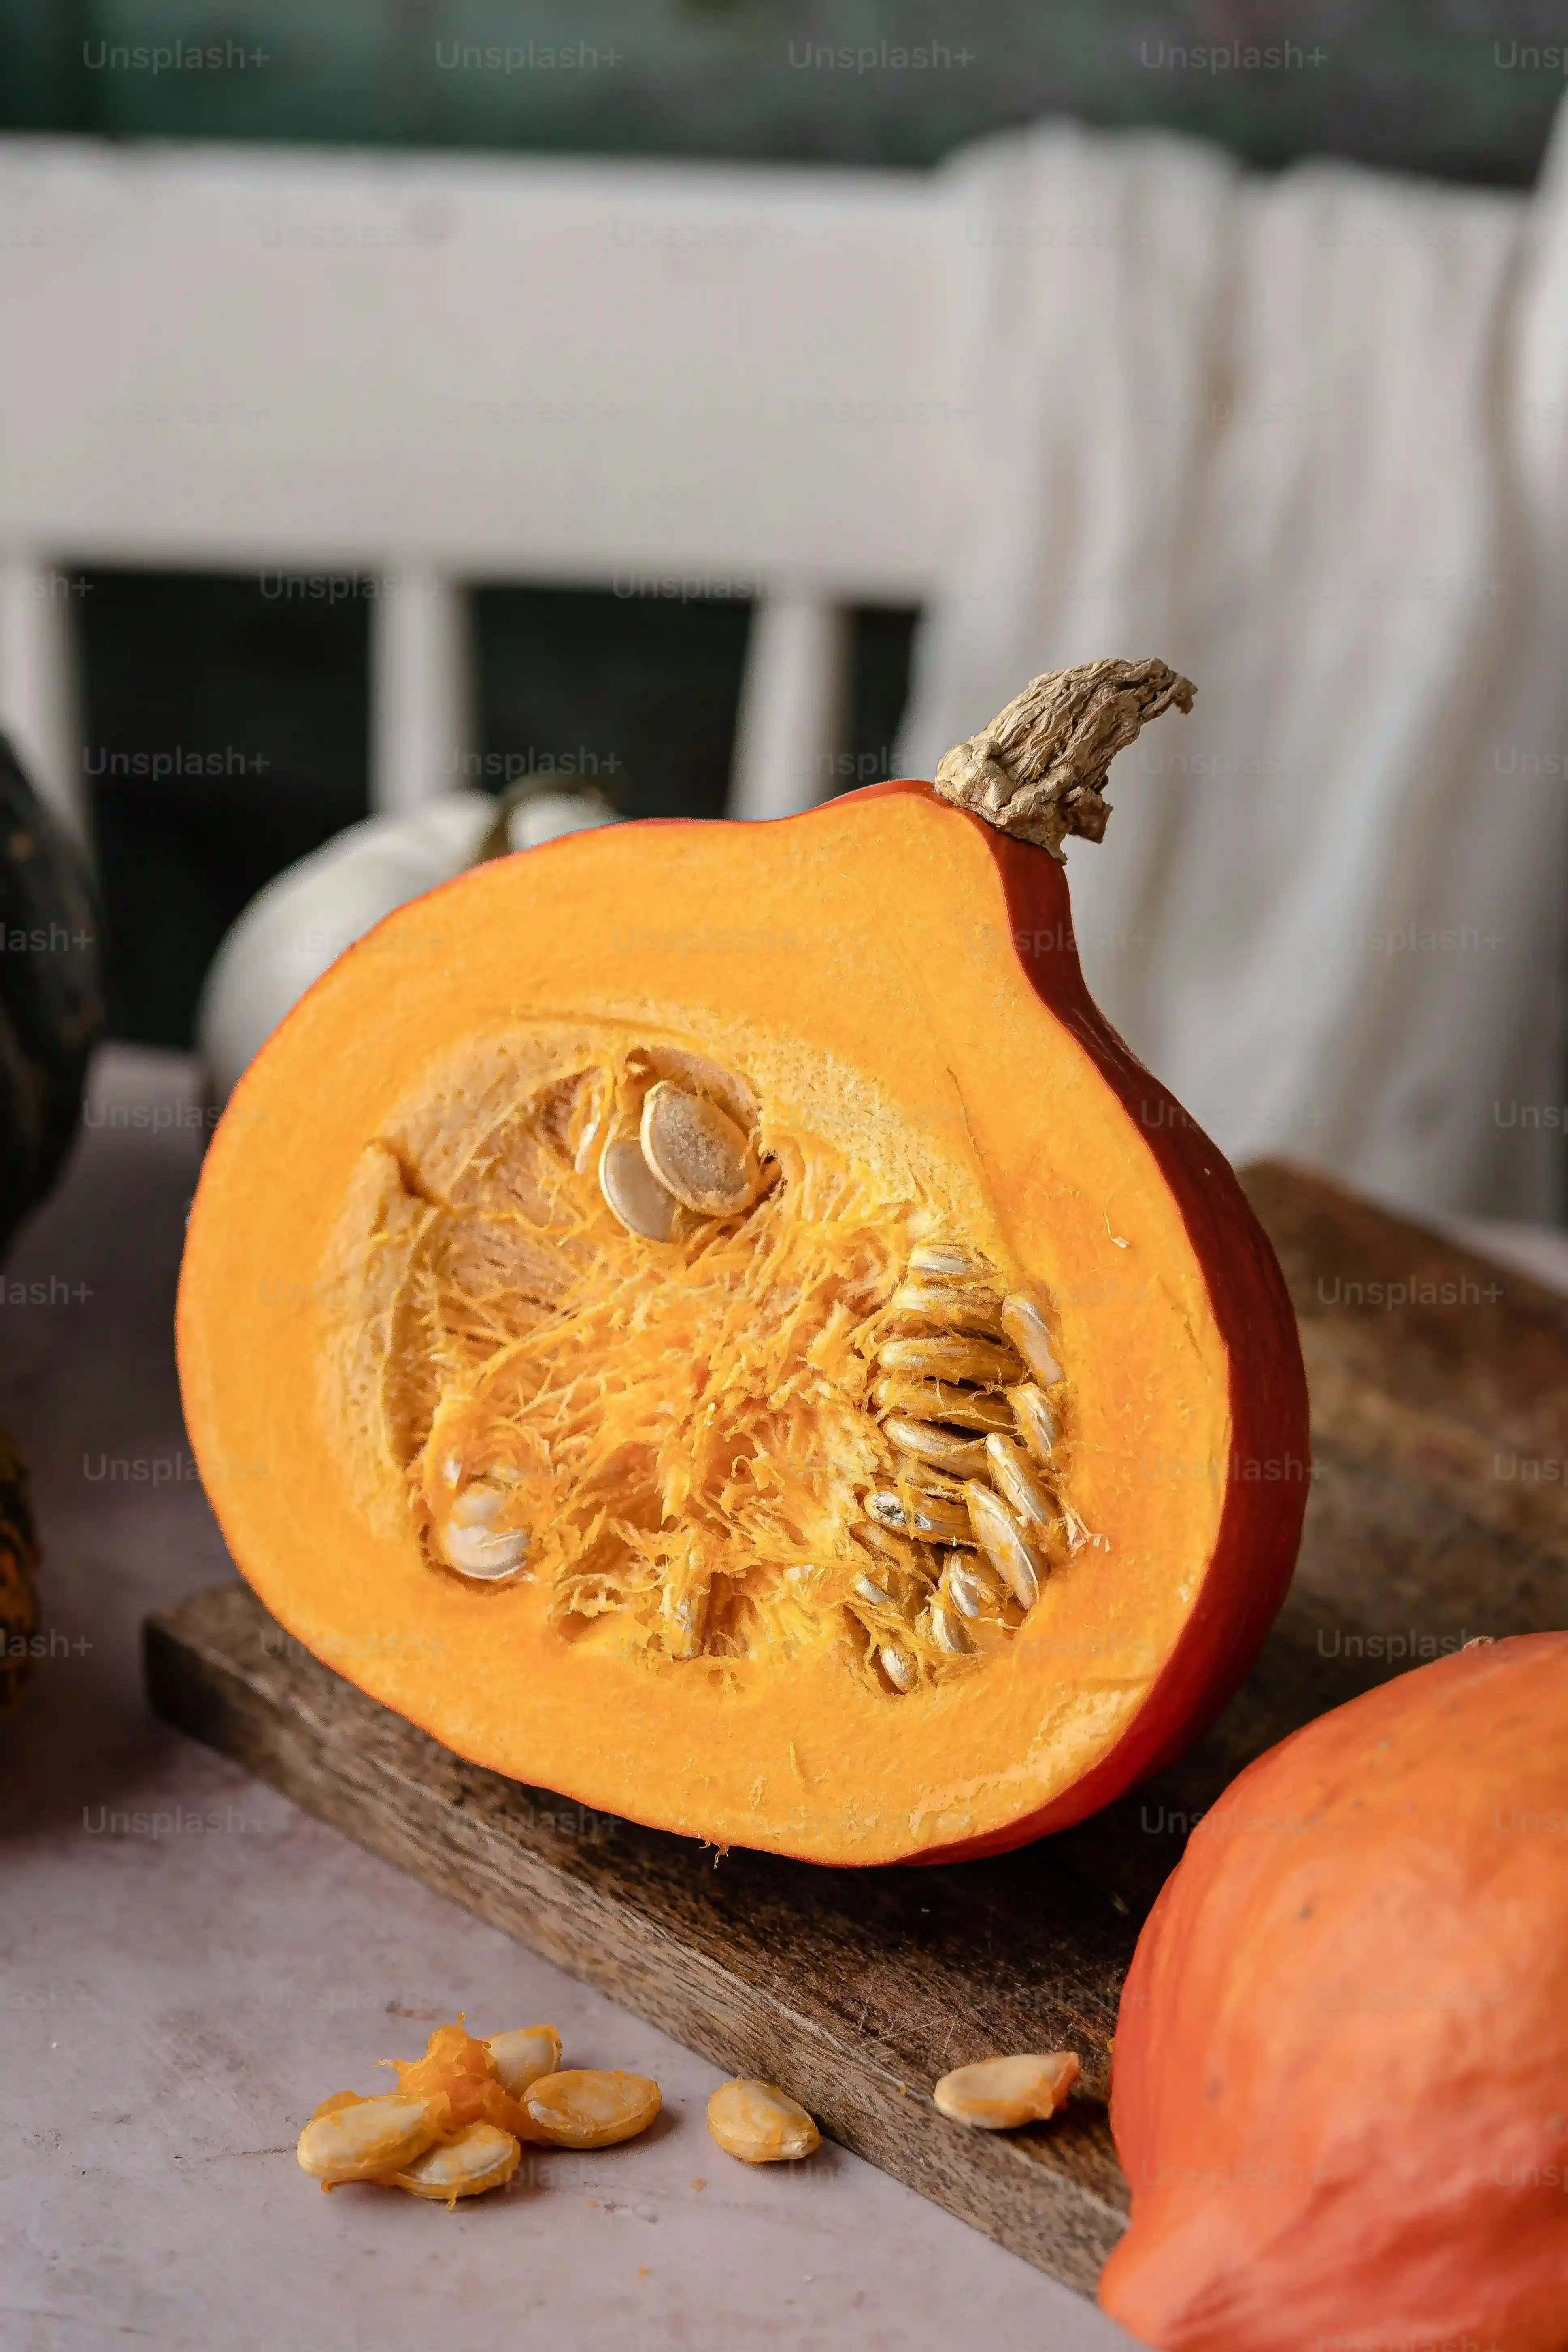
you've put in the minimal effort for yourpumpkin easy carving ideas, and they look great. Now, how do you stop them from turning into a sad, moldy mess within 48 hours? First step: hygiene. Once you've scooped out the guts and carved your design, you need to get rid of all that stringy residue and seeds clinging to the inside walls. Scrape it clean, really clean. Any leftover bits are just an open invitation for bacteria and mold to set up shop and start the decomposition party early. Wipe down the inside and cut edges with a paper towel. Some folks even swear by wiping the inside with a little bleach solution (like one teaspoon of bleach per quart of water), but rinse it well if you do. The drier and cleaner the inside, the slower the rot.
Give it a Spa Treatment (Seriously)
Carving exposes the pumpkin's flesh to the air, which makes it dry out and shrivel faster than a raisin in the sun. To combat this, you need to keep it hydrated, or sealed. One classic method is rubbing petroleum jelly (like Vaseline) onto all the cut edges. This creates a barrier that locks in moisture and keeps the edges from drying and collapsing. Another option is using a commercial pumpkin preservative spray, which often contains a mild fungicide to fight off mold. You can also give the whole pumpkin, carved parts included, a dunk in a water bath for a few hours each day or mist it regularly with water. It sounds weird, but rehydrating helps keep the cell structure from breaking down so quickly.
Method | How it Works | Pros | Cons |
|---|---|---|---|
Petroleum Jelly | Seals cut edges | Cheap, effective barrier | Can look greasy, attracts dust |
Pumpkin Spray | Seals and inhibits mold | Convenient, dual-action | Costs money, chemical |
Water Bath/Misting | Rehydrates flesh | Natural, keeps moisture in | Requires daily effort, can encourage mold if not dried |
Location, Location, Location Matters
Where you put your carved pumpkin makes a big difference in how long it lasts. Direct sunlight is the enemy. It dries out the pumpkin faster than anything and can actually cook the flesh, speeding up decay. Heat is also bad, so avoid placing it right next to a heat vent or a warm wall. Cool, shady spots are your friend. If you live in a warmer climate, bringing the pumpkin inside at night or during the hottest part of the day can significantly extend its life. Also, consider placing it on a surface that allows for some airflow underneath, rather than directly on damp soil or concrete, which can trap moisture and invite rot from the bottom up. Treat it less like yard waste waiting to happen and more like... well, a temporary piece of art you'd like to admire for more than a couple of nights.
Wrapping Up Your Easy Pumpkin Carving Adventures
So there you have it. You don't need to be Michelangelo with a serrated spoon to make a cool pumpkin. The point ofpumpkin easy carving ideasisn't to settle for boring, it's to find the sweet spot between effort and effect. You can make something genuinely spooky, funny, or just plain neat with basic shapes and a bit of planning. Stop stressing about perfection and start having fun with the process. After all, it's a temporary decoration meant to bring a little light (literally) to a dark night. Carve something simple, slap a light in it, and enjoy the fact that you didn't lose a digit or your sanity in the process.