Table of Contents
Let's be honest. The idea of carving a pumpkin sounds great until you're elbow-deep in slimy guts, wrestling with a dull knife, and staring at a design that looks suspiciously like a five-year-old's abstract art. Suddenly, that festive spirit feels less like spooky fun and more like sticky frustration. But what if it didn't have to be a battle? What if you could actually enjoy the process and end up with something that looks decent, maybe even cool?
Getting Started: Picking the Perfect Pumpkin for Easy Carving
Getting Started: Picking the Perfect Pumpkin for Easy Carving
Don't Just Grab the Biggest One
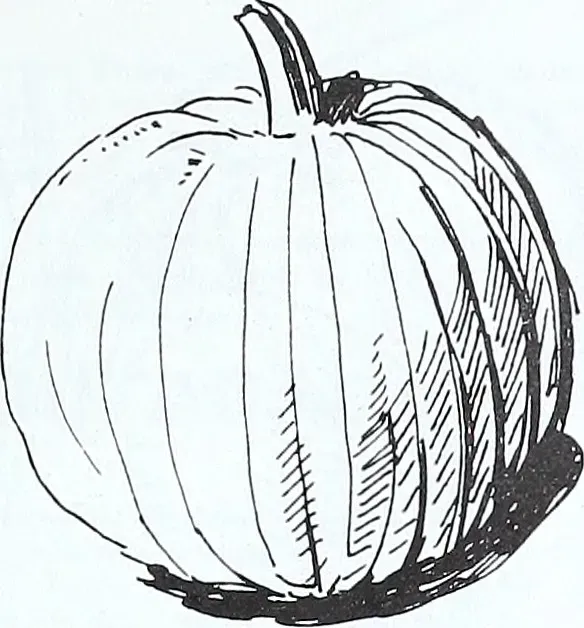
Alright, so you're at the pumpkin patch, ready to pick your canvas. It's tempting to just grab the first big, round one you see, right? Resist that urge. The right pumpkin makes **pumpkin easy carving** significantly easier. You're looking for a few key things here. First, consider the size relative to your design idea. A huge pumpkin is impressive, but it's also more work to scoop out and maneuver. A medium-sized one, maybe 10-15 pounds, is often perfect for most standard designs. Shape matters too. A nice, smooth, symmetrical surface is your friend. Bumps and deep ridges might look rustic, but they can make transferring a pattern or cutting a straight line a nightmare.
Give It a Once-Over, Like Checking Produce
Now, inspect the pumpkin closely. Think of it like picking a good watermelon or cantaloupe. You want it to feel firm all around. Press gently on different spots. Any soft spots or bruises? Leave it. Those are weak points that can rot quickly, ruining your masterpiece before Halloween even arrives. Check for cuts, nicks, or deep scratches on the skin. These also invite decay. A healthy pumpkin has a smooth, hard rind. It's the first line of defense against the elements and your carving tools, so make sure it's solid.
- Avoid pumpkins with soft spots or bruises.
- Skip ones with deep cuts or punctures.
- Look for a smooth, uniform surface.
- Ensure the color is a deep, consistent orange.
Stem and Base Stability Check
Finally, don't forget the stem and the base. The stem should be firmly attached and feel sturdy, not wobbly or loose. A good stem often means a healthier pumpkin overall. And the base? This is crucial. Set the pumpkin down on a flat surface. Does it sit upright without wobbling? A flat, stable base is essential, especially if you plan to use a real candle. You don't want your jack-o'-lantern tipping over and starting a fire, or just looking drunk on your porch. Picking one with a solid foundation sets you up for a much smoother **pumpkin easy carving** experience.
Simple Steps for Pumpkin Easy Carving Techniques

Simple Steps for Pumpkin Easy Carving Techniques
Cutting In and Cleaning Out
Alright, pumpkin in hand, stable base sorted. Now comes the part that trips people up: getting inside the thing. Don't try to cut a perfect circle around the stem right away. That's old school and frankly, a pain. Instead, cut a hexagon or octagon shape around the stem. It's easier to get the knife in and out, and it gives you a flat edge to rest the lid on later so it doesn't fall in. Use a sturdy, serrated carving knife for this. Angle the cut inward slightly so the lid has a lip to sit on. Once the lid is off, brace yourself. It's time to tackle the glorious mess inside. Scooping out the seeds and stringy pulp is arguably the least fun part of **pumpkin easy carving**, but a good scoop makes everything else smoother. A large metal spoon or a dedicated pumpkin scoop with a sharp edge works wonders. Get it all out – the cleaner it is, the less likely it is to rot quickly, and the more light will shine through your design.
Lighting Your Masterpiece: Options Beyond the Flame
Lighting Your Masterpiece: Options Beyond the Flame
Lighting Your Masterpiece: Options Beyond the Flame
so you've got your pumpkin all prepped and ready for its moment in the spotlight (pun intended). Now, about lighting it up. The classic choice is a real candle, and sure, it gives that flickering, spooky vibe. But let's be real, they're a fire hazard, they blow out easily in the wind, and they can scorch the top of your carefully carved creation. This is where stepping into the modern age makes **pumpkin easy carving** even better. Battery-operated LED tea lights are your best friend here. They come in various colors, they don't get hot, they last way longer than a candle, and you can pop the lid back on securely without worrying about ventilation. Some even flicker like a real flame, tricking the purists while keeping your porch safe. You can also use strings of small LED lights for a brighter glow or to outline specific parts of your design. Don't be afraid to experiment; a purple or green LED can make even a simple ghost design look extra creepy.
Spooky & Sweet: Easy Halloween Pumpkin Carving Designs
Spooky & Sweet: Easy Halloween Pumpkin Carving Designs
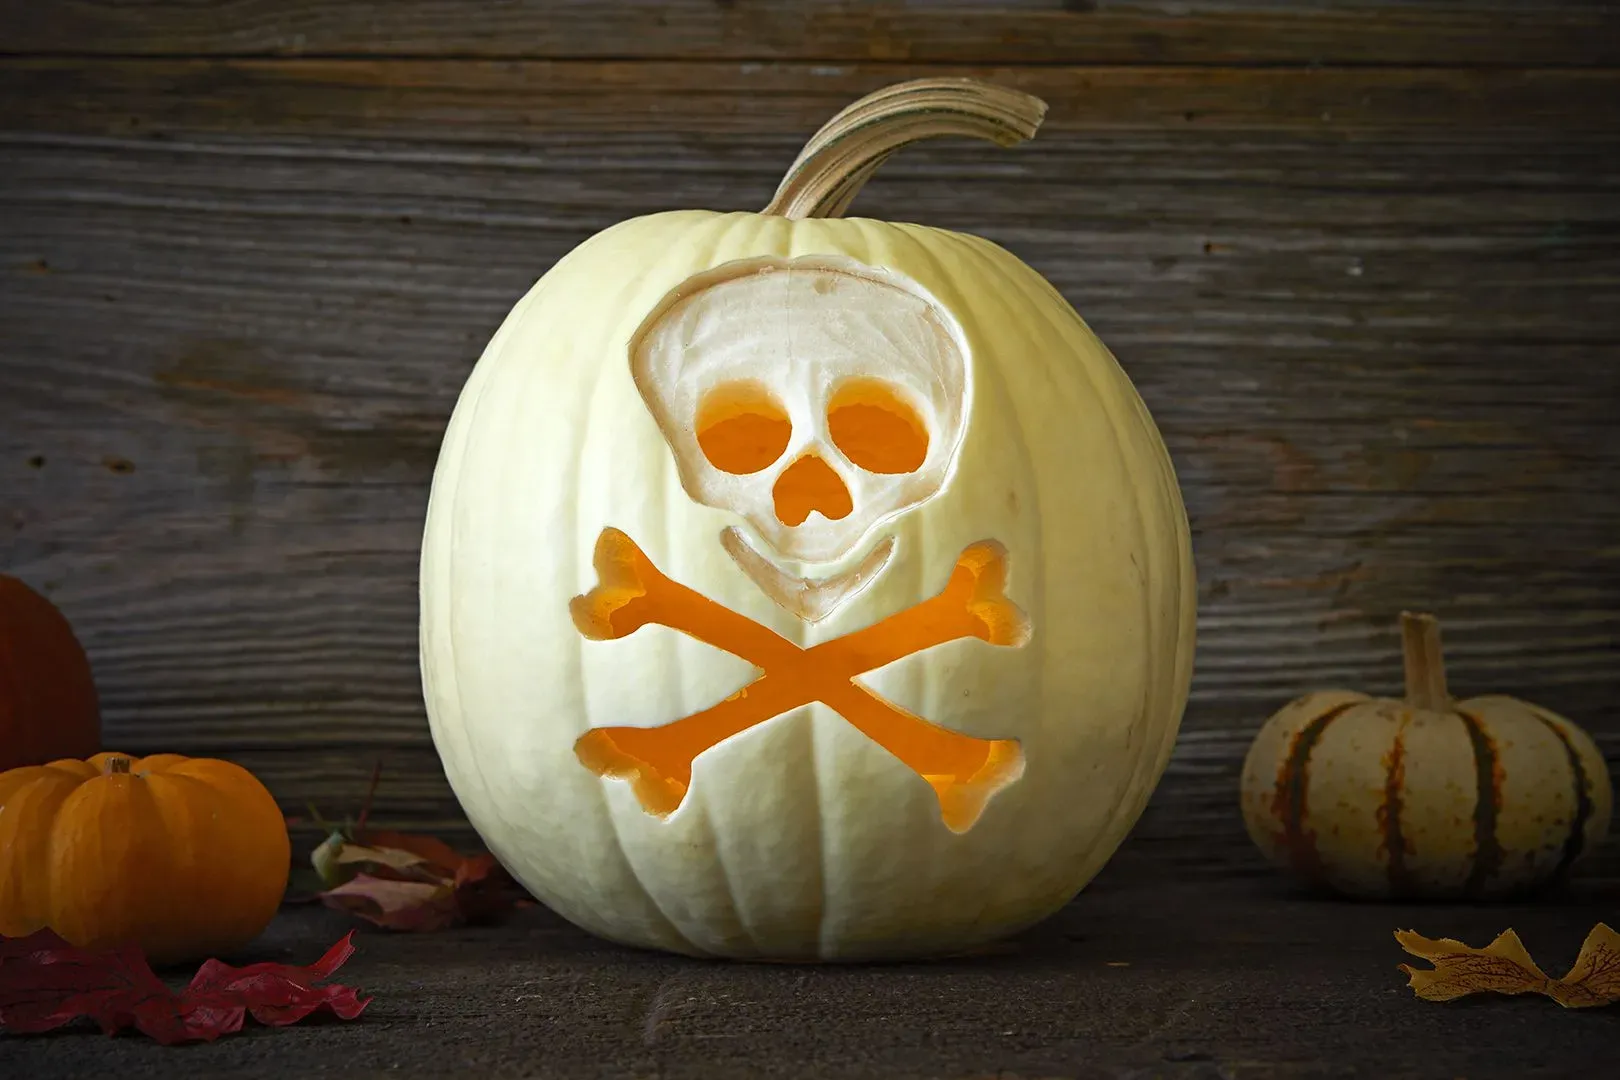
Starting Simple: The Classic Spooky Faces
you've prepped your pumpkin, cleaned it out, and got your lights ready. Now for the fun part: the design. When we talk about **pumpkin easy carving**, we're not suggesting you need to recreate Michelangelo's David on a gourd. Start with the basics. The classic jack-o'-lantern face is a staple for a reason – it's effective and straightforward. Think simple triangles for eyes and a nose, maybe a jagged, toothed grin or a wavy, spooky mouth. These shapes are easy to cut, forgiving if your lines aren't perfectly straight, and instantly recognizable. You can find tons of free templates online, print them out, tape them on, and just follow the lines. Sometimes, the simplest designs make the biggest impact, especially when lit up in the dark.
Beyond the Grin: Sweet and Silly Ideas
But maybe you want something a little less "BOO!" and a little more "Aww, cute!" That's where the "sweet" part of **Spooky & Sweet: Easy Halloween Pumpkin Carving Designs** comes in. Consider carving friendly ghosts with round eyes and wavy bottoms, simple stars and moons scattered across the surface, or even just polka dots of varying sizes. Cookie cutters aren't just for baking; metal ones can be tapped lightly with a mallet to press shapes into the pumpkin skin, or even cut right through the thinner parts. Think about popular cartoon characters with simple outlines, like a friendly monster or a black cat silhouette. These designs are often less about intricate detail and more about recognizable shapes, making them perfect for beginners or carving with kids.
Looking for some quick, easy design ideas?
- Classic Triangle Face: Eyes, nose, jagged mouth. Can't go wrong.
- Ghost Silhouette: Simple wavy shape, two round eyes.
- Starry Night: Cut out various sized stars.
- Polka Dots: Use different drill bit sizes or circle cutters.
- Friendly Monster: One big eye, maybe some simple teeth.
- Black Cat Outline: Easy side profile shape.
Using Tools for Texture and Detail (Without the Hassle)
You don't always have to cut all the way through the pumpkin wall to create cool effects. Sometimes, simply scraping away the top layer of skin can create depth and variation in light. This is called etching or shaving. A potato peeler or a linoleum carving tool works well for this. You could etch designs like spiderwebs, swirling patterns, or even letters without fully carving. This technique is much less likely to lead to structural collapse (a common **pumpkin easy carving** frustration) and lets light glow softly through the thinned skin. Combine etching with full cut-outs for eyes or mouths for a more dynamic look. It adds detail without the difficulty of intricate full cuts.
Making It Last: Tips to Preserve Your Carved Pumpkin Creation
Keeping Your Pumpkin Hydrated and Happy
So, you've successfully navigated the world of pumpkin easy carving and you've got a spooky or sweet creation sitting on your porch. Awesome! But the sad truth is, carved pumpkins are basically just big, open wounds on a plant, and they start deteriorating pretty fast. The biggest enemy? Dehydration and mold. Think of it like cut fruit; it dries out and gets fuzzy. To slow this down, hydration is key. After carving, give your pumpkin a bath! Submerging it in cold water for a few hours can rehydrate the flesh. Pat it dry gently afterwards. Another trick is to mist your pumpkin daily with a spray bottle filled with water, especially the cut edges. This helps keep the flesh from shriveling up and cracking, which is usually the first sign of decline.
Protecting Those Precious Cut Edges
Beyond just keeping things moist, you need to protect the exposed surfaces. The cut edges are the most vulnerable spots for drying out and mold growth. A simple, old-school tip that actually works is applying a thin layer of petroleum jelly (like Vaseline) to all the cut surfaces. It creates a barrier that seals in moisture and keeps air and bacteria out. Don't glob it on; just a thin smear will do. Some people also swear by spraying the inside and outside with a bleach solution (about 1 teaspoon of bleach per quart of water) to kill mold spores, but be careful not to let it lighten the color too much. Reapply the petroleum jelly every few days as needed. For the best chance at Making It Last: Tips to Preserve Your Carved Pumpkin Creation, store your pumpkin in a cool, dry place when you're not displaying it, like the garage or even the refrigerator if you have space.
Quick ways to extend your pumpkin's lifespan:
- Give it a cold water bath after carving.
- Mist it daily with water.
- Apply petroleum jelly to all cut edges.
- Consider a dilute bleach spray (use cautiously).
- Store in a cool, dry place when not on display.
Wrapping Up Your Easy Carving Adventure
So there you have it. Pumpkin carving doesn't need to be a messy, frustrating ordeal that ends with a lopsided mess and a trip to the urgent care for a band-aid. With the right pumpkin, a few simple tools, and some achievable ideas, you can actually create something pretty cool for Halloween without wanting to throw the whole gourd in the trash. Whether you go classic, cute, or just plain weird, the point is to have a bit of fun with it. Now go grab a pumpkin, pick a design you like, and show that squash who's boss. Your porch (and your ego) will thank you.