Table of Contents
Ready to transform a humble pumpkin into a breathtaking work of art? This year, ditch the simple triangle eyes and embrace the challenge of intricate pumpkin carving! This guide dives deep into the world of pumpkin carving techniques for detailed designs, equipping you with the skills and knowledge to create truly stunning jack-o'-lanterns. We'll start by helping you choose the perfect pumpkin – the right size, shape, and surface are crucial for achieving those fine details. Next, we'll explore the art of design, moving from simple sketches to complex patterns, and showing you how to transfer your vision onto your pumpkin’s skin. Then, it's time to get our hands dirty! Learn about the essential tools, the safest carving techniques, and essential tips for precision. Finally, we'll cover the finishing touches – how to light your masterpiece, display it proudly, and even extend its life. By the end, you'll be ready to impress your friends, family, and even yourself with your incredible pumpkin carving skills. Let's get carving!
Selecting the Perfect Pumpkin: Size, Shape, and Surface
Selecting the Perfect Pumpkin: Size, Shape, and Surface
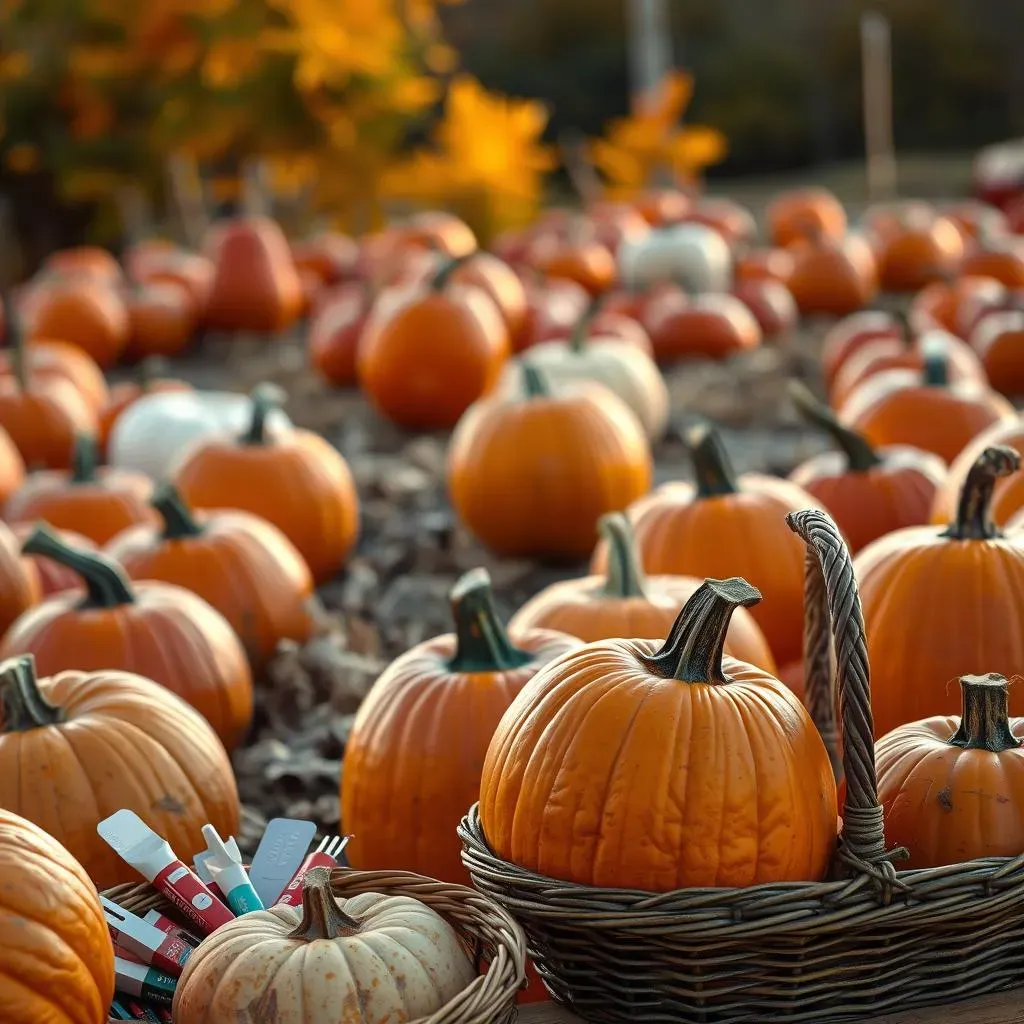
Picking the right pumpkin is half the battle! You want something sturdy enough to hold its shape and size throughout the carving process, and large enough for your design. Think of it like choosing a canvas for a painting – you wouldn't paint a tiny masterpiece on a giant canvas, would you? A good pumpkin has a relatively flat surface for easy pattern transfer and a nice, wide face area for your carving. Avoid pumpkins with bruises, soft spots, or weird growths; those are recipe for disaster. A flat bottom is also a plus, making it easier to stand upright. For intricate designs, a larger pumpkin gives you more space to work with. Need some extra tips? Check out our guide on pumpkin carving tips!
Pumpkin Feature | Ideal Characteristics | Why It Matters |
|---|---|---|
Size | Large enough for your design | More space for detail |
Shape | Round or slightly oblong with a flat bottom | Stable base and even carving surface |
Surface | Smooth, firm, and free of blemishes | Easier to carve and prevents cracking |
Remember, a well-chosen pumpkin is your foundation for a masterpiece! Don't rush this step; take your time and find the perfect pumpkin that speaks to your artistic vision. It's like choosing the perfect pair of shoes for a marathon - the wrong fit can ruin the whole experience. Once you've got your pumpkin, you're ready to move on to designing your awesome jack-o'-lantern. Looking for some inspiration? We've got some great ideas for Halloween pumpkin carving!
- Check for bruises or soft spots.
- Look for a flat bottom for stability.
- Consider the size relative to your design complexity.
Designing Your Masterpiece: From Simple Sketches to Intricate Patterns
Designing Your Masterpiece: From Simple Sketches to Intricate Patterns
From Simple Sketches to Intricate Designs
Before you even touch a knife, let's talk design! Start with a sketch – even a napkin doodle will do. Think about your overall theme: spooky, cute, funny, or something completely unique? Then, consider the level of detail you're aiming for. A simple jack-o'-lantern face is a great starting point for beginners, but don't be afraid to experiment with more complex designs. The internet is a treasure trove of inspiration! Search for "pumpkin carving stencils" or "pumpkin carving patterns" online. You can find everything from classic Halloween themes to intricate portraits and even geometric designs. Remember, the best designs are those that you find fun and engaging. Want some extra help choosing the right design? Check out our pumpkin carving for beginners guide for some inspiration!
- Start with a simple sketch or find a pre-made stencil.
- Choose a theme that excites you!
- Consider your skill level and adjust the complexity accordingly.
Transferring Your Design: From Paper to Pumpkin
Once you've got your design finalized, it's time to transfer it onto your pumpkin. There are several methods: you can freehand it directly onto the pumpkin using a marker (but be careful!), trace it using carbon paper, or even project it using a projector (for the truly tech-savvy!). No matter which method you choose, remember to keep your lines clean and precise. A well-defined design will make the carving process much easier and lead to a more polished final product. If you're feeling extra ambitious, you can create a multi-layered design with different depths of carving to add dimension and visual interest. Need some extra tips and tricks? Our guide on pumpkin carving tricks has a few ideas that might help!
Transfer Method | Pros | Cons |
|---|---|---|
Freehand | Quick and easy | Requires steady hand and artistic skill |
Carbon Paper | Accurate transfer | Can be messy |
Projector | Precise and scalable | Requires equipment |
Carving with Precision: Tools, Techniques, and Safety Tips
Carving with Precision: Tools, Techniques, and Safety Tips
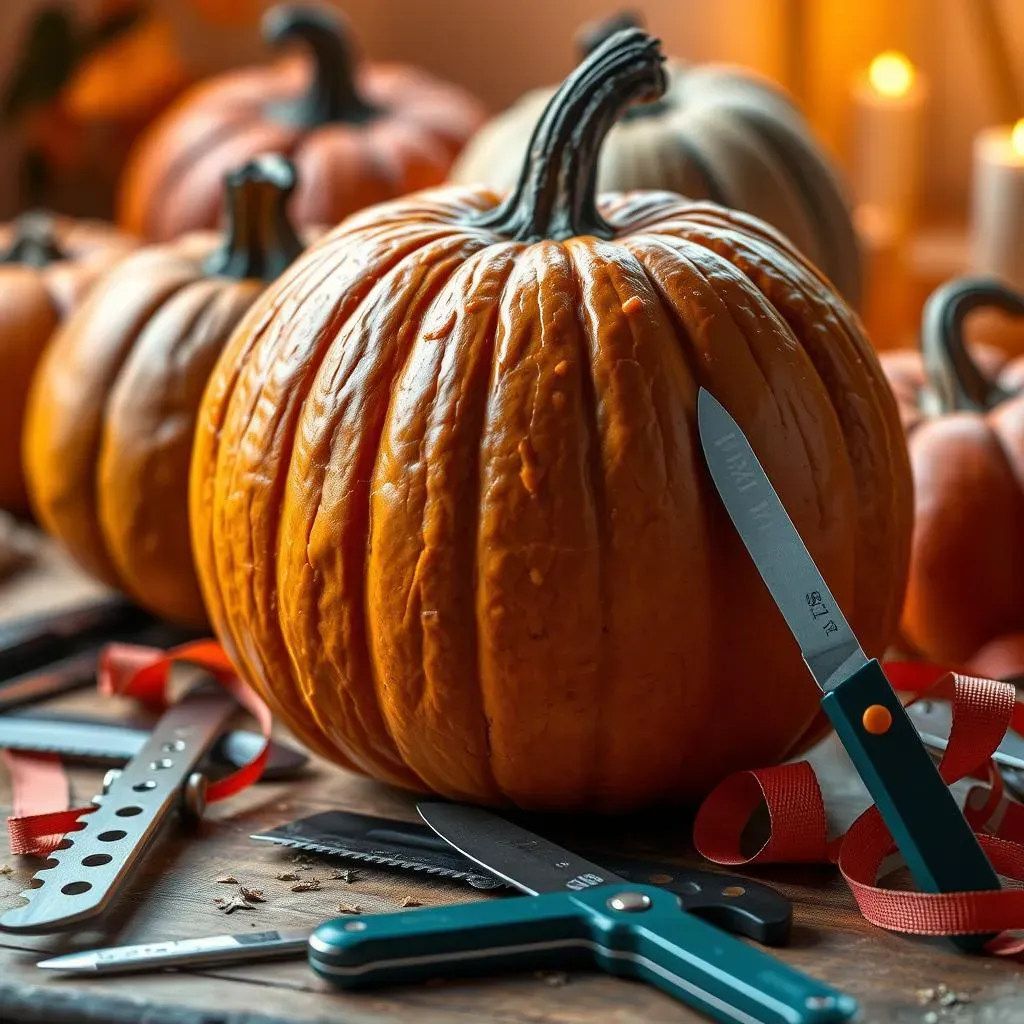
Essential Tools for Precision Carving
Before you start hacking away, gather your arsenal! You'll need a few key tools for detailed pumpkin carving. First, a good serrated kitchen knife is essential for the initial cuts and hollowing out. Then, you'll want a selection of smaller tools for finer details – X-ACTO knives are fantastic for this, offering precision and control. Don't forget a pumpkin scoop to remove the guts (the messy part, but someone's gotta do it!), and some ribbon tools (small and large) for smoothing out the edges and creating those professional-looking finishes. Finally, a marker for transferring your design and a sturdy surface to work on will make your carving experience much smoother. Think of these tools as your trusty paintbrushes – the right tools make all the difference! Check out our guide on pumpkin carving methods for some extra tool recommendations.
- Serrated kitchen knife
- X-ACTO knives (various sizes)
- Pumpkin scoop
- Ribbon tools (small and large)
- Marker pen
Safe Carving Techniques: Preventing Mishaps
Safety first, pumpkin carvers! Always carve on a stable surface, and never rush the process. Sharp tools require respect and careful handling. Keep your fingers away from the blade path – use a sawing motion rather than pushing straight down. For intricate designs, take your time and work slowly, making small, controlled cuts. If you're working with children, make sure they're supervised at all times and are using age-appropriate tools. Remember, this is supposed to be fun, not a trip to the emergency room! Looking for some extra safety tips and tricks? Our guide on pumpkin carving instructions has you covered!
Safety Tip | Explanation |
|---|---|
Stable work surface | Prevents accidental cuts and tool slippage. |
Sawing motion | Reduces the risk of tool slipping or breaking. |
Supervision of children | Essential for safe handling of sharp tools. |
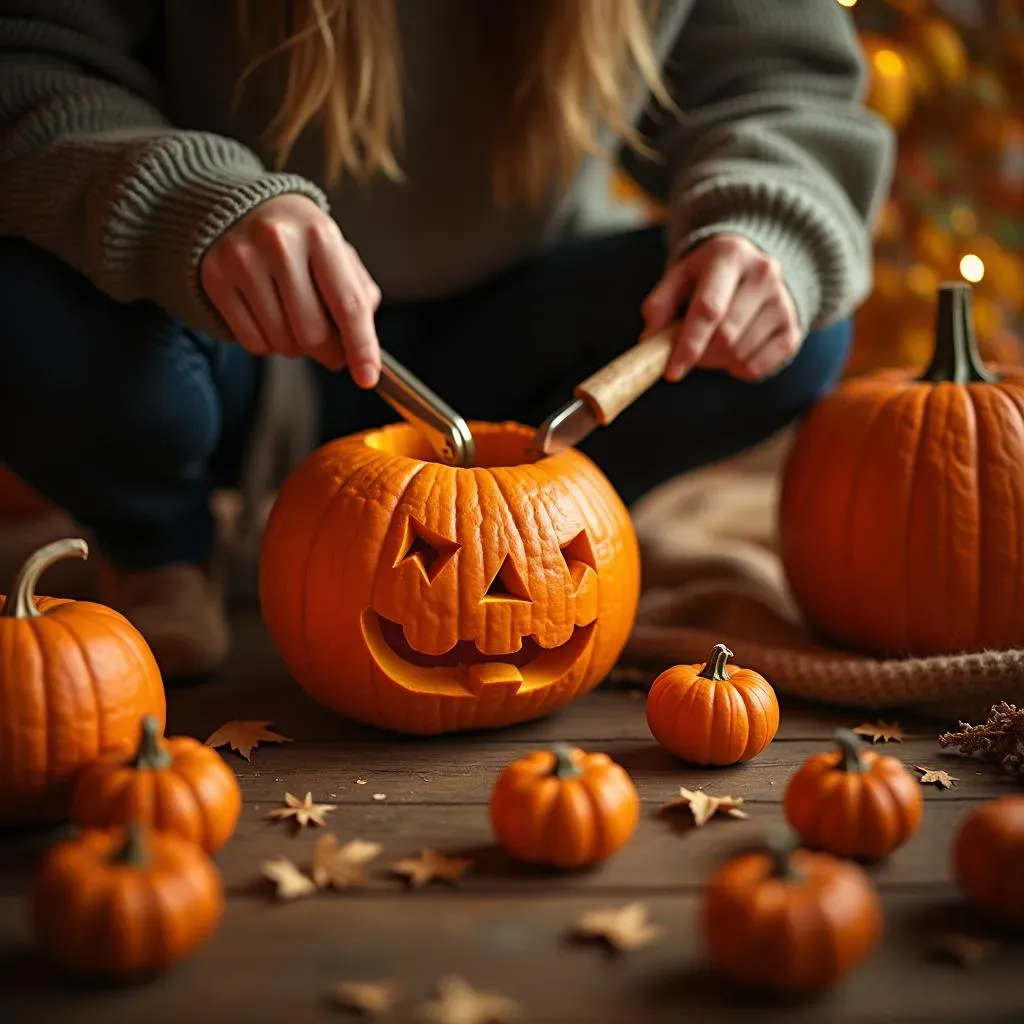
Mastering the Carving Process: Techniques for Detail
Now for the fun part – the actual carving! Start with the larger cuts first, and then work your way towards the finer details. Use your serrated knife for the initial outline of your design, and then switch to your X-ACTO knives for precise cuts and shaping. For very intricate designs, you might even consider using a drill with small bits for removing larger sections of pumpkin flesh quickly and safely. Remember to use your ribbon tools to carefully smooth out any rough edges or uneven areas, creating a clean, polished look. Don't be afraid to experiment with different techniques and depths of carving to add dimension and texture to your design. Practice makes perfect, so don't get discouraged if your first attempt isn't flawless. Want some step-by-step guidance? Check out our step-by-step guide to pumpkin carving!
- Start with larger cuts and then move to finer details
- Use ribbon tools to smooth edges
- Experiment with different carving depths for dimension
Finishing Touches and Preservation: Lighting, Display, and Longevity
Finishing Touches and Preservation: Lighting, Display, and Longevity
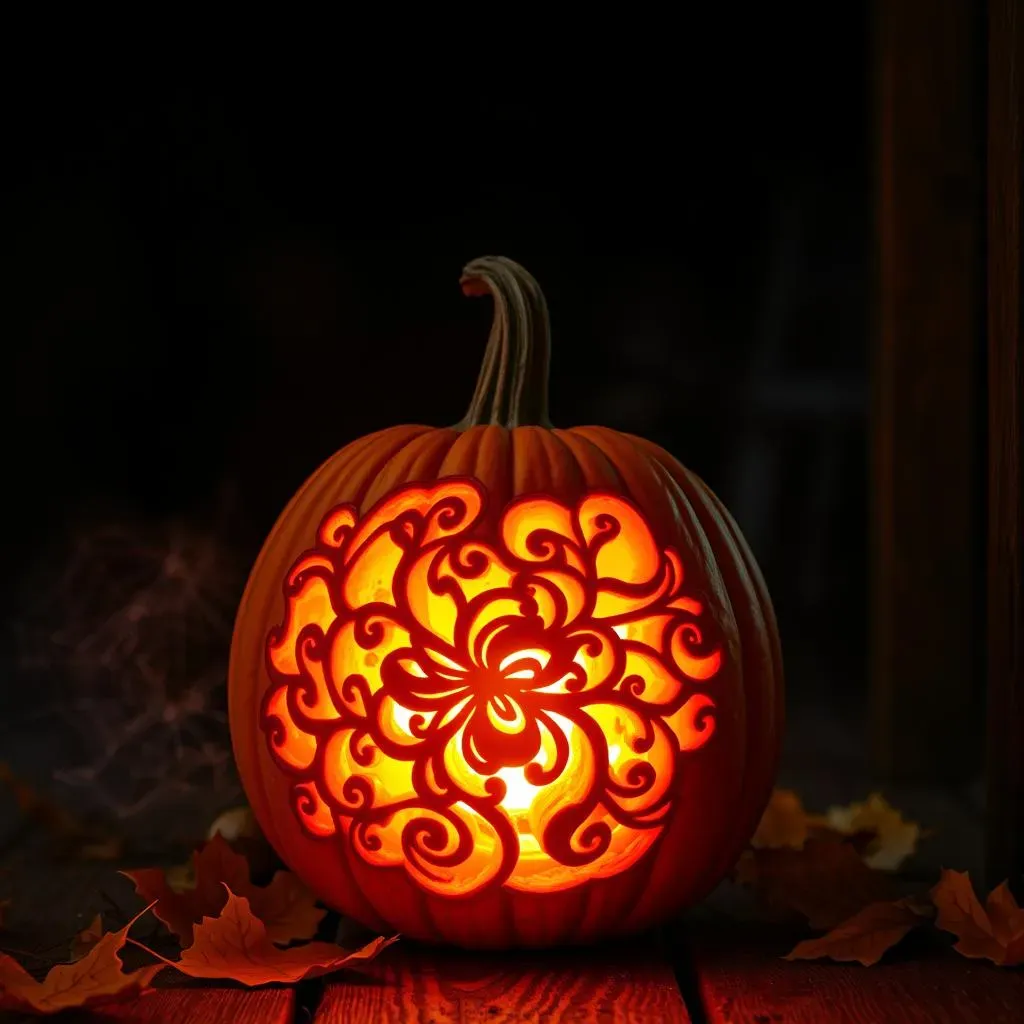
Illuminating Your Masterpiece: Choosing the Right Light Source
With your carving complete, it's time to bring your pumpkin to life! The right lighting can dramatically enhance your design, making those intricate details pop. A simple tea light or candle creates a warm, traditional glow, but be mindful of fire safety. For a safer and more consistent light, consider battery-operated LED lights – they come in various sizes and colors, allowing you to customize the ambiance. Place the light source strategically to highlight your carving's best features. Experiment with different lighting angles to find the most flattering illumination. For extra tips on making your pumpkin shine, check out our guide on pumpkin carving tips!
- Tea lights/candles (use with caution!)
- Battery-operated LED lights (safer and more versatile)
- Experiment with lighting angles for best effect
Displaying Your Creation: Showcasing Your Artistic Prowess
Now that your pumpkin is beautifully lit, it’s time to find the perfect spot to display your masterpiece! Consider your home's décor and choose a location that complements your pumpkin's style. A front porch is a classic choice, especially during Halloween, but a windowsill, mantelpiece, or even a dining table can work wonders. Think about the background – a dark backdrop will make your pumpkin stand out even more. You can even add some extra Halloween decorations to enhance the overall spooky or festive vibe. To find even more ideas on how to showcase your pumpkin, check out our guide on Halloween pumpkin carving.
Display Location | Pros | Cons |
|---|---|---|
Front Porch | Highly visible, classic Halloween spot | Exposed to weather |
Windowsill | Warm, inviting ambiance | May not be visible from far away |
Mantelpiece | Elegant and sophisticated | Limited space |
Extending the Life of Your Pumpkin: Preservation Techniques
Nobody wants their hard work to rot away before Halloween even arrives! To keep your pumpkin looking its best for as long as possible, apply a thin coat of petroleum jelly to the cut surfaces. This helps to seal the pumpkin and prevent moisture loss, slowing down the decay process. Keep your pumpkin away from direct sunlight and heat, and try to avoid placing it in damp areas. Storing it in a cool, dry place will help it last longer. While you can't stop the natural decay process completely, these tips can significantly extend the life of your incredible creation. Want to learn more about preserving your pumpkin masterpiece? Check out our guide on pumpkin carving instructions for more details!
- Apply petroleum jelly to cut surfaces
- Store in a cool, dry place away from direct sunlight
- Avoid damp areas