Table of Contents
Halloween is creeping closer, and what's a spooktacular celebration without a grinning, ghoulish Jack-O-Lantern leering from your porch? Forget the same old triangle eyes and toothy grin; this year, it's time to unleash some serious scares! If you're on the hunt for pumpkin carving scary ideas that are both impressive and achievable, you've come to the right haunted house. We're diving deep into a cauldron of creativity with 90+ designs that range from mildly menacing to downright terrifying. Whether you're a seasoned carving pro or a pumpkin-gutting novice, we've got something to make your Halloween unforgettable. We'll explore easy-to-master techniques, share killer stencils, and offer tips to elevate your pumpkin game from cute to creepy. Get ready to grab your carving tools and transform ordinary gourds into spine-chilling masterpieces. Prepare for a journey into the realm of pumpkin terror, where creativity meets fright, and your porch becomes the scariest on the block!
Unleash Your Inner Ghoul: Easy Pumpkin Carving Scary Ideas

Unleash Your Inner Ghoul: Easy Pumpkin Carving Scary Ideas
Alright, so you're ready to dive into some seriously spooky pumpkin carving, huh? Forget those basic, boring pumpkins – we're talking next-level fright this year! The beauty of scary designs is that they don't necessarily require expert-level skills. In fact, some of the most terrifying pumpkins are surprisingly easy to create. Think jagged teeth, menacing eyes, and shadowy silhouettes. It's all about embracing imperfection and letting your inner ghoul guide your carving hand.
One of the easiest ways to amp up the scare factor is to focus on exaggerated features. Make those eyes extra wide and crazed-looking, stretch that mouth into a horrifying grin, and don't be afraid to add some gruesome details like dripping "blood" (easily achieved with paint) or strategically placed carving mistakes that look like battle scars. Remember, the goal is to unsettle, not to create a masterpiece of fine art.
Another great approach is to use stencils to create intricate designs without the need for freehand drawing skills. There are tons of free, printable stencils available online, featuring everything from classic horror movie monsters to creepy crawlies. Simply tape the stencil to your pumpkin, trace the design with a poking tool, and then carefully carve along the lines. Even a simple stencil can create a stunningly scary effect when illuminated from within.
From Classic to Creepy: Pumpkin Carving Ideas for Every Skill Level
From Classic to Creepy: Pumpkin Carving Ideas for Every Skill Level
Alright, let's break down some pumpkin carving scary ideas by skill level, so no one feels left out of the frightful fun. We'll start with the classics, then crank up the creep factor as we go. Even if you're just starting out, there's no reason you can't create a pumpkin that'll make the neighbors do a double-take.
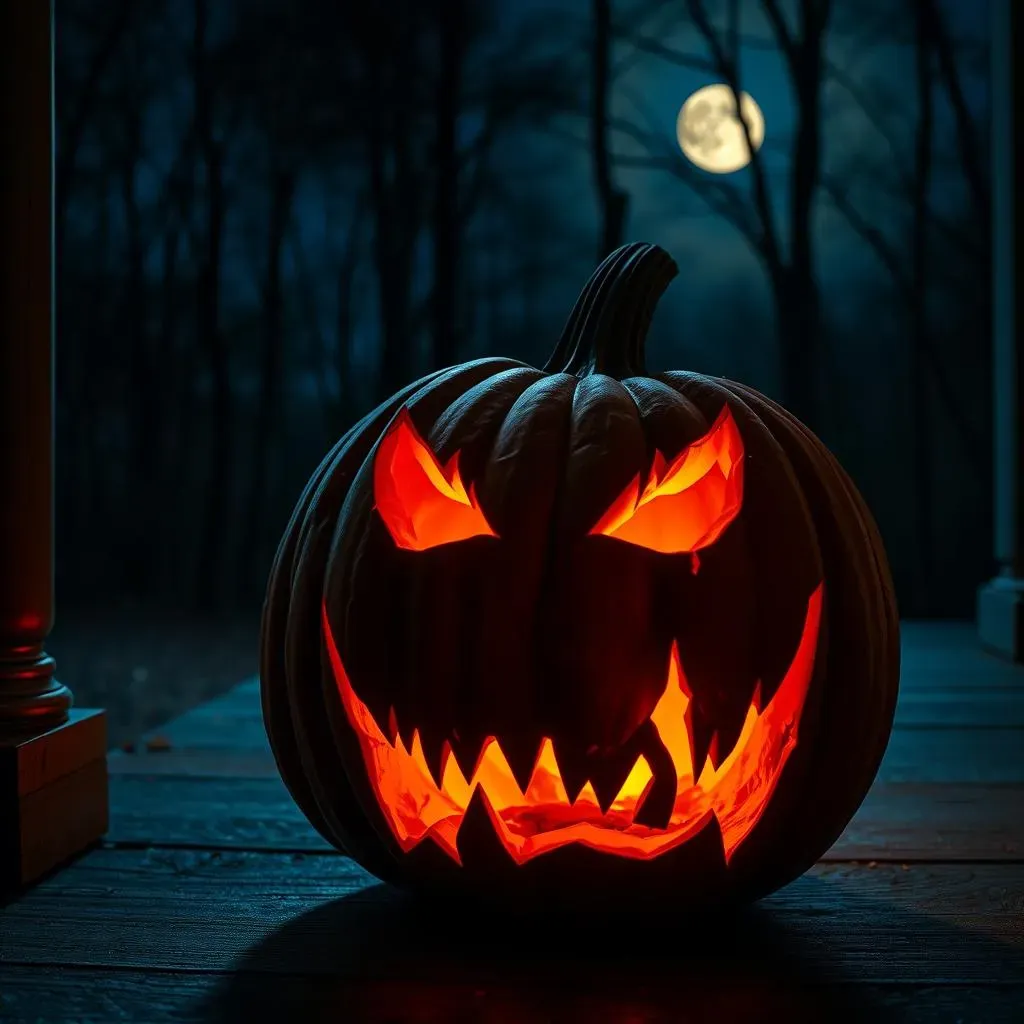
For the beginners, think beyond the basic Jack-O-Lantern face. How about a spooky silhouette against the moon? Simply paint the whole pumpkin black, then carve out a crescent moon and a few bare tree branches. Or, try a simple ghost design. Use a stencil or draw a freehand ghost shape, then carve it out and leave the rest of the pumpkin untouched. The contrast between the bright interior and the dark exterior will create an eerie effect. Remember, less is often more when it comes to creating a scary vibe.
Skill Level | Idea | Creep Factor |
|---|---|---|
Beginner | Silhouette Scene | Mildly Spooky |
Beginner | Simple Ghost | Moderately Spooky |
Intermediate | Classic Monster Face | Spooky |
Advanced | 3D Carving | Terrifying |
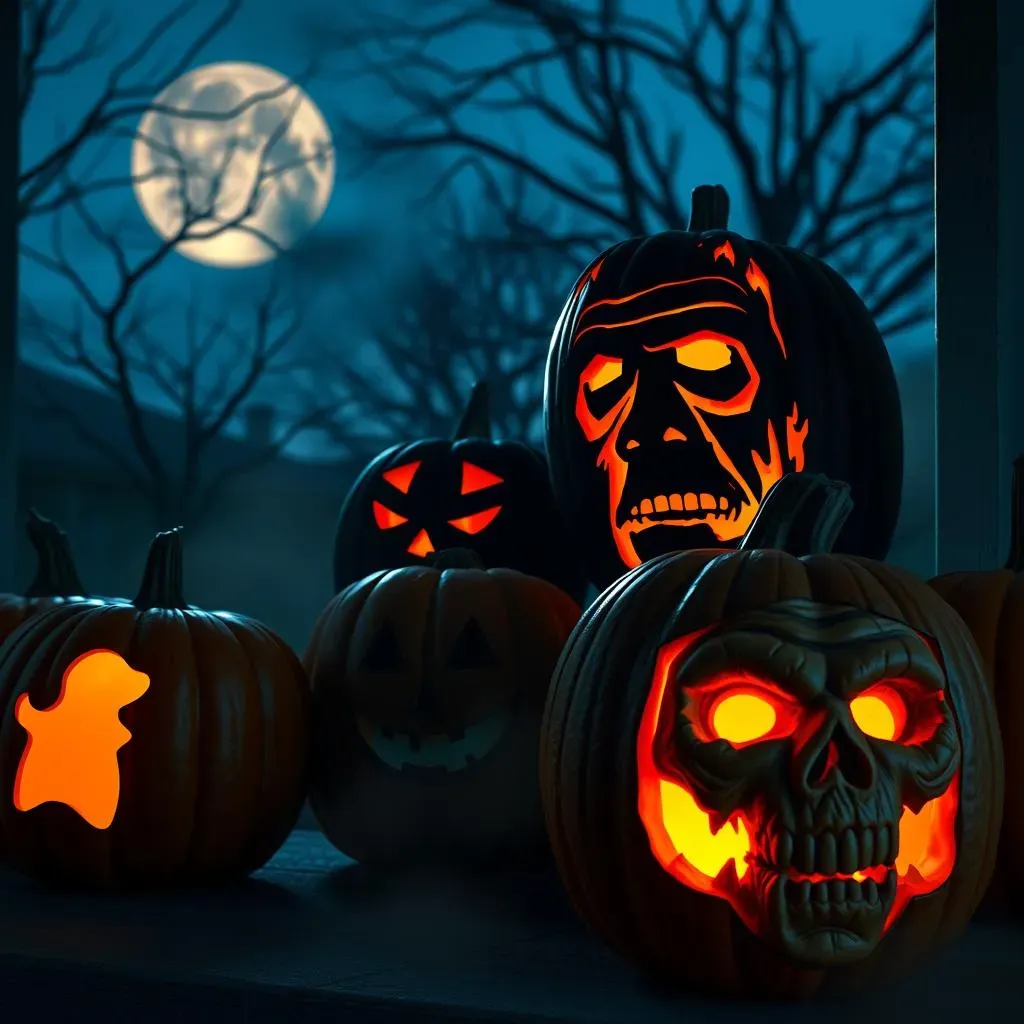
Moving up a notch, intermediate carvers can tackle classic monster faces like Frankenstein, Dracula, or a zombie. These designs involve more intricate carving, but with a good stencil and some patience, you can achieve impressive results. Focus on capturing the key features of each monster – Frankenstein's square head and neck bolts, Dracula's sharp fangs, or a zombie's decaying flesh. Don't be afraid to add your own creative touches to make the design truly unique.
Tools of Terror: Essential Gear for Spooky Pumpkin Carving
Tools of Terror: Essential Gear for Spooky Pumpkin Carving
The Basic Arsenal
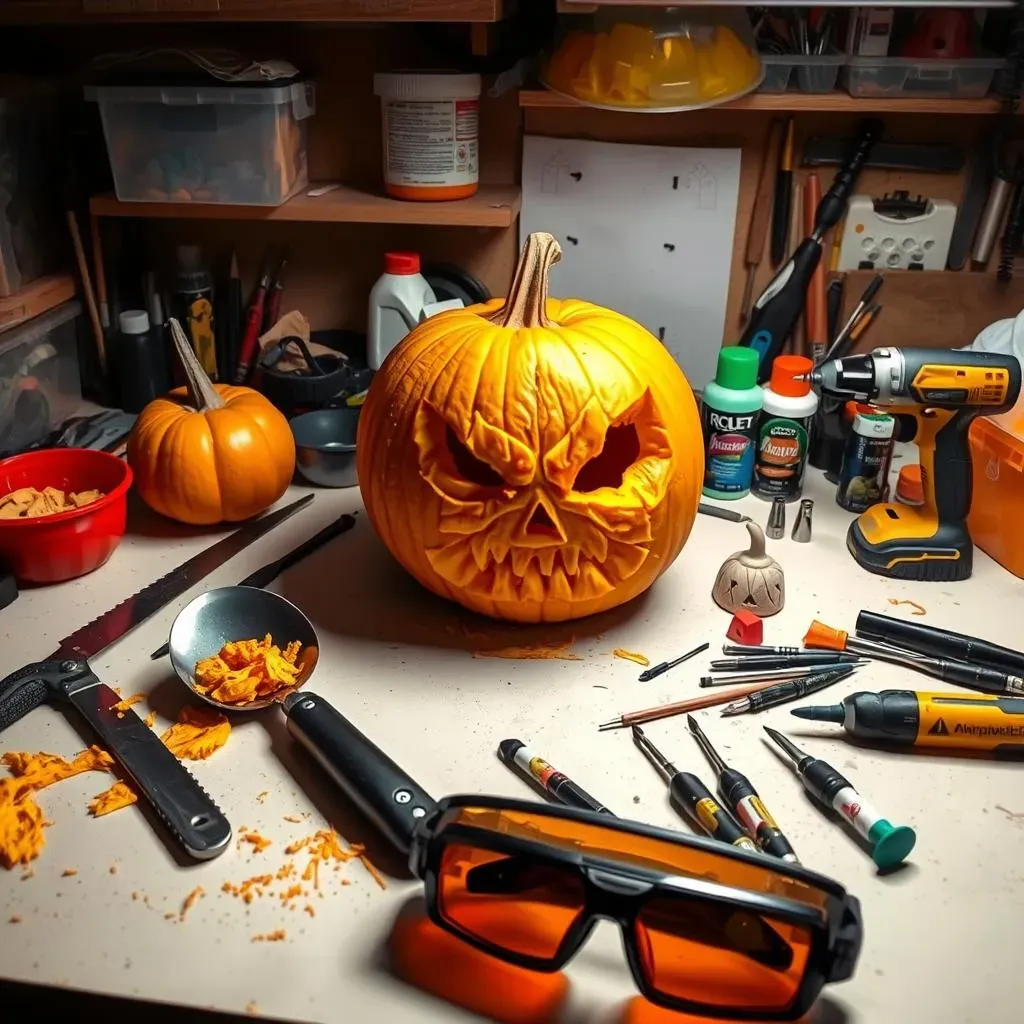
Alright, before you start hacking away at that pumpkin like a maniac, let's make sure you've got the right tools for the job. You wouldn't try to perform surgery with a butter knife, would you? ( maybe you would for a REALLY scary effect, but still...). A basic pumpkin carving kit is a great place to start, but don't be afraid to supplement it with some household items. Think of it as assembling your own personal arsenal of pumpkin terror!
At the very least, you'll need a good carving knife (serrated is best), a scoop for gutting the pumpkin, and some kind of poking tool for transferring stencils. But if you really want to get serious, consider investing in a few specialized tools. A detail knife is perfect for intricate work, while a small saw can help you create clean, precise lines. And don't forget about lighting! A battery-operated candle or LED light will bring your creation to life.
- Carving Knife: Serrated edge for clean cuts.
- Scoop: For removing pumpkin guts (duh!).
- Poking Tool: For transferring stencils.
Beyond the Basics: Level Up Your Carving Game
Ready to take your pumpkin carving to the next level? Then it's time to expand your toolkit with some more advanced gear. Power carving tools, like rotary tools with various bits, can make quick work of intricate designs and add depth and texture to your carvings. Just be sure to wear eye protection and practice on a scrap pumpkin before tackling your masterpiece.
Also, consider using clay sculpting tools for fine details and adding dimension. These tools are perfect for creating realistic textures and adding subtle details that will make your pumpkin stand out from the crowd. Finally, don't underestimate the power of paint! Acrylic paints can be used to add color, shading, and highlights to your carvings, creating a truly unique and terrifying effect.
Tool | Use | Scare Factor Enhancement |
|---|---|---|
Rotary Tool | Intricate details, texture | High |
Clay Sculpting Tools | Fine details, dimension | Medium |
Acrylic Paints | Color, shading, highlights | Variable (depends on paint job!) |
Pumpkin Carving Scary Ideas: Stencils, Tips, and Tricks for a Frightful Display
Pumpkin Carving Scary Ideas: Stencils, Tips, and Tricks for a Frightful Display
Stencils: Your Gateway to Ghastly Gourds
Let's be honest, freehand carving can be intimidating, especially when you're aiming for a specific level of scariness. That's where stencils come in! They're your secret weapon for creating intricate, terrifying designs without needing to be a pumpkin Picasso. The internet is overflowing with free, printable stencils, ranging from classic horror icons to modern-day monsters. Just search for "free Halloween pumpkin stencils," and prepare to be overwhelmed with options.
Once you've found the perfect stencil, the key is transferring it accurately to your pumpkin. Tape the stencil securely to the pumpkin's surface, then use a poking tool (an awl, a skewer, or even a sturdy needle) to poke holes along the stencil lines. The closer together the holes, the more accurate your carving will be. Once you've finished poking, remove the stencil and you'll have a dotted outline to guide your carving knife. It's like connect-the-dots, but with a much scarier outcome!
- Pro Tip: Use painter's tape to secure the stencil – it's gentle on the pumpkin's surface and won't leave sticky residue.
- Another Pro Tip: For complex stencils, consider using transfer paper to create a more defined outline.
Tips and Tricks for Maximum Fright Factor
you've got your stencil, you've got your tools, now it's time to talk technique. Carving a scary pumpkin isn't just about following the lines; it's about adding your own personal touch of terror. One of the easiest ways to do this is by varying the depth of your cuts. Shallow cuts will let more light through, creating a glowing effect, while deeper cuts will create darker shadows. Use this to your advantage to highlight certain features and create a more dynamic, three-dimensional design.
Another trick is to embrace imperfections. A perfectly smooth, symmetrical pumpkin might look nice, but it won't necessarily be scary. Don't be afraid to leave some jagged edges, uneven cuts, or even intentional "mistakes." These imperfections will add character and make your pumpkin look more menacing, like it's been through a battle with the forces of darkness. And finally, don't forget about lighting! Experiment with different colors and types of lights to create the perfect spooky ambiance.
Tip | Description | Fright Factor Enhancement |
|---|---|---|
Vary Cut Depth | Use shallow and deep cuts for light and shadow | High |
Embrace Imperfections | Jagged edges and uneven cuts add character | Medium |
Experiment with Lighting | Use different colors and types of lights | High |
Crafting Your Spooky Masterpiece: A Final Word on Pumpkin Carving Scary Ideas
So, there you have it – a graveyard's worth of pumpkin carving scary ideas to make your Halloween the most frightful yet! Remember, the key is to have fun and let your creativity run wild. Don't be afraid to experiment with different techniques, stencils, and lighting to achieve the perfect level of spookiness. Whether you choose a classic ghoul, a modern monster, or a personalized terror, your Jack-O-Lantern is sure to be a scream. Happy carving, and may your Halloween be filled with delightful frights!