Table of Contents
Halloween's just around the corner, and you're itching to create a masterpiece – a pumpkin so intricately carved it'll leave everyone speechless. But before you grab that carving knife, let's talk safety! Intricate pumpkin carving, while incredibly rewarding, presents unique challenges. This article is your ultimate guide to navigating the world of detailed pumpkin designs *safely*. We'll cover everything from selecting the perfect pumpkin and tools to mastering safe carving techniques for those incredibly detailed patterns. We'll also explore essential safety precautions, including proper lighting, workspace setup, and first-aid preparedness. Even experienced carvers will find valuable tips here, especially when tackling professional-level intricacy. Ready to transform your pumpkin carving from a potentially risky endeavor into a fun and safe creative outlet? Let's dive in and discover how to achieve those amazing, intricate designs without sacrificing safety. Remember, pumpkin carving safety for intricate patterns isn't just about avoiding cuts; it's about ensuring you enjoy the entire creative process. So, grab your carving tools (carefully!), and let's get started!
Choosing the Right Tools and Pumpkin
Choosing the Right Tools and Pumpkin
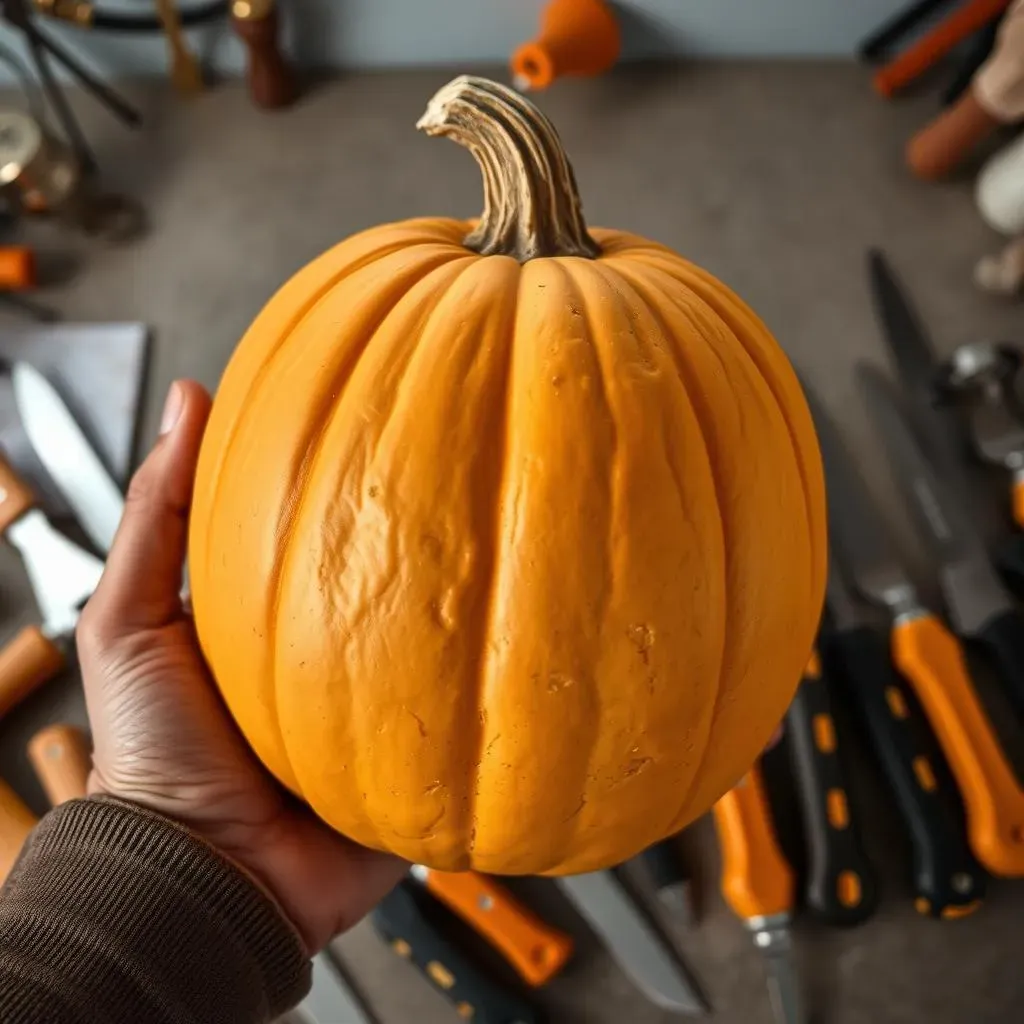
Picking the Perfect Pumpkin
First things first: the pumpkin itself! You want a sturdy, firm pumpkin, not one that's soft or rotting. A good, solid pumpkin is less likely to crumble under pressure, making intricate carving much easier and safer. Look for pumpkins with smooth, even surfaces – fewer bumps and bruises mean less chance of your tools slipping. Think of it like choosing a canvas for a painting; you wouldn't want a canvas that's already torn, would you? For truly intricate designs, a slightly larger pumpkin might be preferable, giving you more space to work with. Check out our guide to pumpkin carving safety for detailed designs for more tips.
- Firm, not soft or rotting
- Smooth surface, minimal bumps
- Consider size for detail
Essential Carving Tools: A Safety Checklist
Now for the tools. Forget flimsy kitchen knives; you need tools designed for the job. A good pumpkin carving kit is your best bet. These kits usually include various sized saws, scoops, and detail tools. Look for tools with comfortable, ergonomic handles for better grip and control. Sharp tools are crucial for clean cuts, minimizing the risk of your hand slipping. Dull tools require more force, increasing the risk of accidents. Remember, you're not just carving a pumpkin; you're creating a work of art, and the right tools are your brushstrokes. For more specific advice on tools, check out our guide on pumpkin carving safety for professionals.
Tool Type | Safety Feature |
|---|---|
Serrated Saw | Provides controlled cuts |
Detail Tools | Allow for precise carving |
Scoop | Easy and safe gutting |
Beyond the Basics: Enhancing Your Setup
Finally, don't underestimate the importance of a well-lit workspace with a comfortable surface. A cluttered or poorly lit area increases the risk of accidents. Ensure you have enough space to comfortably work around your pumpkin. A stable surface will also prevent your pumpkin from moving unexpectedly as you carve. Think about adding a non-slip mat beneath your workspace for extra stability. Proper planning can make a world of difference in both the quality of your carving and your safety. Need help carving for a specific event? Check out our pumpkin carving safety for Halloween guide.
Safe Carving Techniques for Detailed Designs
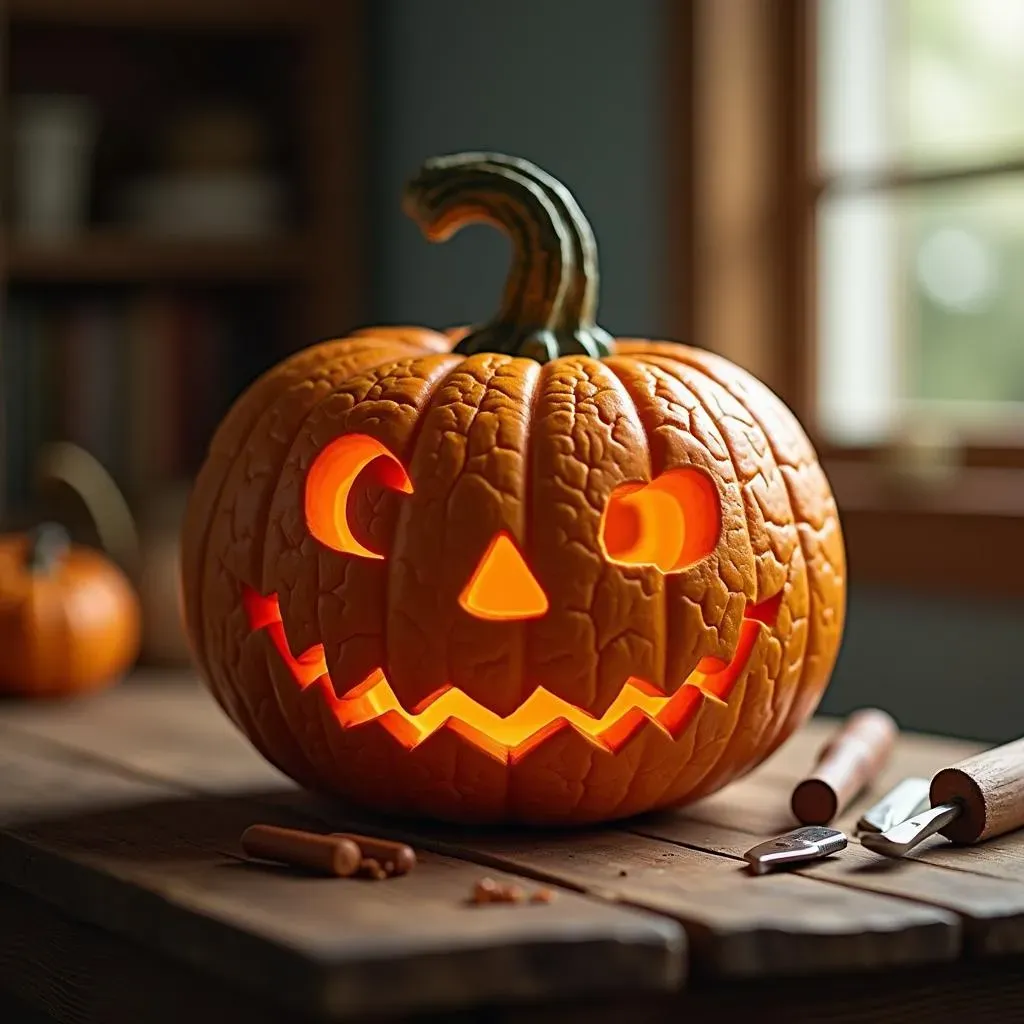
Safe Carving Techniques for Detailed Designs
Alright, let's talk technique! Intricate designs demand precision, and that means a different approach than simply scooping out a jack-o'-lantern face. Start by sketching your design directly onto the pumpkin. A light pencil works best; you can always adjust it as you go. Remember, it's a good idea to start with the larger sections of your design first, working your way toward the smaller, more intricate details. This prevents accidental damage to your hard work as you carve. For those really tiny details, use the smaller tools from your kit. Take your time; rushing is a recipe for disaster (and potentially, a trip to the emergency room!). For more detailed guidance on design, check out our guide on pumpkin carving safety for detailed designs.
- Sketch your design lightly.
- Carve larger sections first.
- Use appropriate tools for details.
- Take your time!
Next, always keep your non-dominant hand out of the way of your carving tool. Think of it like this: your dominant hand is the artist, and your non-dominant hand is the assistant. The assistant needs to stay out of the way while the artist is working. Use the top of the pumpkin to help stabilize it as you carve. This provides a firm base and minimizes the chance of the pumpkin moving unexpectedly. Short, controlled strokes are your best friend when it comes to intricate work. Avoid applying too much pressure; let the sharpness of the tool do the work. If you're finding yourself struggling, take a break! A tired hand is a dangerous hand. This is especially important for those complex designs. Need some inspiration? Check out our pumpkin carving safety for competition page.
Technique | Safety Benefit |
|---|---|
Sketching First | Reduces errors and improves precision. |
Stabilizing the Pumpkin | Minimizes movement and accidental cuts. |
Short Strokes | Increases control and reduces pressure. |
For those really detailed sections, consider using a smaller, more precise tool such as a detail knife or a specialized carving tool. These tools allow for more control and finer cuts, reducing the risk of slipping. Remember, patience is key. Intricate carving takes time, and it's better to take your time and create a safe, beautiful design than to rush and risk injury. Always keep a clean, damp cloth handy to wipe away pumpkin pulp and keep your tools clean. This improves visibility and reduces slipping. Remember, a clean workspace is a safe workspace. If you're working on a particularly difficult section, take a break and come back to it with fresh eyes. This will help you to avoid mistakes and injuries. For tips on carving for a specific audience, check our pumpkin carving safety for families guide.
Lighting, Workspace, and First Aid Essentials
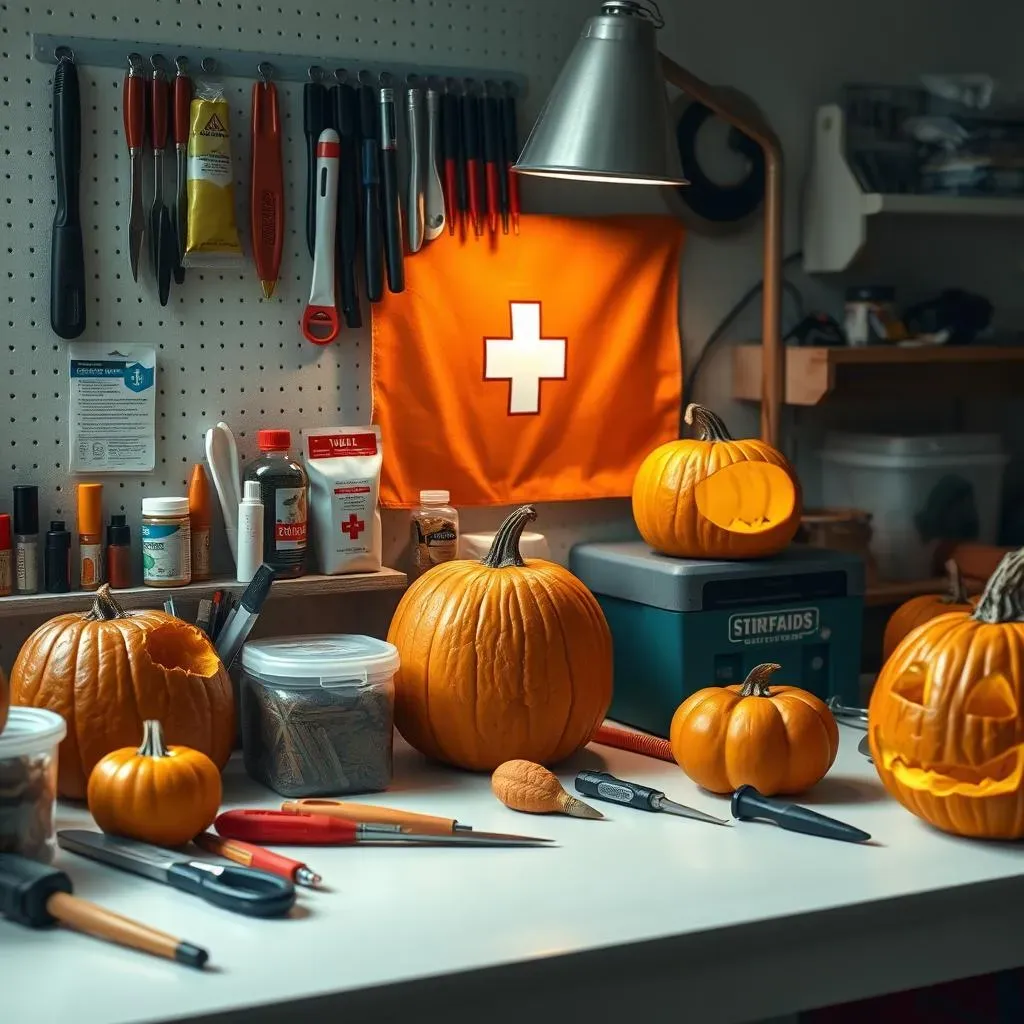
Lighting, Workspace, and First Aid Essentials
Let's face it, carving intricate pumpkin designs requires intense focus and precision. That means your workspace needs to be set up for success—and safety. First, lighting is key. You need bright, even lighting to see every detail of your design. Avoid shadows; they're sneaky little devils that can lead to accidental cuts. A good desk lamp, or even a couple of lamps, is a fantastic investment. Think of it as illuminating your masterpiece; the better the light, the better the carving. For more advice on carving for specific occasions, check out our tips on pumpkin carving safety for Halloween.
- Bright, even lighting
- Avoid shadows
- Use multiple light sources if needed
Next, your workspace needs to be clean, organized, and spacious enough to move around comfortably. A cluttered workspace is a recipe for disaster. Make sure you have enough room to work without bumping into things or accidentally knocking over your pumpkin. A sturdy, stable surface is essential; a wobbly table is a major safety hazard. Consider adding a non-slip mat to prevent your pumpkin from sliding around as you work. Keeping your tools organized and within easy reach will also help maintain a safe and efficient carving process. For those aiming for competition-level designs, see our pumpkin carving safety for competition guide.
Workspace Element | Safety Impact |
|---|---|
Good Lighting | Reduces risk of accidental cuts from poor visibility |
Organized Space | Minimizes tripping hazards and improves workflow |
Stable Surface | Prevents accidental pumpkin movement and tool slippage |
Finally, and critically, always have a basic first-aid kit within easy reach. Accidents happen, even to the most experienced carvers. A kit with antiseptic wipes, bandages, and some pain relief can quickly address minor cuts and scrapes. Knowing you're prepared can ease your mind and let you focus on the creative process. For more general pumpkin carving safety advice, see our pumpkin carving safety tips article.
Advanced Safety Tips for ProfessionalLevel Carving
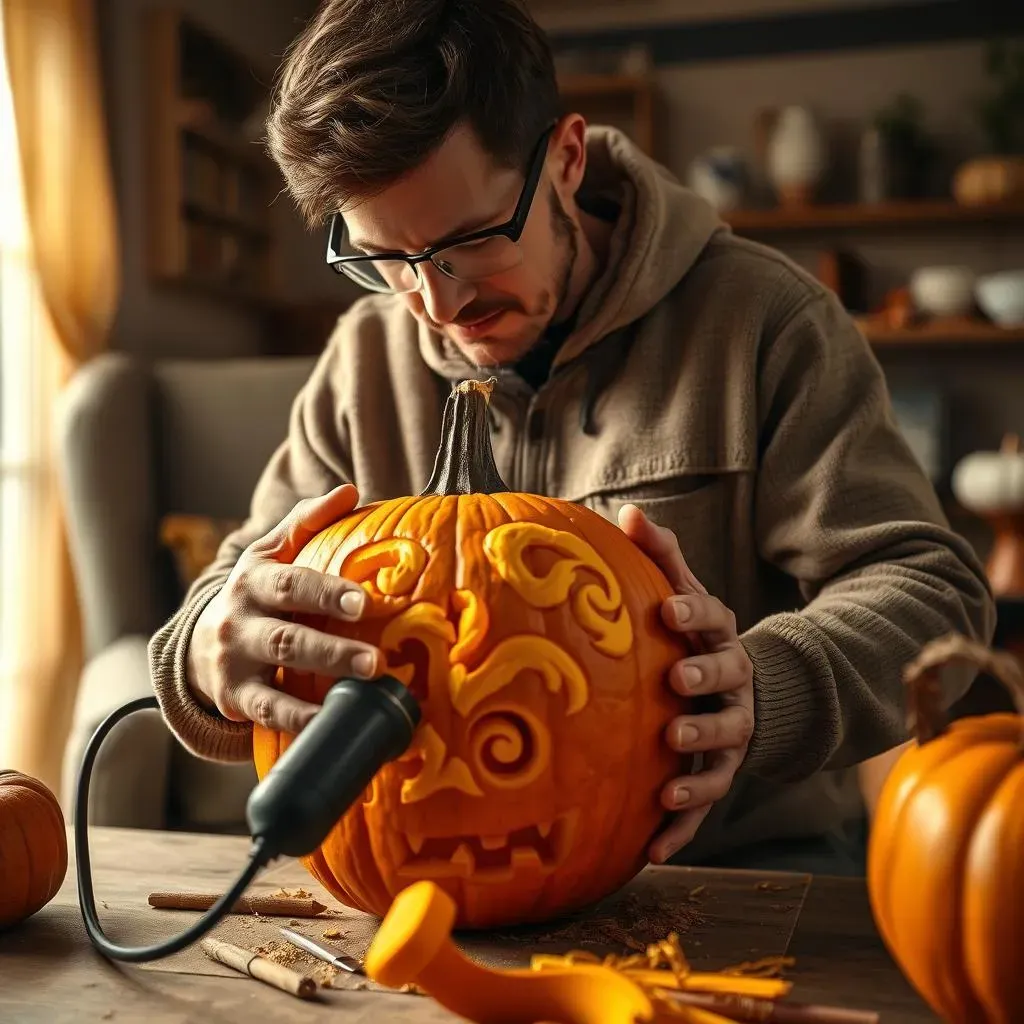
Advanced Safety Tips for ProfessionalLevel Carving
Advanced Tool Techniques
For professional-level carving, you'll likely be using more specialized tools and techniques. This requires even greater attention to safety. Think about using a rotary tool with different bits for finer details. However, rotary tools can be dangerous if not used properly. Always wear safety glasses to protect your eyes from flying debris. Practice using the tool on a scrap pumpkin first to get a feel for its speed and power. Control is key; gentle pressure and slow movements are essential to avoid accidents. Remember, precision isn't worth a trip to the emergency room! For more general safety tips, check out our guide on pumpkin carving safety for professionals.
- Wear safety glasses
- Practice on scrap pumpkins
- Use gentle pressure and slow movements
Ergonomics and Extended Carving Sessions
When you're tackling a truly ambitious design, you might find yourself carving for hours. This is where ergonomics become crucial. Make sure you have a comfortable, well-supported posture to prevent strain and fatigue. Take frequent breaks to rest your hands and eyes. Consider using a wrist rest to support your hands and reduce strain. Avoid hunching over your work; good posture will help prevent back pain and fatigue. Remember, a comfortable and safe carving session is a productive carving session. For advice on carving for specific events, see our guide on pumpkin carving safety for Halloween.
Ergonomic Factor | Safety Benefit |
|---|---|
Good Posture | Reduces back and neck strain |
Frequent Breaks | Prevents hand fatigue and reduces risk of errors |
Wrist Support | Minimizes wrist strain and discomfort |
Working with Complex Designs
Complex designs often involve very thin sections of pumpkin. These can be fragile and prone to breakage, increasing the risk of cuts. Use extra caution when working in these areas. Consider using a smaller, more precise tool for these delicate portions. Work slowly and deliberately, applying minimal pressure. If a section breaks unexpectedly, don't panic! Carefully remove any sharp fragments. For more tips on different aspects of pumpkin carving safety, check out our comprehensive guide on pumpkin carving safety tips.