Table of Contents
Halloween's just around the corner, and you've painstakingly carved your pumpkins into spooky masterpieces. But what's a jack-o'-lantern without the right lighting? This article is your ultimate guide to finding the perfect pumpkin carving lights for indoor display. We'll explore a range of options, from classic candles to modern LEDs, helping you choose the safest and most effective illumination for your creations. Safety is paramount, so we'll cover essential tips to prevent accidents and ensure your home remains a haven of Halloween fun, not a fire hazard. But it's not just about safety; we'll also dive into creative lighting ideas to truly showcase your carving skills and transform your home into a captivating Halloween wonderland. Get ready to illuminate your jack-o'-lanterns and create a truly unforgettable Halloween experience with the perfect pumpkin carving lights for indoor display!
Choosing the Right Pumpkin Carving Lights: LEDs, Candles, and More
Choosing the Right Pumpkin Carving Lights: LEDs, Candles, and More
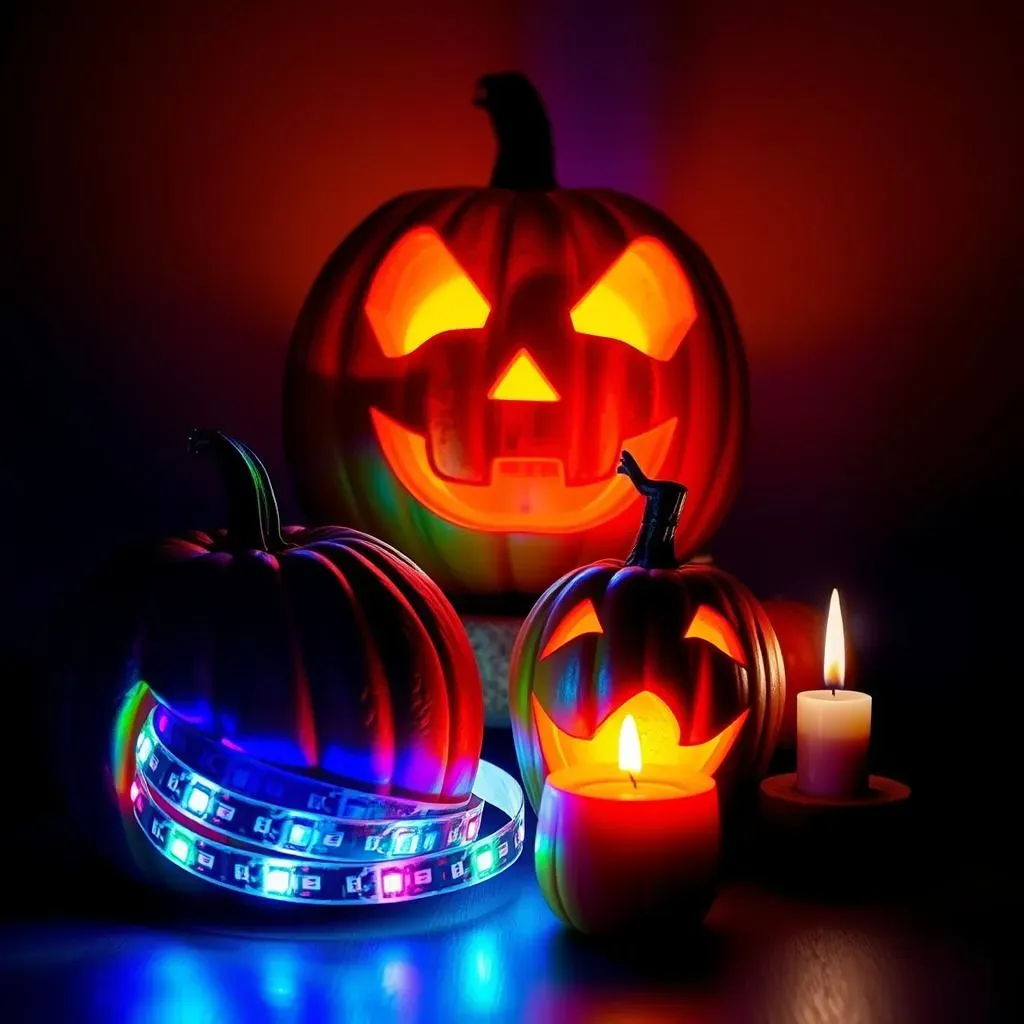
So, you're ready to light up those awesome pumpkin carvings? Fantastic! Let's talk light sources. The classic choice? Candles, of course! They create that warm, flickering glow that's so perfectly spooky. But, let's be real, candles and pumpkins are a fire hazard waiting to happen, especially indoors. For a safer bet, consider battery-operated LED tea lights. They’re super easy to use, come in tons of colors, and offer a much safer alternative. Want something a bit more dramatic? Check out LED strip lights; you can weave them through your carving for a really cool effect. For intricate designs, using small LED lights inside the pumpkin can make the details pop. If you're looking for something really unique, you could even try using fiber optic lights for a modern twist. Remember to always prioritize safety when choosing your lighting, especially when dealing with flammable materials like pumpkins. For more tips on carving techniques, check out our guide on pumpkin carving tools.
Light Source | Pros | Cons |
|---|---|---|
Candles | Classic look, warm glow | Fire hazard, short lifespan |
LED Tea Lights | Safe, various colors, long-lasting | Can be less bright than candles |
LED Strip Lights | Versatile, customizable lighting | May require more technical setup |
Thinking about the overall aesthetic of your display is key. Do you want a subtle glow, or something more intense? For a really spooky effect, consider using color-changing LED lights to create a dynamic and eerie atmosphere. Or, for a more traditional look, stick with warm white LEDs to mimic the look of candlelight. No matter what you choose, make sure the lights are appropriately sized for your pumpkins. Too many lights can overwhelm the carving, while too few might not provide enough illumination. And remember, the right tools make all the difference! If you're a pro carver, you'll love our selection of professional pumpkin carving kits.
- Consider the size and complexity of your carvings.
- Think about the overall mood you want to create.
- Don't be afraid to experiment with different lighting techniques.
Safety First: Tips for Using Pumpkin Lights Indoors
Safety First: Tips for Using Pumpkin Lights Indoors
Never Leave Lit Pumpkins Unattended
Okay, first things first: Never, ever leave a lit pumpkin unattended. Seriously. Even with LED lights, things can happen. A curious pet could knock it over, or a stray piece of fabric could catch fire. Think of it like this: you wouldn't leave a candle burning unattended, right? Same deal with your pumpkin lights. Always supervise lit pumpkins, especially if you have kids or pets around. For extra safety, consider using battery-operated lights. They eliminate the fire risk entirely. And if you're working with particularly detailed designs, you might find our selection of detailed carving templates helpful.
- Never leave lit pumpkins unattended.
- Supervise children and pets around lit pumpkins.
- Opt for battery-operated lights for added safety.
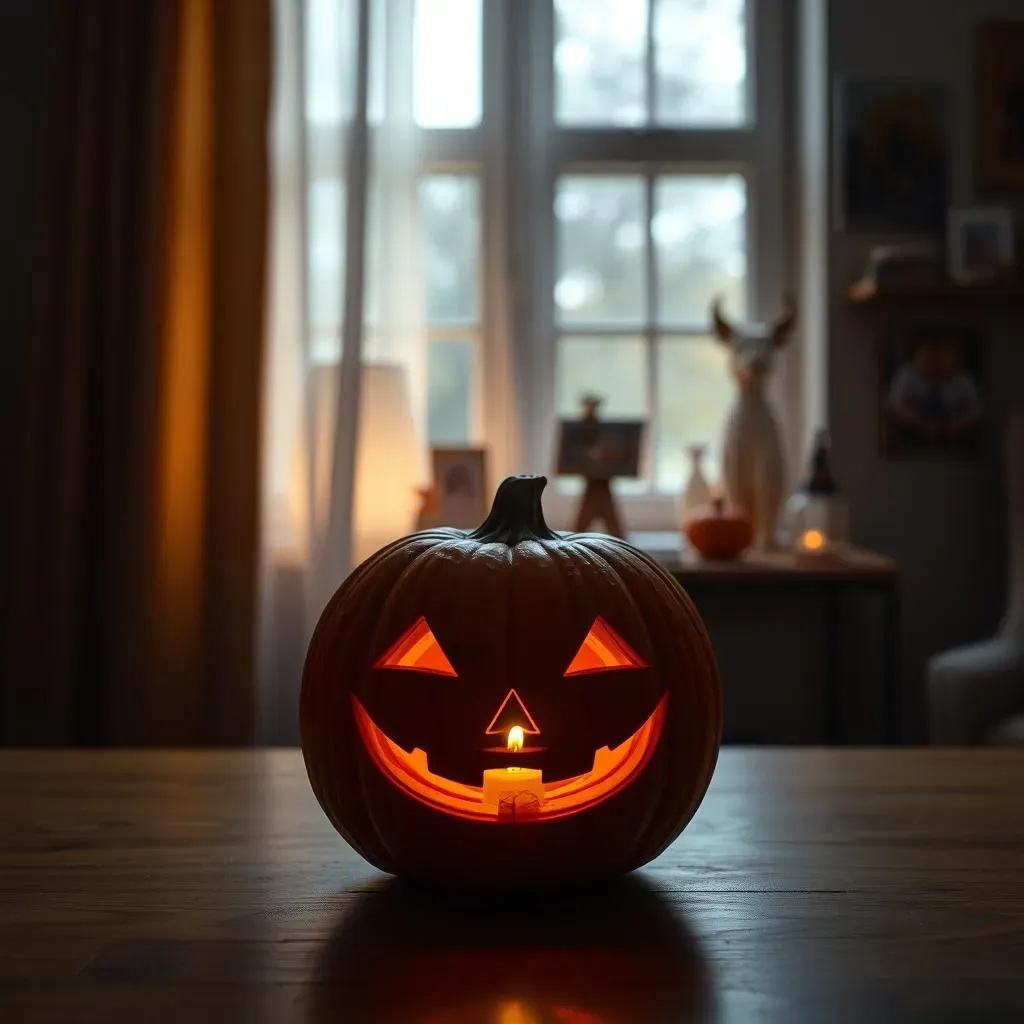
Placement is Key: Avoid Flammable Materials
Where you place your pumpkin is just as important as what kind of light you use. Keep your lit pumpkins away from anything flammable— curtains, furniture, stacks of papers, you get the idea. Give those glowing gourds plenty of space to breathe. A good rule of thumb is to keep them at least a foot away from anything that could catch fire. And speaking of space, if you're planning a large-scale pumpkin display, you might want to check out our tips on pumpkin carving lights for display. It's all about creating a safe and spectacular Halloween scene!
Location | Safety Considerations |
|---|---|
Near curtains | High fire risk; keep pumpkins far away. |
On furniture | Ensure stability; use a stable surface. |
Near flammable decorations | Maintain a safe distance to prevent fire hazards. |
Power Down Before Bed: A Simple Safety Habit
This one's a no-brainer, but it's worth repeating: Always turn off your pumpkin lights before you go to bed. Even LED lights can overheat if left on for extended periods. It’s a simple habit that can prevent a potential disaster. Before you know it, turning off those lights will become second nature. And while you're at it, why not check out our range of beginner-friendly pumpkin carving kits? They're perfect for creating safe and fun Halloween decorations for the whole family.
"Safety isn't a maybe, it's a must!" - Anonymous Pumpkin Enthusiast
Creative Lighting Ideas to Enhance Your Pumpkin Carvings
Creative Lighting Ideas to Enhance Your Pumpkin Carvings
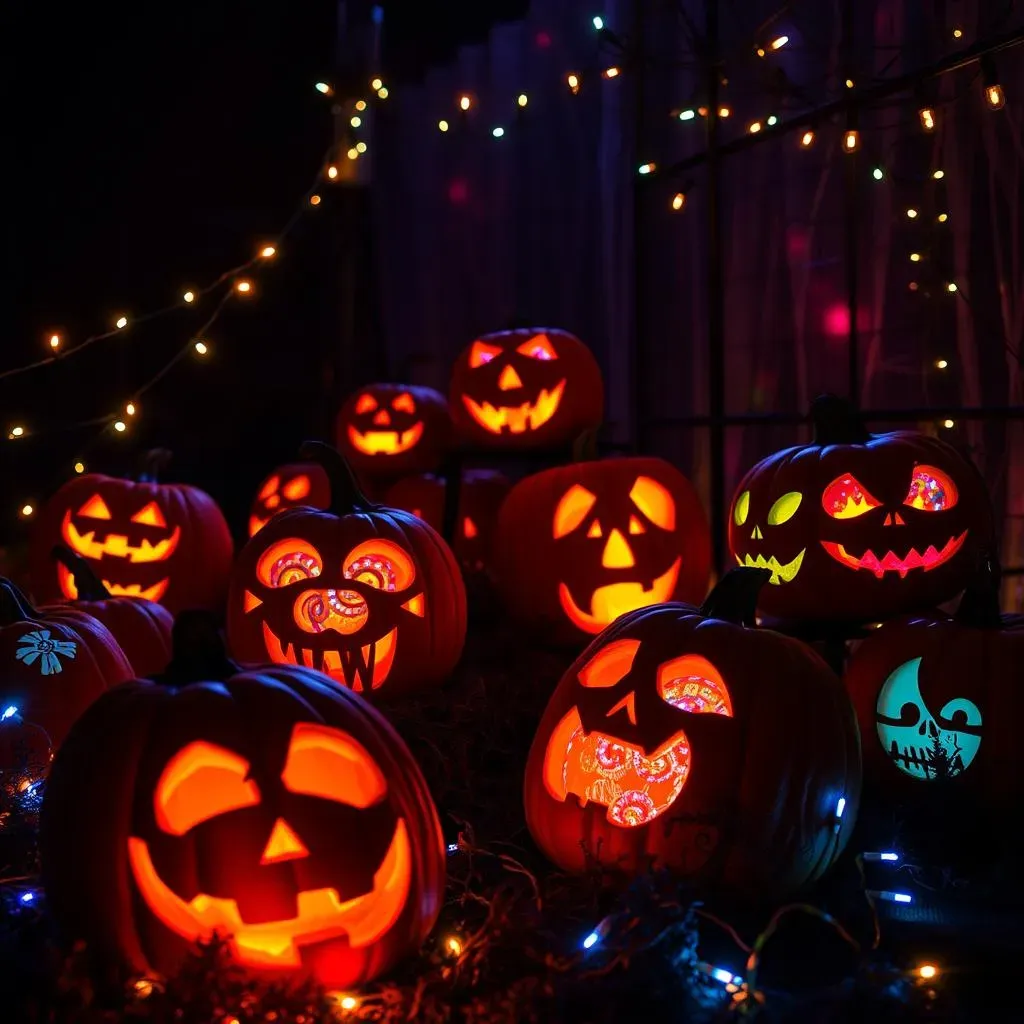
Let's get creative! Think beyond just plopping a light inside. For a dramatic effect, try using colored gels over your light source. Red or green gels create a spooky atmosphere, while blue or purple create a more mysterious vibe. You can find these at most craft stores. Want to add some extra flair? Consider projecting images or patterns onto your pumpkins using a small projector. Think spooky silhouettes, swirling patterns, or even a classic haunted house scene! This adds another layer of visual interest to your display. For more advanced carving techniques, you might find our guide on pumpkin carving templates helpful.
- Use colored gels to change the mood.
- Project images or patterns onto your pumpkins.
- Experiment with different light placements for unique effects.
For a truly immersive experience, consider incorporating your pumpkin carvings into a larger Halloween display. Think strings of fairy lights woven among the pumpkins, or strategically placed spotlights to highlight key features of your carvings. You could even create a spooky pathway leading to your pumpkin display using battery-operated candles or pathway lights. Remember, the more creative you get with your lighting, the more impressive your display will be! And for those who love intricate details, we've got some amazing complex carving stencils to inspire you.
Lighting Technique | Effect | Materials Needed |
|---|---|---|
Colored Gels | Changes the color and mood of the light. | Colored cellophane or gels, light source. |
Projector | Projects images or patterns onto the pumpkin. | Small projector, image or pattern. |
Fairy Lights | Adds a whimsical touch to the display. | String of fairy lights. |