Table of Contents
Halloween is coming, and let's be honest, staring at a blank pumpkin can feel a bit daunting. You want something cool, maybe a little spooky, but you don't exactly have a fine art degree or a week to spend scraping gourd guts. A howling wolf? Sounds impressive, right? Like something only the pros can pull off with those fancy toolkits.
Finding Simple Pumpkin Carving Ideas: Wolf Edition
Finding Simple Pumpkin Carving Ideas: Wolf Edition
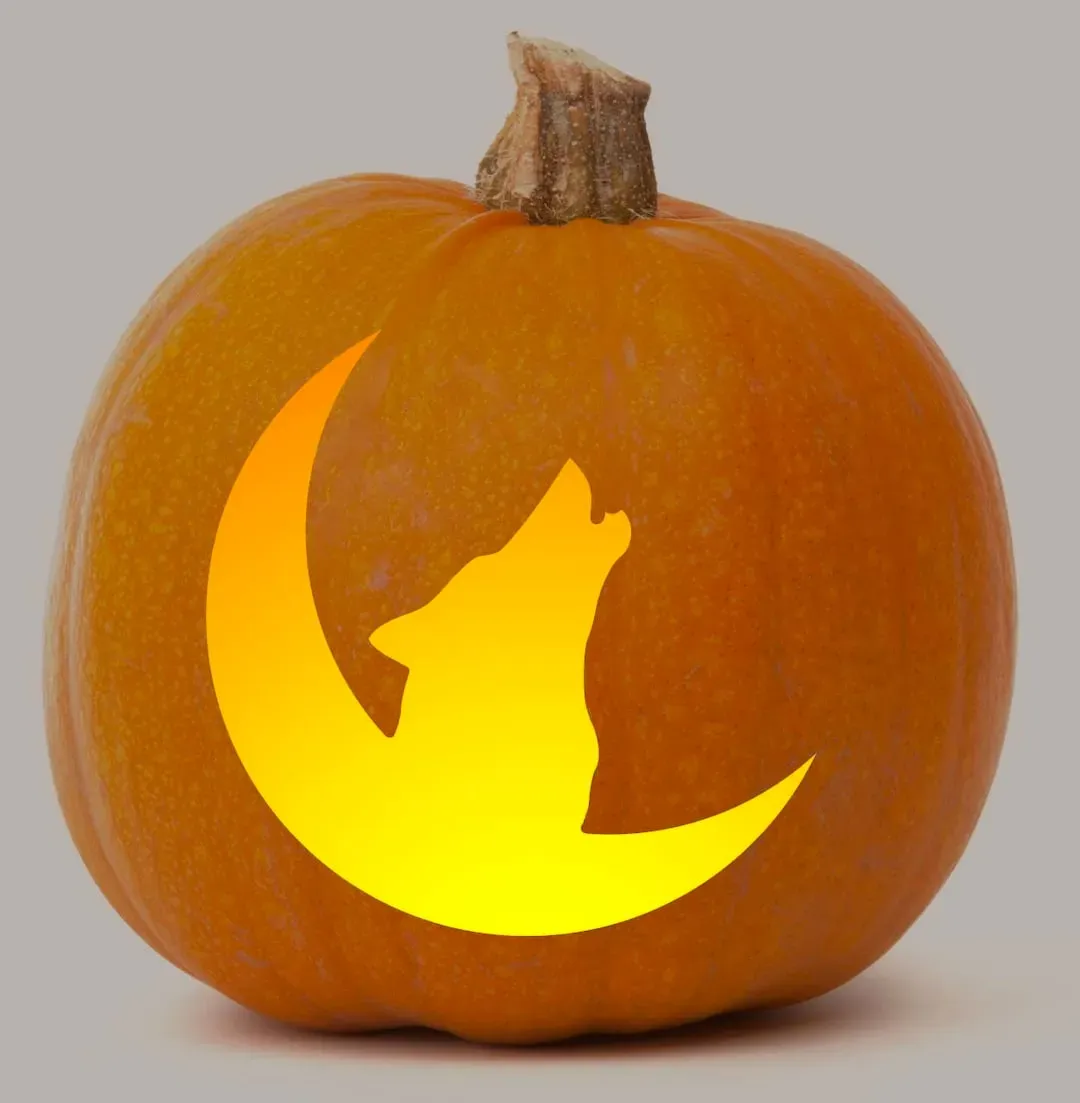
so you've decided a wolf is the way to go for your Halloween pumpkin this year. Excellent choice – they look fierce but can be surprisingly simple to carve. The key to finding genuinely pumpkin carving ideas wolf easy is to look for designs that rely on bold shapes and negative space rather than tiny details or intricate lines. Think silhouettes, howling profiles, or maybe just the distinct shape of a wolf head. You aren't aiming for a photo-realistic portrait; you're going for impact that reads well in low light with a candle flickering inside. Plenty of free stencils online offer exactly this kind of simplified aesthetic, designed specifically for carving rather than drawing.
Getting Started: Tools for Easy Wolf Pumpkin Carving
Getting Started: Tools for Easy Wolf Pumpkin Carving
The Bare Essentials for Your Wolf Project
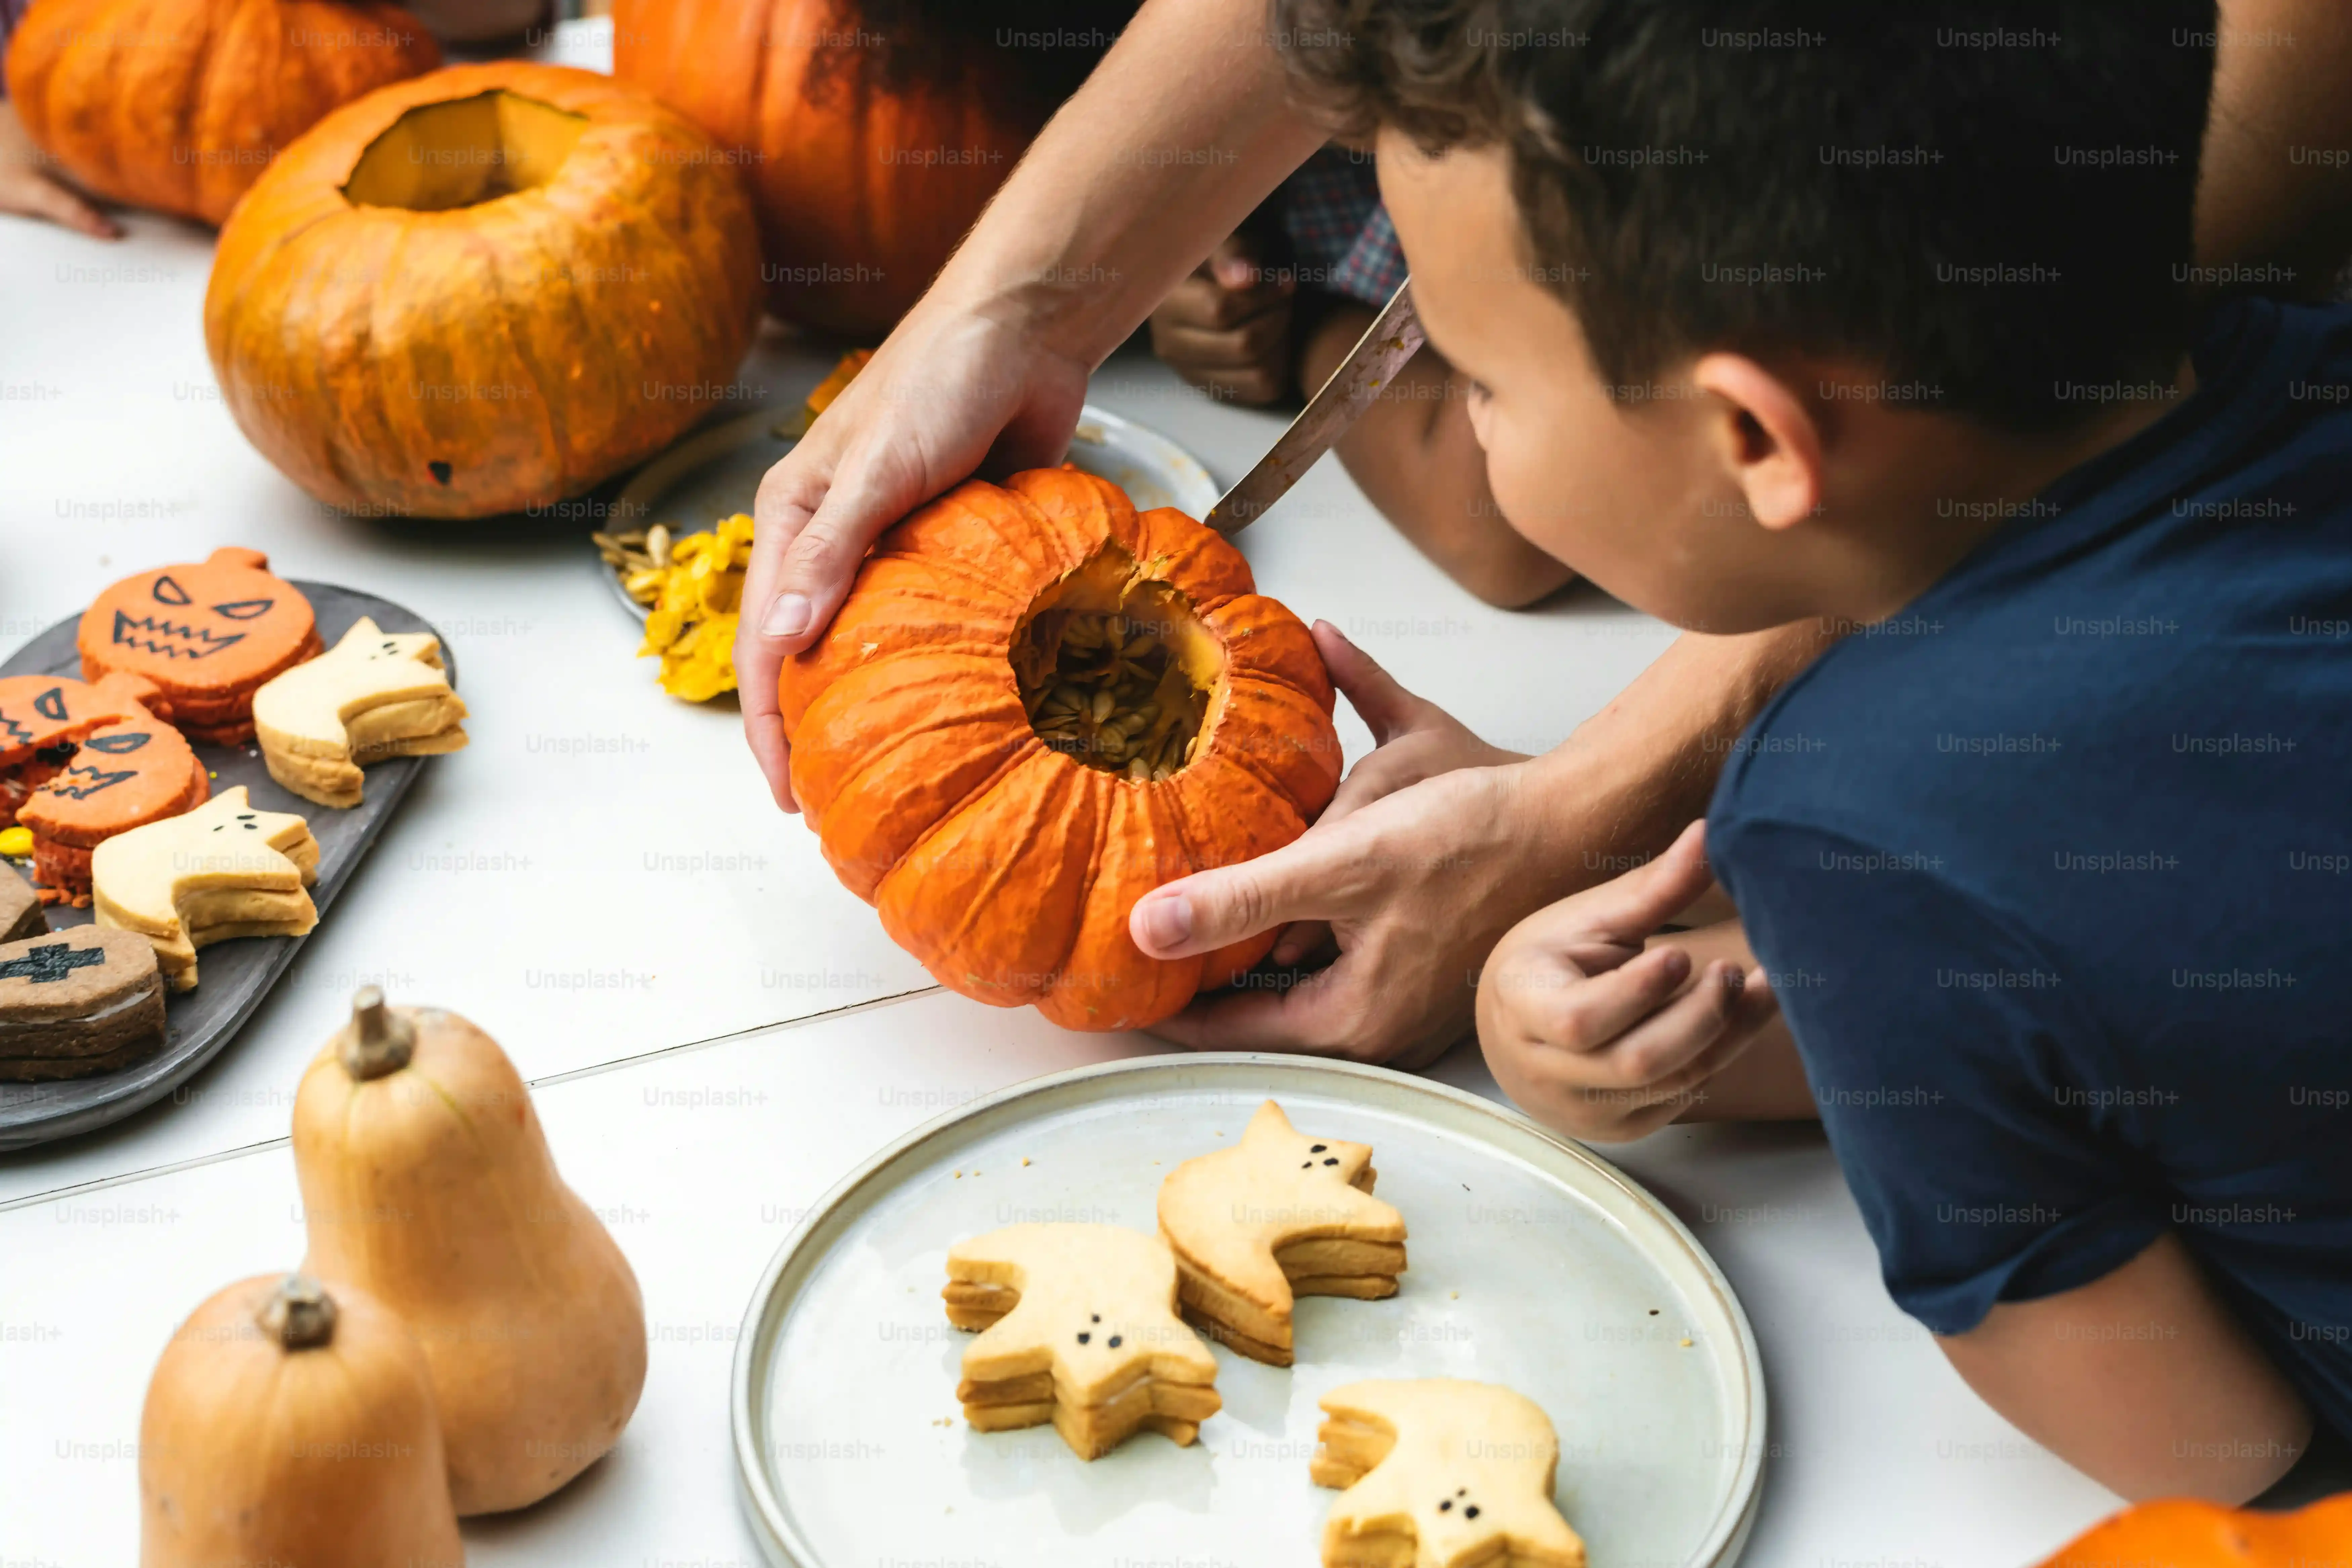
so you've got your big, round canvas ready for your easy wolf design. Now, let's talk gear. You don't need a full surgical kit or some specialized pumpkin drill (though those exist, bless their hearts). For genuinely simple wolf carving, you really only need a few key items. First up, a sturdy, sharp knife for cutting off the lid. Safety first, folks – a dull knife is way more dangerous than a sharp one because you have to force it. Next, you need something to scoop out the guts. A large spoon works fine, but a dedicated pumpkin scoop with a serrated edge makes quicker work of the stringy mess. Finally, for the actual carving, a small, serrated carving tool or even a craft knife with a sharp blade is perfect for following those bold lines of your wolf stencil.
Adding a Few Helpers for Smoother Sailing
While the basics will get the job done, a couple of extra tools can make your easy wolf pumpkin carving experience even smoother. A poking tool, often included in those cheap carving kits, is incredibly useful for transferring your stencil design onto the pumpkin's surface by making small holes along the lines. This gives you a dotted guide to follow. Another handy item is a small saw-like tool; it gives you more control when making cuts, especially around curves or corners, compared to a straight knife. And don't forget a light source – a simple LED candle is much safer than a real flame, especially if kids or pets are around your finished wolf masterpiece.
- Sturdy knife for the lid (sharp!)
- Pumpkin scoop or large spoon
- Small serrated carving tool or craft knife
- Poking tool for transferring the design
- Small carving saw (optional, but helpful)
- LED candle (for lighting)
StepbyStep: Carving Your Easy Wolf Pumpkin Design
StepbyStep: Carving Your Easy Wolf Pumpkin Design
Transferring the Howl and Making the First Cuts
Alright, pattern chosen, pumpkin prepped, tools laid out. Time for the main event of your pumpkin carving ideas wolf easy project: getting that design onto the gourd and starting the cuts. Tape your printed wolf stencil securely onto the smoothest part of your pumpkin. Make sure it's flat and not wrinkling, especially around the edges of the design. Now, grab your poking tool. Follow the lines of the blacked-out areas on your stencil, poking small, close-together holes through the paper and into the pumpkin skin. Think of it like connecting the dots, but you're the one making the dots. Once you've outlined the entire wolf design this way, you can carefully peel off the paper stencil. You should now have a dotted outline of your wolf on the pumpkin.
Cutting Through the Night (and the Pumpkin Rind)
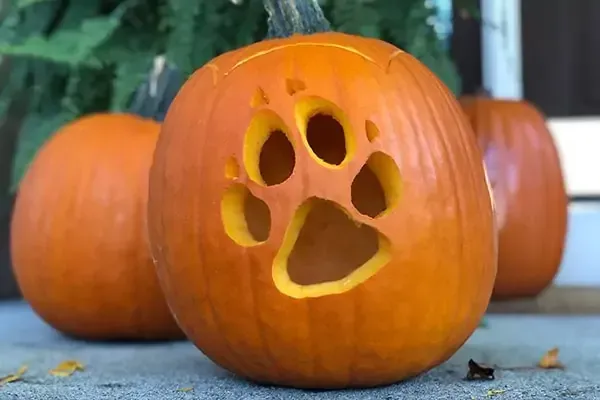
With your dotted guide in place, it's time to pick up your small carving tool or craft knife. Start in the center of your design and work your way outwards. Why the center? Because removing the inner pieces first helps maintain the pumpkin's structure as you carve the more delicate outer parts. Follow the dotted lines you created, using a gentle back-and-forth sawing motion rather than trying to push straight through. Take your time, especially around curves. If a piece doesn't pop out easily, don't force it; go back over the cutting lines. Once all the pieces are cut and removed, use a damp cloth or paper towel to wipe away any leftover pumpkin bits or marker lines from the skin. Your easy wolf design should now be clearly visible, ready for its close-up.
- Tape the stencil flat onto the pumpkin.
- Poke holes along the stencil lines to transfer the design.
- Carefully remove the paper stencil.
- Begin carving in the center of the design.
- Use a sawing motion, following the dotted lines.
- Wipe the pumpkin clean after carving.
Beyond the Carve: Displaying Your Wolf Pumpkin Masterpiece
Beyond the Carve: Displaying Your Wolf Pumpkin Masterpiece
you've successfully navigated the guts and rind, and your easy wolf pumpkin carving is complete. Now, don't just plop it on the porch and call it a day. How you display this howling creation makes a big difference. The goal is to make that wolf pop, especially as darkness falls. An LED candle is your best friend here – it provides consistent light without the fire hazard. Place it carefully inside, ensuring the light shines through the carved areas. Consider the backdrop; placing it against a dark surface or in front of some spooky decorations can enhance the silhouette and add atmosphere. Think about height too; sometimes elevating the pumpkin slightly on a sturdy stand or bale of hay makes it more visible and impressive to trick-or-treaters.
Your Howling Success Awaits
So there you have it. Carving a wolf doesn't have to be an all-night saga ending in frustration. By focusing on simplified shapes and smart techniques, you can achieve a genuinely cool, slightly spooky effect that's miles beyond the standard triangle-eyed grin. You've got the tools, the steps, and the green light to make some noise with your Halloween display. Now go forth, carve that easy wolf, and maybe don't leave it where the neighbor's dog can mistake it for a rival.