Table of Contents
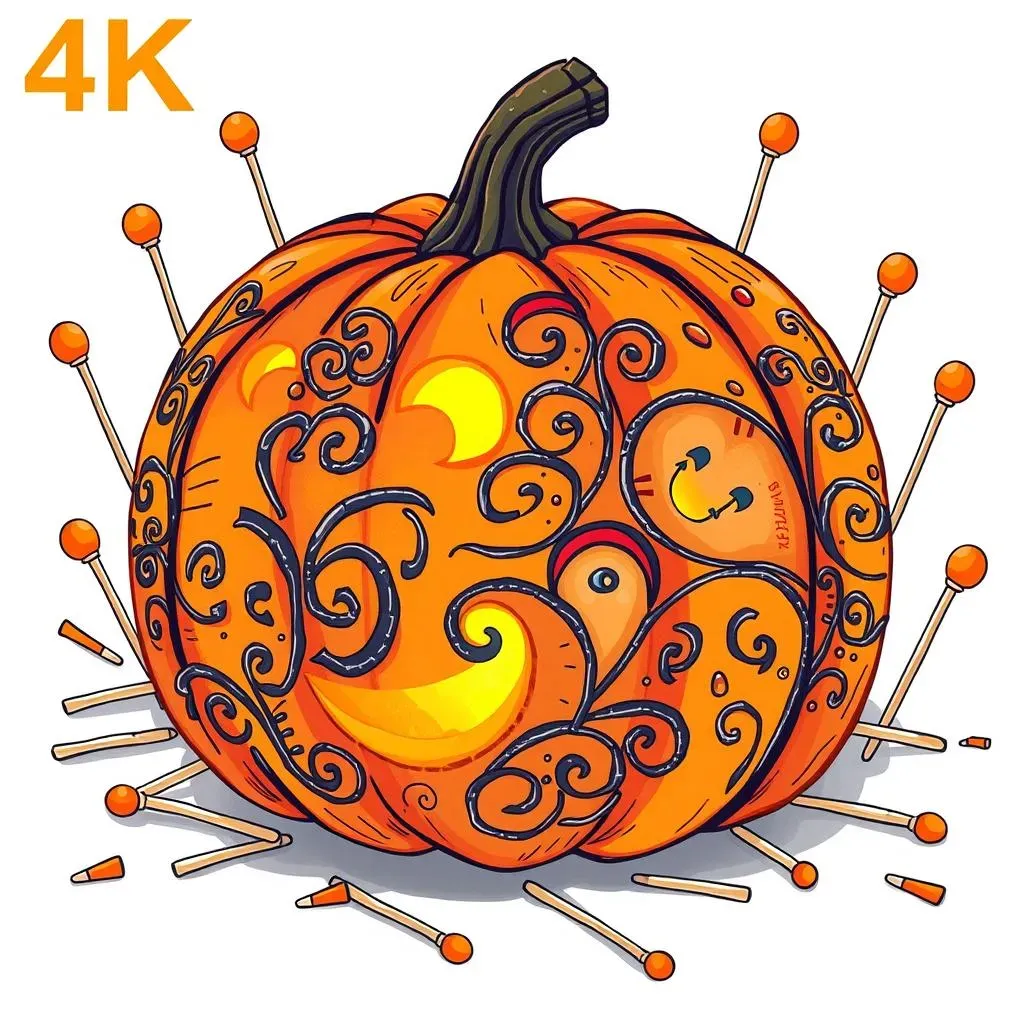
Halloween is creeping closer, and what better way to celebrate than with a creatively carved pumpkin? Forget the basic triangle eyes and toothy grin; this year, let's elevate our jack-o'-lantern game with some seriously cool pumpkin carving ideas with toothpicks. Yes, you heard that right – toothpicks! These humble little sticks are the secret weapon to unlocking intricate designs and adding a touch of unexpected flair to your spooky season decor.
Why Toothpicks are a Pumpkin Carver's Best Friend
Why Toothpicks are a Pumpkin Carver's Best Friend
so you might be thinking, "Toothpicks? Really?" But trust me on this one. Toothpicks are a game-changer when it comes to pumpkin carving. They're not just for holding sandwiches together anymore! Think of them as your pumpkin's tiny, but mighty, construction crew. They allow you to add details and dimensions that would be impossible with just a knife. Want to give your jack-o'-lantern a menacing set of pointy teeth? Toothpicks. Need to attach small, delicate pieces that would otherwise break off? Toothpicks. They're the unsung heroes of the pumpkin carving world, offering support, precision, and a whole lot of creative freedom.
What's so great about toothpicks? For starters, they're incredibly versatile. You can use them to create textures, patterns, and even entire structures on your pumpkin. They're also super cheap and readily available – you probably already have a box in your kitchen drawer! And unlike carving knives, they're relatively safe to use, especially when kids are involved. Plus, they open up a whole new world of design possibilities. Forget about simple shapes; with toothpicks, you can create intricate portraits, spooky scenes, and even 3D sculptures right on your pumpkin's surface.
Consider the flexibility they offer. Ever tried carving a thin, spindly spider leg with a knife? Good luck! But with toothpicks, you can easily create those delicate details and attach them securely to the pumpkin. Or imagine crafting a crown of thorns for a zombie pumpkin – toothpicks make it a breeze. They're also perfect for adding small accents like scars, warts, or even tiny pumpkins on a larger pumpkin. The possibilities are truly endless. So, before you reach for that carving kit, grab a box of toothpicks and prepare to be amazed at what you can create.
Also, toothpicks are fantastic for those who are less confident with a knife. It's easier to control a toothpick and place it accurately than it is to maneuver a large carving knife. This makes it a great way to get kids involved in the carving process, too. They can help with adding the toothpick details while you handle the sharper tools. Essentially, toothpicks transform pumpkin carving from a potentially hazardous chore into a fun, collaborative, and creative activity for the whole family. What's not to love?
Easy Pumpkin Carving Ideas Using Toothpicks for Beginners
Easy Pumpkin Carving Ideas Using Toothpicks for Beginners
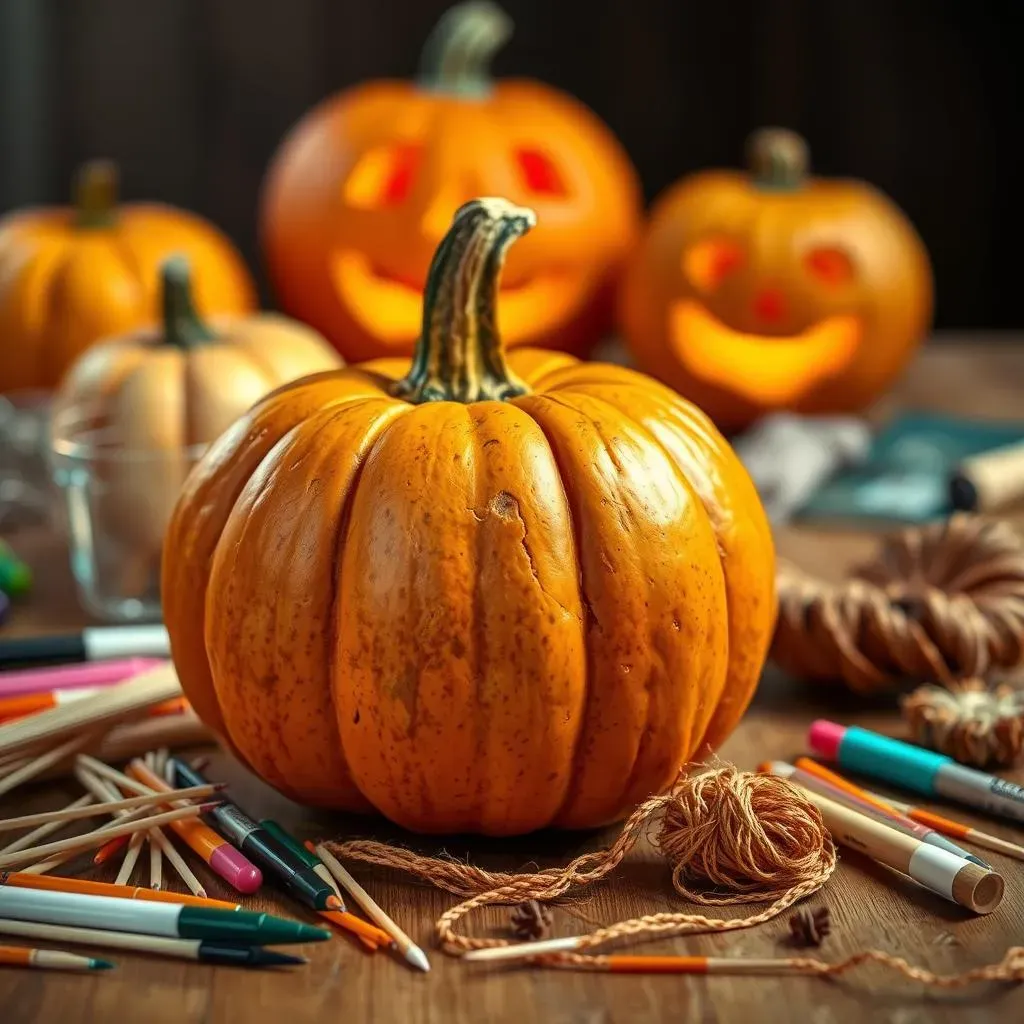
Alright, so you're ready to ditch the complicated stencils and embrace the toothpick revolution? Awesome! Let's start with some easy pumpkin carving ideas using toothpicks for beginners that are both fun and visually impressive. The key here is simplicity. We're not aiming for intricate masterpieces just yet; instead, we're focusing on designs that are easy to execute and deliver maximum impact with minimal effort. Think basic shapes, repetitive patterns, and playful details that even the most novice carver can achieve. Remember, the goal is to have fun and create something you're proud of, so don't be afraid to experiment and let your creativity shine!
One of the easiest and most effective techniques is to use toothpicks to create a simple dotted pattern. Start by drawing your desired shape onto the pumpkin – a star, a heart, a ghost – whatever floats your boat. Then, simply poke toothpicks along the lines of your drawing, spacing them evenly apart. For a bolder look, you can even insert the toothpicks at varying depths to create a 3D effect. This technique is perfect for adding a touch of whimsy to your pumpkin without requiring any actual carving. Or, you can try using toothpicks to create a simple spiderweb design. Start by inserting toothpicks in a circle around the pumpkin's stem. Then, connect the toothpicks with string or yarn to create the web. Add a plastic spider for an extra spooky touch!
Another great idea for beginners is to use toothpicks to create a textured surface. Simply insert toothpicks randomly across the pumpkin's surface, varying the depth and angle to create a unique and eye-catching design. You can even paint the toothpicks beforehand for a pop of color. This technique is perfect for creating a spooky monster texture or a whimsical polka-dot pattern. If you're feeling a bit more adventurous, you can try using toothpicks to attach small, pre-cut shapes to your pumpkin. Craft stores are full of inexpensive wooden or foam shapes that can easily be attached with toothpicks. Think bats, stars, moons, or even letters to spell out a spooky message.
Design Idea | Difficulty | Materials |
|---|---|---|
Dotted Pattern | Easy | Toothpicks, marker |
Spiderweb | Easy | Toothpicks, string |
Textured Surface | Easy | Toothpicks, (optional) paint |
These are just a few starting points, of course. The real fun comes in experimenting and discovering your own unique toothpick techniques. Don't be afraid to get creative and try new things. Remember, there are no rules in pumpkin carving – just have fun and let your imagination run wild!
Advanced Pumpkin Carving Techniques with Toothpicks: Intricate Designs

Advanced Pumpkin Carving Techniques with Toothpicks: Intricate Designs
Level Up Your Pumpkin Game
Ready to move beyond the basics and create a pumpkin that will truly wow the neighborhood? Then it's time to explore advanced pumpkin carving techniques with toothpicks. This is where things get really exciting, as we'll be using toothpicks to create intricate designs, add depth and dimension, and even build entire structures on our pumpkins. This isn't your grandma's jack-o'-lantern; this is pumpkin art at its finest!
The key to advanced toothpick carving is patience, precision, and a willingness to experiment. Don't be afraid to try new things and push the boundaries of what's possible. Start by sketching out your design on paper, paying close attention to the details. Think about how you can use toothpicks to create different textures, patterns, and shapes. Consider using different sizes and colors of toothpicks to add visual interest. And most importantly, don't be afraid to make mistakes – that's how you learn!
Creating Depth and Dimension
One of the most effective ways to elevate your pumpkin carving is to use toothpicks to create depth and dimension. This can be achieved by inserting toothpicks at varying depths and angles, creating a sense of perspective and realism. For example, if you're carving a portrait, you can use toothpicks to create the contours of the face, adding shadows and highlights to bring the character to life. Or, if you're carving a landscape, you can use toothpicks to create the rolling hills and towering mountains, adding depth and perspective to the scene.
Another technique for creating depth is to use toothpicks to attach small, pre-carved pieces to the pumpkin. This allows you to create 3D elements that pop off the surface of the pumpkin, adding a whole new level of visual interest. For example, you could carve small bats or spiders and attach them to the pumpkin with toothpicks, creating a spooky scene that seems to come alive. Or, you could carve small pumpkins and attach them to a larger pumpkin, creating a whimsical and playful design.
Technique | Description | Effect |
|---|---|---|
Varying Toothpick Depth | Insert toothpicks at different depths and angles. | Creates shadows, highlights, and contours. |
Attaching Pre-Carved Pieces | Carve small shapes and attach them with toothpicks. | Adds 3D elements that pop off the surface. |
Pumpkin Carving with Toothpicks: Safety Tips and Tricks
Pumpkin Carving with Toothpicks: Safety Tips and Tricks
Creating a Safe Carving Environment
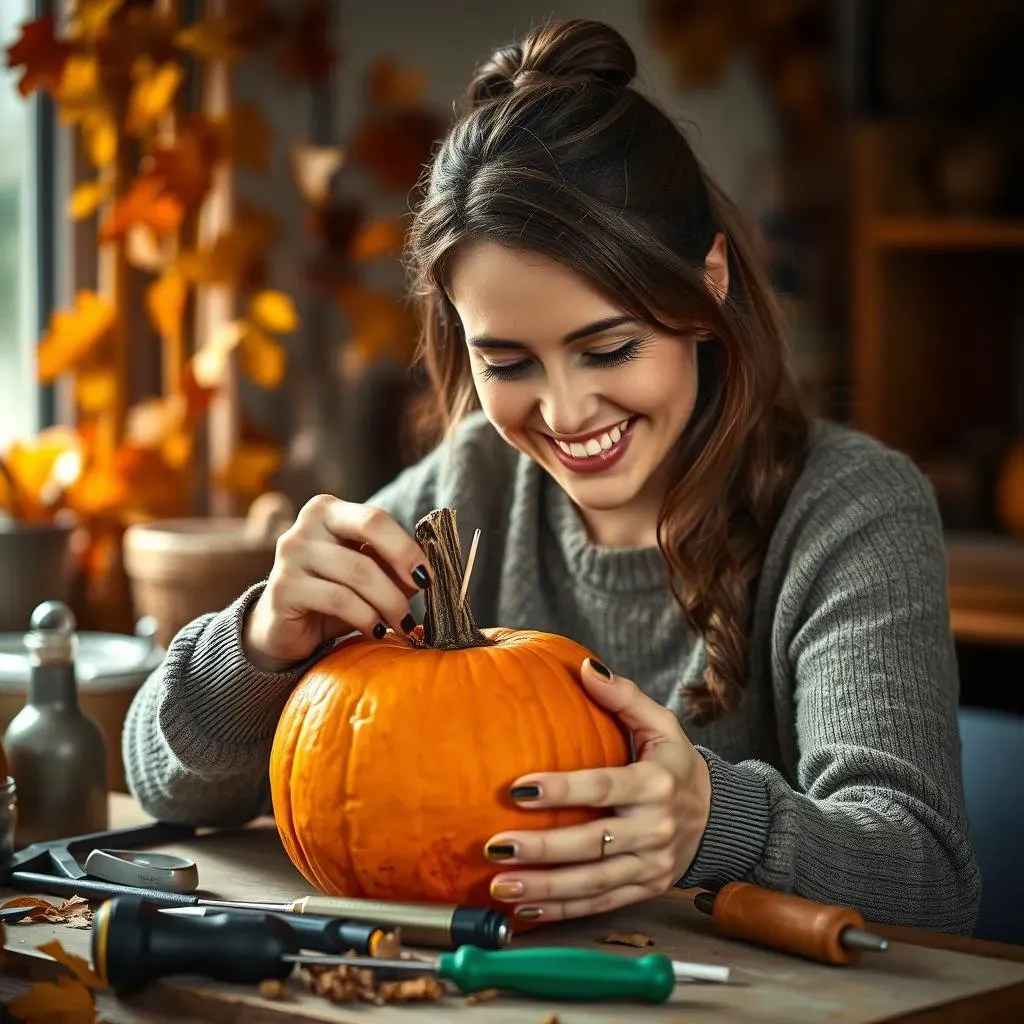
so you're armed with toothpicks and ready to unleash your inner artist? Awesome! But before you dive in headfirst, let's talk safety. Pumpkin carving with toothpicks: safety tips and tricks are crucial, especially if you're involving kids or are new to the craft. A few precautions can prevent accidental pokes and ensure a fun, injury-free carving experience. First things first: set up a well-lit and clutter-free workspace. You don't want to be fumbling around in the dark or tripping over stray pumpkins! Make sure you have plenty of room to move around and that all your tools are within easy reach. A stable table is a must – wobbly surfaces are a recipe for disaster. And speaking of tools, let's talk about the essentials.
While toothpicks are relatively safe, it's still important to handle them with care. Keep them in a container when not in use to prevent them from rolling around and becoming a hazard. When inserting toothpicks into the pumpkin, use a firm, steady motion and avoid applying too much pressure. If a toothpick breaks, carefully remove it with tweezers or pliers to prevent splinters. And of course, always supervise children closely when they're using toothpicks. Set clear boundaries and teach them how to handle the toothpicks safely. Remember, a little bit of caution goes a long way in preventing accidents.
Essential Tools and Protective Gear
Beyond toothpicks, there are a few other tools that can make your carving experience safer and more enjoyable. A good quality pumpkin carving knife is essential for cutting the initial opening and removing the pulp. Look for a knife with a comfortable grip and a sharp blade. Dull knives are actually more dangerous because they require more force to use, increasing the risk of slipping. A scoop or scraper is also helpful for removing the pumpkin guts – trust me, you don't want to use your hands for this! And finally, consider wearing gloves to protect your hands from the sticky pumpkin pulp and any potential cuts or scrapes.
Eye protection is also a good idea, especially if you're using power tools or carving intricate designs. Safety glasses or goggles will shield your eyes from flying pumpkin bits and prevent any accidental injuries. And speaking of power tools, if you're planning on using a drill or rotary tool to create detailed patterns, be sure to follow the manufacturer's instructions carefully and wear appropriate safety gear. Power tools can be a great way to speed up the carving process, but they can also be dangerous if not used properly. Remember, safety is always the top priority, so take your time, be careful, and don't be afraid to ask for help if you need it.
Tool | Purpose | Safety Tip |
|---|---|---|
Carving Knife | Cutting openings and removing pulp | Use a sharp knife with a comfortable grip. |
Scoop/Scraper | Removing pumpkin guts | Avoid using your hands. |
Gloves | Protecting hands | Prevent cuts and scrapes. |
Safety Glasses | Protecting eyes | Shield eyes from flying debris. |
Safe Toothpick Handling and Disposal
Now, let's focus specifically on toothpick safety. As we've already discussed, toothpicks can be a bit pokey, so it's important to handle them with care. Never point toothpicks at yourself or others, and always be aware of your surroundings. When inserting toothpicks into the pumpkin, use a controlled motion and avoid applying excessive force. If a toothpick breaks, carefully remove it with tweezers or pliers to prevent splinters. And if you accidentally poke yourself with a toothpick, clean the area thoroughly with soap and water to prevent infection.
Proper disposal of toothpicks is also essential for safety. Never leave used toothpicks lying around, as they can be a hazard to pets and small children. Instead, dispose of them in a designated container, such as a trash can or a sharps container. If you're using colored toothpicks, be sure to check the manufacturer's instructions for proper disposal. Some colored toothpicks may contain chemicals that require special handling. And finally, always wash your hands thoroughly after handling toothpicks and pumpkins to remove any dirt or bacteria. By following these simple safety tips, you can ensure a fun and injury-free pumpkin carving experience for everyone involved.
Showcase: Amazing Pumpkin Carving Ideas with Toothpick Details
Showcase: Amazing Pumpkin Carving Ideas with Toothpick Details
Spooky Spider City
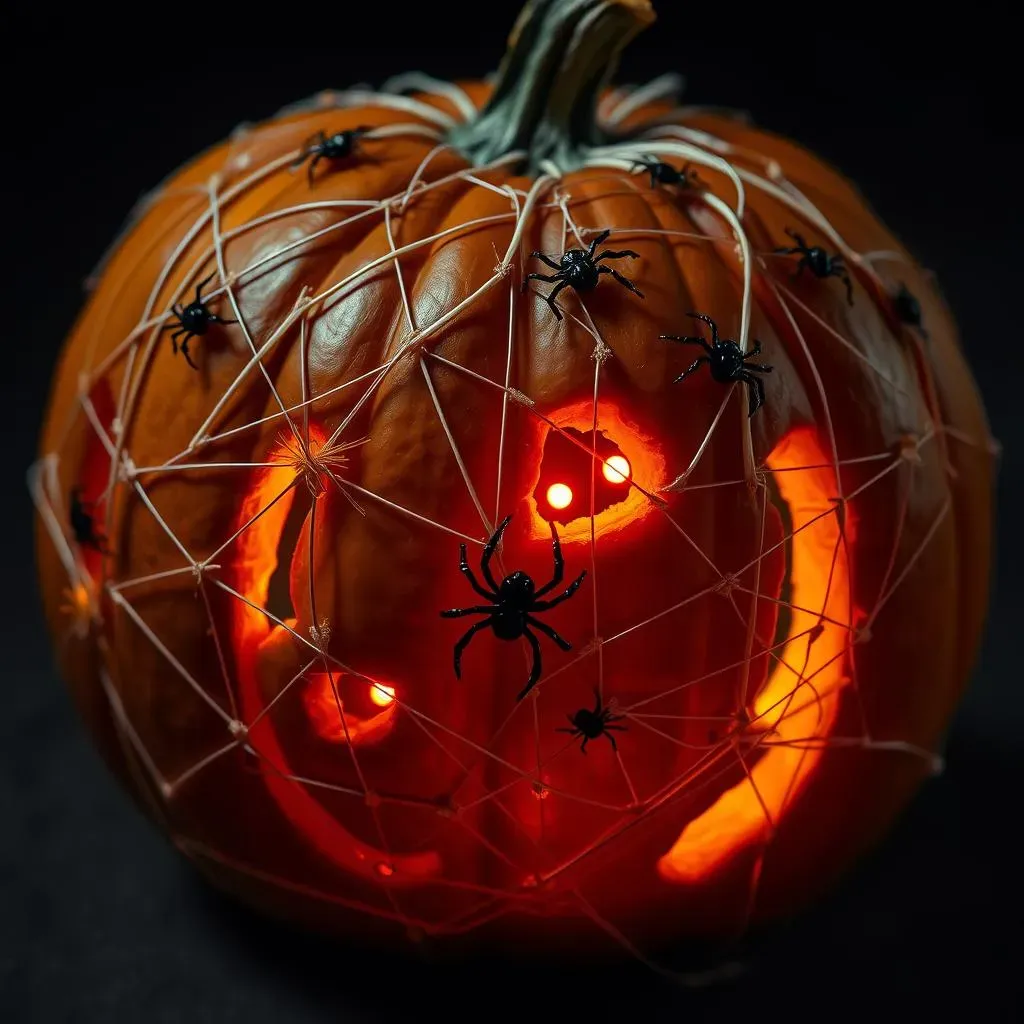
Let's kick things off with a creepy-crawly masterpiece! Imagine a pumpkin covered in a network of spiderwebs, each strand meticulously crafted from toothpicks and delicate string. The webs crisscross and overlap, creating a dense and eerie landscape for tiny, plastic spiders to scuttle across. This design is all about texture and depth, using the toothpicks to build a three-dimensional web that seems to reach out from the pumpkin's surface. For an extra touch of spookiness, consider adding glowing eyes that peek out from behind the webs. This is a perfect project for those who love a good scare and have a steady hand for detail work.
What makes this design truly shine is the contrast between the smooth pumpkin surface and the intricate, spiky webs. The toothpicks create a visual tension that draws the eye and keeps you captivated. And the addition of the spiders adds a playful touch of horror that is sure to delight trick-or-treaters of all ages. So, if you're looking for a pumpkin carving idea that is both visually stunning and delightfully creepy, the Spooky Spider City is definitely worth a try!
Enchanted Forest Scene
For a more whimsical and enchanting design, consider creating an entire forest scene on your pumpkin using toothpicks. Imagine tiny trees with toothpick trunks and delicate, paper-leaf canopies. Picture miniature mushrooms with toothpick stems and colorful, painted caps. Envision whimsical creatures like fairies, gnomes, and woodland animals peeking out from behind the trees. This design is all about creating a miniature world that transports you to a magical realm. For an extra touch of enchantment, consider adding battery-operated fairy lights that twinkle and illuminate the scene from within.
To bring this design to life, start by carving out a small opening in the top of the pumpkin to allow the fairy lights to shine through. Then, use toothpicks to create the trunks of the trees, attaching them securely to the pumpkin's surface. Next, create the canopies of the trees using paper leaves, fabric scraps, or even dried flowers. Attach the leaves to the toothpick trunks using glue or small pieces of tape. Finally, add the miniature mushrooms, fairies, and woodland animals, using toothpicks to secure them in place. This design is a labor of love, but the end result is a truly breathtaking work of art.
Toothpick Portraits: Masters of Disguise
Ready for a challenge that's both impressive and a little bit quirky? Try creating a portrait on your pumpkin using only toothpicks! This isn't about carving a face; it's about building one using the toothpicks as your medium. Think of it as pointillism, but with tiny wooden sticks. You can create a portrait of a famous monster, a historical figure, or even a member of your own family (if you're feeling particularly ambitious!). The key is to use varying densities and angles of toothpicks to create shadows, highlights, and textures that bring the portrait to life. This project requires patience, a keen eye for detail, and a whole lot of toothpicks!
To start, find a high-contrast photo of your chosen subject. Then, lightly sketch the basic outline of the face onto the pumpkin. Next, begin inserting toothpicks into the pumpkin, using the photo as your guide. Use denser clusters of toothpicks to create darker areas and sparser arrangements to create lighter areas. Vary the angle of the toothpicks to create texture and depth. And don't be afraid to experiment – this is a trial-and-error process! With enough time and effort, you can create a truly stunning and unique portrait that will leave everyone in awe. Just be prepared to answer a lot of questions about how you managed to pull it off!
Design | Description | Difficulty |
|---|---|---|
Spooky Spider City | Pumpkin covered in spiderwebs made of toothpicks and string. | Medium |
Enchanted Forest Scene | Miniature forest on a pumpkin with trees, mushrooms, and creatures. | Hard |
Toothpick Portraits | Portrait created using only toothpicks as a medium. | Very Hard |
Conclusion: Elevate Your Carving with Pumpkin Carving Ideas with Toothpicks
So, there you have it! From simple enhancements to intricate designs, pumpkin carving ideas with toothpicks offer a fantastic way to personalize your Halloween decorations and impress your friends and family. It’s all about experimenting, having fun, and letting your creativity shine. Grab a pumpkin, a handful of toothpicks, and get ready to create a spooky masterpiece that’s uniquely yours. Happy carving, and Happy Halloween!