Table of Contents
Halloween is creeping closer, and that means it's time to unleash your inner artist and get carving! Sure, the classic triangle eyes and goofy grin are always a safe bet, but why not sink your teeth into something a little more… daring? This year, we're ditching the dull and diving headfirst into the wonderfully weird world of pumpkin carving ideas with teeth. We're not just talking about a few jagged edges here; we're talking full-on, chomping, grinning, and maybe even slightly terrifying grins! Ready to transform your humble gourd into a masterpiece of macabre dental design? In this guide, we'll explore why adding teeth to your pumpkin elevates it from basic to brilliant. We'll walk you through the materials and methods for crafting your own DIY pumpkin teeth, from simple paper cutouts to more ambitious sculpted creations. Plus, we'll share a treasure trove of stencils, templates, and design ideas to spark your imagination, no matter your carving skill level. Get ready to sink your teeth into some seriously fun Halloween crafting!
Why Pumpkin Carving with Teeth is the Best Halloween Hack
Why Pumpkin Carving with Teeth is the Best Halloween Hack
Instant Character Boost
Let's be honest, a perfectly carved pumpkin is a thing of beauty, but it's also seriously hard work! But adding some chompers? That's where the magic happens. Suddenly, your slightly lopsided eyes or wobbly smile fade into the background. Those teeth become the focal point, injecting instant personality and humor. Think about it: a set of goofy, oversized teeth can turn a simple jack-o'-lantern into a hilarious character. It's like giving your pumpkin a voice without carving a single word!
It is a shortcut to a memorable Halloween display, and who doesn't love a good shortcut, especially when it involves power tools and gourds? Plus, they're a fantastic way to distract from any, ahem, "artistic imperfections" in your carving skills. Imperfect carving? No problem! Just slap in some wacky teeth, and suddenly, it's all part of the charm. It's the ultimate Halloween hack for the creatively challenged (or, you know, those of us who are just a little lazy).
Humor is Always a Treat
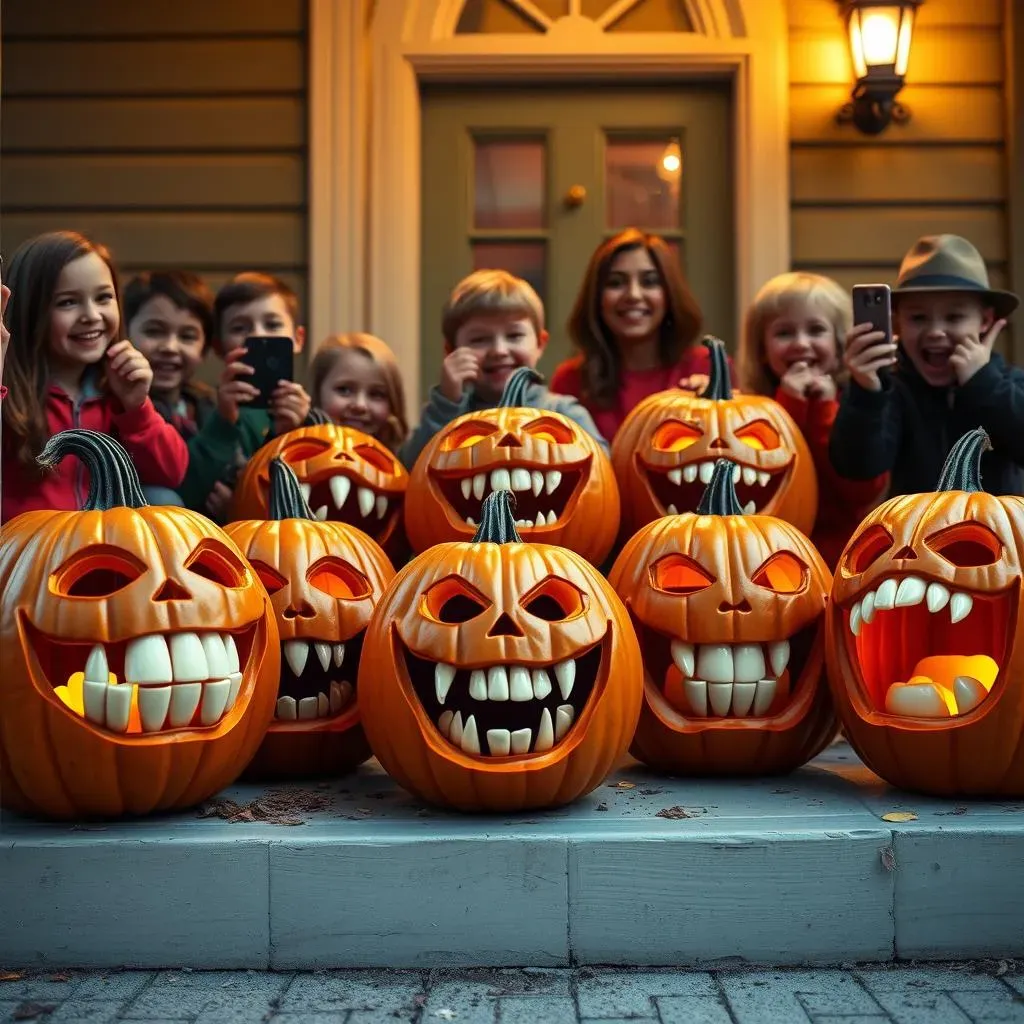
Halloween is all about spooky fun, and what's more fun than a good laugh? Pumpkin teeth add an element of playful absurdity to your decorations. Whether you opt for snaggletooth grins, vampire fangs, or even a set of dentures, the possibilities for comedic effect are endless. Imagine a whole porch full of toothy pumpkins, each with its own unique personality and a smile that's guaranteed to elicit chuckles from trick-or-treaters. Now that's the kind of Halloween spirit we can get behind!
And speaking of trick-or-treaters, think about the photo ops! A pumpkin with a ridiculously oversized set of teeth is practically begging to be Instagrammed. It's a guaranteed way to make your house the talk of the neighborhood and create some fun memories for everyone who stops by. Forget the generic scary faces; a toothy grin is the way to go for a Halloween that's both spooky and smile-inducing.
Here's a little inspiration:
- The Goofy Grinner: Big, mismatched teeth for a silly, approachable vibe.
- The Vampire Vine: Sharp fangs for a classic spooky twist.
- The Old Timer: A set of dentures for a hilarious, unexpected touch.
Endless Creative Potential
Beyond the humor factor, pumpkin teeth open up a whole new world of creative possibilities. They're not just for jack-o'-lanterns, either! Think about adding teeth to other Halloween props, like scarecrows, tombstones, or even spooky window displays. A strategically placed set of chompers can instantly transform an ordinary decoration into something truly unique and eye-catching. They are the unsung heroes of Halloween decor.
Are you feeling particularly ambitious? Try creating a whole scene with toothy pumpkins as the main characters. Imagine a pumpkin band with singing (and grinning) gourds, or a pumpkin family with each member sporting a different set of pearly whites. The only limit is your imagination! So, ditch the basic carving patterns and embrace the power of the tooth. Your Halloween decorations will thank you for it!
DIY Pumpkin Teeth: Materials and Methods for a Grinning Ghoul
DIY Pumpkin Teeth: Materials and Methods for a Grinning Ghoul
Gathering Your Ghastly Grin Gear
Alright, so you're ready to roll up your sleeves and craft some seriously spooky smiles. First things first, let's talk materials. The beauty of DIY pumpkin teeth is that you can get as basic or as bougie as you want. For a super simple, kid-friendly option, construction paper or cardstock is your best friend. Cut out some funky shapes, and you're good to go! But if you're aiming for something a little more durable and realistic, consider using craft foam, polymer clay, or even those plastic vampire fangs you can snag at any Halloween store. The key is to think about the look you're going for and choose materials that match.
Don't forget the essentials: scissors, glue (hot glue works wonders for a secure hold), paint or markers (if you want to add some extra detail), and maybe a toothpick or skewer to help with placement. And of course, you'll need a pumpkin! Size matters here, depending on the scale of the teeth you're planning. A mini pumpkin might look hilarious with giant chompers, while a larger gourd can handle a more subtle, sophisticated smile. Once you have your materials assembled, it's time to get crafting!
Methods to make DIY Pumpkin Teeth
There are several methods to make your DIY Pumpkin Teeth:
- Paper or Cardstock Teeth: Quick, easy, and perfect for kids. Simply cut out your desired shapes and glue them onto the pumpkin.
- Craft Foam Teeth: More durable than paper, craft foam can be cut into various shapes and painted for a more realistic look.
- Polymer Clay Teeth: For a professional finish, mold polymer clay into teeth shapes and bake according to the manufacturer's instructions. Once cooled, glue them onto the pumpkin.
- Repurposed Fangs: Use plastic vampire fangs or other store-bought teeth for a quick and easy solution.
Crafting Techniques for Killer Chompers
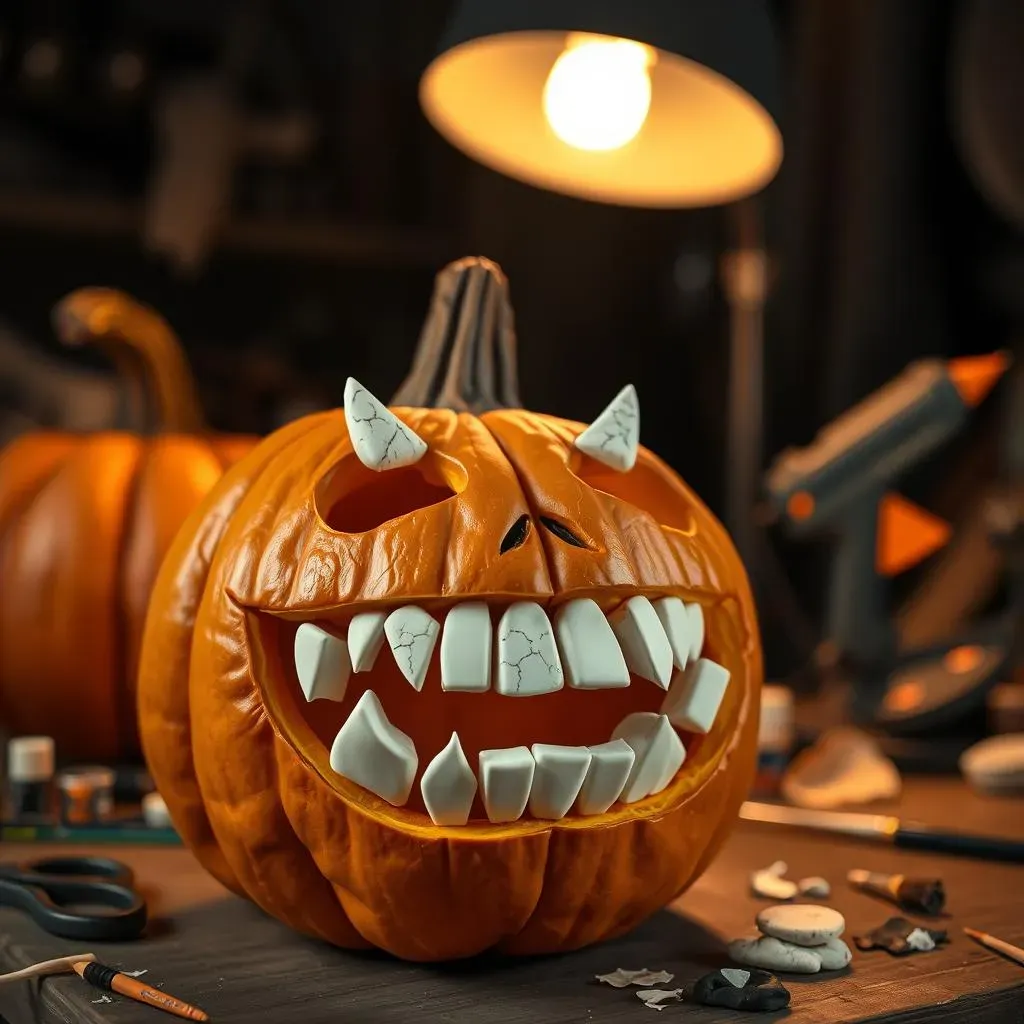
Now, let's dive into the nitty-gritty of crafting those pearly (or not-so-pearly) whites. If you're going the paper or foam route, start by sketching out your desired tooth shapes on a piece of scrap paper. This will give you a template to follow and help ensure consistency. Once you're happy with your design, transfer it to your chosen material and carefully cut it out. For polymer clay, roll out the clay and use a knife or sculpting tool to create individual teeth. Don't be afraid to get creative with the shapes and sizes! Snaggle teeth, gaps, and even a little bit of "gum" can add character and realism.
Once your teeth are cut or molded, it's time to add some detail. Paint or markers can be used to create shading, texture, and even a bit of decay (for that extra spooky touch). Consider adding some cracks or chips to your teeth for a more weathered look. And don't forget the glue! Hot glue is your best bet for a secure hold, but be careful not to burn yourself. Apply a small amount of glue to the back of each tooth and carefully position it on the pumpkin. Use a toothpick or skewer to hold the tooth in place while the glue dries. Repeat until your pumpkin has a grin that's sure to turn heads!
Material | Pros | Cons |
|---|---|---|
Construction Paper | Cheap, easy to cut, readily available | Not durable, prone to tearing |
Craft Foam | More durable than paper, easy to cut and shape | Can be difficult to paint |
Polymer Clay | Durable, can be molded into realistic shapes | Requires baking, can be time-consuming |
Pumpkin Carving Ideas with Teeth: Stencils and Templates for Every Skill Level
Pumpkin Carving Ideas with Teeth: Stencils and Templates for Every Skill Level
Level Up Your Carving Game with Stencils
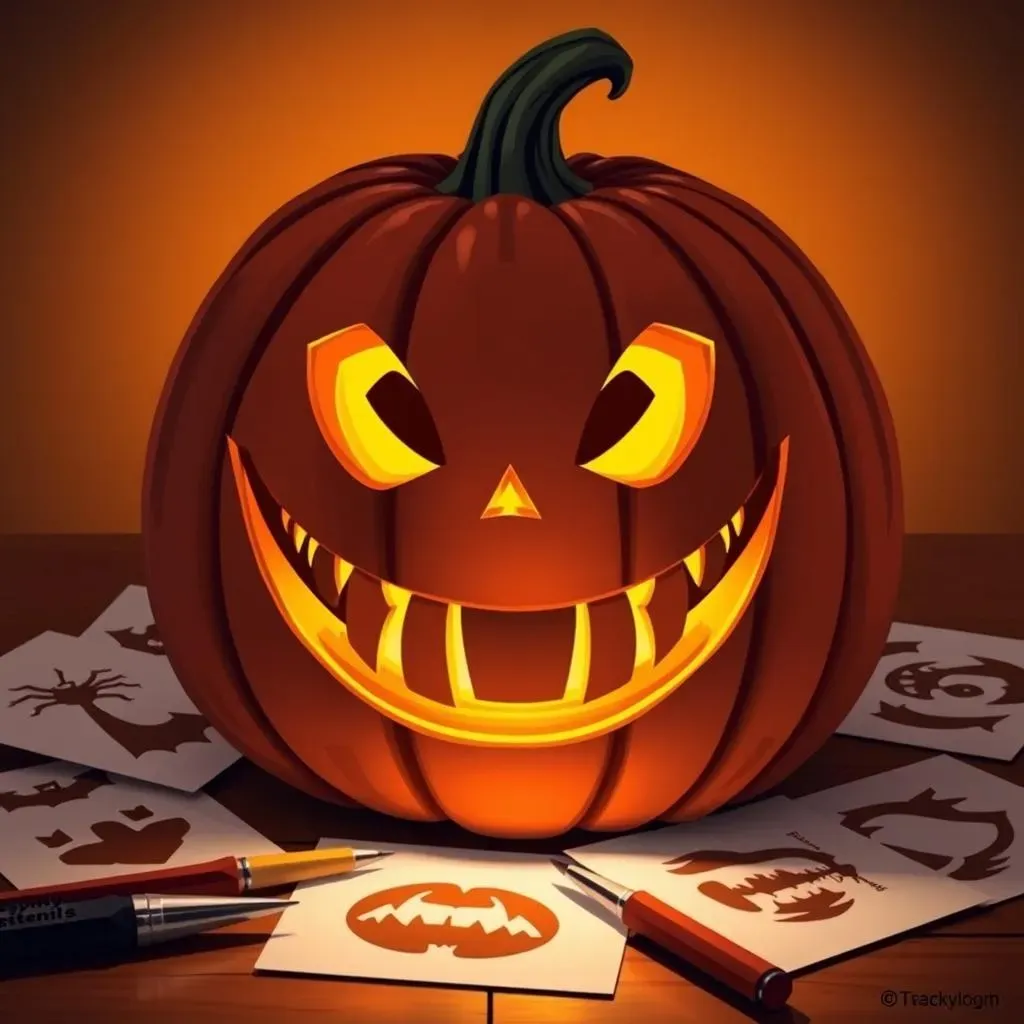
Alright, so you're stoked about adding teeth to your pumpkin, but maybe you're not exactly a master carver. No sweat! That's where stencils and templates come in clutch. Think of them as your carving cheat sheet, guiding your knife and ensuring a grin that's more charming than chaotic. There are tons of free stencils online, from simple snaggletooth smiles to more elaborate vampire fangs. Just print them out, tape them to your pumpkin, and trace the design with a poking tool or marker. Then, carefully carve along the lines, and boom – instant toothy perfection!
Stencils aren't just for beginners, either. Even experienced carvers can use them to create intricate and symmetrical designs. Plus, they're a great way to experiment with different styles and find the perfect grin for your gourd. Whether you're going for goofy, spooky, or downright terrifying, a stencil can help you achieve the look you're after. So, ditch the freehand carving and embrace the power of the template. Your pumpkin (and your sanity) will thank you for it!
Free Resources for Tooth-tastic Templates
The internet is your oyster when it comes to finding killer pumpkin teeth stencils! Websites like Pinterest, Etsy, and even some dental clinics (seriously!) offer free downloadable templates in all shapes and sizes. A quick Google search for "free pumpkin carving stencils with teeth" will yield a treasure trove of options. Look for stencils that match your skill level and the overall aesthetic you're going for. A simple snaggletooth grin is perfect for beginners, while more advanced carvers might want to tackle a full set of vampire fangs or even a set of dentures (for a truly hilarious effect).
Many websites also offer printable templates that include instructions and tips for carving. These can be especially helpful if you're new to pumpkin carving or if you're tackling a particularly intricate design. And don't be afraid to get creative! You can mix and match different stencils to create your own unique toothy grin. Or, use a stencil as a starting point and then add your own personal touches. The key is to have fun and let your imagination run wild! After all, Halloween is all about embracing the weird and wonderful.
Adapting Stencils to Your Skill Level
Not every stencil is created equal. Some are designed for seasoned pros with years of carving experience, while others are perfect for first-timers. The key is to choose a stencil that matches your skill level and be prepared to adapt it if necessary. If you're a beginner, start with a simple design that features large, easy-to-carve shapes. Avoid stencils with intricate details or small, delicate lines. These can be difficult to execute and may result in a messy or frustrating carving experience.
As you gain confidence, you can gradually move on to more complex stencils. But even if you're an experienced carver, it's always a good idea to start with a practice run. Carve a small section of the stencil on a scrap piece of pumpkin to get a feel for the design and identify any potential challenges. And don't be afraid to modify the stencil to suit your needs. If a particular detail seems too difficult to carve, simply leave it out or simplify it. The goal is to create a pumpkin grin that you're proud of, not to perfectly replicate the stencil. Remember, a little imperfection can add character and charm!
Skill Level | Stencil Complexity | Tips |
|---|---|---|
Beginner | Simple shapes, large lines | Start with easy designs, use a sturdy knife |
Intermediate | More detail, some curves | Practice on scrap pumpkin, use a variety of tools |
Advanced | Intricate patterns, small details | Use specialized carving tools, take your time |
Beyond the Basic Bite: Creative Pumpkin Teeth Designs and Inspirations

Beyond the Basic Bite: Creative Pumpkin Teeth Designs and Inspirations
Vampire Fangs: Classic Spooky
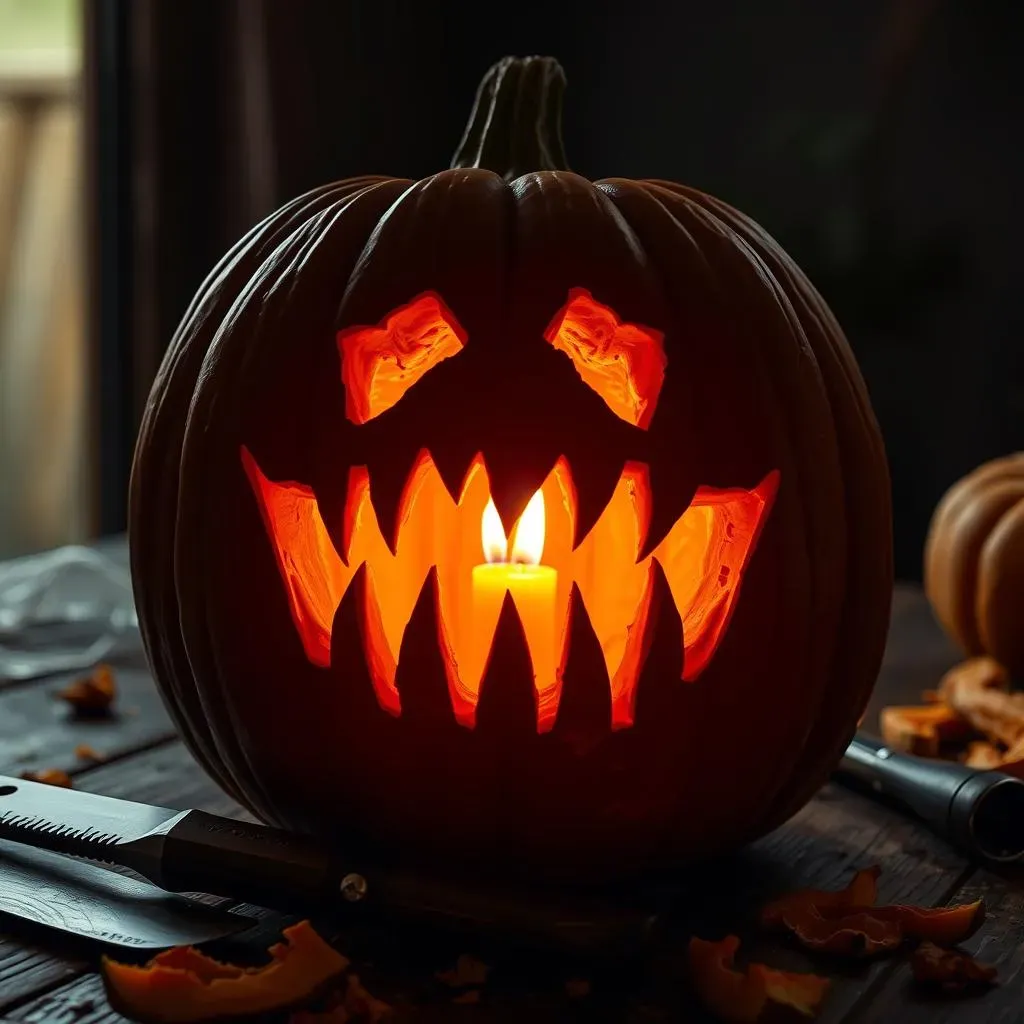
Let's kick things off with a timeless favorite: vampire fangs. These bad boys are perfect for adding a touch of classic Halloween spookiness to your pumpkin. You can go for a subtle, elegant fang or a more exaggerated, cartoonish set. The key is to make them sharp and pointy! Use craft foam, polymer clay, or even those plastic vampire fangs you can buy at the store. For an extra creepy effect, add a little bit of red paint around the base of the fangs to simulate blood. Now that's what I call fang-tastic!
Here's a pro tip: try angling the fangs slightly inward for a more menacing look. And don't be afraid to mix and match different sizes and shapes. A few long, sharp fangs interspersed with some smaller, more jagged teeth can create a truly terrifying grin. Just imagine the look on the faces of the trick-or-treaters when they see your vampire pumpkin leering from the porch! It's a guaranteed way to win Halloween.
Snaggletooth Smiles: Goofy and Charming
If spooky isn't your thing, why not opt for a snaggletooth smile? These are perfect for adding a touch of goofy charm to your pumpkin. Think mismatched teeth, gaps, and maybe even a missing tooth or two. The more imperfect, the better! You can use construction paper, craft foam, or even twigs to create your snaggletooth grin. The key is to make it look random and a little bit silly.
Try using different colors and textures for your teeth. A yellowed or browned tooth can add a touch of realism (or, you know, grossness). And don't be afraid to experiment with different shapes. A long, pointy tooth next to a short, stubby one can create a truly unique and memorable smile. Just imagine a whole porch full of snaggletooth pumpkins, each with its own quirky personality and a grin that's guaranteed to make you smile. Now that's the kind of Halloween spirit we can get behind!
Dentures: Hilariously Unexpected
Want to take your pumpkin carving to the next level of absurdity? Try adding a set of dentures! This is a guaranteed way to get some laughs and create a truly unforgettable Halloween decoration. You can find cheap dentures at most costume shops or online retailers. Simply glue them onto your pumpkin and watch the hilarity ensue. For an extra touch of realism, add a little bit of denture adhesive around the edges.
Try positioning the dentures in different ways to create different expressions. A slightly crooked set of dentures can make your pumpkin look like it's struggling to keep its teeth in, while a perfectly aligned set can give it a more dignified (and equally hilarious) look. Just imagine the look on the faces of your neighbors when they see your pumpkin sporting a set of false teeth! It's a guaranteed conversation starter.
Design | Description | Materials |
|---|---|---|
Vampire Fangs | Sharp, pointy teeth for a spooky look | Craft foam, polymer clay, plastic fangs |
Snaggletooth Smile | Mismatched teeth for a goofy look | Construction paper, craft foam, twigs |
Dentures | False teeth for a hilarious look | Costume dentures, denture adhesive |
Tips and Tricks for Perfecting Your Pumpkin Carving with Teeth
Tips and Tricks for Perfecting Your Pumpkin Carving with Teeth
Choosing the Right Pumpkin
Alright, you've got your design, your stencils, and your materials. But before you start hacking away, let's talk about the foundation of any great pumpkin carving: the pumpkin itself! Not all gourds are created equal. You want to look for a pumpkin that's relatively smooth, with a flat bottom so it won't wobble. Give it a good thump – it should sound hollow. And check for any soft spots or blemishes, as these could indicate rot. A good pumpkin is a happy pumpkin, and a happy pumpkin is easier to carve!
Also, consider the size and shape of your pumpkin in relation to your design. A tall, skinny pumpkin might be perfect for a vampire with long, elegant fangs, while a round, squat pumpkin might be better suited for a goofy snaggletooth grin. And don't be afraid to get creative with different colors and textures. A white pumpkin can make your teeth stand out even more, while a warty pumpkin can add a touch of extra creepiness. The key is to choose a pumpkin that inspires you and complements your design.
Carving Like a Pro: Tools and Techniques
Now for the fun part: carving! But before you start wielding that knife like a madman, let's talk about tools and techniques. A good carving kit is essential for any serious pumpkin artist. Look for a kit that includes a variety of saws, gouges, and scrapers. A serrated knife is great for cutting through the thick skin of the pumpkin, while smaller tools are perfect for creating intricate details. And don't forget a good scoop for removing the pumpkin guts! Nobody wants to carve around a pile of slimy seeds.
When it comes to carving techniques, slow and steady wins the race. Don't try to force the knife through the pumpkin; let the tool do the work. Use short, controlled strokes and follow your stencil carefully. If you're carving a particularly intricate design, consider working in layers. Start by removing the larger sections and then gradually work your way towards the smaller details. And don't be afraid to take breaks! Carving a pumpkin can be tiring, so stretch your hands, take a deep breath, and come back to it with fresh eyes. With a little patience and practice, you'll be carving like a pro in no time!
Tip | Description |
|---|---|
Thin the Walls | Scrape the inside of the pumpkin where you'll be carving to make it easier to cut. |
Use a Poker | Instead of cutting out the stencil lines, poke holes along them for a cleaner look. |
Petroleum Jelly | Coat the cut edges with petroleum jelly to prevent drying and extend the life of your pumpkin. |
Sink Your Teeth In: The Ultimate Halloween Statement
So, there you have it – a complete guide to taking your pumpkin carving game to the next level with some seriously awesome teeth! Whether you opt for menacing fangs, a goofy grin, or something truly unique, adding teeth is guaranteed to make your jack-o'-lantern the talk of the neighborhood. Don't be afraid to experiment, get creative, and most importantly, have fun! After all, Halloween is all about embracing the spooky and the silly. Now go forth, grab your carving tools, and create a toothy masterpiece that will make everyone smile (or maybe scream!). Happy carving!