Table of Contents
Tired of the same old triangle-eyed jack-o'-lanterns? This year, ditch the flimsy carving knife and grab your power drill! We're diving headfirst into the world of pumpkin carving ideas with a drill, offering a fresh, fun, and surprisingly easy way to create stunning Halloween masterpieces. Forget struggling with dull blades and messy cuts; a drill opens up a whole new realm of design possibilities, from intricate patterns to playful polka dots. In this guide, we'll walk you through everything you need to know to get started. We'll cover essential tools, provide a step-by-step carving process, and spark your imagination with creative design concepts. Plus, we'll share crucial safety tips to ensure your carving session is both productive and accident-free. So, whether you're a seasoned DIYer or a complete beginner, get ready to transform your pumpkins into dazzling displays that will light up your neighborhood this Halloween!
Why Use a Drill for Pumpkin Carving?
Why Use a Drill for Pumpkin Carving?
let's be real. Why ditch the traditional carving knife for a power tool? First off, speed. A drill makes quick work of even the thickest pumpkin rind. What might take an hour with a knife, you can accomplish in minutes with a drill. Imagine churning out a whole family of jack-o'-lanterns in the time it used to take for just one! But it's not just about speed; it's about precision. Drills allow for intricate designs that are simply impossible to achieve with a knife. Think delicate lace patterns, perfectly spaced polka dots, or even recreating your favorite constellation on a pumpkin canvas.
Plus, let's not forget the safety aspect. Anyone who's ever slipped with a carving knife knows the potential for disaster. A drill, when used carefully, offers a more controlled and predictable carving experience. You're less likely to accidentally stab yourself, and you can create cleaner, more professional-looking results. So, for speed, precision, and a touch of safety, the drill is the way to go for your pumpkin carving adventure this year.
- Speed: Carve pumpkins in a fraction of the time.
- Precision: Achieve intricate and detailed designs.
- Safety: Reduce the risk of cuts and slips.
- Versatility: Create patterns impossible with knives.
Essential Tools for Drill Pumpkin Carving
Essential Tools for Drill Pumpkin Carving
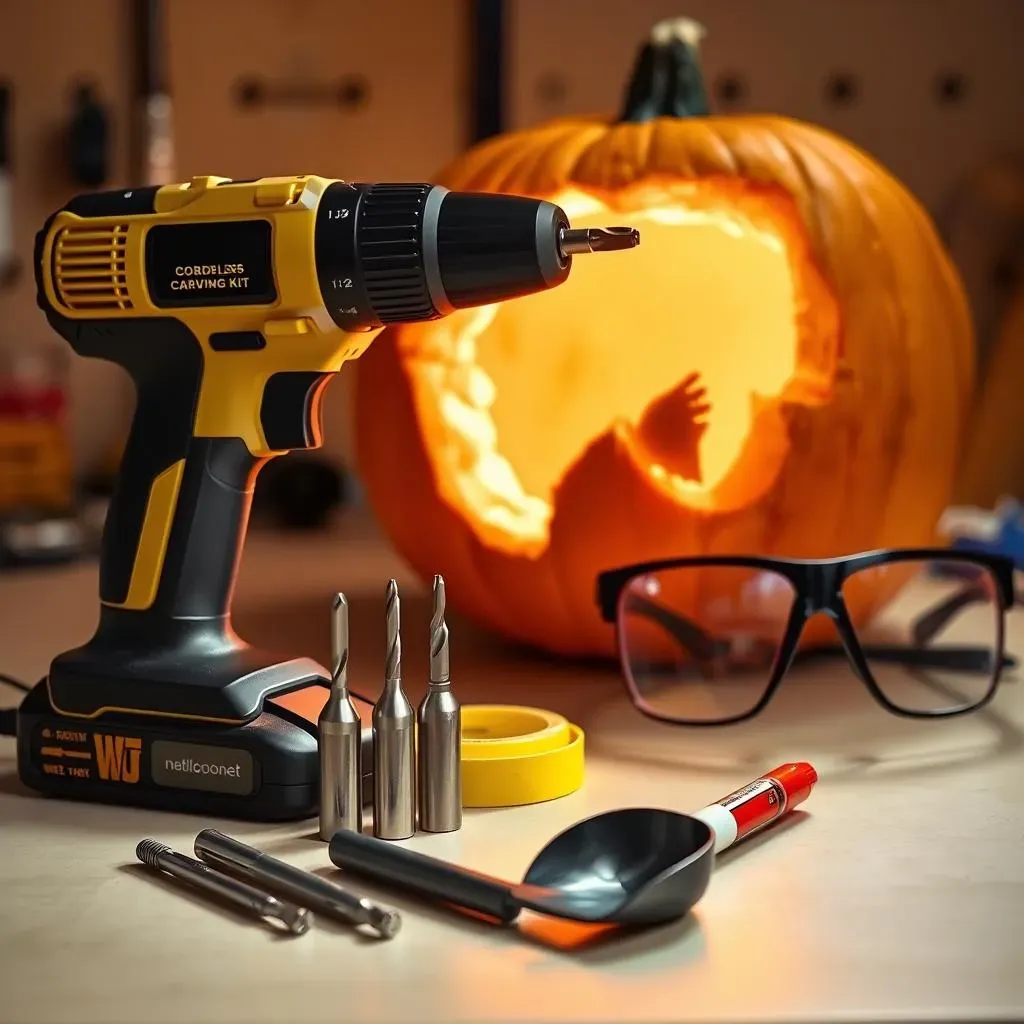
Alright, so you're ready to power up your pumpkin carving game? Awesome! But before you go all "chainsaw massacre" on that innocent gourd, let's make sure you've got the right gear. First and foremost, you'll need a power drill, obviously. A cordless drill is super convenient, giving you the freedom to move around without being tethered to an outlet. Next up: drill bits! This is where the magic happens. You'll want a variety of sizes, from tiny ones for delicate details to larger ones for bolder designs. A standard set of drill bits should do the trick, but don't be afraid to experiment with specialty bits for unique effects. Beyond the drill and bits, you'll need a good pumpkin carving kit, including a scoop for gutting the pumpkin and a scraper for thinning the walls if desired. Painter's tape is your friend for creating guidelines and patterns, and a marker will help you transfer your designs onto the pumpkin. Finally, don't forget safety glasses to protect your eyes from flying debris!
Tool | Purpose |
|---|---|
Cordless Drill | Power source for carving |
Drill Bit Set | Creating various hole sizes and designs |
Pumpkin Carving Kit | Gutting and thinning pumpkin walls |
Painter's Tape | Creating guidelines and patterns |
Marker | Transferring designs onto the pumpkin |
Safety Glasses | Protecting eyes from debris |
StepbyStep Guide to Pumpkin Carving with a Drill
StepbyStep Guide to Pumpkin Carving with a Drill
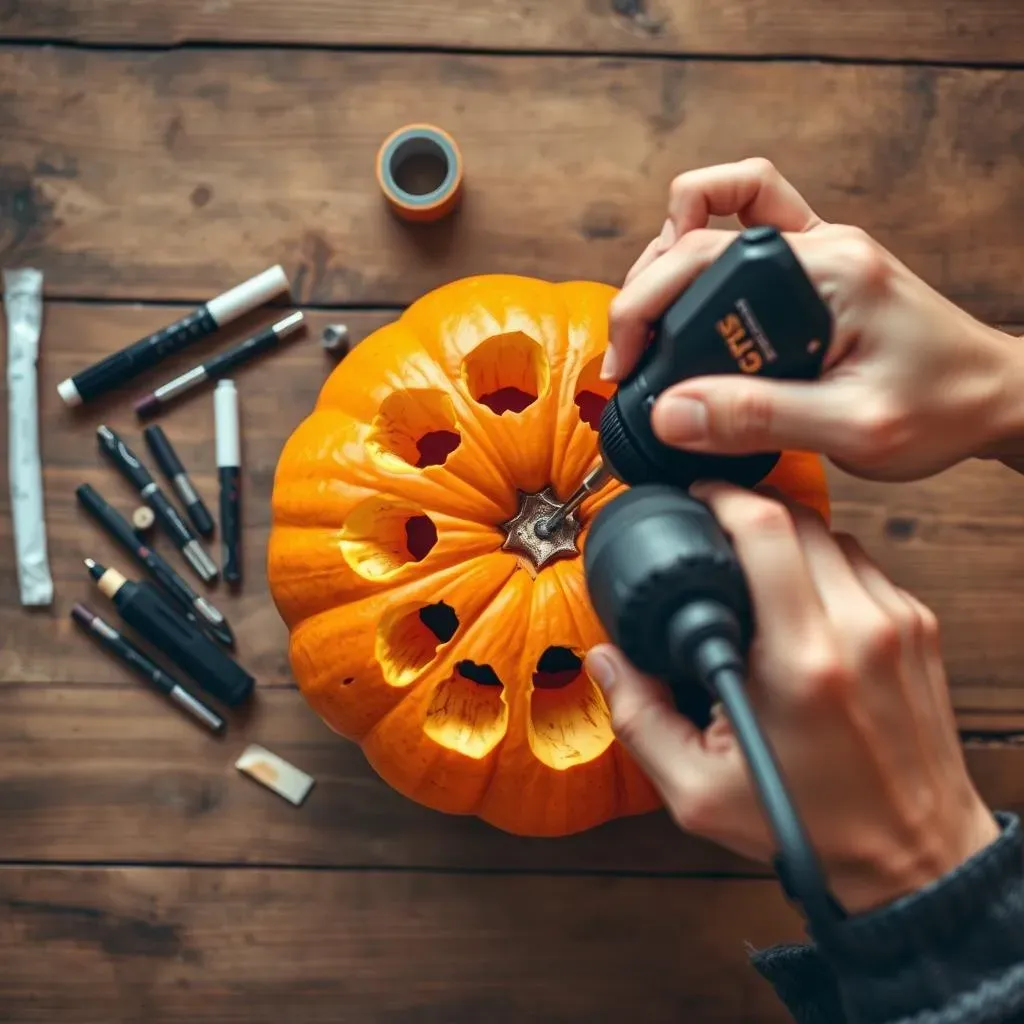
you've got your tools, now let's get down to business! First, prep your pumpkin. Cut a circle around the stem (or, as I prefer, cut a hole in the bottom – it makes lighting easier later!) and scoop out all the guts. Trust me, this is the least glamorous part, but it's gotta be done. Scrape the inside walls until they're about an inch thick – this will let more light shine through. Next, sketch your design onto the pumpkin using a marker. Don't be afraid to get creative! If you're feeling intimidated, start with a simple pattern like polka dots or stripes. Use painter's tape to create straight lines or geometric shapes. Once you're happy with your design, it's time to fire up the drill. Start with the smallest drill bit and begin drilling along your lines. Hold the drill steady and apply gentle pressure. Work your way up to larger drill bits for bigger holes. Remember, you can always make a hole bigger, but you can't make it smaller, so start small and work your way up! Once you've drilled all your holes, clean up any rough edges with a small knife or scraper. Finally, pop in a candle or LED light and admire your handiwork!
Creative Pumpkin Carving Ideas with a Drill
Creative Pumpkin Carving Ideas with a Drill
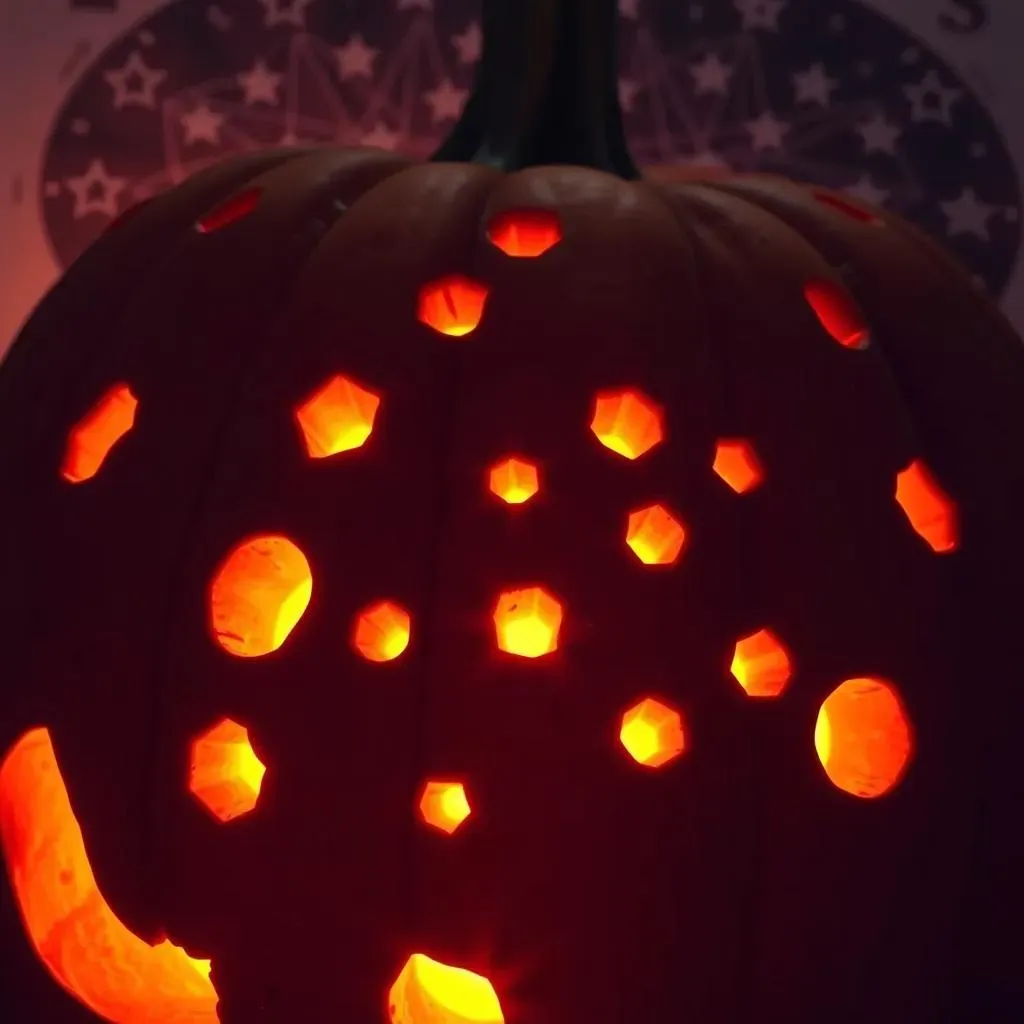
Starlight, Star Bright: Constellation Pumpkins
Forget basic shapes; let's shoot for the stars! One super cool idea is to recreate your favorite constellation on a pumpkin. Use a star chart as a guide, and drill different sized holes to represent the varying brightness of the stars. For example, use tiny drill bits for faint stars and larger ones for the bright ones. When you light it up, you'll have a mini-planetarium on your porch. You can even get fancy and connect the dots with a thin marker for extra clarity. It's educational and spooky – a win-win!
Dotted Delights: Polka Dot Patterns
Looking for something simple yet striking? Polka dots are your answer. This is a great project for beginners because it's easy to execute but looks incredibly effective. Use different sized drill bits to create a variety of dot sizes. You can go for a uniform pattern or create a more random, whimsical look. Try painting the pumpkin a fun color before drilling for an extra pop. Imagine a bright orange pumpkin with white polka dots or a spooky black pumpkin with neon green dots. The possibilities are endless!
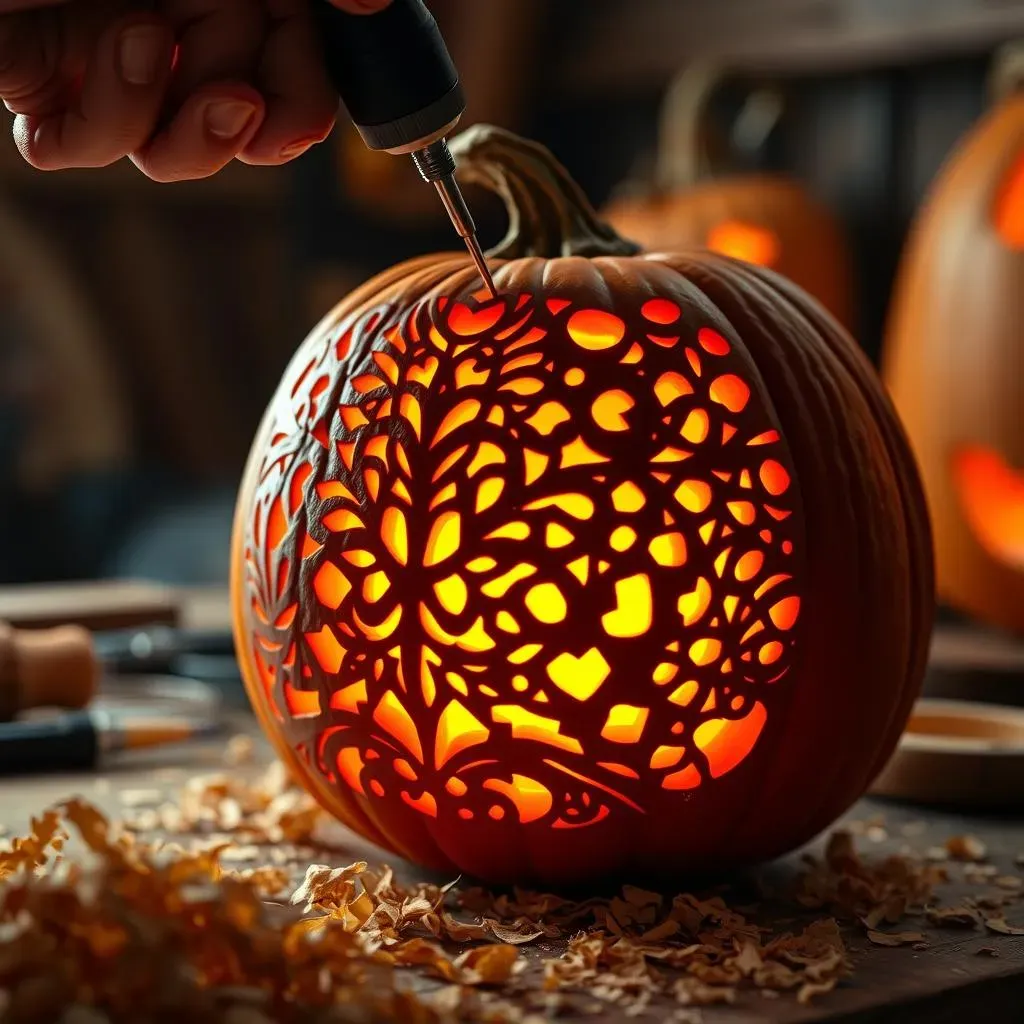
Lacy Lanterns: Intricate Drill Patterns
If you're feeling ambitious, try creating a lacy lantern effect. This involves drilling a dense pattern of small holes all over the pumpkin. It's a bit more time-consuming, but the results are stunning. Start by drawing a design on the pumpkin, such as floral motifs or geometric patterns. Then, use a small drill bit to create a series of closely spaced holes along the lines. The more holes you drill, the more light will shine through, creating a beautiful, delicate effect. This is a great way to show off your pumpkin carving skills and create a truly unique Halloween decoration.
Idea | Description | Difficulty |
|---|---|---|
Constellation Pumpkins | Recreate constellations with varying hole sizes. | Medium |
Polka Dot Patterns | Simple and striking with different sized dots. | Easy |
Lacy Lanterns | Intricate patterns of small, closely spaced holes. | Hard |
Safety Tips for Pumpkin Carving with Power Tools
Safety Tips for Pumpkin Carving with Power Tools
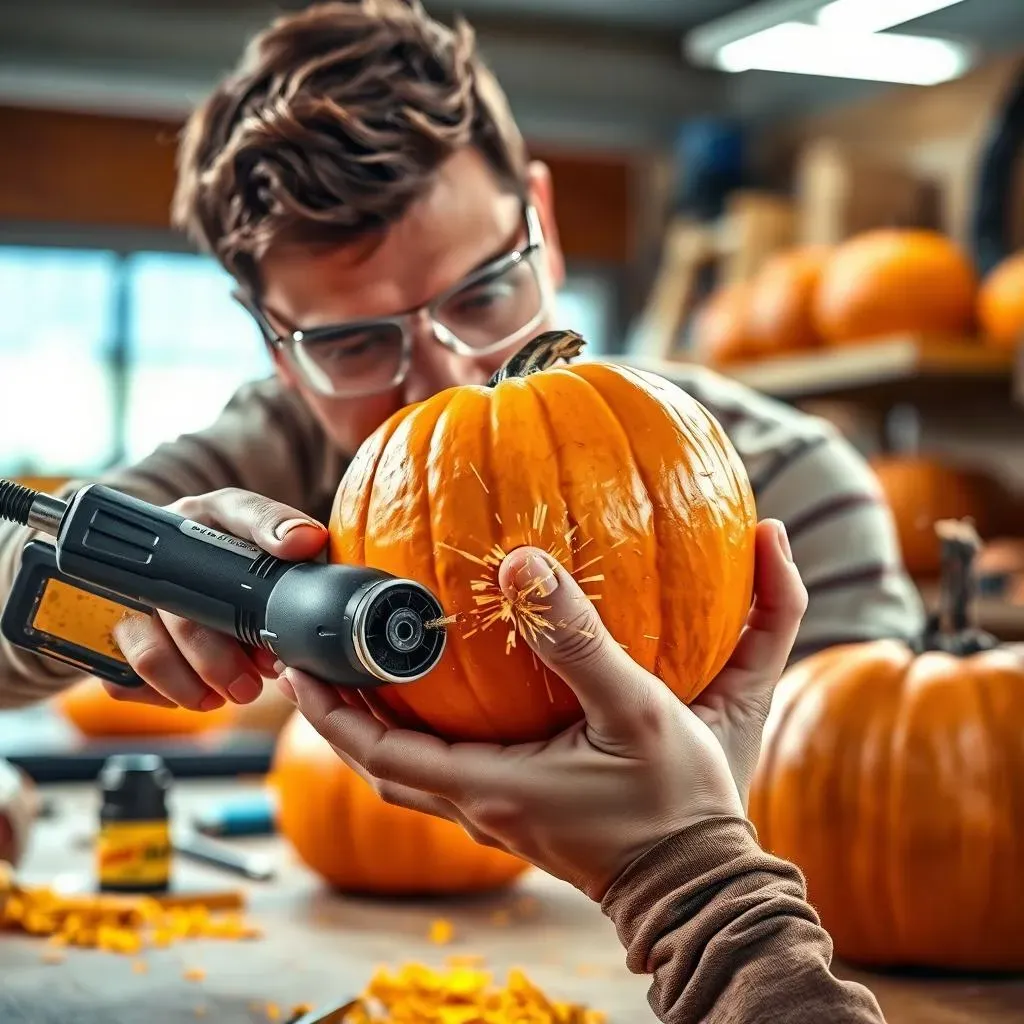
Alright, let's talk safety because power tools and pumpkins might sound like a recipe for disaster, but it doesn't have to be! First and foremost: eye protection. Seriously, those little bits of pumpkin shrapnel can do some damage. Always wear safety glasses. Next, think about your workspace. Make sure you're in a well-lit area with plenty of room to maneuver. Keep your pumpkin stable – a wobbly pumpkin is an accident waiting to happen. And this might seem obvious, but keep your fingers away from the drill bit! Use your non-dominant hand to steady the pumpkin, but keep it a safe distance from the action. Finally, don't rush. Take your time and focus on what you're doing. If you're feeling tired or distracted, take a break. A little caution goes a long way in ensuring a safe and fun pumpkin carving experience.
Conclusion: Drill Your Way to Pumpkin Carving Success
So, there you have it! Armed with a drill and a dash of creativity, you're ready to take your pumpkin carving game to the next level. From simple patterns to intricate designs, the possibilities are endless. Remember to prioritize safety, have fun experimenting, and don't be afraid to let your imagination run wild. This Halloween, impress your neighbors and delight trick-or-treaters with jack-o'-lanterns that are as unique as you are. Happy carving!