Table of Contents
Halloween is creeping closer, and what better way to celebrate than with a wickedly carved pumpkin? Forget the basic jack-o'-lantern; this year, we're sinking our teeth into something far more thrilling: pumpkin carving ideas vampire! Whether you're a seasoned carving pro or a newbie wielding a paring knife for the first time, we've got the inspiration to transform your pumpkin into a creature of the night.
Vampire Pumpkin Carving: Fright Night Inspiration
Vampire Pumpkin Carving: Fright Night Inspiration
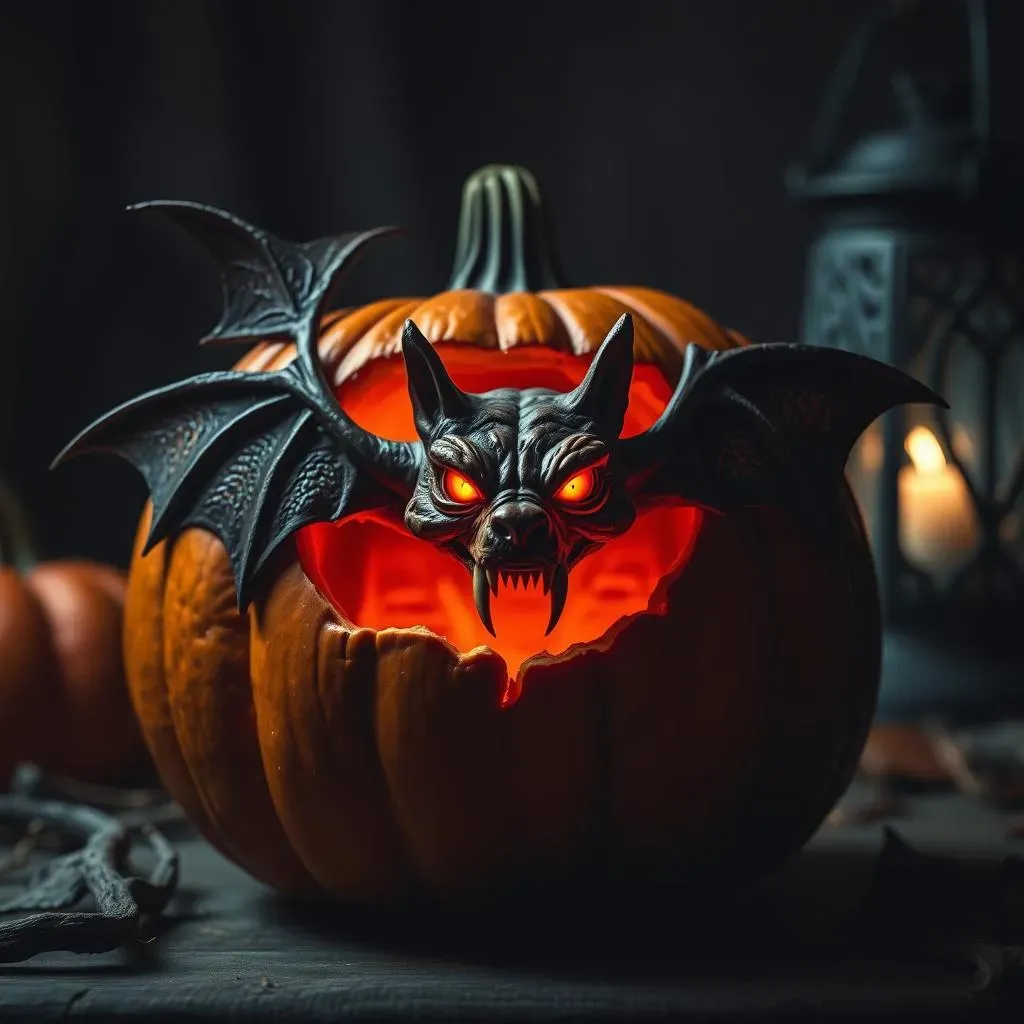
Alright, let's talk vampire pumpkins! Forget those cheesy, store-bought stencils. We're aiming for terrifyingly terrific. Think beyond the basic fangs. How about a Dracula pumpkin, complete with a widow's peak and a menacing stare? Or maybe a vampire bat emerging from a hollowed-out gourd? The possibilities are endless! Consider different vampire styles – classic Bela Lugosi, brooding modern vampire, or even a comical, cartoonish count. The goal is to let your imagination run wild and create a pumpkin that truly reflects your inner vampire.
Need a little jumpstart? Think about incorporating classic vampire elements:
- Fangs: Sharp, menacing, and dripping (perhaps with some strategically placed red paint?).
- Eyes: Glowing red, piercing, and conveying either hypnotic allure or sheer terror.
- Capes: Drape a felt cape around your pumpkin for added drama.
- Bats: Silhouette bats flying around the pumpkin or carved directly into the surface.
- Coffins: Carve a mini-coffin scene around the base of the pumpkin.
Don't limit yourself to just one idea. Why not combine elements? A bat-winged Dracula emerging from a coffin pumpkin? Now that's what I call Halloween spirit! And remember, the more creative you get, the more unique and memorable your vampire pumpkin will be. So, ditch the generic designs and embrace the darkness!
Here are some ideas to get those creative juices flowing:
Vampire Type | Pumpkin Style | Extra Touches |
|---|---|---|
Classic Dracula | Menacing face with sharp fangs | Widow's peak, high collar |
Modern Vampire | Brooding, handsome with intense eyes | Sleek lines, subtle fangs |
Vampire Bat | Pumpkin shaped like a bat with carved wings | Glowing red eyes, hanging upside down |
Essential Tools for Flawless Vampire Pumpkin Carvings
Essential Tools for Flawless Vampire Pumpkin Carvings
The Right Knife for the Job
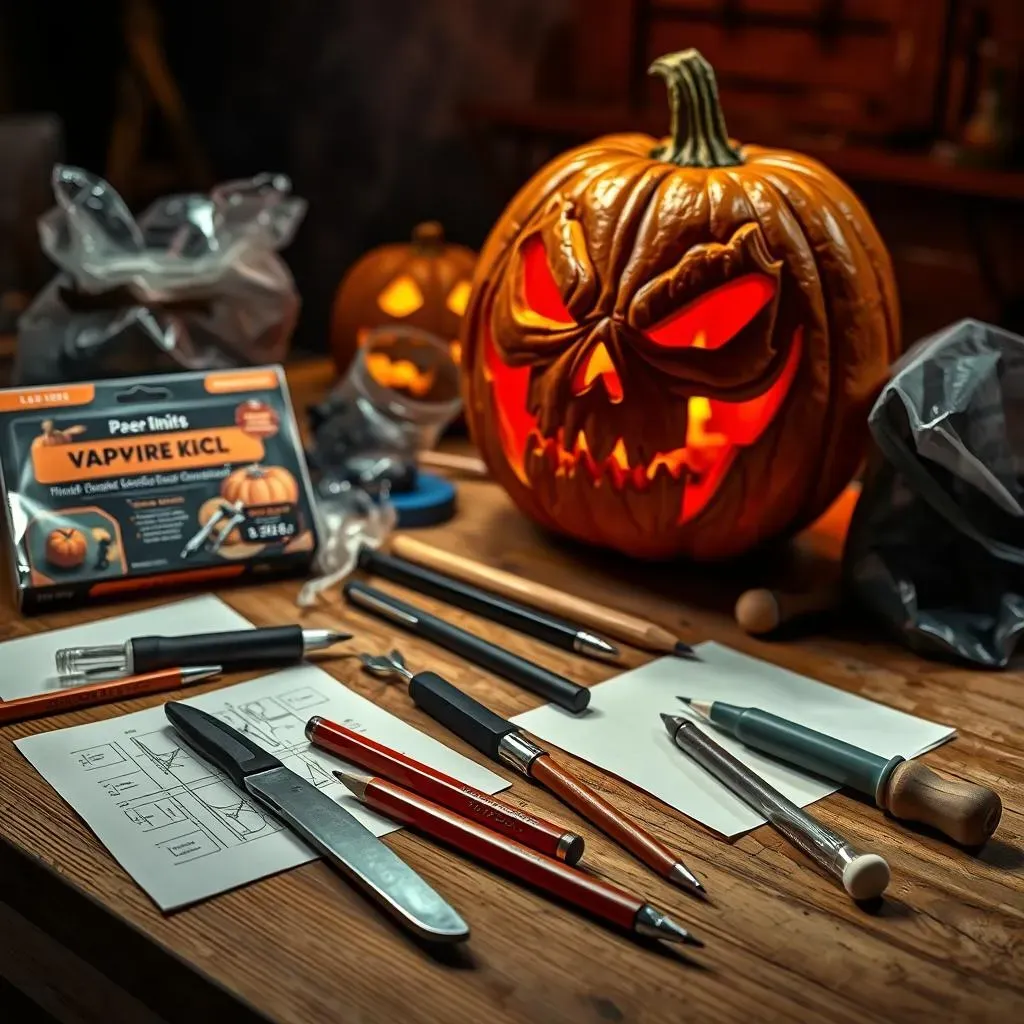
so you've got your killer vampire pumpkin design ready to go. Now, let's talk tools. Forget that flimsy kitchen knife! You need the right arsenal to bring your vision to life. A good pumpkin carving kit is worth its weight in candy corn. Look for kits that include a variety of saws and gouges, each designed for different tasks. Thin, serrated saws are perfect for delicate details, while wider saws can handle the heavy lifting of cutting out large sections. And don't forget a sturdy scoop to remove those pumpkin guts – nobody wants to wrestle with stringy pulp all night!
Having the correct knife will drastically improve your vampire pumpkin carving experience.
Beyond the Basic Kit: Level Up Your Carving Game
Alright, so you've got your basic carving kit. Awesome! But if you *really* want to take your vampire pumpkin to the next level, consider adding a few extra tools to your arsenal. A detail knife with a super-fine tip is perfect for etching intricate patterns, like the delicate lace on a vampire's collar or the veins in a bat's wing. And don't underestimate the power of a good wood carving gouge. These can be used to create subtle curves and contours, adding depth and dimension to your design.
Here are some extra tools that will help you create a masterpiece:
- Detail Knife: For intricate patterns and fine lines.
- Wood Carving Gouges: To create curves, contours and add dimension to your design.
- Pencils and Tracing Paper: To transfer your design to the pumpkin with precision.
- Clay Sculpting Tools: For refining edges and smoothing surfaces.
Don't Forget the Extras: Lighting and Clean-Up
So, you've carved your masterpiece. Now, how do you show it off? Forget the traditional candle! Battery-operated LED lights are the way to go. They're safer, brighter, and last way longer than candles. Plus, you can find them in a variety of colors to create different spooky effects. Red LED lights will give your vampire pumpkin an eerie, bloodthirsty glow, while purple or green lights can add a touch of gothic drama. And finally, don't forget the clean-up! A large trash bag and some wet wipes will make quick work of the pumpkin guts and keep your carving area tidy. After all, even vampires appreciate a clean workspace!
Here are some extra materials to keep in mind:
Tool | Purpose |
|---|---|
LED Lights | To illuminate the pumpkin from the inside. |
Trash Bag | To collect pumpkin guts and keep your carving area clean. |
Wet Wipes | To clean your hands and tools. |
StepbyStep: Mastering the Classic Vampire Pumpkin Face
StepbyStep: Mastering the Classic Vampire Pumpkin Face
Prep Your Pumpkin Like a Pro
First things first, choose your victim... I mean, pumpkin! Select one that's relatively smooth, with a good, solid stem. Wipe it down to remove any dirt or grime. Now, carefully cut a circle around the stem at the top. Angle your knife inward slightly – this will create a "lid" that's easy to put back on later. Scoop out all the pumpkin guts and seeds. Scrape the inside walls until they're relatively smooth. A thinner wall makes carving easier and allows more light to shine through.
Think of it like prepping a canvas before painting. A clean, smooth surface is essential for a great carving.
Trace and Transfer: Your Vampire Blueprint
Now for the fun part: designing your vampire face! Sketch your design on paper first. Keep it simple to start. Think about classic vampire features: sharp fangs, piercing eyes, a widow's peak. Once you're happy with your design, use tracing paper to transfer it onto the pumpkin. Secure the tracing paper with tape and use a pencil to trace over the design, pressing firmly enough to leave an imprint on the pumpkin's surface. Alternatively, you can find printable vampire pumpkin stencils online and tape those directly to your pumpkin.
Pro Tip: Use a pushpin to poke holes along the lines of your design. This will create a dotted outline that's easier to follow when carving.
Here is a table to help you to find the perfect design:
Design Element | Description | Tips |
|---|---|---|
Fangs | Sharp, pointed teeth | Start with triangles and refine the shape. |
Eyes | Intense, piercing gaze | Use different sized circles for depth. |
Widow's Peak | A V-shaped hairline | Keep it symmetrical for a classic look. |
Carve with Confidence: Bringing Your Vampire to Life
Time to carve! Using your carving tools, carefully follow the lines of your design. Start with the smaller, more intricate details first. Use short, controlled strokes, and don't be afraid to take your time. If you make a mistake, don't panic! You can often smooth out minor imperfections with your fingers or a clay sculpting tool. Once you've finished carving all the details, carefully push out the cut pieces from the inside. Finally, pop in an LED light and admire your handiwork! You've just created a classic vampire pumpkin that's sure to impress.
Remember, safety first! Always carve away from yourself, and never force the tools. And if you're using sharp tools, consider wearing gloves to protect your hands.
Here are some steps to follow when carving:
- Start with smaller details.
- Carve with short, controlled strokes.
- Push cut pieces out from the inside.
Beyond the Basics: Creative Vampire Pumpkin Carving Ideas
Beyond the Basics: Creative Vampire Pumpkin Carving Ideas
3D Vampire Pumpkin Sculptures
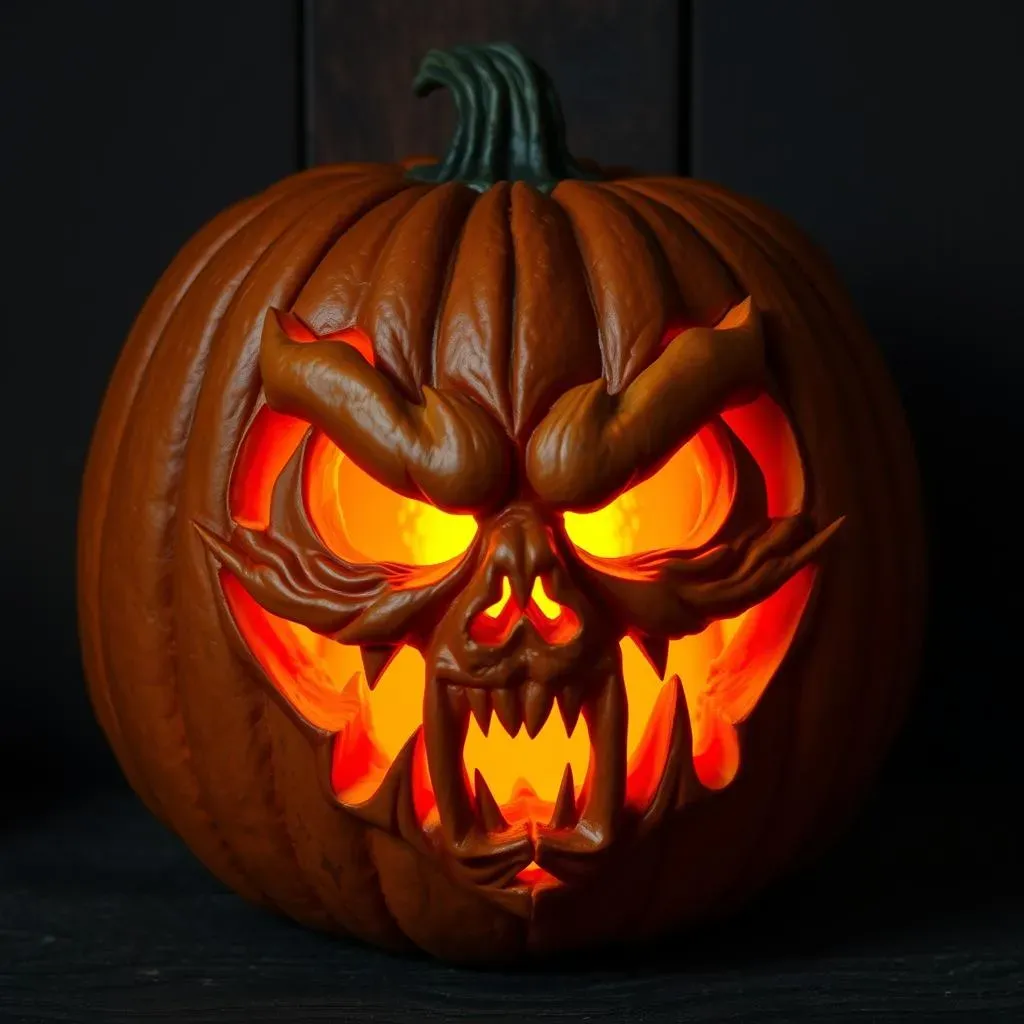
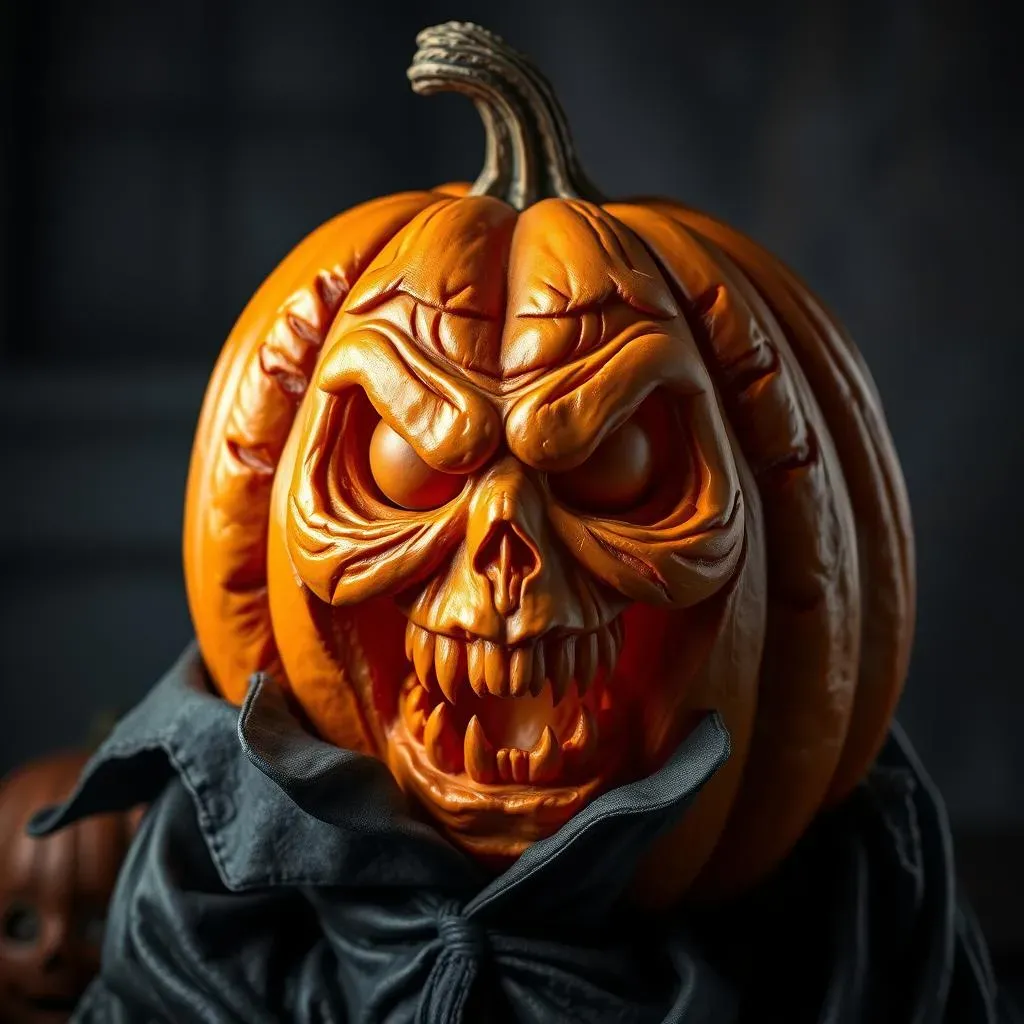
Alright, so you've mastered the classic vampire face. Now it's time to unleash your inner sculptor! Think beyond flat, two-dimensional carvings and start exploring the world of 3D pumpkin art. Instead of just carving *into* the pumpkin, try carving *out* shapes to create a more dynamic and realistic effect. For example, you could carve a vampire's face in profile, with the nose and chin protruding from the pumpkin's surface. Or, you could create a whole scene, with miniature coffins, bats, and tombstones surrounding your vampire pumpkin.
Using different tools and being creative will give you a unique and memorable pumpkin.
Here are some ideas for 3D elements:
- Protruding Fangs: Carve the fangs so they stick out from the pumpkin's surface.
- Recessed Eyes: Create deep, shadowed eye sockets for a more menacing look.
- Layered Clothing: Carve multiple layers of fabric to create the illusion of a flowing cape.
Illusion Carving: Tricks of the Eye
Want to really mess with people's minds? Try your hand at illusion carving! This technique uses varying depths of carving to create the illusion of light and shadow. By carving some areas deeper than others, you can create a sense of depth and dimension that will make your vampire pumpkin look like it's jumping right out of the gourd. For example, you could carve the shadows around the vampire's eyes deeper than the highlights on its cheekbones, creating a dramatic and realistic effect.
This technique uses the depth of carving to create the illusion of light and shadow.
Here's a table to help you to find the perfect illusion:
Illusion | Carving Technique | Effect |
|---|---|---|
Depth | Varying carving depths | Creates a sense of three-dimensionality. |
Movement | Curved lines and flowing shapes | Gives the impression of motion. |
Texture | Rough and smooth carving | Simulates different surfaces. |
Mixed Media: Beyond the Pumpkin
Alright, let's get *really* crazy. Who says you have to limit yourself to just carving the pumpkin? Why not incorporate other materials to create a truly unique and terrifying masterpiece? Think about adding fake blood, glitter, googly eyes, or even scraps of fabric to your vampire pumpkin. You could glue on plastic fangs for extra sharpness, or use black felt to create a flowing cape. The possibilities are endless! Just remember to use non-toxic materials and to keep safety in mind, especially if you have young children around.
Don't be afraid to experiment and think outside the box. After all, the best Halloween decorations are the ones that are truly original.
Some extra materials to keep in mind:
- Fabric: For capes, collars, and other clothing elements.
- Googly Eyes: To create a comical or creepy effect.
- Glitter: To add sparkle and shine.
- Fake Blood: For a truly terrifying touch.
Safety First: Tips for a ScreamFree Vampire Pumpkin Carving Session
Safety First: Tips for a ScreamFree Vampire Pumpkin Carving Session
Carve in a Well-Lit, Clutter-Free Zone
Alright, let's talk safety. Carving pumpkins, especially with sharp tools, can be a little risky if you're not careful. First things first: make sure you're working in a well-lit area. Shadows can be sneaky and lead to slips and cuts. Clear your carving space of any clutter – you don't want to trip over anything while you're wielding a knife! A stable, flat surface is also a must. You wouldn't want your pumpkin (or your hand) rolling off the table mid-carve.
Think of it like performing surgery – you need a clean, well-lit operating room to avoid any mishaps!
Kid-Friendly Carving: Adult Supervision is Key
If you're carving with kids, adult supervision is absolutely essential. Little hands and sharp tools don't always mix well. Consider letting younger children decorate the pumpkin with paint, markers, or stickers instead of using knives. For older kids who are ready to carve, make sure they're using age-appropriate tools and that you're there to guide them every step of the way. Teach them how to hold the tools properly and to always carve away from themselves. And never, ever let them run with a carving knife!
Pro Tip: Let the kids draw the design on the pumpkin, and then you can do the actual carving. It's a great way to involve them in the process while keeping them safe.
Here is what you need to keep in mind when carving with kids:
- Constant Supervision: Never leave children unattended with carving tools.
- Age-Appropriate Tools: Provide tools that are safe and easy for children to handle.
- Clear Instructions: Teach children how to use the tools properly and safely.
Tool Care and Handling: Respect the Blade
Finally, let's talk about tool care. Keep your carving tools sharp, but be careful when sharpening them! Dull tools are actually more dangerous than sharp ones because you're more likely to slip when you have to apply extra force. Always store your tools in a safe place, away from children and pets. And when you're not using a tool, put it down! Don't hold it in your hand while you're thinking or talking – that's just asking for trouble. Treat your carving tools with respect, and they'll reward you with a beautifully carved vampire pumpkin (and no trips to the emergency room!).
Here's a table of best practices when using your carving tools:
Tool | Safe Handling |
|---|---|
Carving Knives | Always cut away from yourself. |
Serrated Saws | Use a sawing motion, not force. |
Gouges | Keep your fingers clear of the blade. |
Vampire Pumpkin Carving: A Howling Success!
From terrifying traditional takes to wickedly whimsical designs, you're now armed with everything you need to bring your vampire pumpkin carving ideas to life. Remember, the most important thing is to have fun and let your creativity flow. So, light up your spooky creation, display it proudly, and prepare for a Halloween filled with frights, delights, and maybe just a few envious glances from the neighbors. Happy carving, and may your vampire pumpkin reign supreme!