Table of Contents
Alright, let's be honest. Pumpkin carving usually means messy guts, sharp knives, and maybe a trip to the minor emergency clinic if you're not careful. The classic jagged-tooth grin? Done it a hundred times. But what if you want something... different? Something with a bit more texture, a touch more detail, or maybe just a way to avoid wielding a blade near precious fingers?
Why Use Toothpicks for Your Pumpkin Carving?
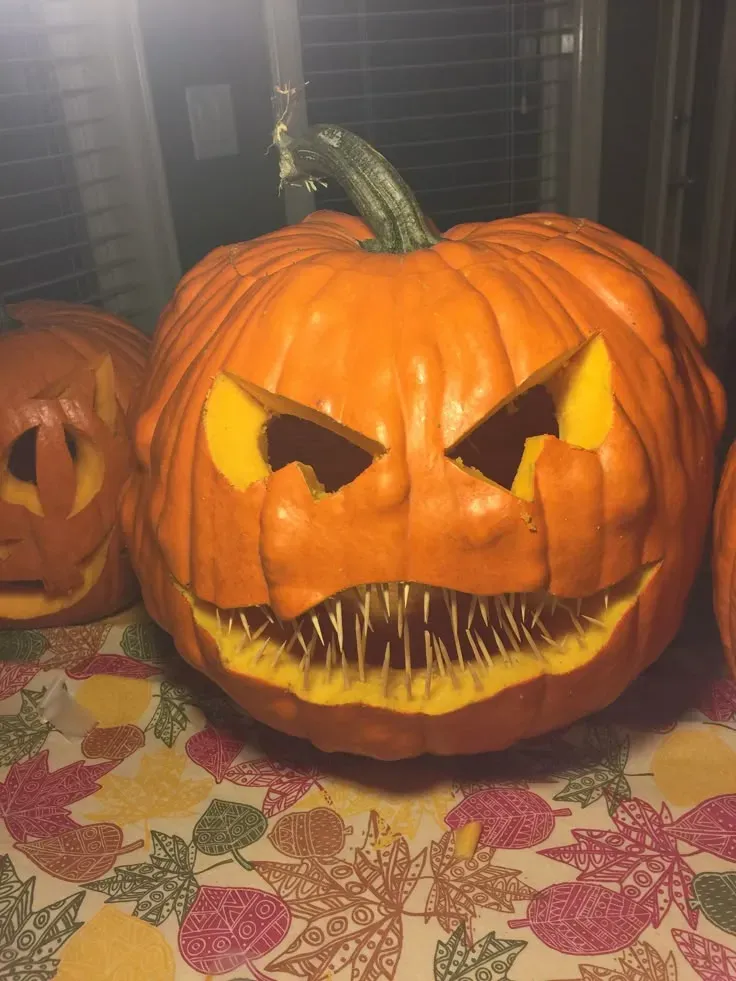
Why Use Toothpicks for Your Pumpkin Carving?
Beyond the Basic Cut: Adding Detail and Texture
Let's face it, carving a big, gaping mouth with a saw tool gets old. If you want to move beyond the standard spooky face, traditional carving knives have limitations. They're great for removing large sections, but try creating fine lines, intricate patterns, or adding subtle texture with one. It's like trying to paint a miniature with a broom. Toothpicks, on the other hand, offer precision. You can poke, prick, and score the pumpkin's surface to create freckles, scars, scales, or stippled shading. Think of them as tiny etching tools for your gourd canvas. This opens up a whole new world of design possibilities that a simple cutout can't touch.
Attaching Elements: Building Beyond the Surface
Here's where toothpicks really shine in expanding your pumpkin carving ideas. What if you want your pumpkin monster to have extra eyes? Or maybe a goofy nose that sticks out? Traditional carving usually means everything has to be part of the original pumpkin shell. But with toothpicks, you can attach pieces of other pumpkins, gourds, or even non-pumpkin materials like carrots for noses or candy corn for teeth. Simply poke toothpicks into the pieces you want to attach, then push them into the main pumpkin. It's a simple, effective way to build outward and add three-dimensional elements that make your creation pop. This technique is a game-changer for complex or sculptural designs.
- Add detached eyes or limbs
- Create unique, textured surfaces
- Attach noses, ears, or horns
- Secure lightweight decorations
Safety and Accessibility: A Kid-Friendly Approach
Sharp objects and small children around a slippery, round object? Recipe for disaster, or at least a stern talking-to from the ER staff. Why use toothpicks for your pumpkin carving when safety is a major concern? Because they are significantly less dangerous than knives or even the small saws in carving kits. Kids can participate much more actively in the detail work, poking patterns or attaching pre-cut pieces, without the immediate risk of serious cuts. Plus, toothpicks are dirt cheap and you likely have a box in your kitchen right now. No need for special, expensive tools. It lowers the barrier to entry and makes creative pumpkin decorating accessible to everyone.
Getting Started: Tools and Techniques for Toothpick Pumpkin Ideas
Getting Started: Tools and Techniques for Toothpick Pumpkin Ideas
The Minimalist's Tool Kit
so you're sold on the toothpick approach for your pumpkin carving ideas. Great. The good news? You don't need a workshop full of fancy gadgets. The core of your toolkit is, shocker, toothpicks. Lots of them. Wooden ones are standard, but bamboo skewers work great for deeper holes or attaching larger pieces. Beyond that, a basic pumpkin carving kit with a scooper and maybe a small saw for initial cuts is helpful, but not strictly necessary if you're going full toothpick-only for details. A simple paring knife for trimming excess pieces and a sturdy spoon for gutting the gourd are probably already in your kitchen drawer. That's pretty much it. No need to drop serious cash on specialized tools just to get started with these alternative pumpkin carving ideas toothpicks enable.
- Wooden Toothpicks (the more, the merrier)
- Bamboo Skewers (for bigger jobs)
- Pumpkin Scooper or sturdy spoon
- Small paring knife (optional, for trimming)
- A willing pumpkin
Creative Pumpkin Carving Ideas Toothpicks Can Bring to Life

Creative Pumpkin Carving Ideas Toothpicks Can Bring to Life
Texture, Texture, Texture: Beyond Smooth Skin
you've got your pumpkin gutted and ready. Instead of sketching out a big, simple face, think about texture. This is where pumpkin carving ideas toothpicks truly shine. You can use the sharp point to create thousands of tiny pinpricks, essentially stippling the surface. Vary the depth and density of the pokes to create shading and dimension. Imagine a gnarled, weathered face, or the scaly skin of a dragon, or even just a cool abstract pattern. You can also use the side of the toothpick to score shallow lines or press in to create small indentations. It's like pointillism for pumpkins. This technique is fantastic for adding age to a character, creating furry or feathery effects, or just giving your gourd a unique, tactile feel that makes people want to touch it (though maybe tell them not to). It takes patience, sure, but the result is far more interesting than a flat cutout.
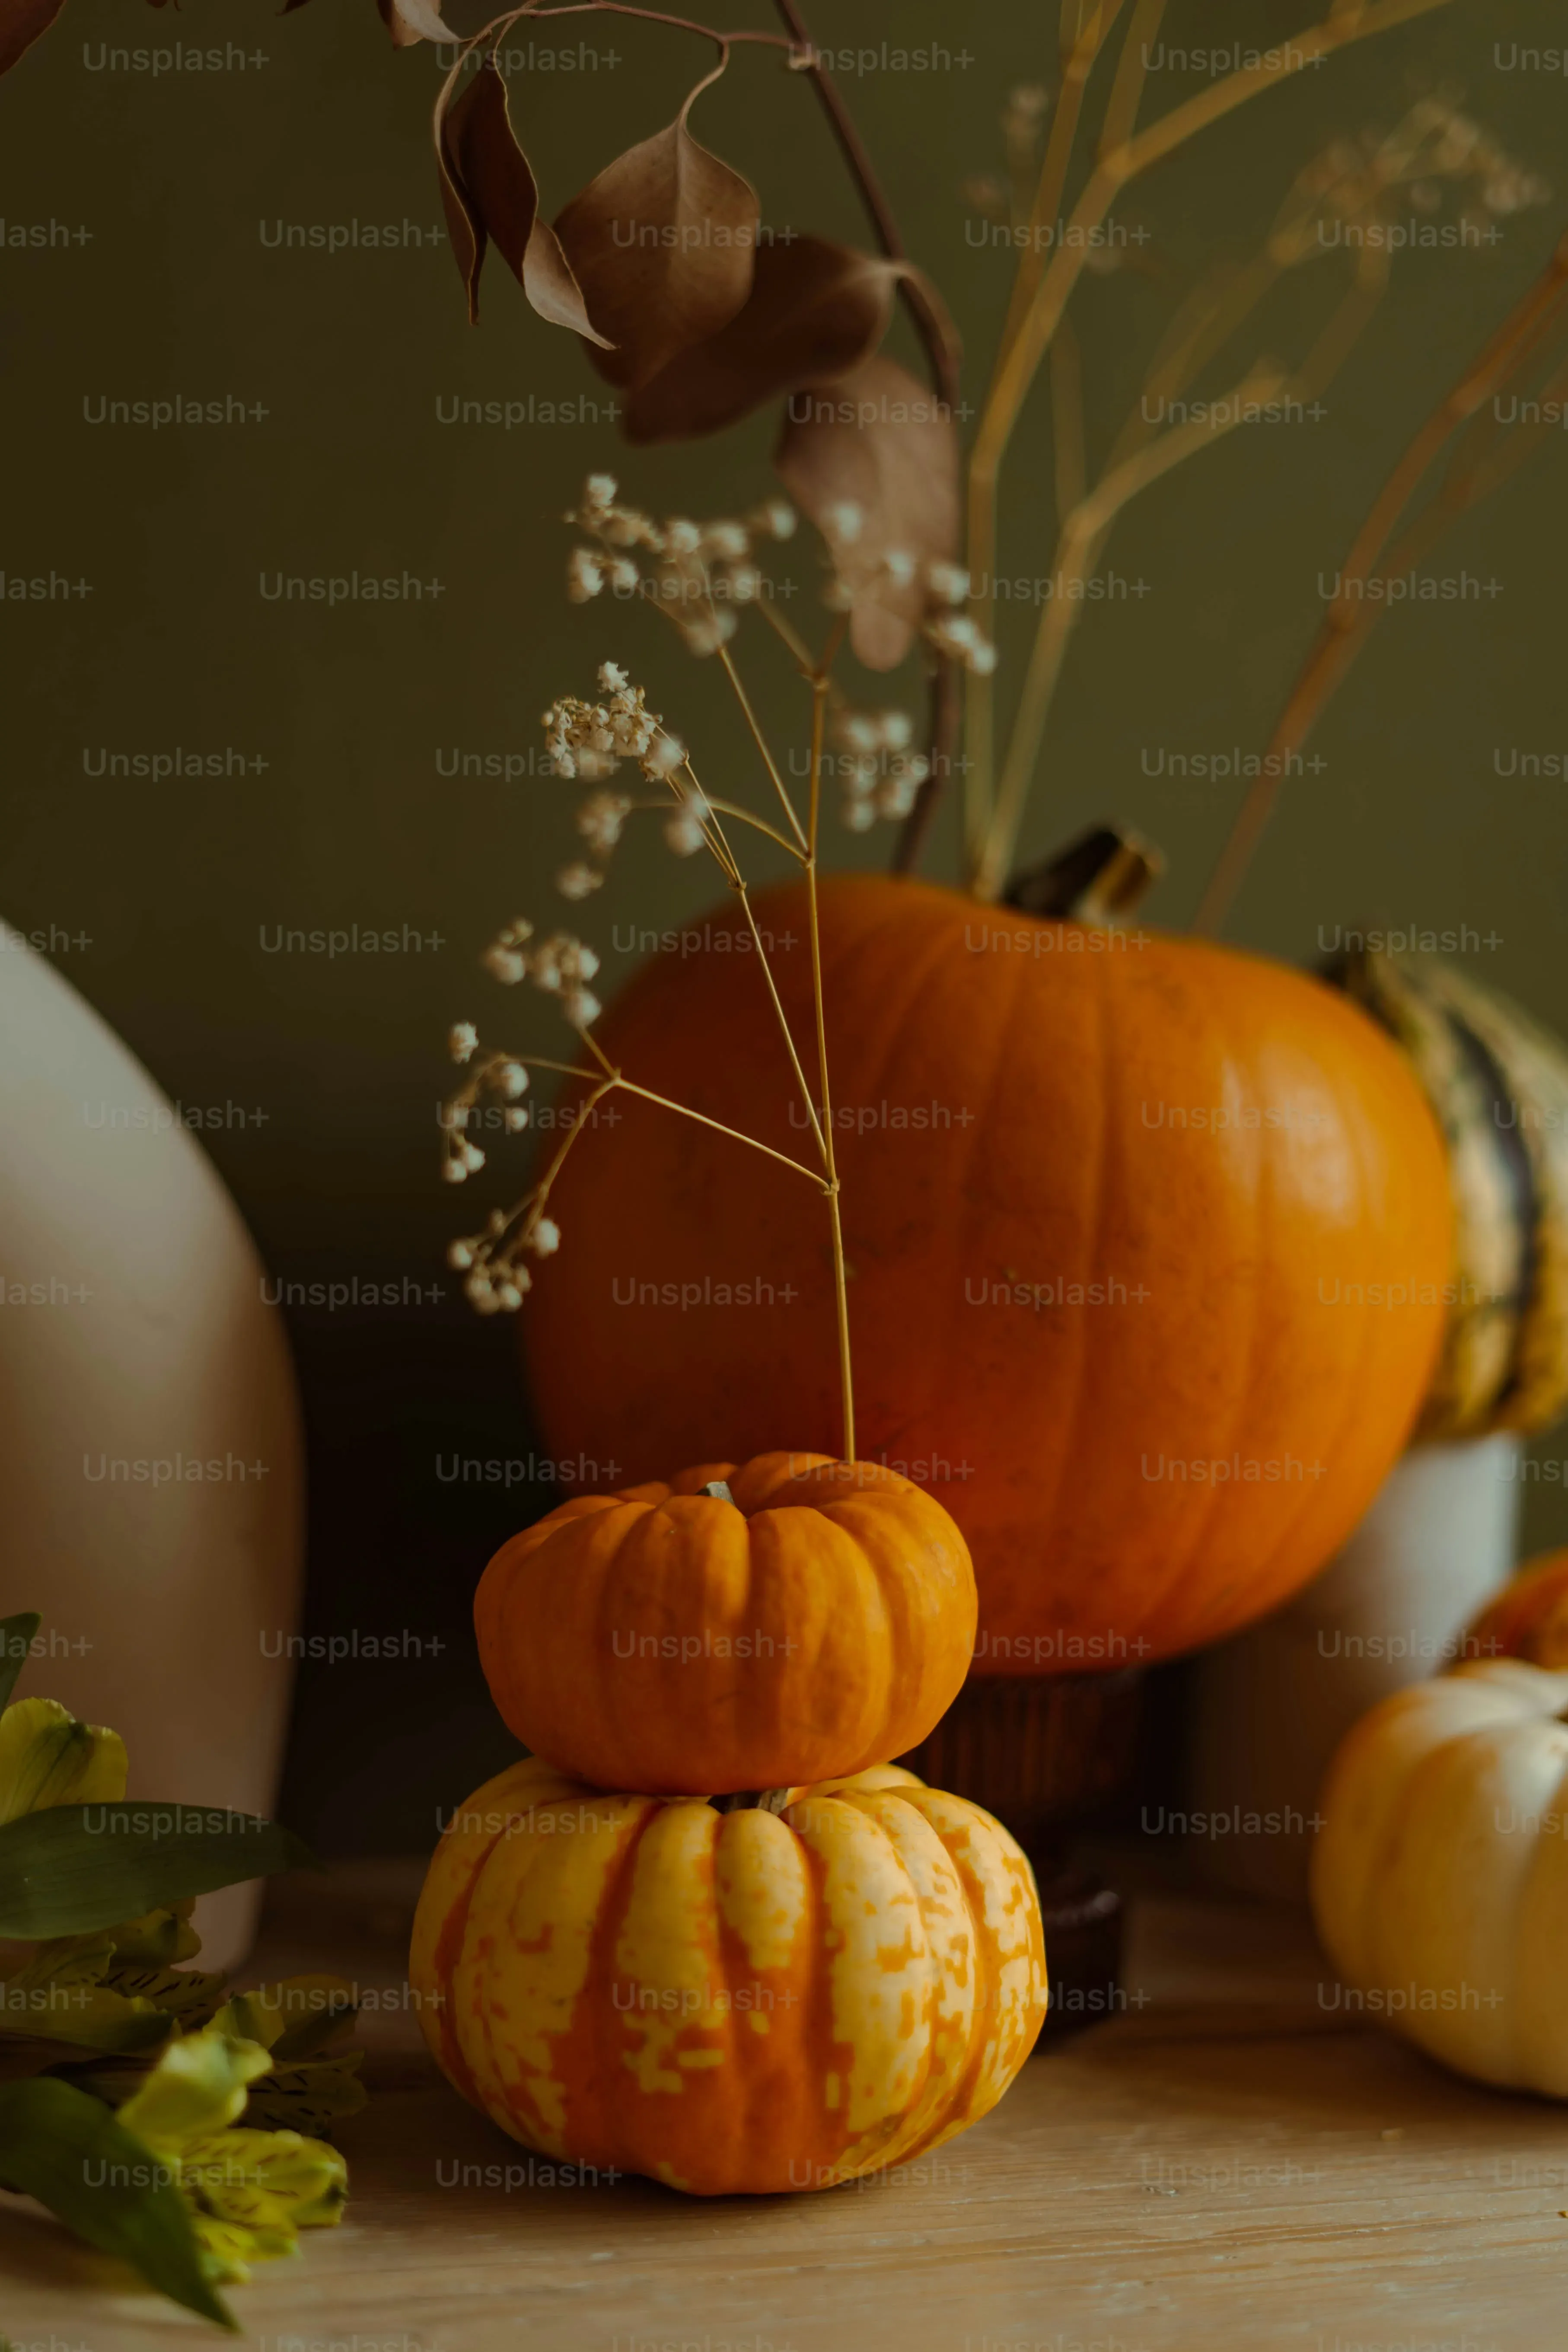
Attaching Features: Giving Your Gourd Some Character
Remember that bit about attaching things? This is where your pumpkin carving ideas toothpicks allow you to go a bit wild. Want a Frankenstein's monster with bolts on the side? Poke toothpicks into some small gourds or even bottle caps and stick 'em on. How about a creature with multiple eyes? Carve or scoop out some smaller pumpkin spheres or use large olives, anchor them with toothpicks, and press them into place. You can build up noses, ears, horns made from trimmed pumpkin scraps, or even give your pumpkin a full head of "hair" using straw or yarn secured with strategic toothpick placement. It breaks the mold of the single-surface design and lets you build outward, creating genuinely sculptural pieces.
So, what can you actually attach?
- Smaller pumpkin pieces (noses, ears, extra eyes)
- Carrots or other firm vegetables (noses, fingers)
- Candy Corn or dried beans (teeth, warts)
- Bottle caps or other small objects (bolts, buttons)
- Yarn, straw, or raffia (hair, texture)
Intricate Patterns and Delicate Details
Knives are clumsy for fine detail. A toothpick, however, is perfect for etching or outlining intricate designs on the pumpkin's surface before any cutting, or even as the primary method of decoration. Think about delicate lace patterns, swirling vines, or complex geometric shapes. You can use a toothpick to trace your design, creating a shallow line that catches the light. For more definition, follow the toothpick line with a slightly larger tool or carefully deepen the etch with the toothpick itself. You can also use a series of closely spaced pokes to create dotted lines or fill in areas with texture. This is particularly effective for creating elegant, non-spooky designs, like fall foliage or abstract art. It takes a steady hand and probably more toothpicks than you think, but the precision you can achieve is unmatched by bulkier carving tools.
Mastering the Details: Tips for Great Pumpkin Carving with Toothpicks
Mastering the Details: Tips for Great Pumpkin Carving with Toothpicks
Alright, so you're ready to get down to the nitty-gritty with those toothpicks. Don't just start jabbing randomly; there's a bit of finesse involved if you want something that looks intentional rather than like it lost a fight with a porcupine. Start with lighter pokes to map out your design or create subtle shading, then go back and deepen or increase density where you want more contrast or texture. Vary the angle you hold the toothpick – a straight poke creates a clean dot, while poking at an angle can lift a tiny flap of skin for a different effect. And seriously, have a small brush or even just your finger handy to wipe away the tiny bits of pumpkin skin that accumulate; they obscure your work and make it hard to see the detail you're creating. Patience is your new best friend here; intricate work takes time, and rushing it usually results in mistakes you can't easily undo.
- Practice different poke depths and angles on a scrap piece first.
- Wipe away pumpkin debris frequently to see your progress clearly.
- Use light pressure to sketch, then increase for definition.
- Consider breaking off the tip slightly for a wider, less sharp mark.
- Work in good lighting to appreciate the subtle textures you're creating.
Finishing Touches: Preserving Your Toothpick Pumpkin Masterpiece
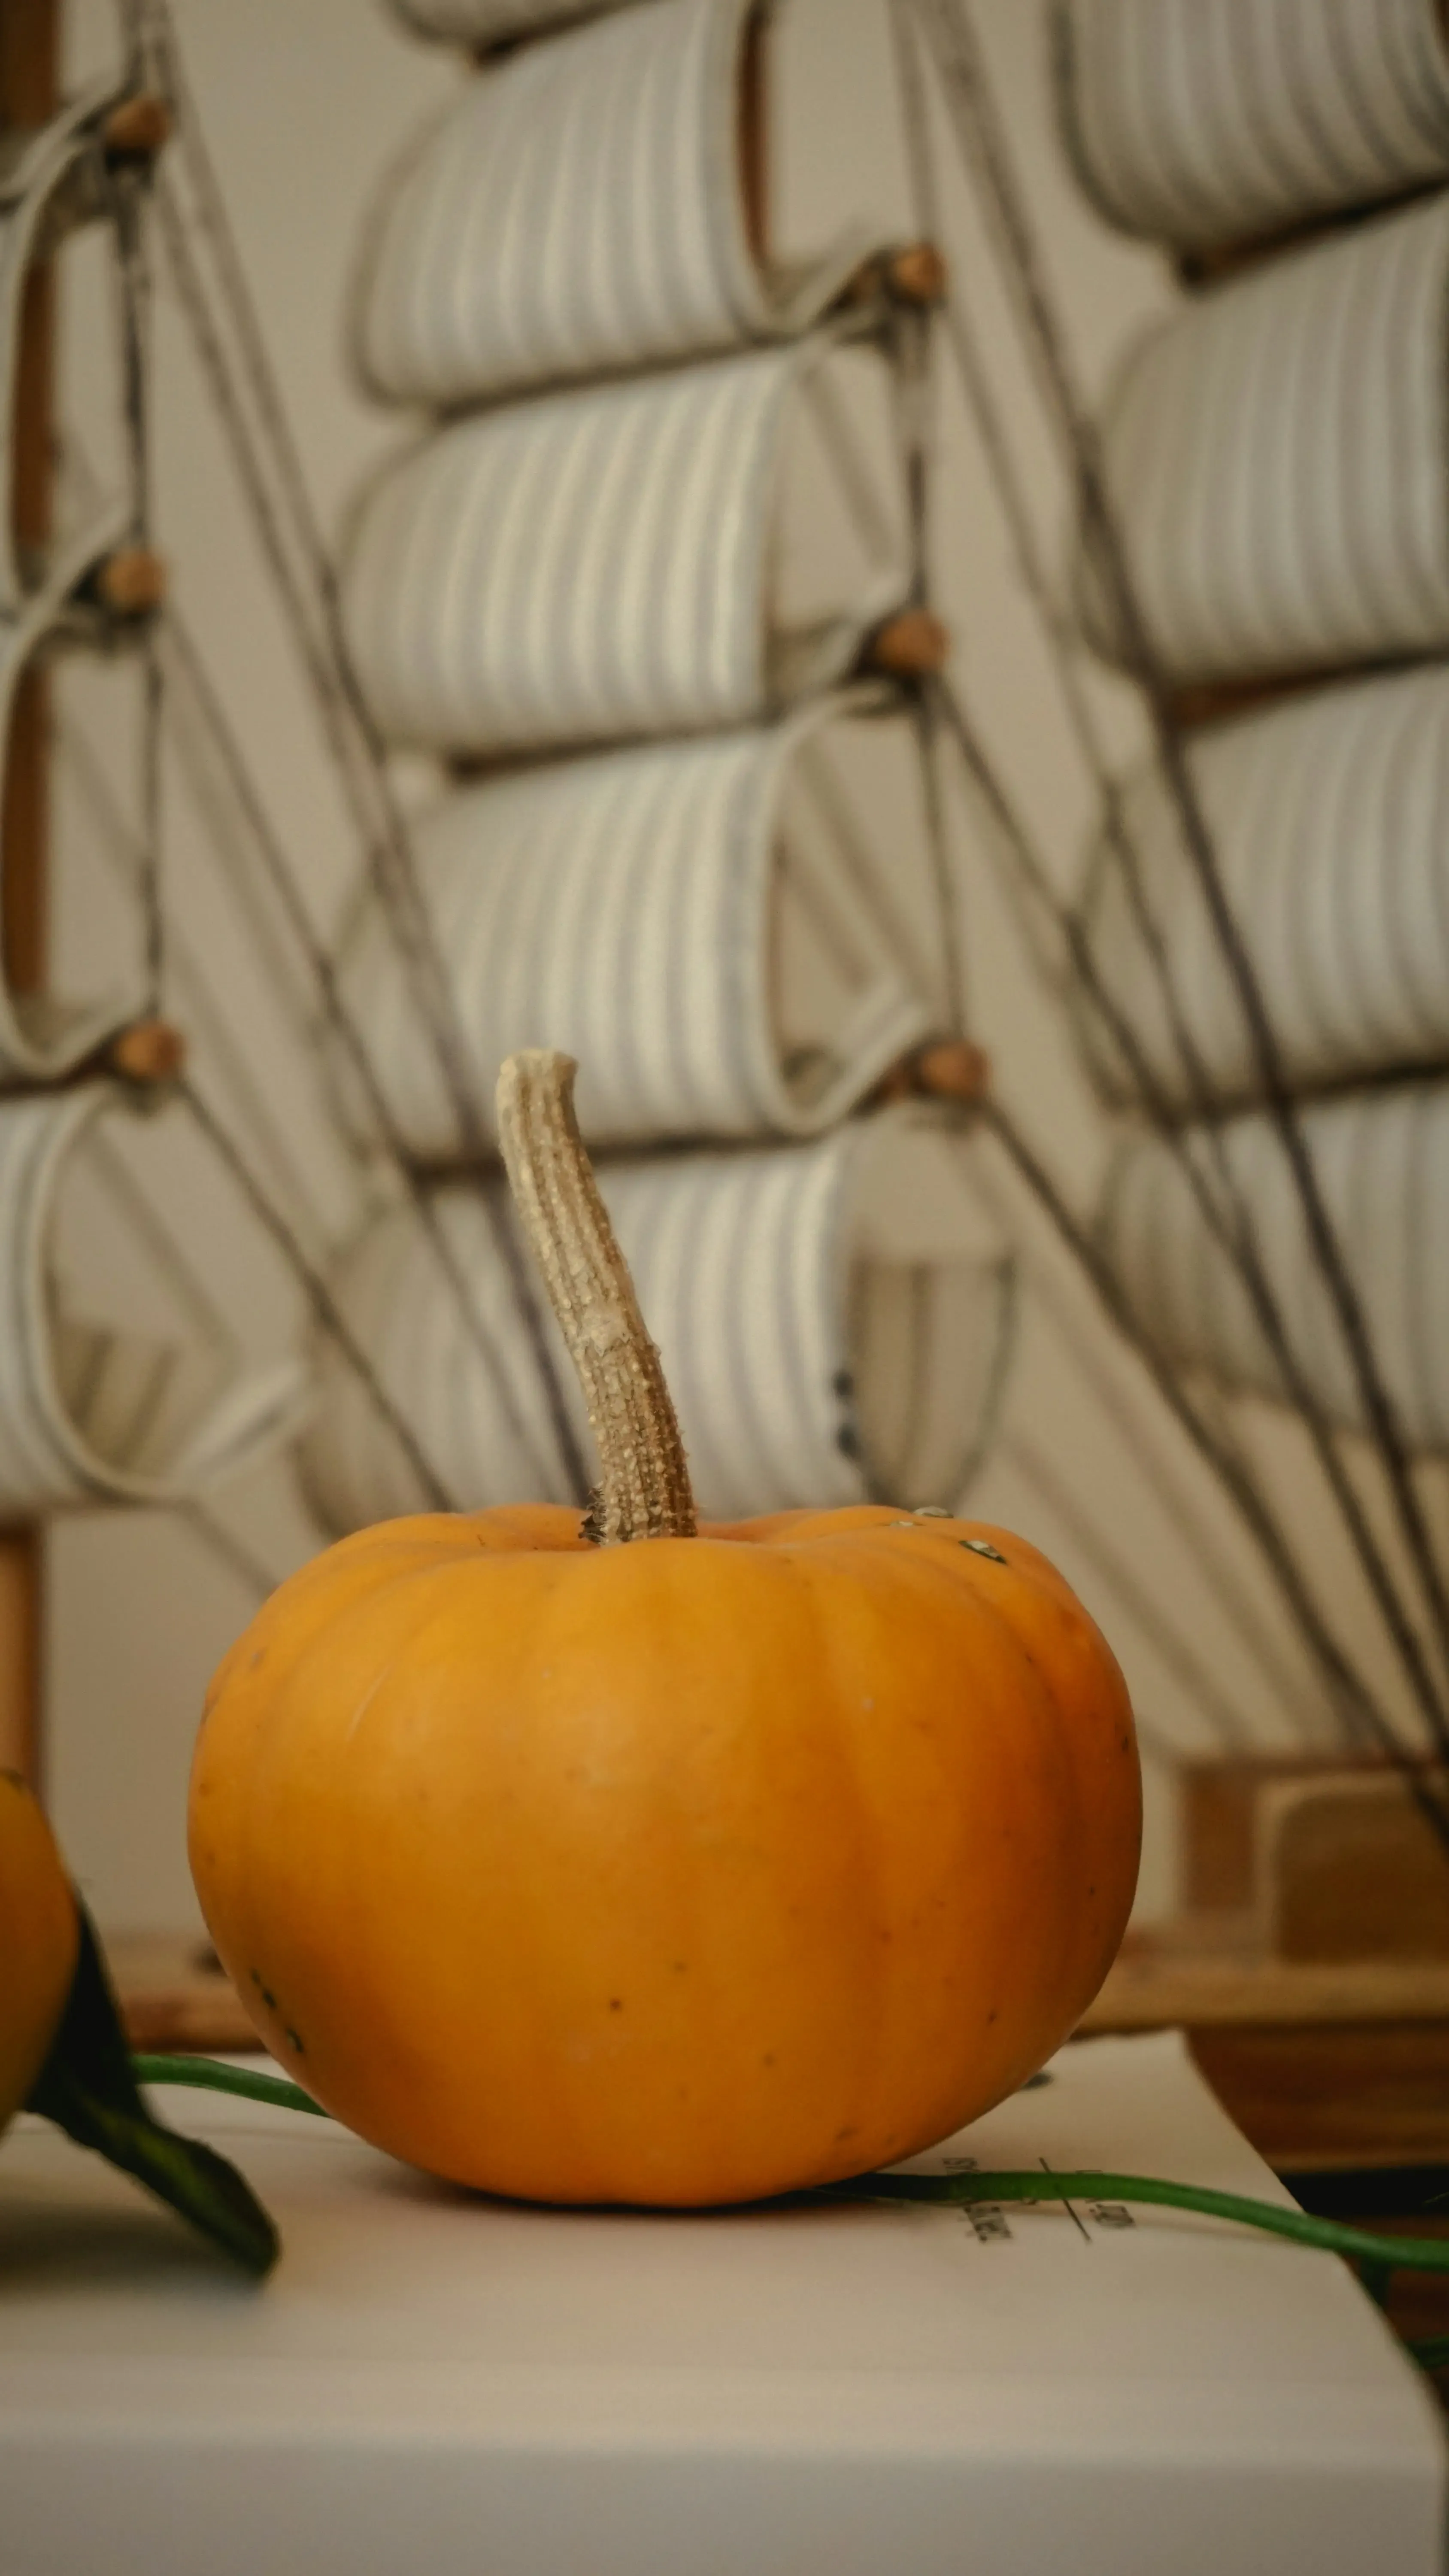
Finishing Touches: Preserving Your Toothpick Pumpkin Masterpiece
Why Your Toothpick Creation Needs a Little TLC
So you've spent hours meticulously poking, prodding, and attaching elements with your trusty toothpicks, creating a pumpkin that's a genuine work of art. Unlike a simple cutout that might just dry out and shrink, your toothpick masterpiece has extra vulnerabilities. All those tiny holes and attached pieces expose more of the pumpkin's flesh to the air, making it dry out faster. Plus, any attached pieces introduce new points where rot or mold can start. Ignoring preservation is basically inviting your cool creation to turn into a sad, shriveled, possibly fuzzy mess way before Halloween arrives. A little effort now means your hard work pays off for the whole season.
Simple Steps to Extend Your Pumpkin's Lifespan
Alright, let's keep that pumpkin looking fresh. The goal is to slow down the drying and discourage mold. A common trick is a bleach solution bath – mix about a tablespoon of bleach per gallon of water and dunk your pumpkin for a few minutes. This kills surface bacteria and mold spores. After the bath, dry it thoroughly. Another method is to spray the entire pumpkin, inside and out, with a commercial pumpkin preservative spray or even just a dilute solution of water and a little dish soap (rinse well). Petroleum jelly or vegetable oil can be lightly applied to cut or poked surfaces to seal in moisture, though be sparing or it can look greasy. Store your pumpkin in a cool, dry place, away from direct sunlight or heat sources, especially if you live in a warmer climate. Bringing it inside during the day and putting it out at night helps too.
- Give it a quick bleach bath (1 tbsp bleach per gallon water).
- Spray with pumpkin preservative or dilute soap solution.
- Apply petroleum jelly or oil to poked areas.
- Keep it cool and dry, out of direct sun.
- Bring indoors during warm days.
Poke Your Way to a Better Pumpkin
So there you have it. Moving beyond the standard carving knife opens up a whole world of detailed, textured, and downright clever pumpkin designs. Using toothpicks isn't just a novel approach; it's a practical one that allows for finer work and less mess. Whether you're creating furry textures, adding horns, or building a mini scene on your gourd, these little wooden tools are surprisingly mighty. Give it a try this year. You might just find your new favorite way to decorate for fall, proving that sometimes, the smallest tool makes the biggest difference in your pumpkin carving ideas toothpicks adventure.