Table of Contents
Alright, let's be honest. Every fall, you see those ridiculously intricate pumpkin carvings online. The ones that look like they took a professional sculptor three days and a tiny chisel set. And maybe you think, "Yeah, that's not happening on my kitchen counter with a dull spoon and a cheap plastic saw." You're probably right. But that doesn't mean you have to settle for a lopsided triangle face that looks more startled than spooky. We're here to tell you that getting a cool-looking jack-o'-lantern without the advanced degree in gourd surgery is totally achievable. This article cuts through the over-the-top designs and gets straight to the point: providing genuinely doable pumpkin carving ideas that are easy. We're talking designs that look good without requiring the dexterity of a brain surgeon or the patience of a saint. We’ll walk you through simple shapes, clever patterns, and even some basic faces that won’t make you want to throw the whole thing in the compost bin. Plus, we’ll toss in some no-nonsense tips to make the carving process itself less of a wrestling match. Ready to ditch the frustration and actually enjoy creating something festive? Keep reading.
Pumpkin Carving Ideas That Are Easy to Start With

Pumpkin Carving Ideas That Are Easy to Start With
Forget the Fancy, Start Simple
Look, the goal here isn't to win some kind of neighborhood pumpkin-off with a glowing replica of the Mona Lisa. We're talking about pumpkin carving ideas that are easy. Seriously easy. Think back to kindergarten art class. You started with circles, squares, and maybe some wavy lines, right? Apply that logic to your gourd. Instead of trying to freehand a complex character face, begin with basic geometric shapes. Simple triangles for eyes and a jagged line for a mouth? Classic, effective, and takes about five minutes. How about just cutting out different sized circles for eyes and a nose? You can make a surprised look, a sleepy look, all with just circles. Or try simple crescent shapes for eyes and a smile. These foundational shapes are your best friends when you're just getting your hands dirty (literally) with pumpkin carving.
Tools Matter, But Keep it Basic
You don't need a full surgical kit to pull off pumpkin carving ideas that are easy. A basic, inexpensive pumpkin carving kit usually comes with a small serrated saw-like tool and a scoop. That's honestly plenty to get started. The little saw is surprisingly effective for cutting through the pumpkin wall, and the scoop, well, you'll be using that a lot to get all that goop out. Don't overthink the tools initially. Get a feel for how the saw cuts and how much pressure you need. Practice on a small, less visible spot if you're nervous. The key is steady, controlled movements, not brute force. Pushing too hard is how you slip and end up with an accidental extra eye or, worse, stitches. Slow and steady wins the pumpkin race.
- Triangle eyes, triangle nose, jagged mouth
- Different sized circle cutouts for varying expressions
- Simple crescent shapes for eyes and mouth
- Basic geometric patterns (stars, squares, diamonds)
- Single initial or number cut out
Quick and Simple Pumpkin Face Carving
Quick and Simple Pumpkin Face Carving
Faces in a Flash: No Art Degree Required
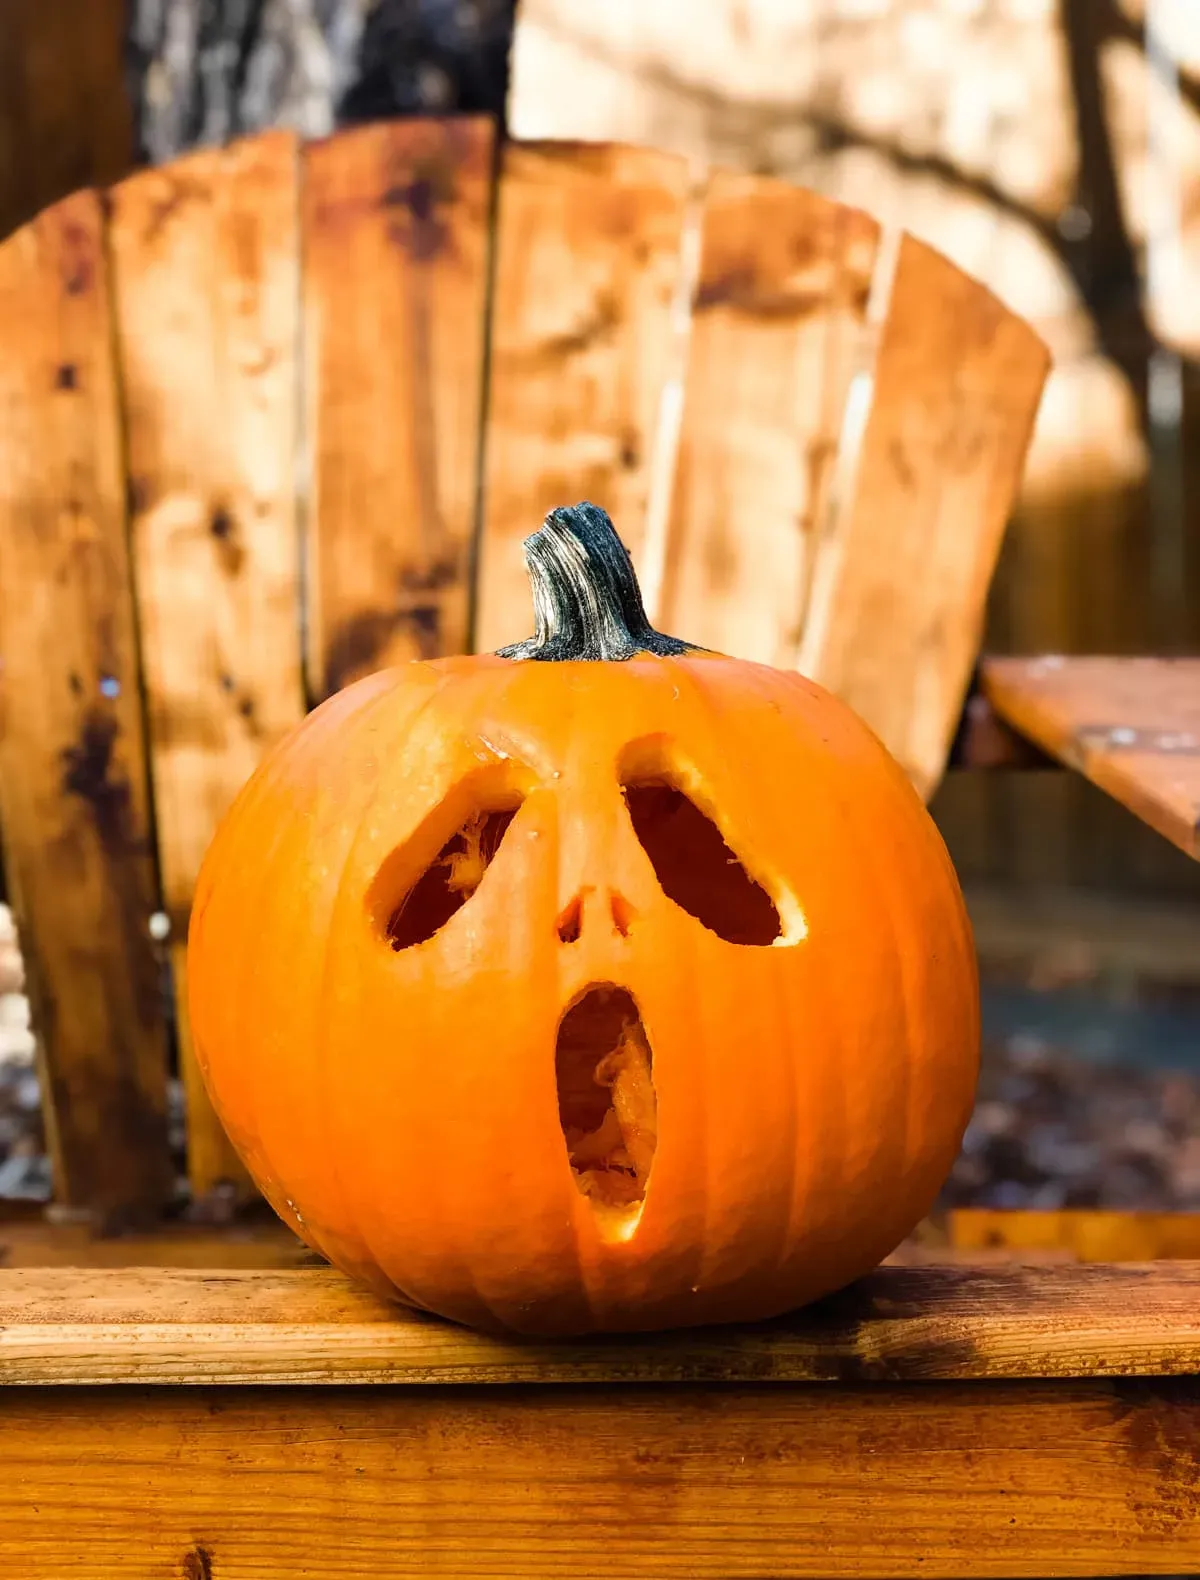
So, you've got your pumpkin, you've scooped out the guts (the least glamorous part, let's be real), and you're holding that little saw. Now what? Forget trying to replicate some viral masterpiece. We're focusing on Quick and Simple Pumpkin Face Carving. Think classic, think easy, think "I can do this before the pizza gets here." The beauty of a simple jack-o'-lantern face is its timeless appeal and, more importantly, its forgiving nature. A slightly crooked eye just adds character, right? Start with those basic shapes we talked about – triangles, circles, crescents. You can sketch them directly onto the pumpkin with a dry-erase marker (it wipes off if you mess up) or even just eyeball it if you're feeling brave.
Making expressions is easier than you think with just a few cuts. Wide circles for eyes and an 'O' shape for a mouth gives you a surprised look. Slanted triangles pointed inwards create an angry or spooky vibe. Simple crescent shapes turned down make a sad or grumpy face, while turned up they give you a smile. The key is to keep the shapes large and separate enough that they're easy to cut out without the pumpkin wall collapsing. Don't fuss over perfect symmetry; pumpkins aren't symmetrical anyway. Embrace the slightly wonky look; it's part of the charm of Quick and Simple Pumpkin Face Carving.
What's the quickest face you can carve?
- Two circles for eyes, one circle for a mouth. Done.
- Two triangles for eyes, a small triangle for a nose, a jagged line for a mouth. Classic.
- Slits for eyes, a simple oval for a mouth. Minimalist and eerie.
- A single large circle for a cyclops eye and a wide, grinning mouth.
You don't need stencils for these basic faces. Just draw them on and cut. It's liberating, honestly, not being tied to a complicated template. This approach is all about getting a decent, festive result with minimum fuss and maximum speed. Because let's face it, there are other Halloween things to do, like figuring out what costume you're actually going to wear five minutes before the party.
Beyond Faces: Easy Shape & Pattern Carving
Beyond Faces: Easy Shape & Pattern Carving
Patterns That Don't Require a Protractor
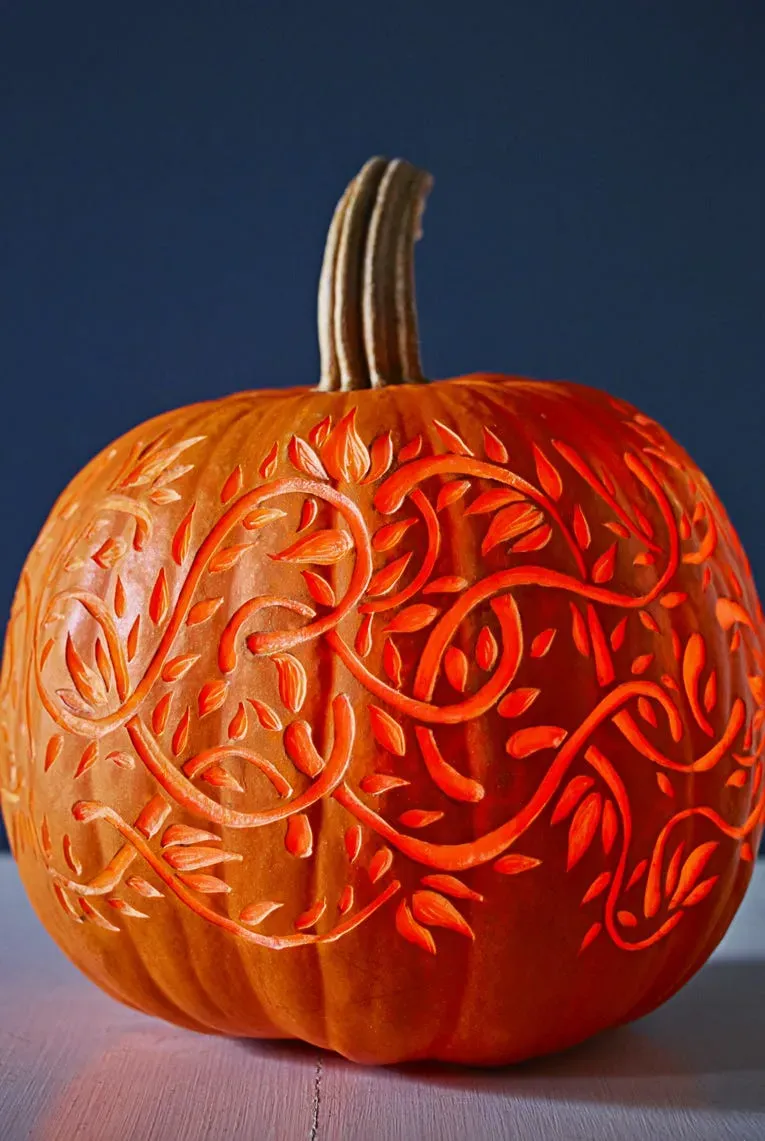
so maybe you're feeling a little more adventurous than just a basic face, but you're still not ready for a full-blown haunted house scene etched into a gourd. No problem. Pumpkin carving ideas that are easy extend well beyond just eyes and mouths. Think simple patterns. Cutting out stars, moons, or even just random sized dots can look surprisingly cool when lit up. You can scatter different sized circles all over the pumpkin for a sort of bubbly, abstract look. Or try a repeating pattern of simple shapes – maybe rows of small squares or diamonds. These are easy to mark out with a pen or even just freehand if you've got a steady hand and a low standard for perfection (which, honestly, is the best way to approach easy pumpkin carving). It’s less about intricate detail and more about creating interesting negative space that lets the light shine through.
Transferring Simple Designs Without Tears
If freehanding makes you break into a cold sweat, don't worry. You can totally use a simple template for Beyond Faces: Easy Shape & Pattern Carving. But forget those super detailed stencils that look like they belong on a tattoo artist's wall. We're talking simple outlines. Print out some basic shapes, like stars, bats, or even just block letters if you want to carve your initial. Tape the paper onto the pumpkin. Then, use a pin, a sharp pencil, or one of those pokey tools from the carving kit to poke holes along the outline of your shape. Keep the holes fairly close together. When you remove the paper, you'll have a dotted line on the pumpkin surface that you can easily follow with your saw. This method is way less frustrating than trying to trace with a marker, and it works like a charm for keeping your easy pumpkin carving ideas, well, easy. Just connect the dots, literally.
- Scatter different sized circular holes.
- Carve rows of simple geometric shapes (squares, triangles, diamonds).
- Cut out star or moon shapes.
- Use a simple stencil for a repeating pattern.
- Carve block letters or numbers.
Expert Tips for Pumpkin Carving Success (Even for Beginners)

Expert Tips for Pumpkin Carving Success (Even for Beginners)
Don't Rush It: Expert Tips for Pumpkin Carving Success (Even for Beginners)
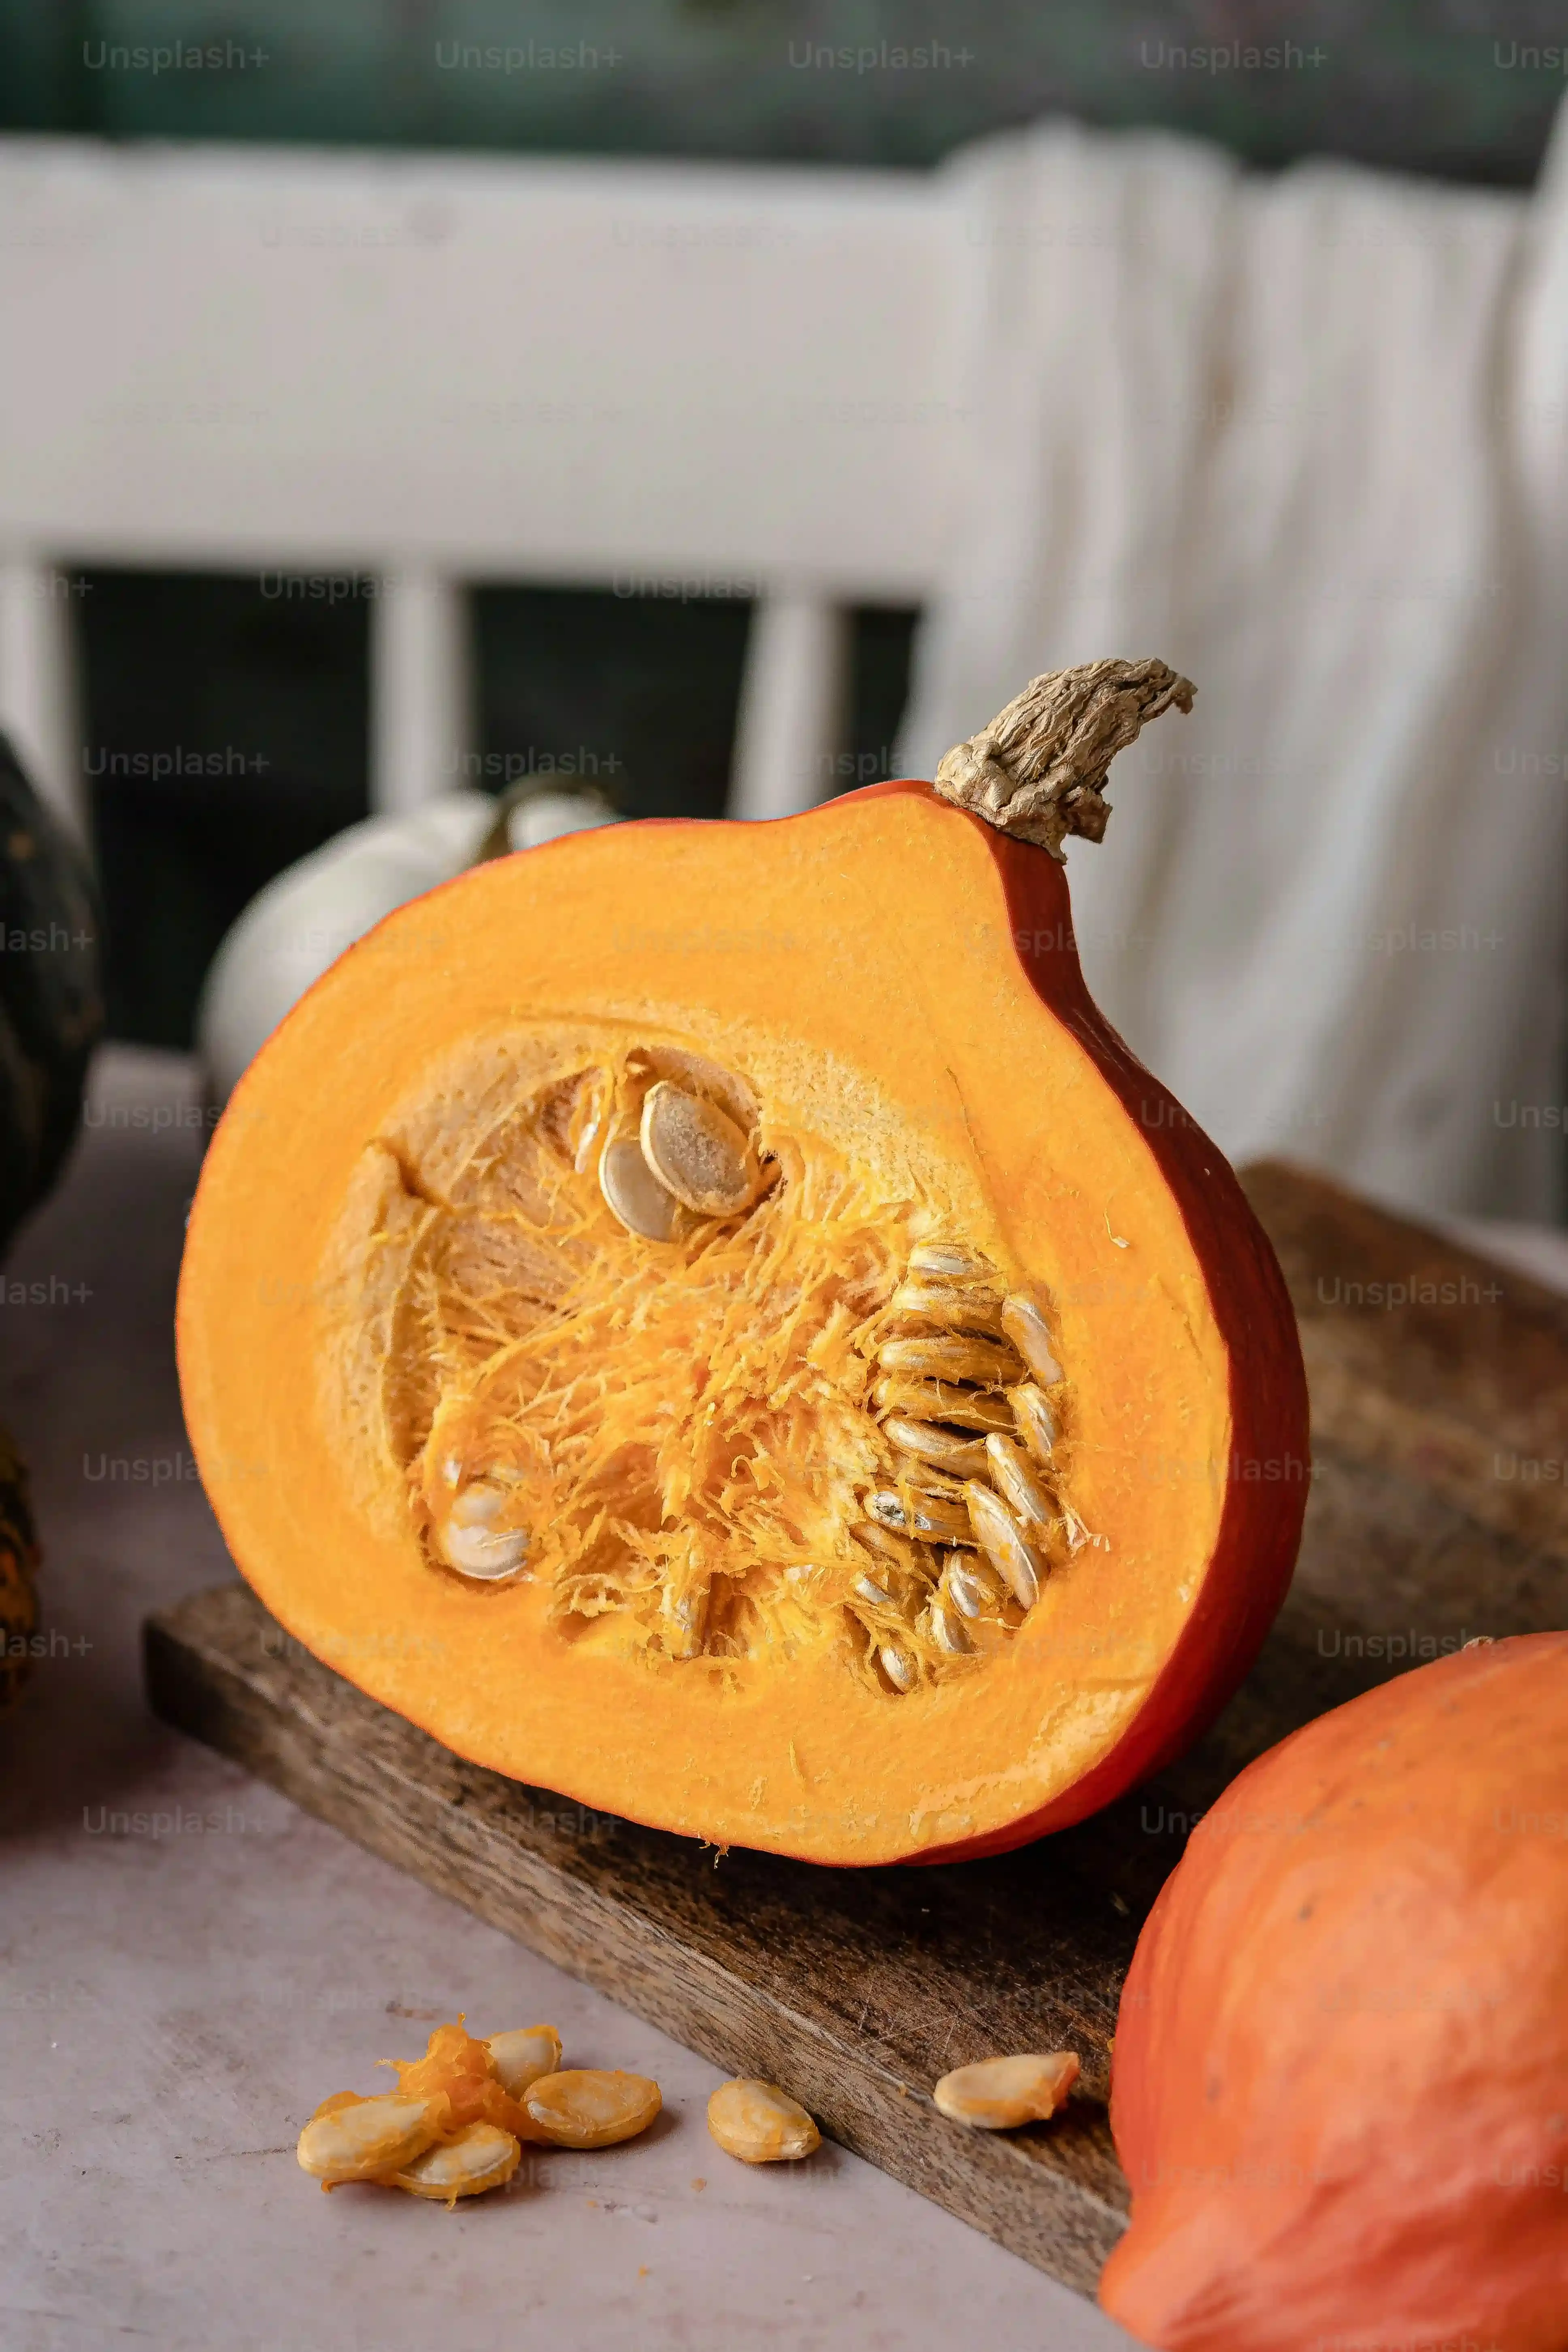
Alright, so you've got your simple design picked out. Now for the actual carving part. This is where things can go sideways if you're not paying attention. First tip, and this sounds obvious but people skip it: clean out the inside *thoroughly*. Get all the strings and seeds out. Use that scoop tool, or even a large metal spoon from your kitchen drawer. The smoother the inside wall, the easier it is to cut through cleanly. Don't leave any thick spots or dangly bits. Think of it like clearing the deck before you start construction. Also, when you're cutting, use a gentle back-and-forth sawing motion with that little carving tool, not a straight push. It’s like cutting bread with a serrated knife – the sawing action does the work, not brute force. And for the love of all that is spooky, cut *away* from yourself. Seriously, nobody wants a trip to the emergency room because a pumpkin got the better of them. Take your time, follow your lines (or dots), and if a piece isn't popping out easily, don't force it. Wiggle the tool a bit, or come at it from a different angle. Patience prevents pumpkin-related injuries.
Keeping Your Easy Pumpkin Carving Ideas Looking Fresh
Keeping Your Easy Pumpkin Carving Ideas Looking Fresh
Seal the Deal: Post-Carving Care
You spent all that time hollowing out the pumpkin and carefully making those easy cuts. The last thing you want is for your masterpiece to start looking sad and shriveled after just a day or two. Keeping Your Easy Pumpkin Carving Ideas Looking Fresh starts the moment you finish carving. Once the design is cut out and you’ve cleaned up the stringy bits inside, you need to protect those exposed edges. The air immediately starts drying them out, which leads to that dreaded curling and shrinking. A simple, effective trick is to rub petroleum jelly (like Vaseline) onto all the cut surfaces. Don't be shy with it. Get it right in there. This creates a barrier that locks in some of the pumpkin's natural moisture and slows down the drying process considerably. Think of it as sunscreen for your pumpkin, but instead of preventing burns, it prevents wrinkles.
Hydration is Key (Yes, for Pumpkins Too)
Even with the petroleum jelly, your pumpkin is still a piece of organic matter that prefers not to dry out completely. To really boost its longevity and keep your Keeping Your Easy Pumpkin Carving Ideas Looking Fresh for as long as possible, consider giving it a little hydration boost. Some people swear by giving the whole carved pumpkin a quick dunk in a bath of cold water for a few hours every couple of days. This helps it reabsorb some moisture. Another method is to periodically mist the inside of the pumpkin with a spray bottle filled with water. Just a light misting, you don't want to create a swamp in there. Keeping the inside slightly damp helps maintain the pumpkin's structure. Remember, a well-hydrated pumpkin is a happy pumpkin, and a happy pumpkin doesn't look like it's melting on your porch.
What helps keep a carved pumpkin from shriveling?
- Rubbing petroleum jelly on cut edges.
- Misting the inside with water.
- Giving the pumpkin a brief cold water bath.
- Applying vegetable oil or cooking spray to cut surfaces.
Location, Location, Location
Where you put your pumpkin after carving makes a huge difference in how long it lasts and keeps your easy pumpkin carving ideas looking their best. Direct sunlight is the enemy. It acts like a dehydrator, sucking the moisture right out and accelerating the decay process. Same goes for heat sources, like being too close to a porch light that generates heat, or heaven forbid, inside next to a radiator. Cool, shady spots are ideal. A covered porch that doesn't get direct sun is perfect. If you live in a warmer climate, bringing the pumpkin inside overnight or when temperatures spike can add days to its life. I once left a particularly good one out on a sunny step in late October during an unseasonable warm spell. By Halloween night, it looked like a deflated orange balloon with sad, floppy eyes. Learn from my mistakes. Choose a spot that’s cool and out of the sun, and your simple carved creation will stand a much better chance of making it to the big night looking respectable.
Wrapping Up Your Easy Pumpkin Projects
So there you have it. Proof that you don't need to be Michelangelo with a paring knife to make a decent-looking jack-o'-lantern. We've covered designs that won't make your hands cramp or your spirit wilt. Remember, the goal is festive, not flawless. A slightly wobbly line or an off-center eye isn't a failure; it's character. Grab a gourd, pick an idea that doesn't look like a homework assignment, and give it a shot. You might surprise yourself. Or you might end up with something vaguely alarming but still perfectly functional for holding a candle. Either way, you've participated, and isn't that what they say matters? Now go forth and carve something that doesn't require an engineering degree.