Table of Contents
Ready to take your jack-o'-lantern game to the next level? Forget those same old triangle eyes and crooked smiles. This Halloween, it's all about the teeth! We're diving headfirst into the wonderfully weird world of pumpkin carving ideas teeth. Whether you're aiming for a goofy grin, a menacing monster, or a set of vampire fangs that would make Dracula jealous, adding teeth to your pumpkin carvings is a surefire way to make your creation stand out from the patch.
Why Add Teeth to Your Pumpkin Carvings? A Grinning Guide
Why Add Teeth to Your Pumpkin Carvings? A Grinning Guide
Unleash the Character: Beyond the Basic Jack-o'-Lantern
Let's be honest, traditional jack-o'-lanterns are, well, a little predictable. Triangle eyes, a square nose, and a simple, toothless grin? It's been done a million times. Adding teeth instantly injects personality and character into your pumpkin. Think about it: a set of sharp, pointy fangs transforms your pumpkin into a menacing vampire, while a goofy, buck-toothed smile gives it a charmingly silly vibe. It's a simple way to elevate your carving from basic to brilliant.
Plus, teeth offer a fantastic opportunity to play with different expressions. A wide, toothy grin can convey joy and excitement, while a snarling set of jagged teeth can create a truly terrifying visage. The possibilities are endless, and it's all about letting your imagination run wild.
The Humor Factor: Adding a Dose of the Unexpected
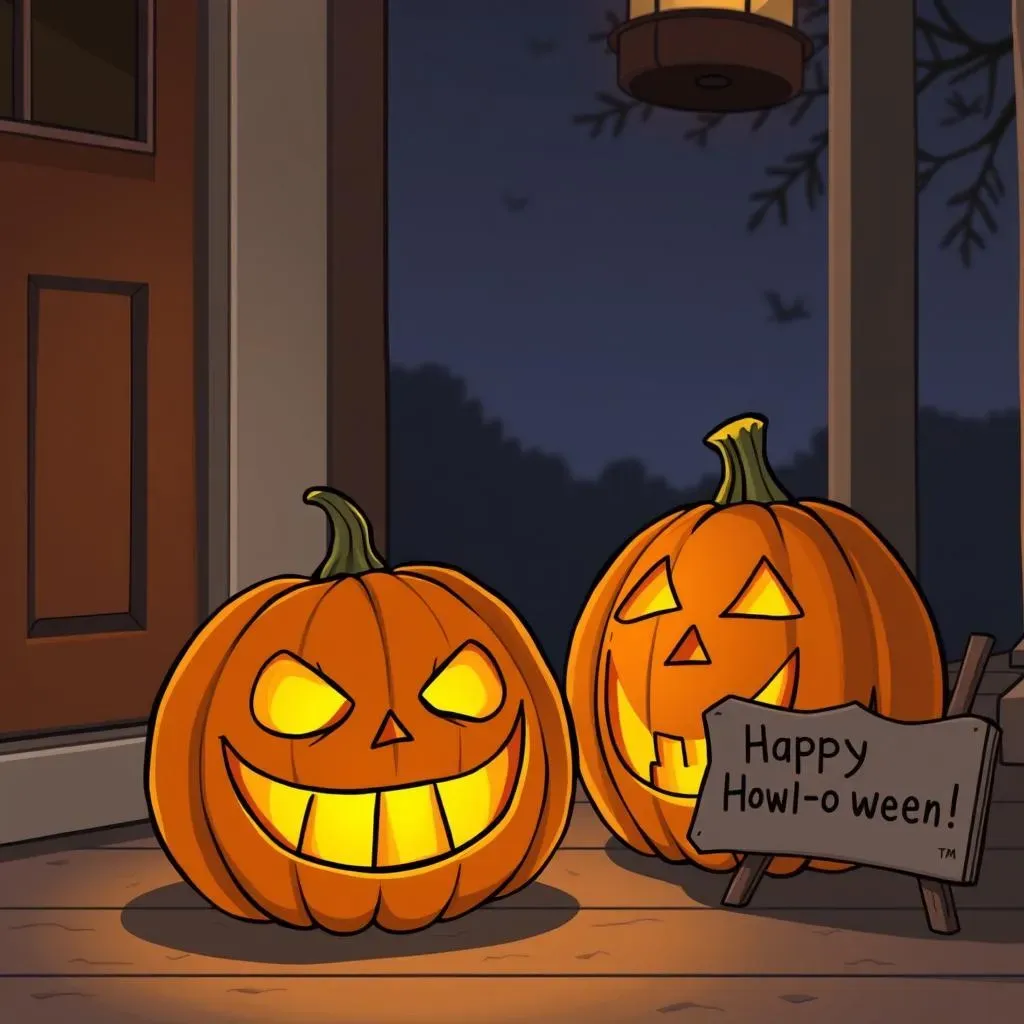
Halloween is all about spooky fun, and what's more fun than a good laugh? Incorporating teeth into your pumpkin carvings is a guaranteed way to elicit a chuckle from trick-or-treaters and passersby. Imagine a pumpkin with oversized, goofy teeth or a single, prominent bucktooth. It's unexpected, it's silly, and it's sure to bring a smile to people's faces. After all, who says Halloween decorations have to be scary all the time?
Consider adding a funny quote or caption to go along with your toothy creation. Something like "Happy Howl-o-ween!" or "Trick or Treat... for Braces!" can amplify the humor and make your pumpkin even more memorable.
Distraction Tactics: Hiding Imperfections with a Grin
let's be real: not all of us are master pumpkin carvers. Sometimes, our carving skills are a little... less than perfect. Maybe you accidentally made a jagged cut, or your lines aren't as clean as you'd like. Fear not! Teeth can come to the rescue. A strategically placed set of chompers can cleverly disguise any imperfections in your carving. They draw the eye away from those wobbly lines and focus attention on the overall character of the pumpkin.
Think of it as a clever optical illusion. The teeth become the focal point, and any minor mistakes fade into the background. It's a win-win situation: you get a unique and eye-catching pumpkin, and no one will ever know about that little carving mishap.
Pro Tip:
- Use varying sizes and shapes of teeth to create a more dynamic and interesting look.
- Experiment with different materials for your teeth, such as painted wood, plastic fangs, or even candy corn.
- Don't be afraid to get creative and have fun! The more unique and imaginative your teeth, the better.
Pumpkin Carving Ideas: From Simple Smiles to Fearsome Fangs
Pumpkin Carving Ideas: From Simple Smiles to Fearsome Fangs
The Classic Grin: Simple and Spooky
Let's start with the basics, shall we? A classic jack-o'-lantern grin is always a crowd-pleaser. But instead of just carving out simple squares, think about adding some character to those teeth. Try making them different sizes and shapes, or angling them slightly for a more mischievous look. You can even add gaps between the teeth for a more realistic (and slightly unsettling) effect. Remember, it's all in the details!
For a fun twist, consider using a stencil to create a more intricate smile. There are tons of free stencils available online, from simple grins to more elaborate designs. Just tape the stencil to your pumpkin and use a poking tool to transfer the design before you start carving. This is a great option if you're looking for a more polished and professional look.
Unleash the Fangs: Vampire and Monster Pumpkins
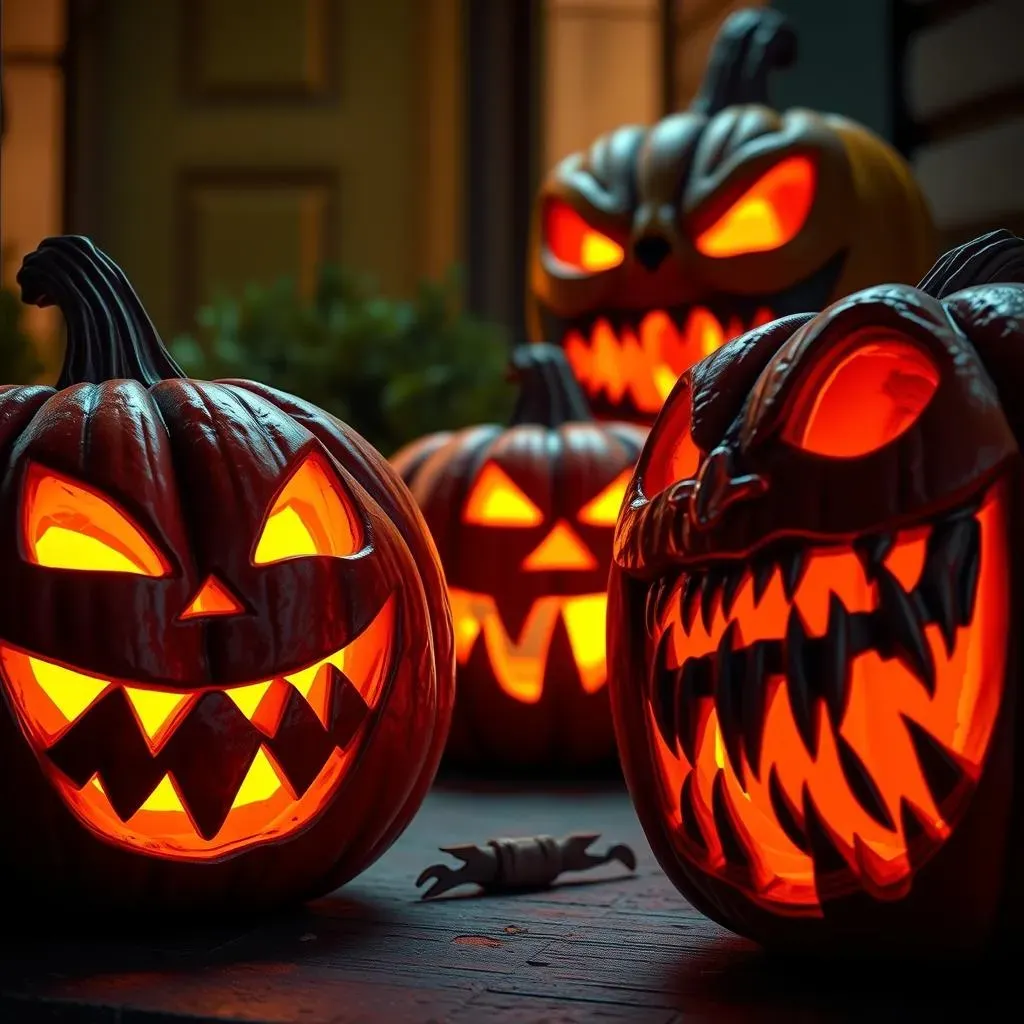
Ready to get a little more sinister? Vampire and monster pumpkins are a fantastic way to add some serious spook factor to your Halloween decorations. For a vampire pumpkin, focus on creating sharp, pointy fangs that protrude menacingly from the corners of the mouth. You can even use craft foam or plastic fangs to create a more dramatic effect. Don't forget to add some blood dripping from the fangs for extra gore!
Monster pumpkins offer even more room for creativity. Think jagged, uneven teeth, oversized chompers, and maybe even a few missing teeth for a truly monstrous look. You can also incorporate other spooky elements, such as glowing eyes, scars, and stitches, to complete the transformation. Let your imagination run wild and create a monster that's sure to scare the pants off your trick-or-treaters!
DIY Pumpkin Teeth: Crafting Chompers from Everyday Items

DIY Pumpkin Teeth: Crafting Chompers from Everyday Items
Candy Corn Creations: Sweet and Spooky
Who knew your Halloween candy could double as crafting supplies? Candy corn is a fantastic and readily available option for creating simple, yet effective, pumpkin teeth. The natural shape of candy corn lends itself perfectly to creating fangs or small, pointy teeth. Simply press the pointed end of the candy corn into the pumpkin's flesh to create a sweet and spooky grin. For added stability, you can secure them with toothpicks.
Want to get a little more creative? Try using different colors of candy corn to create a multicolored smile, or break the candy corn in half to make smaller, more jagged teeth. You can even melt the candy corn slightly and mold it into different shapes for a truly custom look. Just be sure to let it cool completely before attaching it to your pumpkin.
Craft Foam Chompers: Durable and Customizable
For a more durable and long-lasting option, craft foam is your best bet. This versatile material can be easily cut into any shape you desire, making it perfect for creating custom pumpkin teeth. Simply draw your desired tooth shapes onto the craft foam and cut them out with scissors or a craft knife. You can then attach the teeth to your pumpkin using hot glue or toothpicks.
Craft foam comes in a wide variety of colors, so you can easily match your teeth to your pumpkin's color scheme or create a contrasting look. You can also add details to the teeth with markers or paint to make them even more realistic (or unrealistic, depending on your desired effect). For added durability, consider using thicker craft foam or layering multiple pieces together.
Material | Pros | Cons |
|---|---|---|
Candy Corn | Easy to find, edible, adds color | Attracts bugs, not very durable |
Craft Foam | Durable, customizable, various colors | Requires cutting, may need glue |
Cardboard | Recycled, paintable, sturdy | Can get soggy, needs sealant |
Cardboard Creations: Recycled and Resourceful
Looking for a budget-friendly and eco-conscious option? Look no further than your recycling bin! Cardboard is a readily available material that can be easily transformed into pumpkin teeth. Simply cut out your desired tooth shapes from cardboard boxes or packaging and paint them with acrylic paint. Once the paint is dry, you can attach the teeth to your pumpkin using hot glue or toothpicks.
Cardboard teeth are surprisingly durable and can withstand the elements better than you might think. To make them even more weather-resistant, consider sealing them with a clear coat of varnish or lacquer. You can also add texture to the teeth by crumpling or scoring the cardboard before painting it. This will give them a more realistic and rugged look.
Beyond the Basic Bite: Advanced Pumpkin Carving Techniques with Teeth
Beyond the Basic Bite: Advanced Pumpkin Carving Techniques with Teeth
3D Teeth: Adding Dimension and Realism
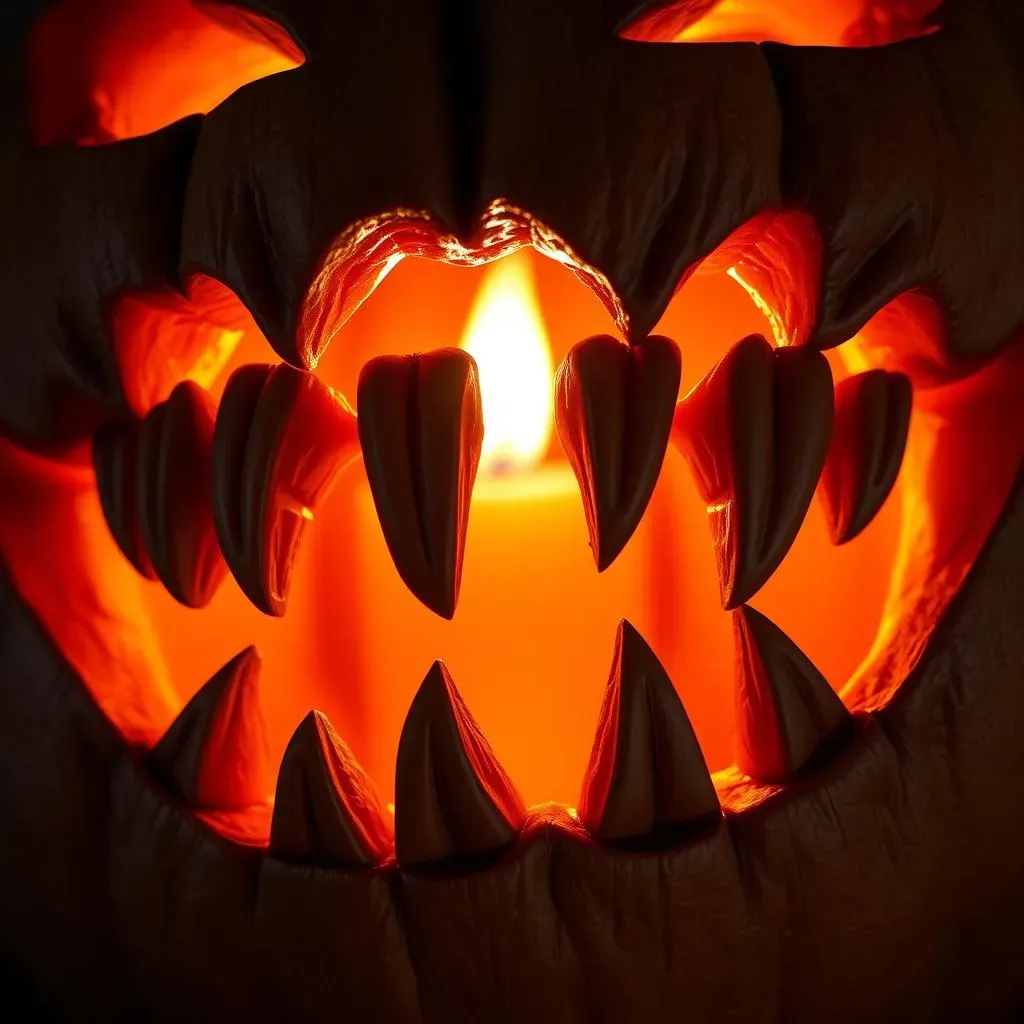
Alright, so you've mastered the basic tooth insertion. Let's crank things up a notch! Instead of just sticking flat teeth onto your pumpkin, why not create some three-dimensional chompers that really pop? This involves a bit more carving skill, but the results are totally worth it. Start by carving out the general shape of the teeth, leaving a little extra pumpkin around the edges. Then, use your carving tools to round out the teeth, creating a more realistic and dimensional look. You can even use a small spoon or scoop to hollow out the backs of the teeth, making them appear even more three-dimensional.
For an extra touch of realism, consider adding some texture to the teeth. Use a small carving tool or a wood-burning tool to create subtle lines and ridges that mimic the natural texture of teeth. You can also use sandpaper to smooth out any rough edges and give the teeth a more polished look.
Light and Shadow: Emphasizing the Grin
you've got your awesome 3D teeth, but how do you make them really stand out? The answer: light and shadow! By strategically using light and shadow, you can create depth and dimension in your pumpkin carving, emphasizing the grin and making it even more eye-catching. Start by carving out small grooves or indentations around the teeth. These grooves will catch the light, creating highlights that make the teeth appear brighter and more prominent. Then, use a darker paint or stain to fill in the shadows around the teeth, creating contrast and depth.
You can also use different types of lighting to create different effects. A bright, focused light will create sharp, dramatic shadows, while a softer, diffused light will create more subtle and nuanced shadows. Experiment with different lighting options to see what works best for your pumpkin carving.
Technique | Description | Effect |
|---|---|---|
Groove Carving | Carve small grooves around teeth | Creates highlights and depth |
Shadow Painting | Apply dark paint to shadow areas | Enhances contrast and dimension |
Light Manipulation | Use various light sources | Changes mood and emphasis |
Animating the Chompers: Making Them Move
Want to really blow people's minds? Try animating your pumpkin's teeth! This involves a bit of engineering, but the results are seriously impressive. One simple method is to attach the teeth to small hinges or pivots, allowing them to move independently. You can then use a small motor or a hand crank to control the movement of the teeth, creating a dynamic and eye-catching display.
Another option is to use LEDs to light up the teeth in sequence, creating the illusion of movement. This is a great way to add a high-tech touch to your pumpkin carving. You can even program the LEDs to flash or change color in response to sound or movement, making your pumpkin truly interactive.
Show Off Your Snarl: Sharing Your Toothy Pumpkin Creations
Show Off Your Snarl: Sharing Your Toothy Pumpkin Creations
#PumpkinTeethPride: Hashtags and Social Media
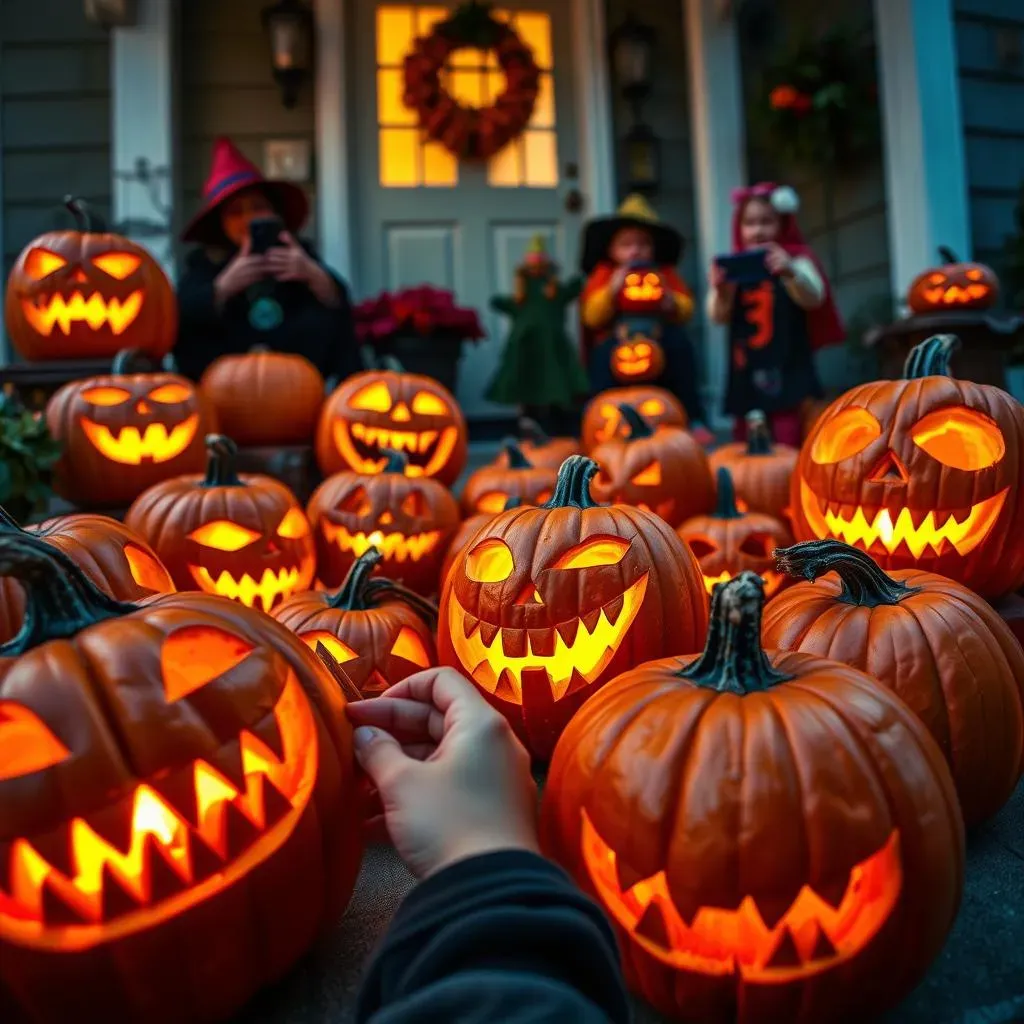
You've put in the effort, carved the perfect toothy grin, and now it's time to show off your masterpiece to the world! Social media is your best friend here. Snap some high-quality photos of your pumpkin, both in daylight and illuminated at night. Experiment with different angles and lighting to capture the full effect of those pearly (or candy corn) whites. Then, hit up Instagram, Facebook, TikTok, and any other platform you frequent, and let the likes roll in!
But don't just post a picture and call it a day. Use relevant hashtags to increase your pumpkin's visibility. Some suggestions? Try #PumpkinCarving, #Halloween, #JackOLantern, #PumpkinTeeth, #HalloweenDecor, #SpookySeason, and #[YourCity]Halloween. You can also tag relevant accounts, such as Halloween-themed pages or local community groups. The more eyes on your creation, the better!
Enter the Patch: Contests and Competitions
Feeling competitive? Many local communities and organizations host pumpkin carving contests during the Halloween season. This is a fantastic opportunity to showcase your skills, win prizes, and earn bragging rights. Check your local newspapers, community centers, and online event listings for contests in your area. Be sure to read the rules carefully and submit your entry before the deadline.
Even if you don't win, participating in a contest is a great way to get feedback on your carving and connect with other pumpkin enthusiasts. You might even pick up some new tips and tricks for next year's creations. And who knows, maybe your toothy pumpkin will be the talk of the town!
Grinning Gourds and Great Memories: Your Toothy Pumpkin Triumph
So, there you have it! From goofy grins to fearsome fangs, you're now armed with a treasure trove of pumpkin carving ideas teeth to make this Halloween unforgettable. Remember, the most important ingredient is creativity. Don't be afraid to experiment, make mistakes, and most importantly, have fun! Whether you choose to craft your own DIY teeth or opt for a more traditional carving approach, the goal is to create a jack-o'-lantern that reflects your unique style and brings a smile to your face (and maybe a slight shiver to your neighbors!). Now go forth, carve with confidence, and let those toothy pumpkins light up the night!