Table of Contents
Alright, let's be honest. Every October, you see those ridiculously intricate pumpkin carvings online and think, "Yeah, right. Mine usually ends up looking like a lopsided potato with questionable teeth." Getting that genuinely spooky vibe without spending hours or having a fine arts degree feels impossible. But what if I told you mastering pumpkin carving ideas simple scary isn't about being a master sculptor? It's about smart choices and a few basic cuts.
Why Simple Scary Pumpkin Carving Works Best
Why Simple Scary Pumpkin Carving Works Best
Look, we've all seen the overly complicated pumpkin carvings. The ones that look like they belong in a museum or required a laser cutter. They might be impressive, sure, but are they actually *scary*? Often, not really. The real terror in a jack-o'-lantern comes from primal shapes, jagged edges, and the stark contrast of light and shadow. That's precisely Why Simple Scary Pumpkin Carving Works Best. It leans into the inherent creepiness of a hollowed-out gourd with minimalist, impactful cuts. Think less portrait, more primal scream. Plus, let's be real, who has hours to spend meticulously shaving layers off a pumpkin? Simple means less frustration, less chance of catastrophic breaks, and more time to actually enjoy the spooky season.
The Few Tools You Need for Simple Scary Designs
The Few Tools You Need for Simple Scary Designs
so you're ready to carve? Good. Forget those expensive, twenty-piece carving kits that come in a fancy plastic case and have tools you'll never identify. For simple scary pumpkin carving ideas, you honestly only need a few things. A sturdy, sharp knife is non-negotiable for cutting the lid – a serrated one works well. Then, you need something to scoop out the guts – a large spoon or an ice cream scoop does the job perfectly. For the actual carving, a smaller, sharper paring knife is your best friend for detail work (even simple details). A poking tool, like a skewer or even a thick nail, is great for transferring designs or marking points. That's pretty much it. No need for specialized saws or loop tools unless you just enjoy buying things you don't need.
Classic Scary Pumpkin Carving Ideas, Simplified
Classic Scary Pumpkin Carving Ideas, Simplified
The Jagged Grin: Less Teeth, More Terror
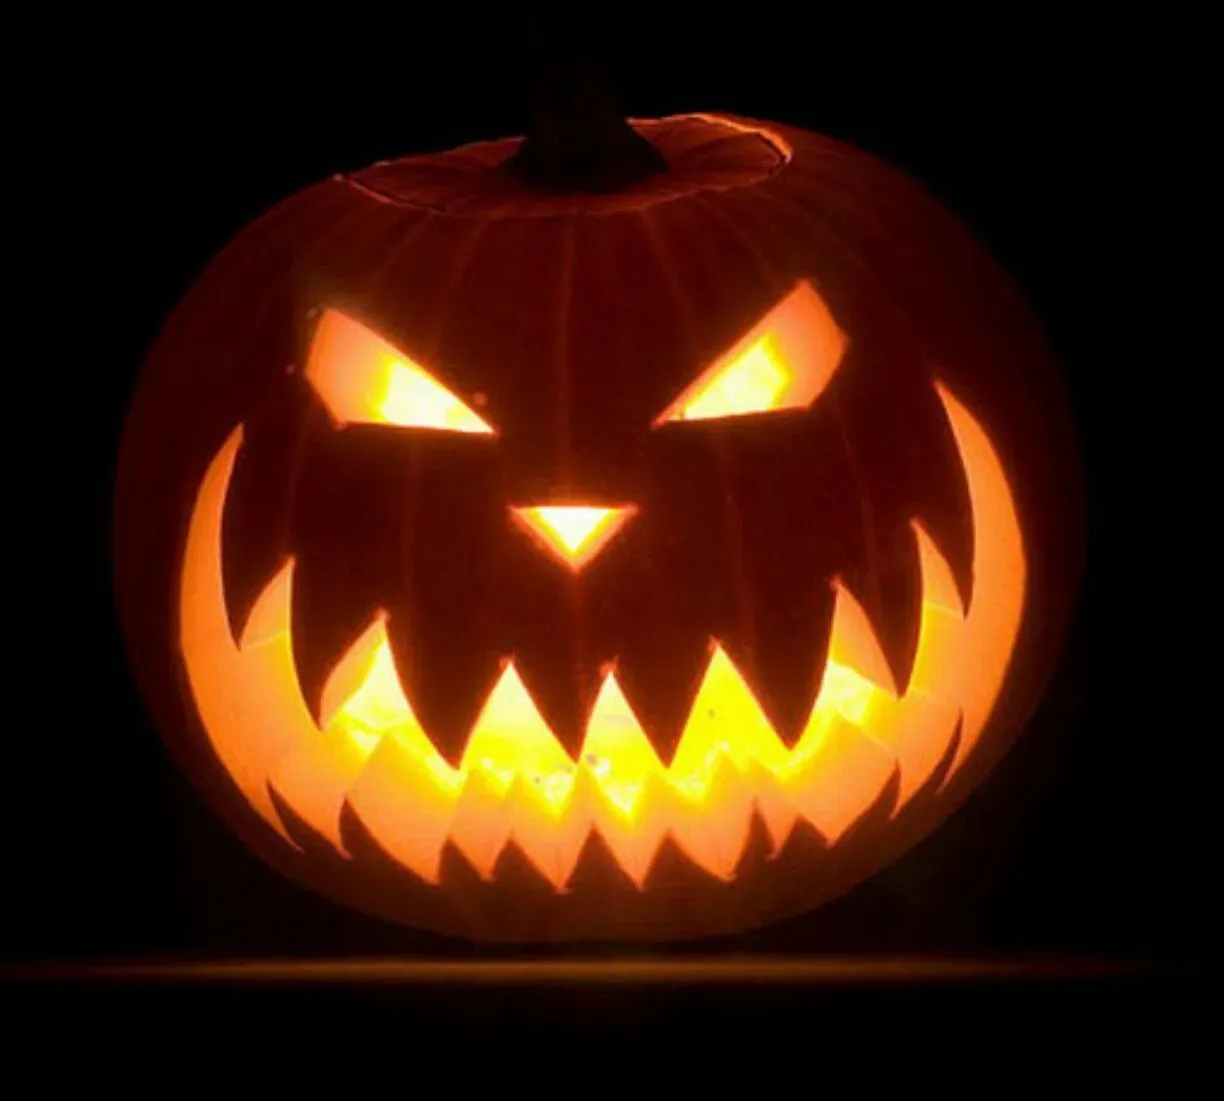
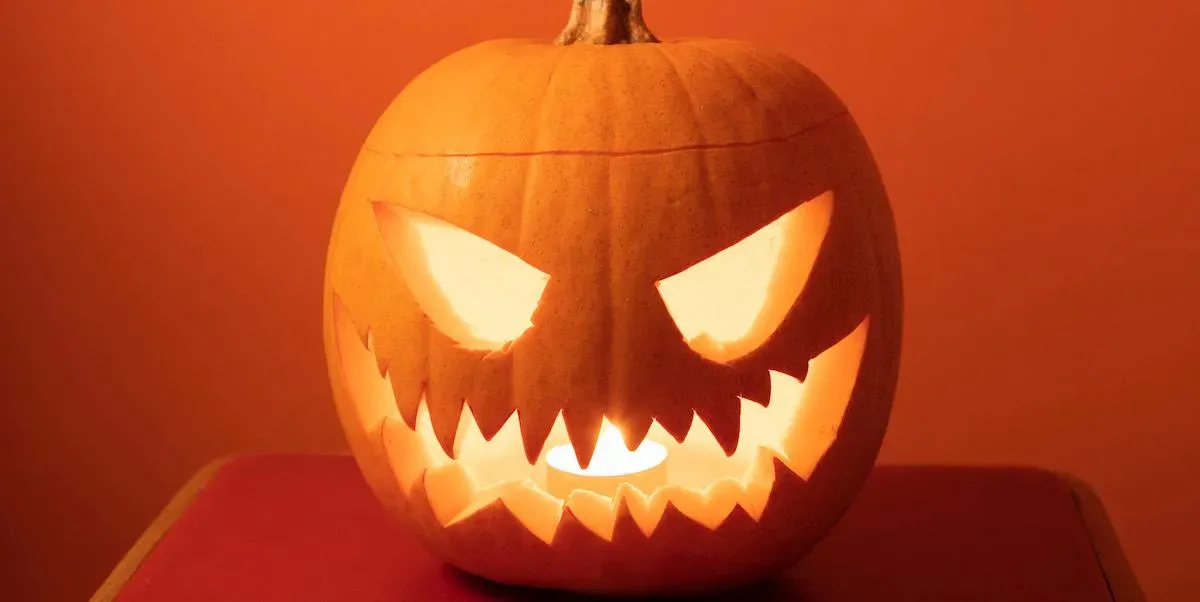
let's talk about the cornerstone of pumpkin carving ideas simple scary: the classic scary face. We've all seen the perfect rows of triangular teeth, the symmetrical eyes. Forget that. Real fear often comes from imperfection. Instead of cutting out a dozen tiny triangles for teeth, cut a single, wide, jagged line across the bottom half of the pumpkin. Think broken glass, not a picket fence. For eyes, simple triangles work, but try making them uneven, or even just two different shapes – one triangle, one lopsided circle. A simple, slightly curved line for eyebrows above those eyes can make the pumpkin look angry or surprised, adding another layer of easy spookiness. The key is bold, confident cuts, not fussy details.
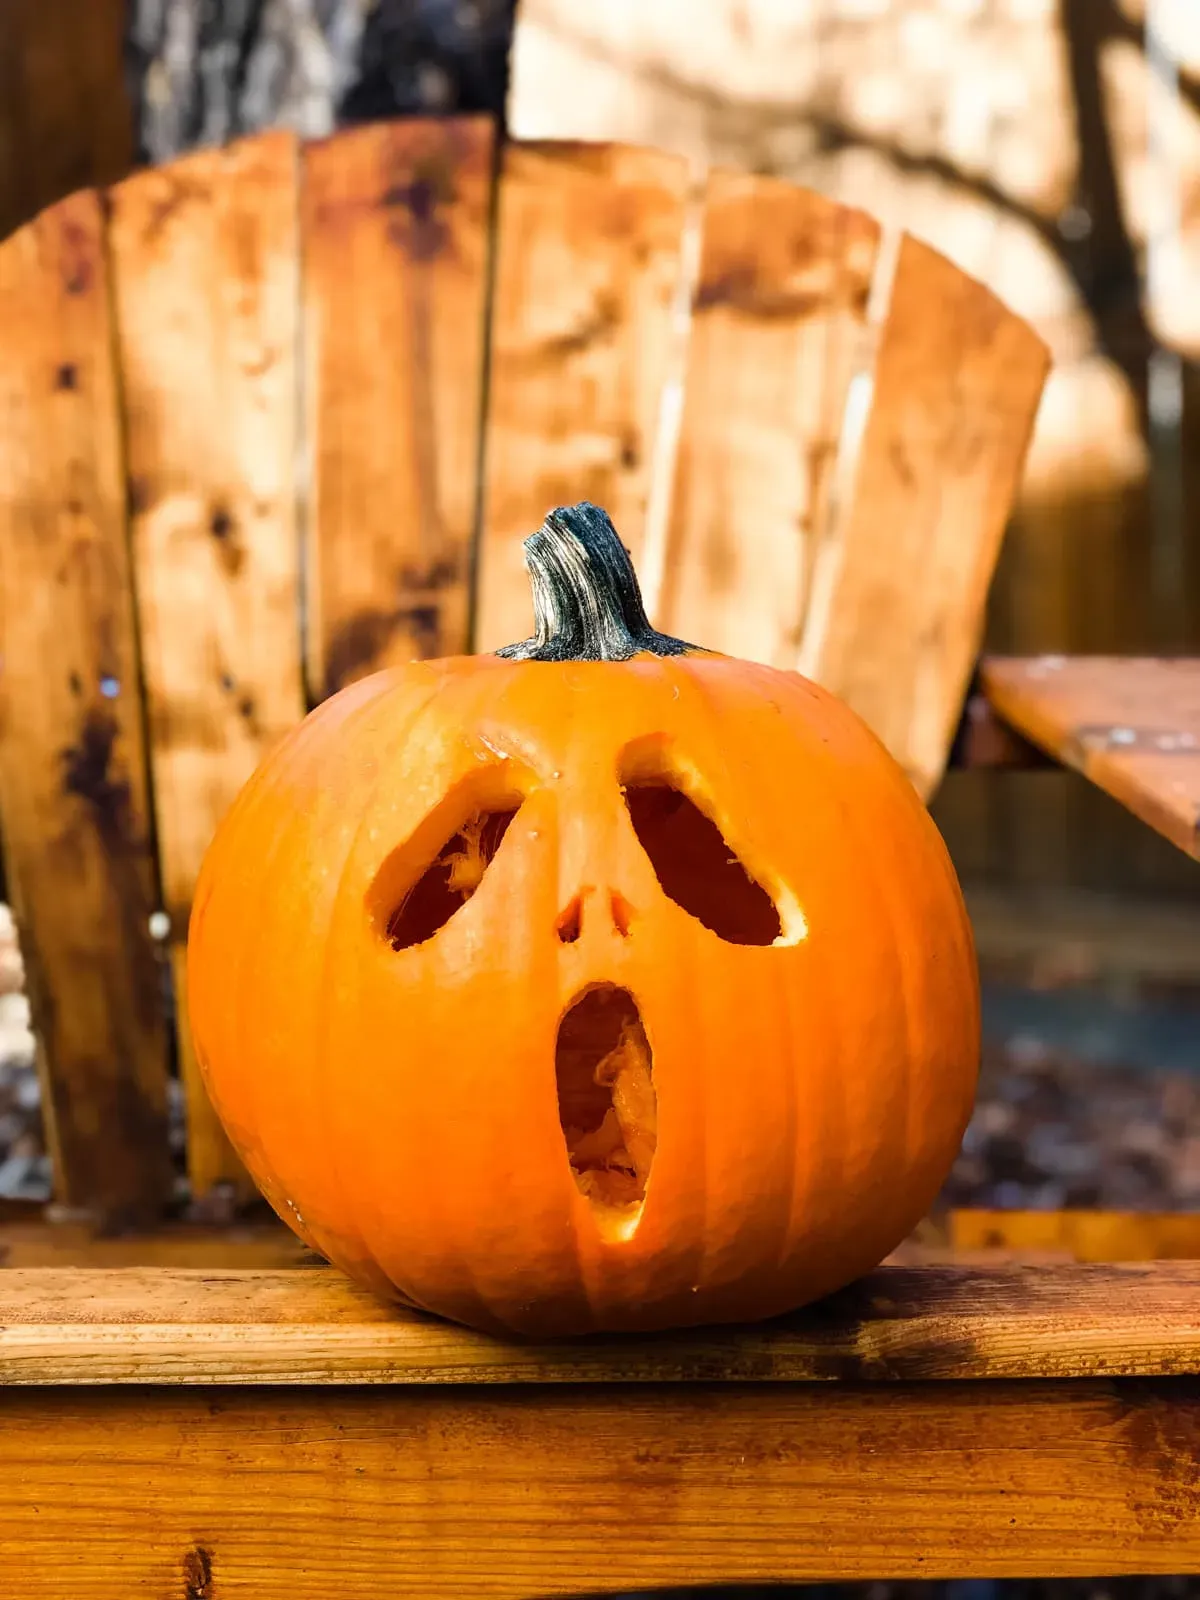
Eyes Only, Mouth Only: Minimalism for Maximum Fright
Who says a scary pumpkin needs a full face? Sometimes, less is way more unsettling. Consider carving just a pair of menacing eyes staring out from the dark porch. Make them narrow slits, wide, surprised circles, or jagged holes that look like they've been clawed out. Or, skip the eyes entirely and focus on a truly horrific mouth. A gaping maw with just a few strategically placed, sharp-looking stubs for teeth can be far more effective than a crowded smile. This minimalist approach is not only easier, but it often taps into a more primal fear – the unknown lurking in the shadows.
- Simple scary eye shapes:
- Uneven triangles
- Slanted slits
- Large, hollow circles
- Jagged, torn shapes
Beyond the Cut-Out: Etching and Negative Space
Scary doesn't always mean cutting all the way through. For some genuinely simple scary pumpkin carving ideas, think about just scraping away the top layer of the pumpkin skin. This is called etching. You can use a linoleum cutter or even just the edge of your paring knife carefully. Etch veins spreading across the pumpkin's surface, spiderwebs that look like they're crawling, or scar lines. When lit from inside, these etched areas glow faintly, creating a subtle, creepy effect that's less cartoonish and more atmospheric. Combining etching with simple cut-out shapes, like etched cracks around simple cut-out eyes, adds depth without adding difficulty.
Beyond the Face: Simple Scary Shapes and Stencils
Beyond the Face: Simple Scary Shapes and Stencils
Beyond the Grin: Unsettling Shapes That Aren't Faces
Stepping away from the traditional face is a fantastic way to explore pumpkin carving ideas simple scary that stand out. Your pumpkin doesn't need eyes, a nose, and a mouth to be genuinely creepy. Think about other classic scary motifs and how you can simplify their shapes. A single, large spider silhouette crawling across the side, carved with clean lines. Or a series of jagged, uneven claw marks raked down the front. Dripping goo shapes, like stalactites hanging from the top edge, are surprisingly easy and incredibly effective when lit from within.
These shapes tap into different kinds of fears – the scuttling bug, the unseen attacker, something melting or decaying. They require fewer cuts than a complex face, reducing the chances of structural collapse. You're aiming for recognizable symbols of dread, reduced to their most basic, carveable forms. It's minimalist horror for your front porch.
Simple Stencils: Your Shortcut to Spooky Silhouettes
Now, I know I cautioned against overly complicated stencils earlier. But there's a place for simple stencils in pumpkin carving ideas simple scary. We're talking basic silhouettes here, not elaborate portraits. A classic bat flying, a witch on a broomstick, a spooky tree with gnarled branches, or even just the stark outline of a haunted house. These are shapes you can often find online for free, or even draw yourself with a thick marker.
To use them, just tape the stencil onto your pumpkin and use a poking tool (like a thumbtack or skewer) to make closely spaced holes along the outline. Remove the paper, and you've got a dotted line to follow with your knife. It takes the guesswork out of drawing freehand but still keeps the carving itself straightforward. The result is a clean, graphic scare that reads well from a distance.
- Simple Scary Stencil Ideas:
- Flying bats
- Spiders or spiderwebs
- Bare, spooky trees
- Witch on a broomstick
- Ghost or ghoul silhouette
- Scratches or claw marks
Combining Techniques for Layered Fear
To add a little extra flair without adding much difficulty, combine your simple shapes or stencils with other techniques we discussed, like etching. Imagine carving out a simple, large spider silhouette and then etching a faint spiderweb around it, or having etched lines radiating out from the spider's legs. Carve those simple claw marks, and then use your etching tool to create lines that look like dripping blood or ooze below them. This layered approach gives your pumpkin more visual interest and a deeper sense of creepiness.
You can also combine multiple simple cut-out shapes. Maybe a few scattered bat silhouettes mixed with some carved-out stars or dots that look like a spooky night sky. The goal isn't photo-realism; it's creating an unsettling image with minimal, impactful elements. It's about making people do a double-take, not admire your technical skill (though they might do that too).
Lighting Up Your Simple Scary Pumpkin Carving
Lighting Up Your Simple Scary Pumpkin Carving
you've put in the minimal effort for maximum creepiness with your pumpkin carving ideas simple scary. Now, how do you make it truly shine (or glow menacingly) in the dark? Forget the wimpy tea candles that blow out with the slightest breeze or turn your pumpkin into a fire hazard. The best way to illuminate your simple scary design is with battery-operated LED lights. These come in various forms: small puck lights you just drop in, strings of fairy lights you can arrange, or even color-changing options if you want to get fancy (though white or flickering orange is usually scariest). They provide consistent light, last for ages, and won't burn your porch down. Positioning the light source low inside the pumpkin often casts longer, more dramatic shadows, making those jagged cuts and simple shapes look even more terrifying from the street.
- Best Lighting Options for Scary Pumpkins:
- White battery-operated LED puck lights
- Flickering orange LED candles (battery)
- Strings of warm white LED fairy lights
- Small battery-powered spotlights pointed upwards inside
Simple Scares, Maximum Impact
So, there you have it. You don't need to perform surgery on a gourd to get a genuinely scary result. Focusing on strong shapes, strategic cuts, and effective lighting does the heavy lifting. These pumpkin carving ideas simple scary prove that sometimes, the most unsettling things are the ones left to the imagination. Go grab a pumpkin, keep it simple, and see who flinches first when they walk past your porch this Halloween.