Table of Contents
Halloween is creeping closer, and what better way to celebrate than with a glowing, ghoulish grin on your front porch? Forget the complicated designs that look like they belong in an art gallery. We're diving headfirst into the world of pumpkin carving ideas simple scary that anyone can pull off. Whether you're a total beginner or just want to keep things quick and easy this year, we've got you covered.
Simple Scary Pumpkin Faces: Classic Carving Ideas
Simple Scary Pumpkin Faces: Classic Carving Ideas
The Timeless Jack-O-Lantern
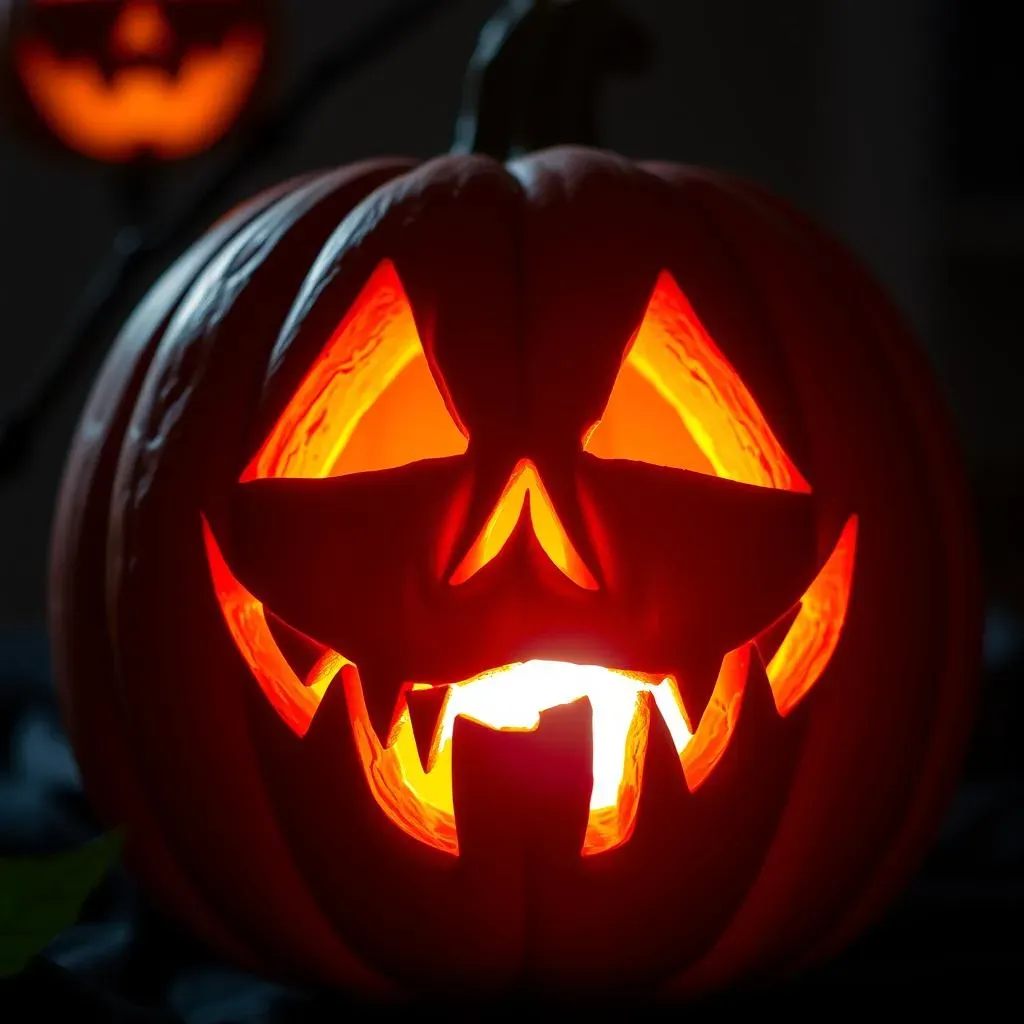
Let's kick things off with the OG of Halloween: the Jack-O-Lantern. We're talking triangle eyes, a jagged mouth with missing teeth, and that eerie glow that sends shivers down your spine. Don't overthink it! The beauty of this classic is in its simplicity. A few well-placed cuts and you've got a spooky face staring back at you.
Think about varying the sizes and shapes of your triangles and jagged edges. A wider, toothier grin can look menacing, while smaller, more uneven features can give off a creepy, unsettling vibe. Experiment and see what works for you!
Here's a quick checklist to nail that classic look:
- Triangle Eyes: Uneven for extra spookiness.
- Jagged Mouth: Missing teeth are a must!
- Stern Brow: Add a brow line above the eyes to make it more scary
- Inner Glow: Use tea lights or LED candles for a haunting glow.
Level Up Your Classic: Adding Personality
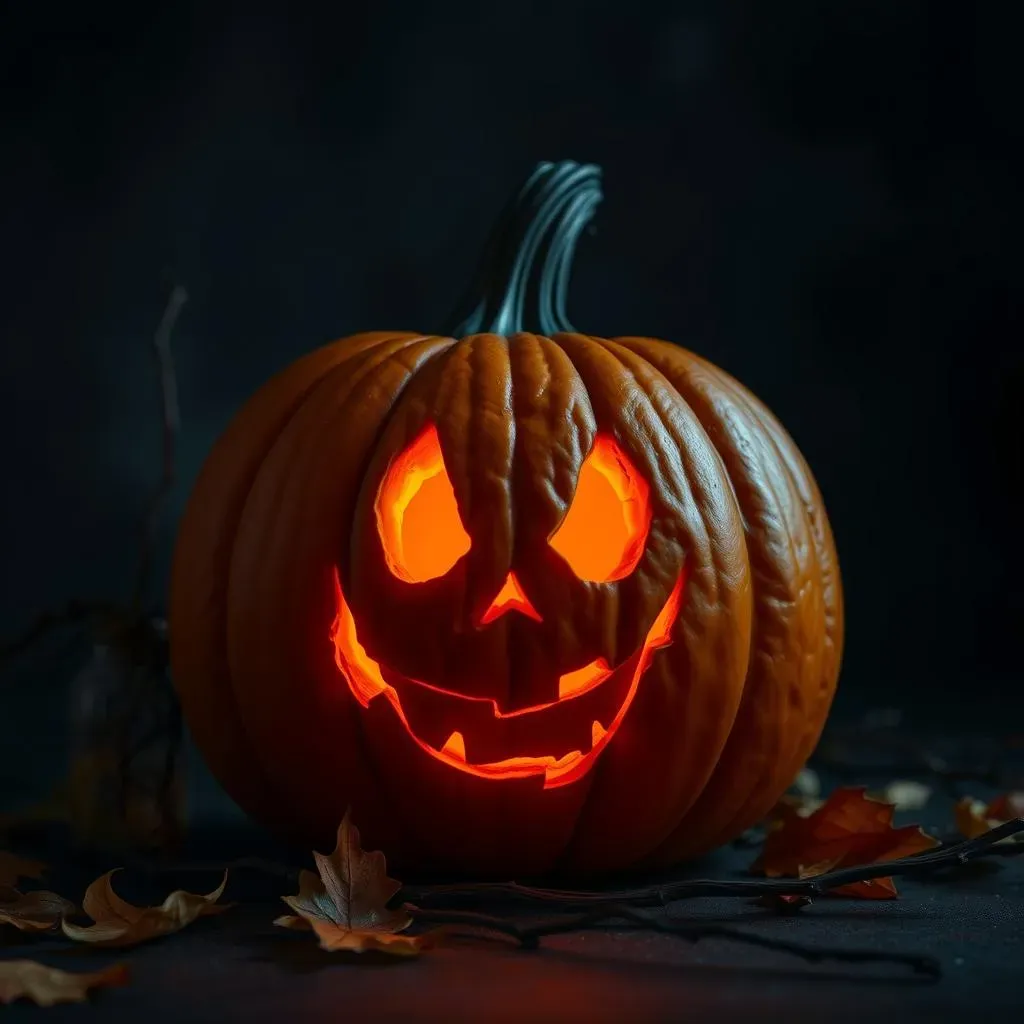
so you've mastered the basic Jack-O-Lantern. Now what? Time to inject some personality! Think about adding details that make your pumpkin stand out. Maybe give it a crooked smile, or add some scars and stitches for a Frankenstein-esque vibe. The possibilities are endless.
Consider using different carving tools to create texture. A small gouge can add depth to the eyes, while a serrated knife can create a rough, gnarled look for the mouth. Don't be afraid to experiment and get a little messy!
Safety First, Spookiness Second
Before you get too carried away with your carving, let's talk safety. Pumpkin carving can be a blast, but it's also easy to slip and cut yourself. Always use proper carving tools and work in a well-lit area. And for the little ones, adult supervision is a must!
Consider using pumpkin carving kits designed for kids. These kits often include safer tools and stencils that make the process easier and less risky. And remember, a dull knife is more dangerous than a sharp one, so keep your tools in good condition.
Safety Tip | Why It Matters |
|---|---|
Use Proper Tools | Reduces the risk of slips and cuts. |
Work in a Well-Lit Area | Allows you to see what you're doing clearly. |
Supervise Children | Ensures they're using tools safely. |
Easy Scary Pumpkin Designs: Beyond the Basic JackOLantern
Easy Scary Pumpkin Designs: Beyond the Basic JackOLantern
Creepy Crawlies: Spiderwebs and Spiders
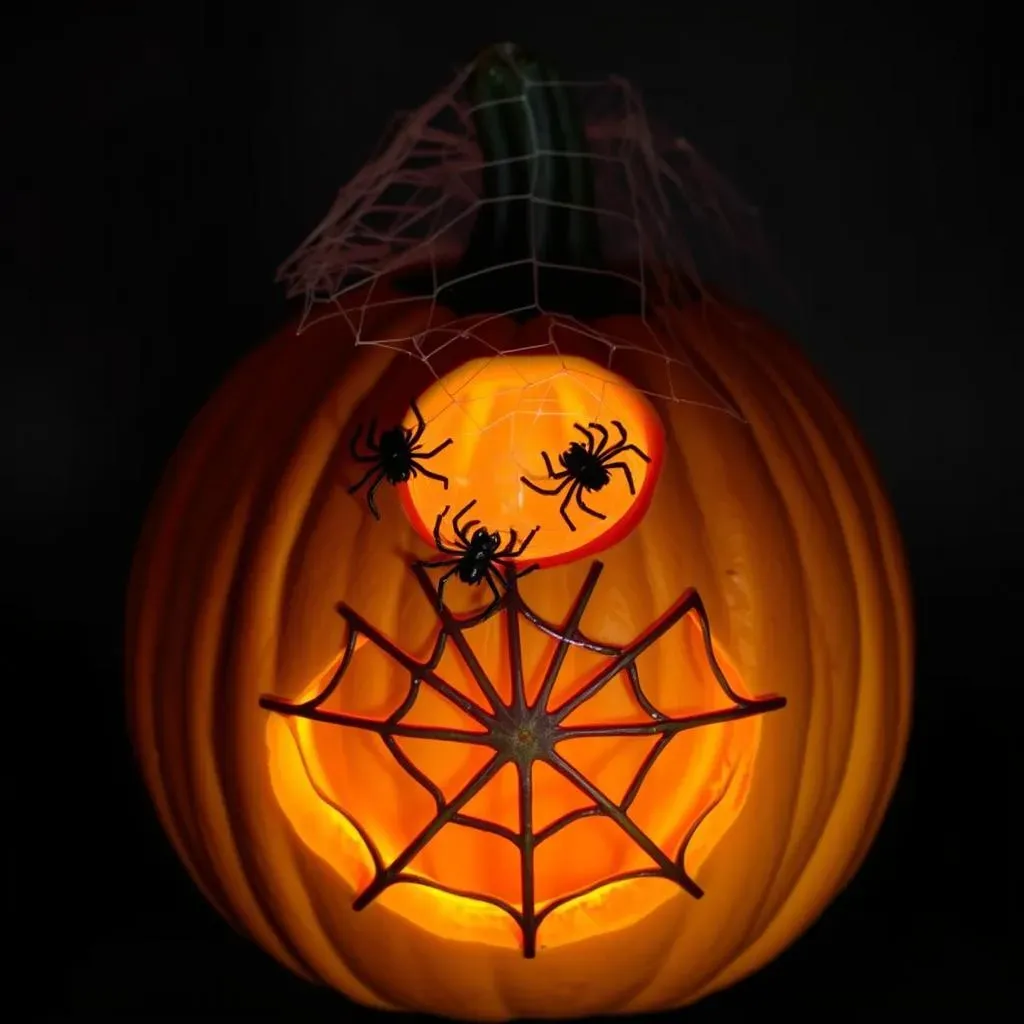
so you want scary but not *too* scary, right? Let's talk creepy crawlies! Carving a spiderweb onto your pumpkin is surprisingly simple and super effective. You can use a stencil or freehand it – just start with a central point and draw lines radiating outwards, then connect them with curved lines to create the web. Add a few plastic spiders for extra effect!
Want to take it up a notch? Carve out a large hole in the top of your pumpkin and fill it with fake spiderwebs. Then, position a few plastic spiders crawling out of the hole. Instant arachnophobia!
Here's a quick guide to your spider pumpkin:
- Spiderweb: Stencil or freehand, radiating lines are key.
- Spiders: Plastic spiders of varying sizes.
- Web Placement: Cover the entire pumpkin or focus on one area.
- Light: Use a colored light (green or purple) to enhance the creepiness.
Silhouette Screams: Haunted Houses and Graveyards
If you're looking for a more sophisticated scary, silhouettes are your friend. Carve out the background around a spooky scene, like a haunted house on a hill or a graveyard with tombstones. The contrast between the dark silhouette and the glowing interior creates a chilling effect.
To make it even easier, print out a silhouette image and tape it to your pumpkin. Then, use a pin or sharp tool to poke holes along the outline. Remove the paper and connect the dots with your carving tools. Boom! Instant spooky masterpiece.
Here's a few tips for your silhouette pumpkin:
Silhouette Tip | Why It Matters |
|---|---|
Choose a Simple Design | Makes carving easier and more effective. |
Use a Backlight | Highlights the silhouette and creates a dramatic effect. |
Add Details with Paint | Enhances the silhouette and adds depth. |
NoCarve Scary Pumpkin Ideas: Spooky Decor Without the Mess

NoCarve Scary Pumpkin Ideas: Spooky Decor Without the Mess
Mummy Pumpkins: Wrap It Up!
Alright, so maybe you're thinking, "Carving is too much effort!" I get it. That's where no-carve pumpkins come in to save the day. And trust me, you can still achieve peak spookiness without even picking up a knife. A super simple, yet effective idea? Mummy pumpkins! Just grab some cheesecloth or gauze, wrap it around your pumpkin, and glue it in place. Leave a small gap for the eyes, and stick on some googly eyes to complete the look. Boom! Instant mummy magic.
To amp up the scare factor, you can stain the cheesecloth with tea or coffee to give it a weathered, ancient look. Or, add a few drops of fake blood for a truly gruesome mummy. The beauty of this is that it's totally customizable to your desired level of creepiness.
Here's your mummy pumpkin checklist:
- Cheesecloth/Gauze: The more tattered, the better.
- Googly Eyes: Different sizes for extra quirkiness.
- Glue: Hot glue or craft glue will do the trick.
- Optional: Tea/Coffee stain, fake blood.
Melting Crayon Drip: A Colorful Nightmare
Want something a little more… abstract? Try the melting crayon drip technique. This one's a bit messy, but the results are seriously cool and unsettling. Just peel the paper off a bunch of crayons (dark colors like black, red, and purple work best), glue them around the stem of your pumpkin, and then use a hairdryer to melt the crayons and let them drip down the sides. The effect is like a colorful, waxy nightmare.
Be careful when using the hairdryer, and make sure to protect your work surface. You can also experiment with different crayon arrangements and color combinations to create unique and disturbing patterns. This is a great way to use up old crayons and create a truly one-of-a-kind spooky decoration.
Crayon Drip Tip | Why It Matters |
|---|---|
Use Dark Colors | Creates a more dramatic and unsettling effect. |
Protect Your Surface | Melting crayons can get messy! |
Experiment with Colors | Create unique and disturbing patterns. |
Pumpkin Carving Ideas Simple Scary: Stencils and Templates for Beginners
Pumpkin Carving Ideas Simple Scary: Stencils and Templates for Beginners
Printable Power: Free Stencils to the Rescue
so you're ready to carve, but maybe your artistic confidence is wavering? No sweat! That's where stencils become your best friend. The internet is overflowing with free, printable stencils for every skill level. From simple ghost outlines to slightly more intricate skull designs, you can find something that fits your comfort zone. Just search "free Halloween pumpkin stencils" and prepare to be amazed!
Once you've found a stencil you love, print it out and tape it to your pumpkin. Then, use a pin or a poking tool to trace the design onto the pumpkin's surface by creating a series of closely spaced holes. Remove the stencil, and you've got a dotted outline to guide your carving. It's like connect-the-dots, but for spooky pumpkins!
Here's a quick list of stencil resources:
- Pinterest: A vast collection of user-submitted stencils.
- Websites like DLTK's Crafts: Offer kid-friendly and simple designs.
- Search Engines: Just type "free Halloween pumpkin stencils"!
Template Tricks: Transferring Like a Pro
So you've got your stencil, but how do you transfer it to the pumpkin without making a mess? Here's a pro tip: use transfer paper! Simply place a sheet of transfer paper between the stencil and your pumpkin, and then trace the design with a pen or pencil. The transfer paper will leave a faint outline on the pumpkin's surface, giving you a clear guide for carving.
Another trick is to use a washable marker to trace the stencil directly onto the pumpkin. If you make a mistake, you can easily wipe it away with a damp cloth. Just make sure the marker is truly washable before you start carving, or you might end up with a permanently marked pumpkin!
Stencil Trick | Why It Matters |
|---|---|
Use Transfer Paper | Creates a clear outline without damaging the stencil. |
Washable Marker | Allows for easy corrections. |
Poke Holes Closely | Creates a more accurate carving guide. |
Advanced Scary Pumpkin Carving: Taking Your Design to the Next Level
Advanced Scary Pumpkin Carving: Taking Your Design to the Next Level
3D Pumpkin Power: Carving Beyond the Surface
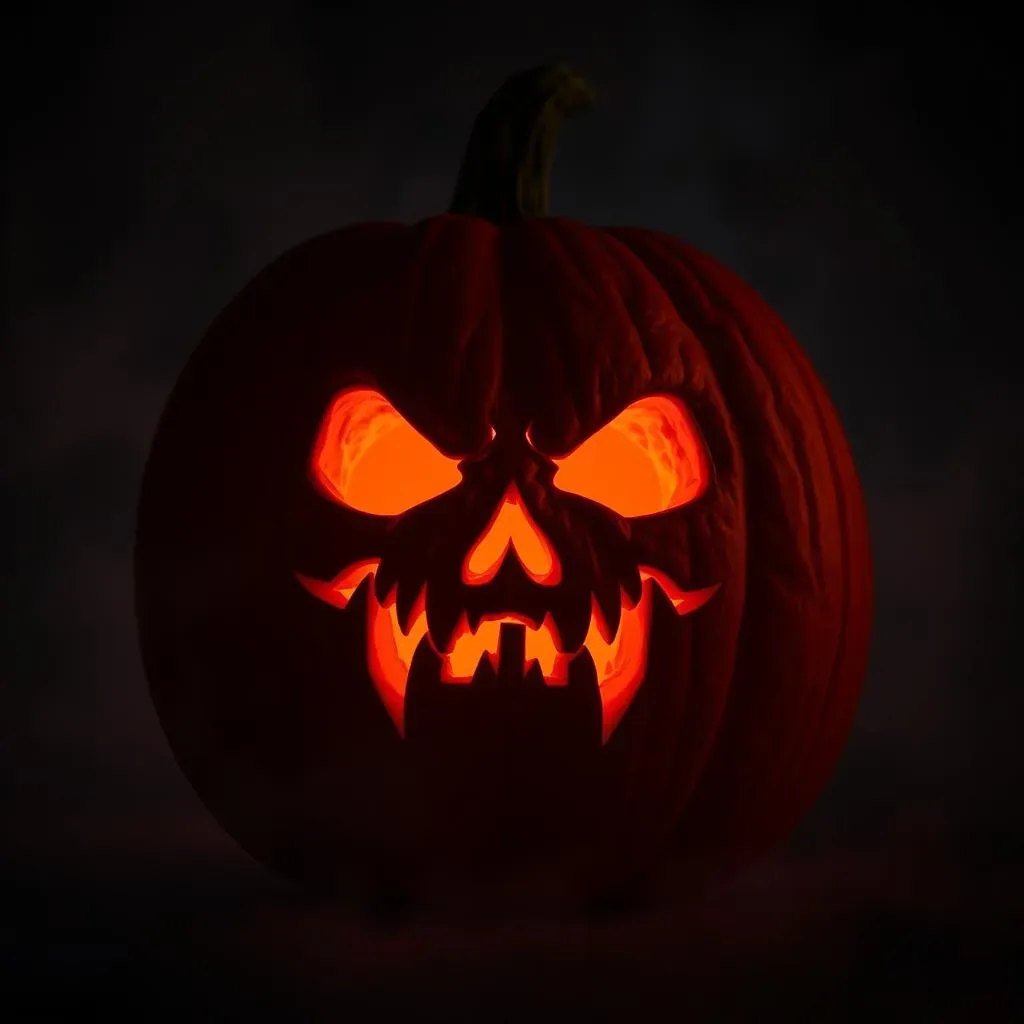
Alright, so you've mastered the basics and you're itching for a challenge? Let's talk 3D pumpkin carving! This is where you start thinking about your pumpkin as more than just a flat surface. Instead of simply cutting through the pumpkin's skin, you'll be using different carving depths to create highlights, shadows, and textures that make your design pop right off the pumpkin. Think sculpted faces, intricate patterns, and details that will make your neighbors do a double-take.
To achieve this, you'll need a good set of carving tools, including gouges, loops, and saws of various sizes. Start by sketching your design onto the pumpkin, then use the gouges to remove thin layers of the pumpkin's skin, gradually building up the depth and creating the desired effect. It takes patience and a steady hand, but the results are seriously impressive.
3D Carving Tool | Purpose |
|---|---|
Gouges | Removing thin layers of skin, creating depth. |
Loops | Fine detailing, smoothing edges. |
Saws | Cutting through thicker sections of the pumpkin. |
Light and Shadow: Mastering Illumination
Carving is only half the battle, my friend. The real magic happens when you add light! Advanced pumpkin carvers understand the importance of strategic illumination to enhance their designs. Instead of just plopping a tea light inside, think about using multiple light sources, colored lights, and even strobe effects to create a truly terrifying spectacle. Experiment with different light placements to see how they affect the shadows and highlights on your carving.
Consider using LED spotlights to cast dramatic shadows on nearby surfaces, or stringing fairy lights inside the pumpkin to create a subtle, ethereal glow. You can even use a small fog machine to add an eerie mist that spills out of the pumpkin's mouth or eyes. The possibilities are endless, so get creative and see what kind of spooky atmosphere you can conjure up!
- Multiple Lights: Create depth and dimension.
- Colored Lights: Set the mood (green, red, purple).
- Strobe Effects: Add a sense of urgency and terror.
- Fog Machine: Eerie mist for extra spookiness.
Conclusion: Simple Scares, Lasting Memories
So, there you have it! A treasure trove of pumpkin carving ideas simple scary to make your Halloween unforgettable. Remember, it's not about perfection; it's about the fun of creating something spooky and unique. Whether you went classic with a simple scary face, got creative with a no-carve design, or even attempted a more advanced carving, the most important thing is that you enjoyed the process. Now, light up those pumpkins, gather your friends and family, and get ready for a Halloween filled with delightful frights!