Table of Contents
Halloween is creeping closer, and what better way to celebrate than with a creatively carved pumpkin? Forget the same old toothy grin; this year, we're diving headfirst into the realm of scary faces! If you're hunting for pumpkin carving ideas scary faces that will genuinely spook your neighbors, you've landed in the right place. This isn't just about carving; it's about unleashing your inner artist and conjuring up a jack-o'-lantern that embodies the spirit of Halloween.
Unleashing Your Inner Artist: Scary Face Pumpkin Carving Ideas
Unleashing Your Inner Artist: Scary Face Pumpkin Carving Ideas
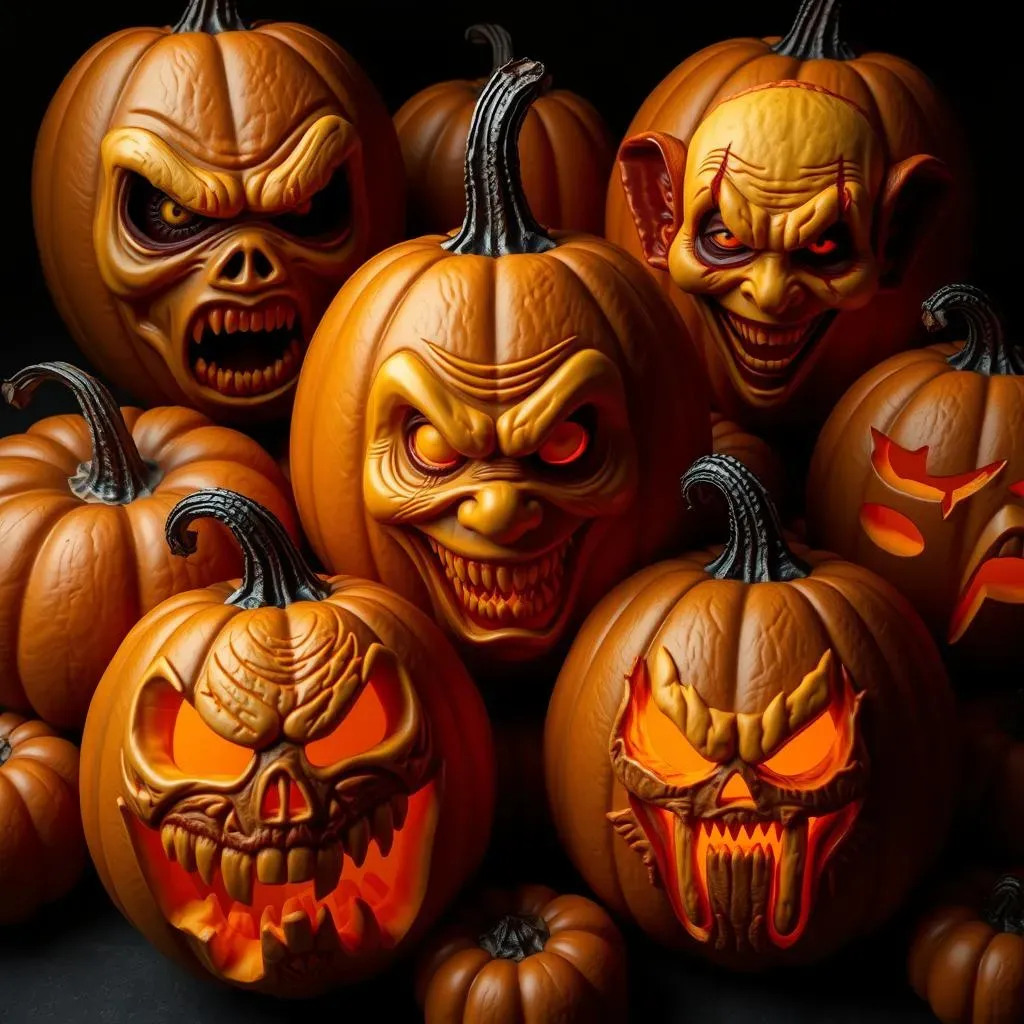
Forget the generic triangle eyes and crooked smiles! Carving scary faces into pumpkins is your chance to really let your creativity shine. Think beyond the typical jack-o'-lantern. What truly terrifies you? Is it a classic movie monster, a creepy clown, or something far more abstract? Let those fears guide your design. Consider the pumpkin itself – its shape, size, and any natural blemishes can all contribute to the final, frightening effect.
Essential Tools and Techniques for Carving Scary Faces on Pumpkins
Essential Tools and Techniques for Carving Scary Faces on Pumpkins
Gather Your Arsenal: The Essential Toolkit
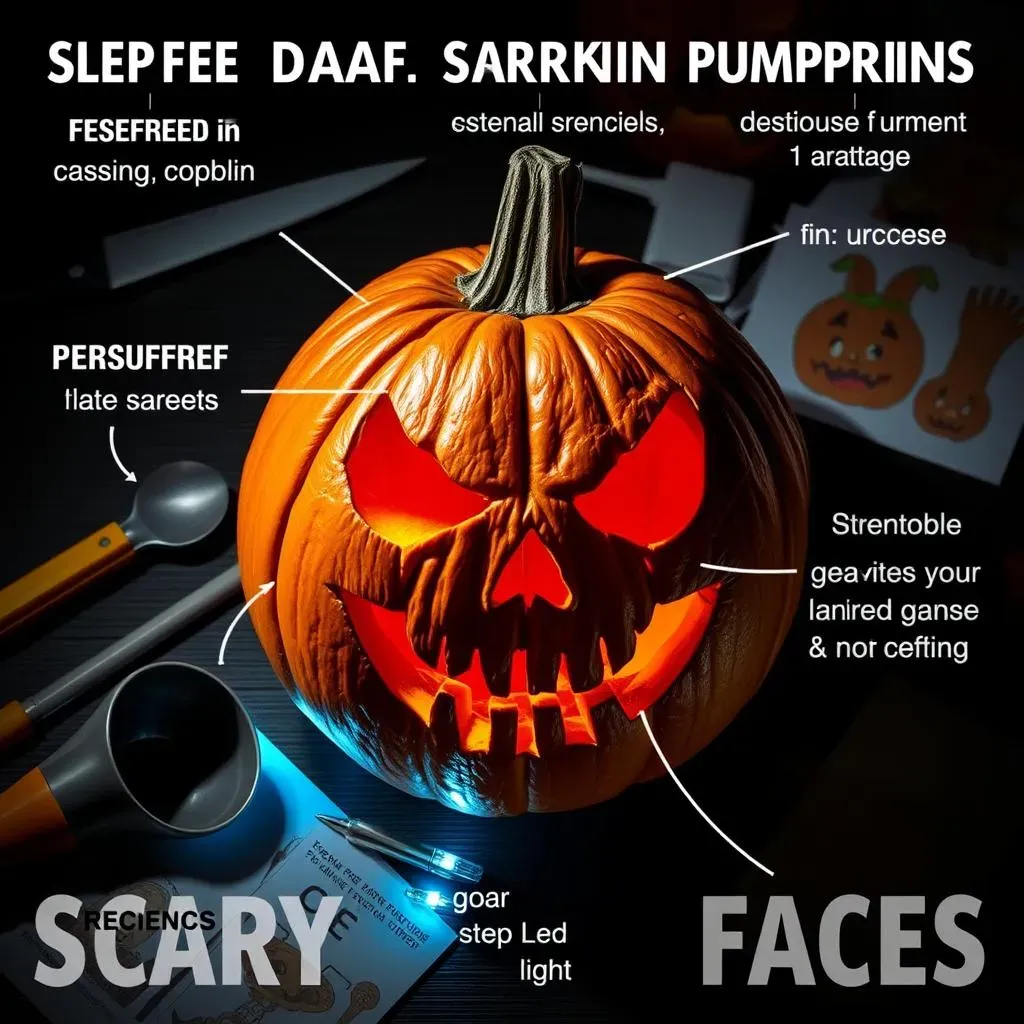
Before you even think about plunging a blade into your pumpkin, make sure you're properly equipped. A basic carving kit is a good start, but don't be afraid to supplement it with tools you might already have around the house. Think of it like preparing for battle – you wouldn't go to war with a butter knife, would you? A serrated knife is great for sawing off the top of the pumpkin, while smaller, more precise tools are essential for carving intricate details.
Consider investing in a good quality scoop to remove the pumpkin guts efficiently. Don't underestimate the power of stencils! They are fantastic for beginners and can help you achieve complex designs with ease. Lastly, lighting is crucial. LED candles or fairy lights are safer and last longer than traditional candles, plus they cast an eerie glow that will enhance your scary creation.
- Serrated Knife: For cutting the lid and larger sections.
- Detail Carving Tools: Small saws, gouges, and loop tools for fine lines and details.
- Scoop: A sturdy scoop to remove pumpkin seeds and pulp.
- Stencils: Pre-made or DIY patterns to guide your carving.
- LED Lights: Safer and longer-lasting than candles.
Mastering the Techniques: From Stencil to Spooky
Now that you have your tools, it's time to talk technique. Start by cleaning your pumpkin thoroughly. A clean surface will make it easier to transfer your stencil and carve accurately. When using a stencil, secure it to the pumpkin with tape and use a poking tool to transfer the design onto the surface. Don't rush this step; accuracy is key to a successful carving.
When carving, use a sawing motion rather than trying to force the tool through the pumpkin. This will give you more control and prevent accidents. Work in small sections, and don't be afraid to take breaks to admire your progress and adjust your approach. Remember, pumpkin carving is a marathon, not a sprint! Finally, consider the depth of your cuts. Varying the depth can create interesting shadows and add dimension to your scary face.
"Pumpkin carving is more than just a Halloween tradition; it's an art form. Embrace the process, experiment with different techniques, and most importantly, have fun!" - A Pumpkin Carving Enthusiast
From Classic to Creepy: Unique Scary Face Designs for Pumpkin Carving
From Classic to Creepy: Unique Scary Face Designs for Pumpkin Carving
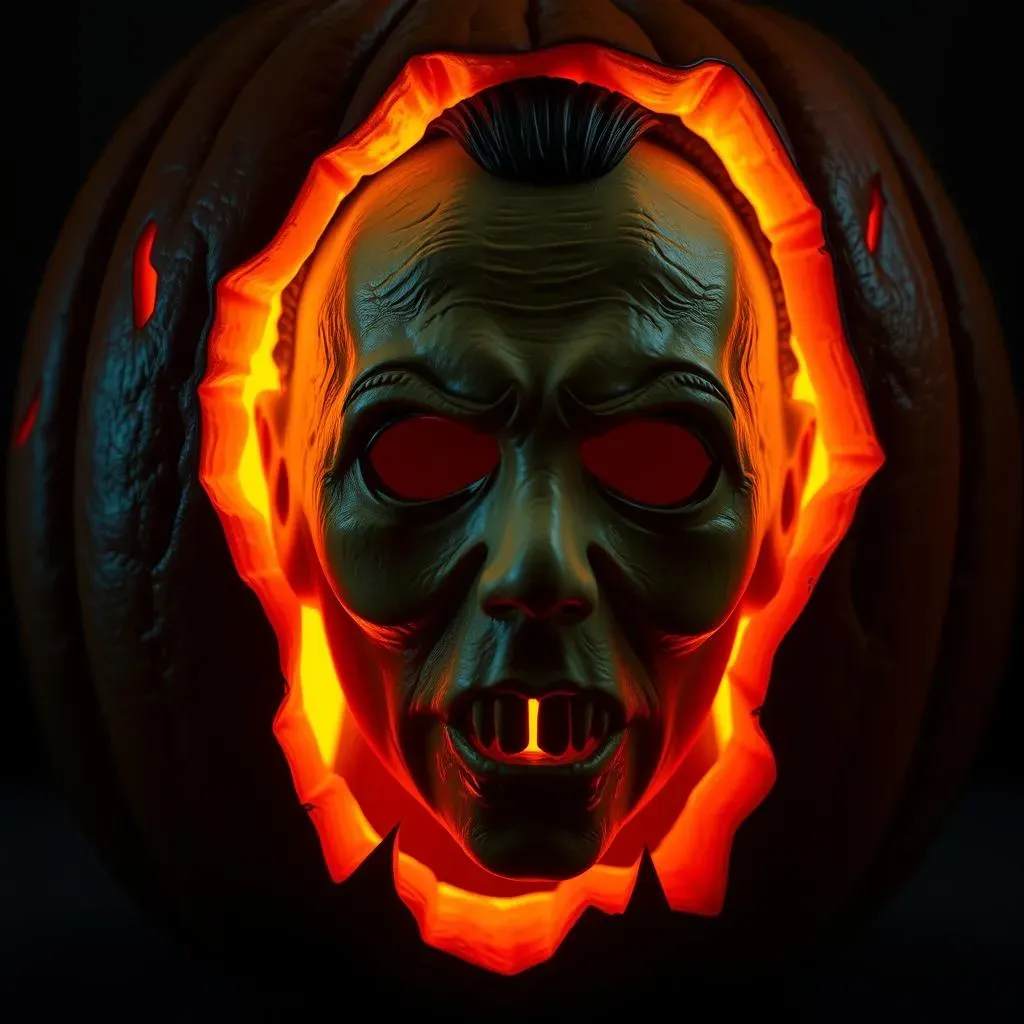
Alright, so you've got your pumpkin and your tools – now comes the fun part: deciding what kind of scary face you want to carve! Let's move beyond the basic ghost and witch silhouettes. Think about iconic horror movie villains. A chilling Pennywise grin, a menacing Michael Myers mask, or even a gruesome zombie face can all make for incredibly effective and frightening pumpkin designs. Consider incorporating elements of surprise. Maybe a hidden, smaller face within the larger one, or a "jump scare" element that's only visible when the pumpkin is lit up.
Don't be afraid to get creative with textures. Use different carving tools to create rough, uneven surfaces that mimic decaying flesh or gnarled skin. Experiment with different lighting techniques to enhance the creepiness. Colored LED lights can add an extra layer of horror, while strategically placed spotlights can create dramatic shadows. Remember, the goal is to create a pumpkin that will send shivers down the spines of trick-or-treaters!
Design Idea | Difficulty | Creep Factor |
|---|---|---|
Classic Jack-o'-Lantern | Easy | Moderate |
Horror Movie Villain | Medium | High |
Zombie Face | Medium | High |
Abstract Monster | Hard | Variable |
Safety First: Tips for a Safe and Spooktacular Pumpkin Carving Experience with Scary Faces
Safety First: Tips for a Safe and Spooktacular Pumpkin Carving Experience with Scary Faces
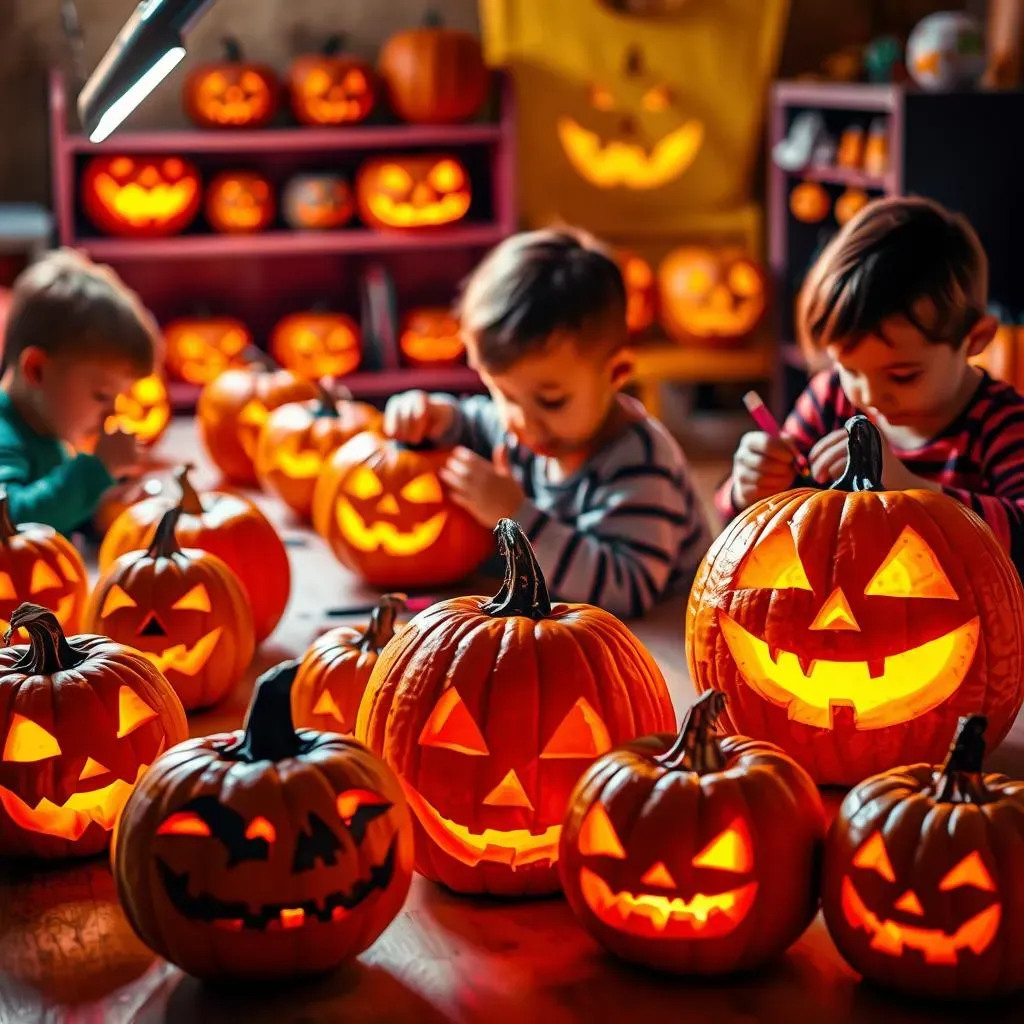
let's talk safety, especially when kids are involved! Pumpkin carving, particularly when we're aiming for scary faces, involves sharp tools, and let's be real, sometimes a bit of reckless abandon in the pursuit of Halloween glory. First off, always supervise children closely. Little hands and sharp knives don't always mix well. Consider letting younger kids decorate pumpkins with markers, paint, or stickers instead of carving. For those who are ready to carve, make sure they're using age-appropriate tools and techniques. Small, manageable tools are key. Think about investing in kid-safe carving kits that have duller edges but still get the job done. And remember, carving should always happen in a well-lit area with a stable work surface. A wobbly table and dim lighting are just asking for accidents to happen!
Beyond the immediate carving process, think about the aftermath. Dispose of pumpkin guts responsibly to avoid attracting unwanted critters. And when it comes to lighting your masterpiece, opt for LED candles or battery-operated lights. They're much safer than open flames, especially if your jack-o'-lantern is going to be sitting on a porch where trick-or-treaters are running around. Halloween is all about scares, but let's keep those scares confined to the pumpkin faces, not the carving experience itself!
- Supervise Children Closely: Never leave kids unattended with carving tools.
- Age-Appropriate Tools: Use kid-safe carving kits for younger children.
- Well-Lit Workspace: Ensure adequate lighting to prevent accidents.
- Stable Surface: Carve on a sturdy table or countertop.
- LED Lighting: Opt for battery-operated lights instead of candles.
Conclusion: Mastering the Art of Scary Face Pumpkin Carving
So, you've journeyed through the chilling landscape of scary face pumpkin carving ideas, armed with techniques, design inspiration, and safety tips. Now, it's your turn to bring these spooky visions to life. Remember, the most terrifying jack-o'-lanterns are often those that dare to be different. Don't be afraid to experiment, get creative, and most importantly, have fun. As the eerie glow of your carved creation illuminates your doorstep, you'll know you've truly embraced the spirit of Halloween. Happy carving, and may your pumpkins bring frights and delights to all who dare to gaze upon them!