Table of Contents
Halloween is creeping closer, and you know what that means: it's time to unleash your inner pumpkin Picasso! Forget those wimpy, smiling gourds; we're here for the screams, the chills, and the downright terrifying Jack-O'-Lanterns. If you're on the hunt for pumpkin carving ideas scary face edition, you've landed in the right graveyard.
Level 1: EasyPeasy Scary Faces for Pumpkin Carving Newbies
Level 1: EasyPeasy Scary Faces for Pumpkin Carving Newbies
The Classic Toothy Grin
Alright, rookie carvers, let's start with the basics. I am talking about the good old toothy grin. It's like the gateway drug to scary pumpkins. You can’t mess it up! Think jagged triangles for teeth, maybe a couple of square eyes. Boom, instant classic.
The beauty of this design is its simplicity. Grab a stencil if you're feeling shaky, or just freehand it. Don't worry about perfection! A little asymmetry only adds to the creep factor. Remember that time I tried to make a "perfect" pumpkin and it ended up looking like it had a stroke? Yeah, embrace the imperfections.
Difficulty | Scariness | Tools Needed |
|---|---|---|
Easy | Mildly Spooky | Carving Kit, Stencil (Optional) |
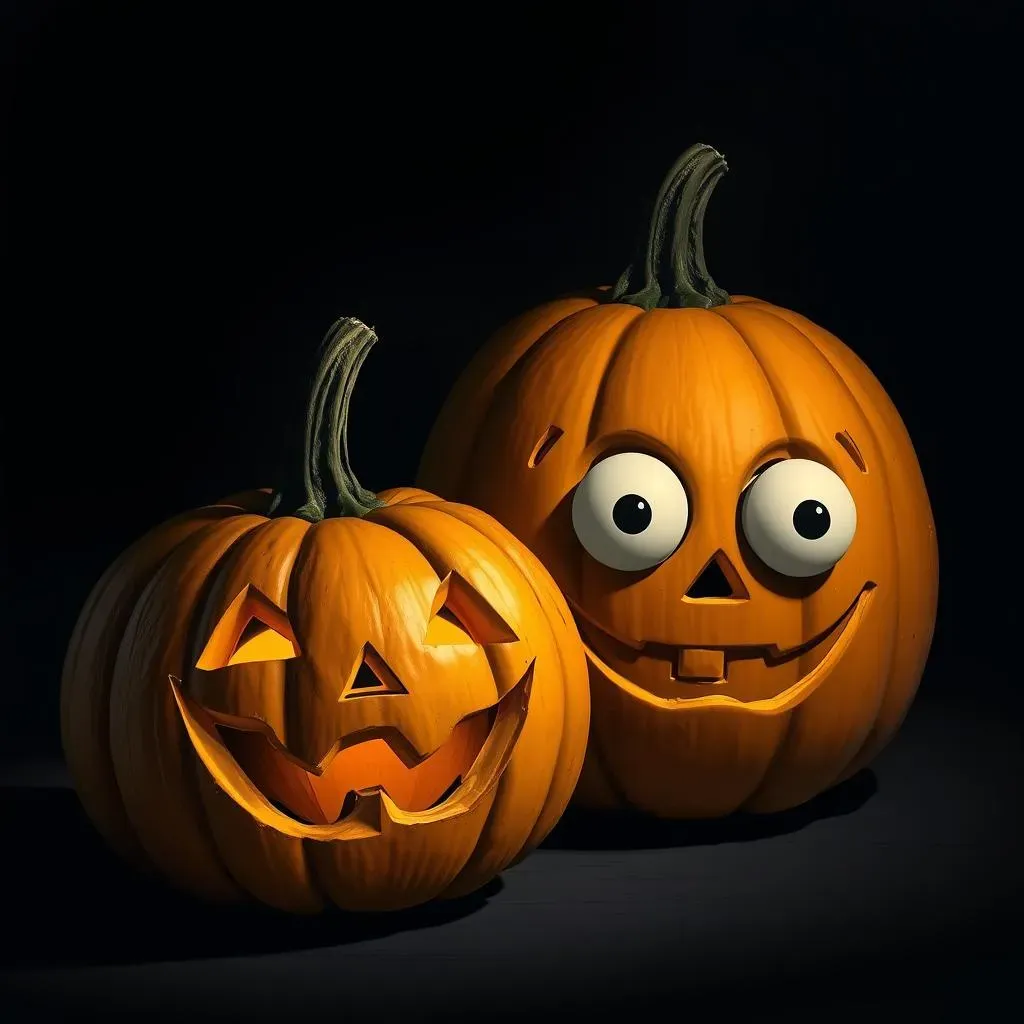
The Googly-Eyed Monster
Want to crank up the crazy without needing a PhD in pumpkin surgery? Googly eyes are your secret weapon. Carve some basic holes for eyes, then pop in those plastic googly eyes you can find at any craft store. Suddenly, your pumpkin is staring into your soul.
For extra credit, try different sized googly eyes or even glue on some fake eyelashes. Trust me, it's hilarious and terrifying all at once. I did this last year, and my neighbor's kid wouldn't come within ten feet of my porch. Mission accomplished!
Level 2: NextLevel Nightmare Fuel: Intricate Scary Face Designs
Level 2: NextLevel Nightmare Fuel: Intricate Scary Face Designs
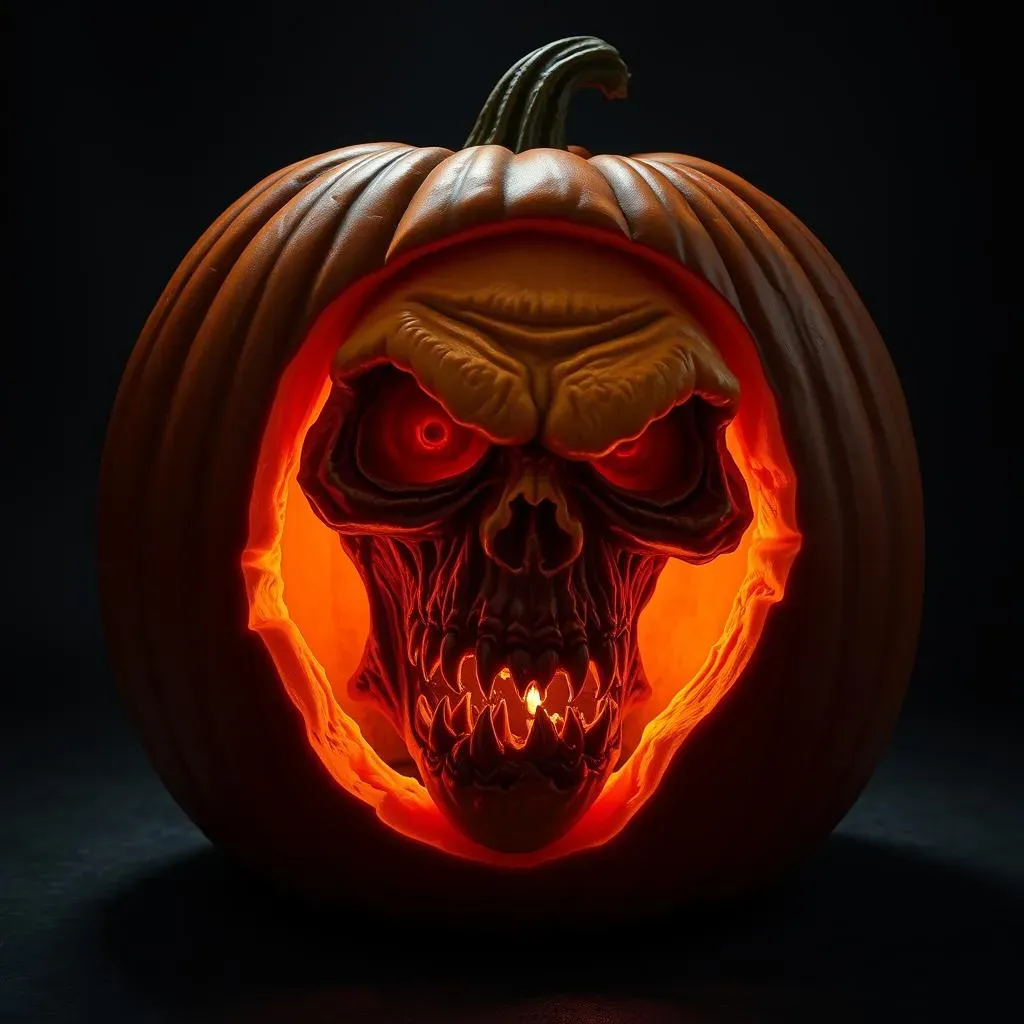
The Skull Masterpiece
Alright, so you've mastered the goofy grins. Now, let's get serious with a skull design. This isn't just about carving a couple of eye sockets and calling it a day. We're talking detailed bone structure, subtle shading, and maybe even some cracks and fissures for that extra "fresh from the grave" look.
Think about the shadows. Where would the cheekbones cast a shadow? How can you use different carving depths to create a three-dimensional effect? Grab a good reference image of a skull (or just stare intensely at your own reflection... spooky!) and get ready to channel your inner anatomist.
I tried this last year, and it took me, like, three hours. Was it worth it? Absolutely. My skull pumpkin looked so realistic; the neighborhood dogs wouldn't stop barking at it.
The Creepy Clown
Clowns are already terrifying, so why not amplify the fear factor by carving one into a pumpkin? Forget the happy-go-lucky circus clown; we're going for pure, unadulterated nightmare fuel. Think Pennywise meets pumpkin.
Exaggerated features are key here. Huge, menacing eyes, a wide, unsettling grin filled with razor-sharp teeth, and maybe even some dripping "makeup" carved into the pumpkin's surface. Use thin carving tools to create fine lines for the hair and wrinkles, adding to the overall creepiness.
Pro-tip: Add some red LED lights inside the pumpkin to make the clown's eyes glow with an eerie intensity. Bonus points if you can find a sound effect of children screaming to play on loop nearby. (Just kidding... mostly.)
The Portrait of a Ghoul
Ready to really test your carving skills? Try carving a portrait of a ghoul, zombie, or other terrifying creature into your pumpkin. This requires a steady hand, a keen eye for detail, and a willingness to embrace the grotesque.
Start with a high-quality image of your chosen ghoul. Trace the outline onto the pumpkin's surface, then begin carving, paying close attention to the shadows and highlights in the image. Use different carving depths to create texture and dimension, bringing your ghoul to life (or, rather, undeath).
I'm not gonna lie, this one's tough. But if you pull it off, you'll have the most impressive (and terrifying) pumpkin on the block. Just be prepared to spend a lot of time hunched over your pumpkin with a carving knife. Maybe put on some spooky music to set the mood!
Design | Difficulty | Scariness | Time Commitment |
|---|---|---|---|
Skull Masterpiece | Advanced | High | 3-4 Hours |
Creepy Clown | Intermediate | Very High | 2-3 Hours |
Ghoul Portrait | Expert | Extreme | 4+ Hours |
Level 3: Pumpkin Carving Scary Face Fails (and How to Avoid Them!)

Level 3: Pumpkin Carving Scary Face Fails (and How to Avoid Them!)
The Dreaded Droop
Ever spent hours carving the perfect scary face, only to wake up the next morning and find it's... melting? Yeah, that's the dreaded droop. It's when your pumpkin starts to collapse in on itself, turning your masterpiece into a sad, mushy mess. I have been there, and trust me, it's not pretty.
So, how do you fight the droop? First, don't carve too early! The closer you carve to Halloween, the better. Second, keep your pumpkin cool and dry. A garage or basement is better than a sunny porch. And third, consider using a pumpkin preservative spray. I've heard hairspray works in a pinch, but don't quote me on that!
- Don't carve too early: Wait until a few days before Halloween.
- Keep it cool: Store your pumpkin in a cool, dry place.
- Preserve it: Use a pumpkin preservative spray.
Tool Trauma: When Your Knife Turns on You
let's talk tools. Using the wrong carving tools is like trying to paint a masterpiece with a toothbrush. You might get something done, but it's going to be messy and frustrating. A dull knife can slip and slide, leading to jagged edges and potential finger injuries. (Ouch!)
Invest in a good pumpkin carving kit with various sized saws and gouges. These tools are designed to make clean, precise cuts. And remember, always carve away from yourself! It's Pumpkin Carving 101, but you'd be surprised how many people forget this basic rule. I almost took off a finger last year because I was too busy admiring my own carving skills. Don't be like me!
Tool Type | Purpose | Safety Tip |
|---|---|---|
Serrated Saw | Cutting large sections | Use slow, controlled movements. |
Gouge | Creating fine details | Always carve away from yourself. |
Poking Tool | Transferring stencils | Be careful not to puncture yourself. |
Conclusion: Your Spooktacular Pumpkin Awaits!
So, there you have it: a roadmap to carving the scariest pumpkin on the block! Whether you opted for a simple, ghoulish grin or a complex, nightmarish scene, the most important thing is to have fun and let your creativity shine (or, in this case, glow eerily in the dark). Remember to be safe with those carving tools, and don't be afraid to experiment. After all, Halloween is all about embracing the spooky and letting your imagination run wild. Now go forth and carve some frightfully fantastic pumpkins!