Table of Contents
Alright, let's be honest. Halloween rolls around, and suddenly everyone fancies themselves a sculptor with a dull kitchen knife and a gourd. Forget the same old spooky faces you carved as a kid. If you're looking to elevate your porch game beyond basic triangles and jagged smiles, especially if you appreciate interdimensional chaos and existential dread mixed with fart jokes, you're in the right place. We're talking about bringing the twisted genius of Adult Swim's finest to your doorstep. Diving into pumpkin carving ideas rick and morty is a surefw way to get noticed, maybe even elicit a "Wubba Lubba Dub Dub" from a fellow fan. But where do you even start? Do you go for a simple Pickle Rick or try to tackle a multi-layered Council of Ricks scene? That's exactly what we're going to figure out. We'll walk through the essentials, pick out some characters that won't make you scream in frustration (or maybe they will, it's Rick and Morty), and even look at some advanced techniques for the truly ambitious. So grab a carving kit, maybe a flask of questionable liquid, and let's get schwifty with these pumpkin carving ideas rick and morty.
Essential Gear for Your Rick and Morty Pumpkin Carving Project

Essential Gear for Your Rick and Morty Pumpkin Carving Project
Starting with the Bare Necessities
Alright, before you even think about attempting a perfect Scary Terry face or a detailed Anatomy Park layout, you need the right equipment. Trying to carve complex pumpkin carving ideas rick and morty with your mom's dull steak knife is a recipe for disaster, frustration, and possibly a trip to the emergency room. At the very least, you need a basic pumpkin carving kit. These usually come with a small saw-like tool for cutting the lid and rough shapes, a scoop for gutting the thing (the most unpleasant part, honestly), and perhaps a poker for transferring patterns. They're cheap for a reason, typically made of flimsy plastic, but they can get the job done for simpler designs. Just don't expect surgical precision.
Upgrading Your Arsenal for Finer Detail
If you're aiming for something beyond a basic silhouette, you'll want to invest in some better tools. This is where you move from hacking at a gourd to actual carving. Look for proper pumpkin carving tools made of sturdy metal with comfortable handles. Detail knives, loop tools, and sculpting tools designed for clay or linoleum block printing can be incredibly useful for scraping away layers of pumpkin skin to create depth and texture – essential for getting those specific Rick wrinkles or Morty's wide-eyed panic just right. A small hand drill can also be handy for creating perfect circles for eyes or portals. Think of it as acquiring the right plumbus for the job.
Here’s a quick rundown of tools you should consider:
- Basic pumpkin carving saw (for the lid and large cuts)
- Metal scoop or ice cream scoop (for gutting)
- Detail carving knives (various sizes for intricate work)
- Loop tools or sculpting tools (for scraping and shaping)
- Linoleum cutters (V-shaped and U-shaped for defined lines)
- Small hand drill and bits (for perfect holes)
- A good poker or transfer tool (to get your design onto the pumpkin)
Choosing Which Rick and Morty Pumpkin Carving Ideas to Tackle
Choosing Which Rick and Morty Pumpkin Carving Ideas to Tackle
So, you've got your tools, you've got your pumpkin, and you're probably staring at it wondering, " which poor character from the multiverse am I going to inflict my carving skills upon?" Choosing Which Rick and Morty Pumpkin Carving Ideas to Tackle is probably the second-hardest part, right after actually scooping out the guts (seriously, that smell). Do you want something instantly recognizable that even your non-fan neighbors will get, or are you aiming for a deep-cut reference that only the truly initiated will appreciate? Your skill level is a huge factor here; attempting a hyper-realistic Mr. Poopybutthole on your first try might lead to tears and a quickly discarded pumpkin. Think about how much time you want to spend and what kind of design you find most appealing – a simple silhouette, a scraped-away image, or something more three-dimensional?
BeginnerFriendly Rick and Morty Characters for Pumpkin Carving

BeginnerFriendly Rick and Morty Characters for Pumpkin Carving
Starting Simple: Silhouettes and Basic Shapes
Alright, let's ease into this. Nobody expects you to nail the intricate details of a Cromulon head on your first go. For Beginner-Friendly Rick and Morty Characters for Pumpkin Carving, think simple shapes and strong silhouettes. Characters like Mr. Meeseeks are perfect. They're basically a blue blob with limbs and a simple face. You can carve the outline and maybe scrape away the blue body for a glowing effect. Plumbus? Even easier. Just a weird, lumpy shape. These are great for practicing your basic cutting and scooping skills without getting bogged down in tiny details that will inevitably break off or look like a melted mess. Keep it bold, keep it simple, and you'll actually finish one without rage-quitting.
Characters with Distinct Features (But Not Too Many)
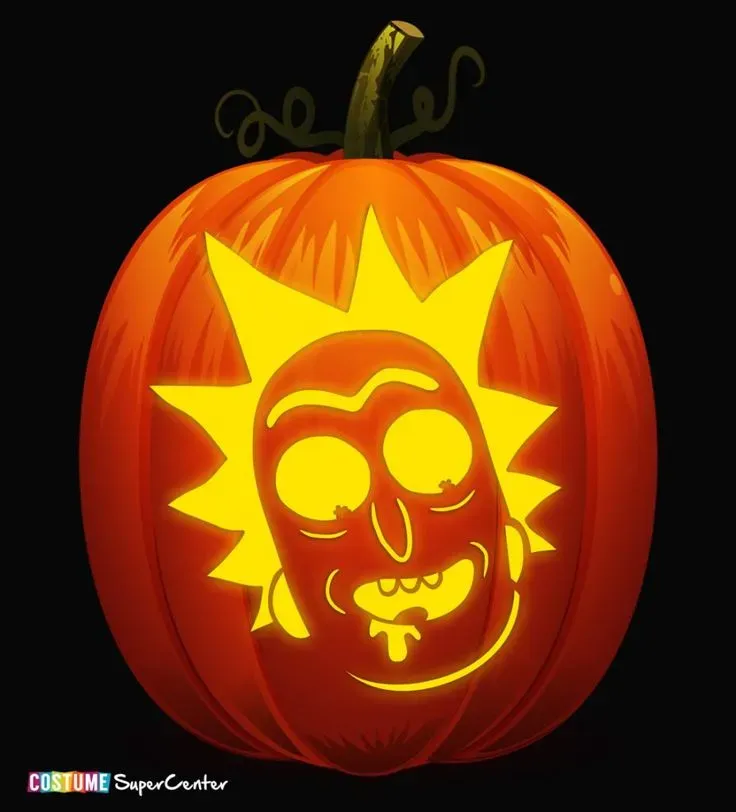
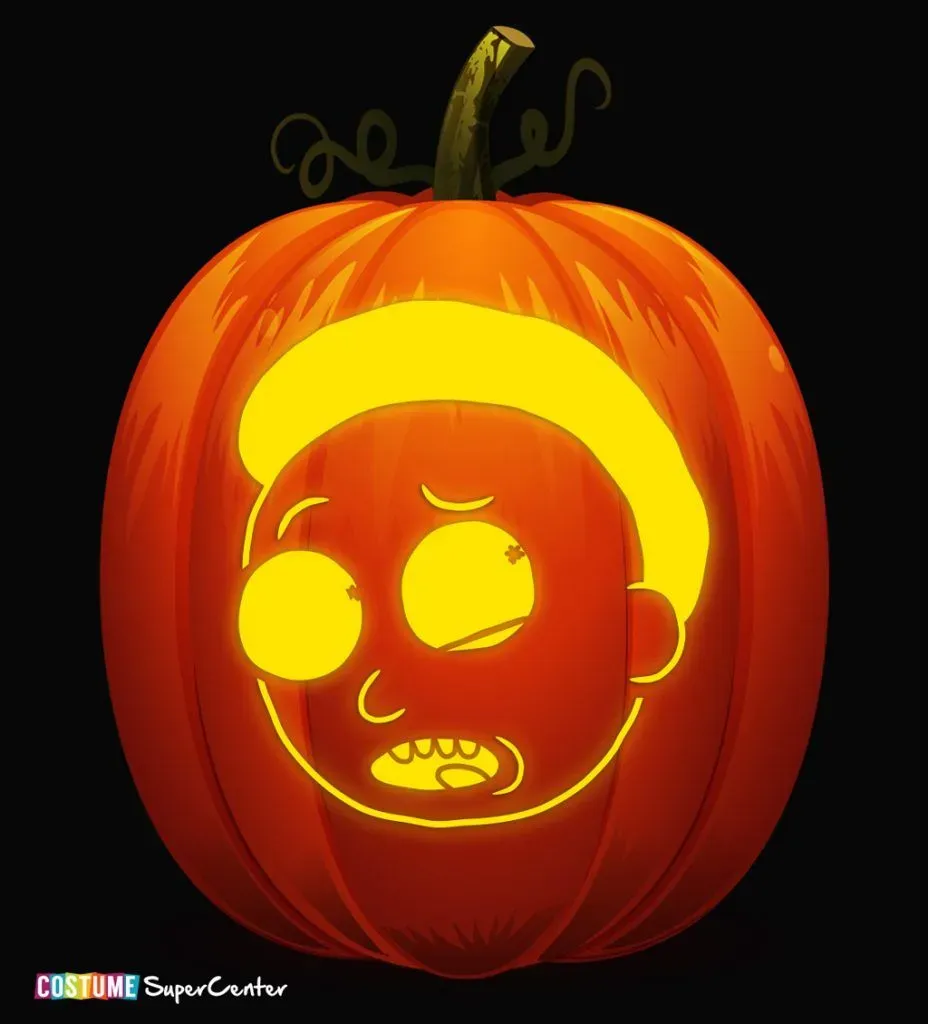
Once you've mastered the blob, you can move on to characters with a bit more definition but still forgiving designs. Think Birdperson or Squanchy. Birdperson has a clear profile and distinct beak you can carve or scrape. Squanchy is mostly just a cat-like shape with spiky bits and a recognizable grin. Even a simplified Rick or Morty face can work if you focus on just the key features: Rick's unibrow and spiky hair, Morty's wide eyes and slightly vacant expression. The trick here is to not get hung up on perfection. Embrace the slightly wonky look; it often fits the show's aesthetic anyway. These characters offer a good stepping stone before you attempt something truly ambitious.
Here are some solid choices for Beginner-Friendly Rick and Morty Characters for Pumpkin Carving:
- Mr. Meeseeks
- Plumbus
- Glootie (just the head)
- Birdperson (silhouette or simple profile)
- Squanchy (simplified face)
- Ants in My Eyes Johnson (focus on the eyes)
- Butter Robot
Stepping Up Your Game: Complex Rick and Morty Pumpkin Carving Ideas
Stepping Up Your Game: Complex Rick and Morty Pumpkin Carving Ideas
Taking on the Multiverse: Advanced Carving Challenges
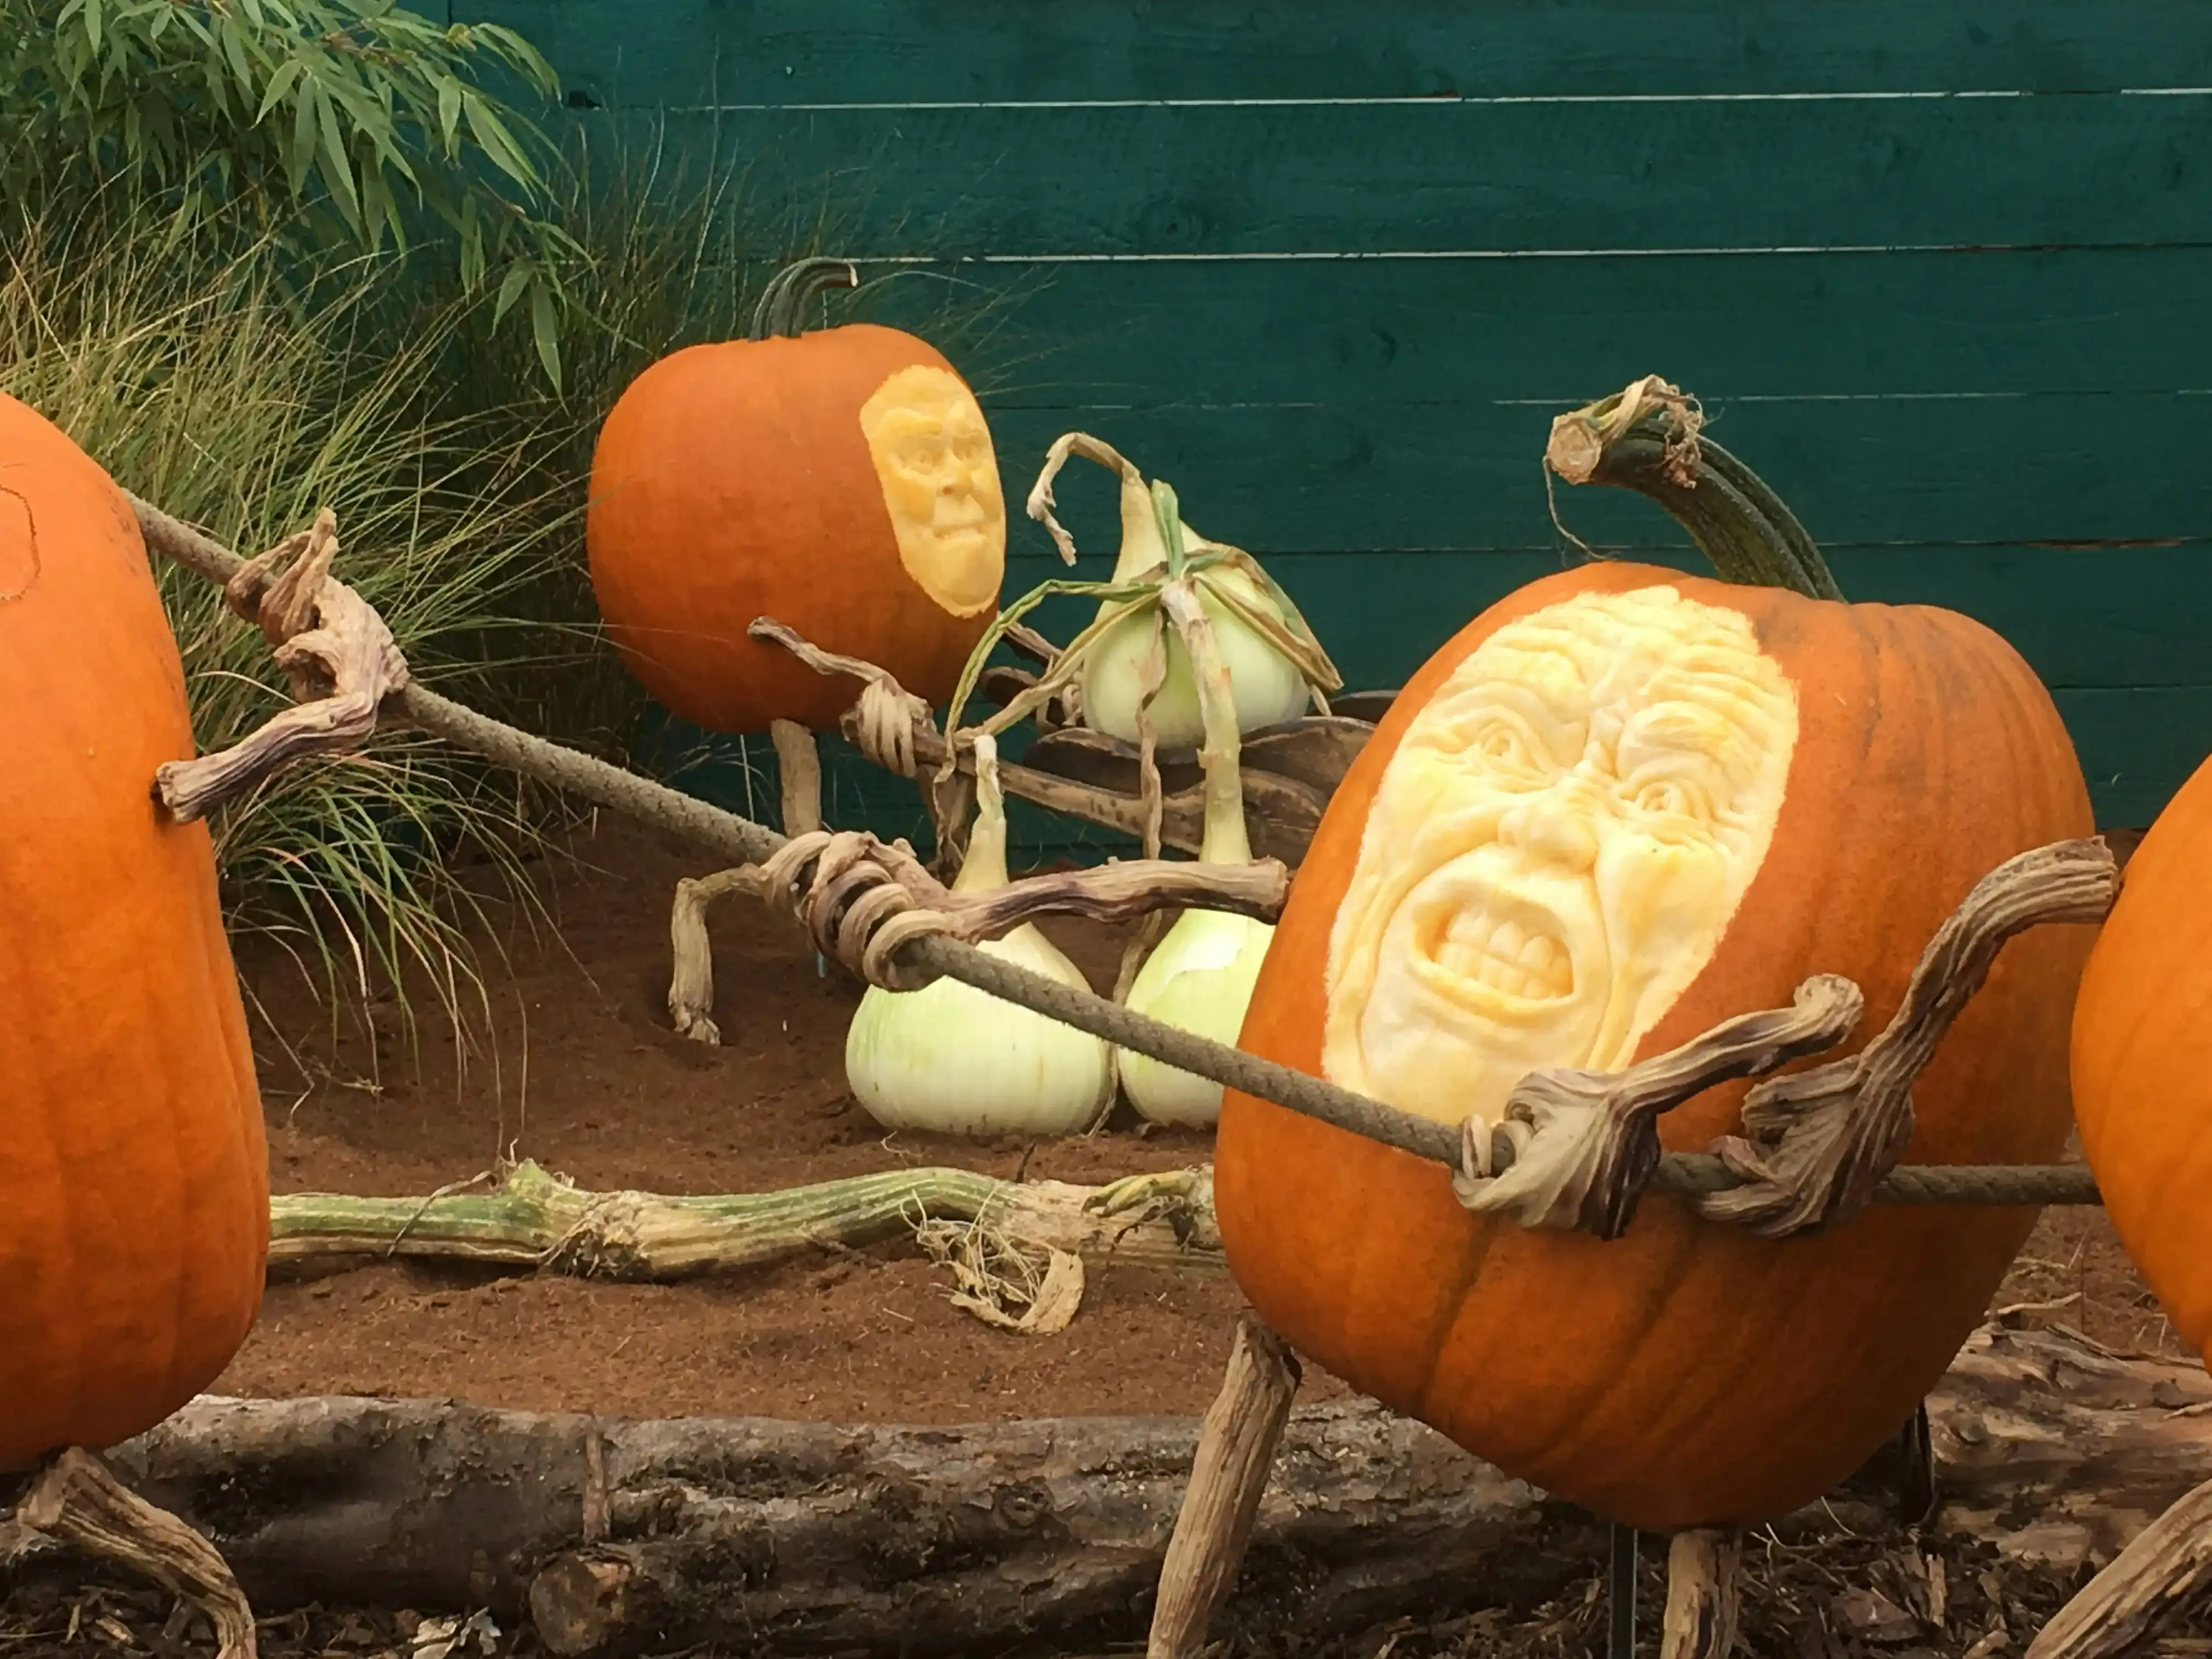
so you've successfully carved a dozen Mr. Meeseeks and your confidence is soaring like a Gromflomian space cruiser. Ready to really push your skills? Stepping Up Your Game: Complex Rick and Morty Pumpkin Carving Ideas means tackling characters with more intricate features, dynamic poses, or even entire scenes. Think characters like Rick in mid-portal travel with glowing green effects, a detailed face of Evil Morty with his creepy smile, or even a chaotic scene from the purge planet. This level requires serious patience, a steady hand, and a willingness to potentially mess up and start over. You'll rely heavily on scraping away layers of pumpkin flesh to create shading and depth, using those detail knives for tiny lines, and maybe even experimenting with different lighting techniques to make certain parts pop. It's less about simple cutouts and more about sculpting with light and shadow on an organic canvas that's slowly decaying. Fun, right?
Characters and scenes that demand more skill:
- Rick Sanchez (detailed face with wrinkles and shading)
- Evil Morty (intricate features, eye patch detail)
- Pickle Rick (realistic texture and small details)
- Krombopulos Michael (complex alien anatomy)
- Scenes involving portals or multiple characters
- Any character requiring significant scraping for shading (like Mr. Poopybutthole's texture)
Finishing Touches: Displaying Your Rick and Morty Masterpiece
Finishing Touches: Displaying Your Rick and Morty Masterpiece
Cleaning Up Your Interdimensional Creation
So, you've battled the fibrous guts, wrestled with intricate patterns, and somehow transformed a basic gourd into a tribute to the most dysfunctional duo in the multiverse. Congratulations, you've completed your pumpkin carving ideas rick and morty project! But before you just plop it on the porch, there's cleanup. Get all those stringy bits and seeds out – seriously, dig deep. The cleaner the inside, the less likely it is to become a moldy science experiment faster than necessary. You can also wipe down the exterior gently to remove any pumpkin residue. Some folks swear by a light misting of bleach and water solution inside to deter rot, though results vary. Just don't soak the thing. You've put in the work; give it a fighting chance to last more than a couple of days.
Illuminating Your Masterpiece
A carved pumpkin isn't truly finished until it glows. Choosing the right light source is crucial for making your pumpkin carving ideas rick and morty pop. Traditional candles provide that classic flickering effect, but they're a fire hazard and can actually cook your pumpkin from the inside out, speeding up decay. Plus, they can be tricky to keep lit in breezy conditions. Battery-operated LED lights are the safer, more reliable option. White LEDs offer a clean, bright glow, perfect for showing off intricate details. Colored LEDs, especially green for portals or blue for Mr. Meeseeks, can add a specific thematic touch. Experiment with placing the light source to see how it affects the shadows and highlights you've created with your carving and scraping. A well-lit Evil Morty is significantly creepier than one barely visible in the gloom.
Lighting Options for Maximum Impact:
- Traditional Wax Candles (Use with Caution!)
- White Battery-Operated LEDs (Good for detail)
- Colored Battery-Operated LEDs (Thematic effect)
- Flickering LED Candles (Mimics real flame safely)
- Mini String Lights (Can fill larger pumpkins or wrap around features)
Strategic Placement for Maximum Impact
You didn't spend hours on detailed pumpkin carving ideas rick and morty just for it to be hidden behind a bush or overshadowed by your neighbor's inflatable ghost. Where you put your pumpkin matters. Place it somewhere visible, ideally at eye level or slightly below, so people can appreciate the details. Consider the backdrop – a plain wall or dark corner will make the glowing design stand out more than a busy, cluttered area. If you've carved multiple Rick and Morty characters, group them together to create a scene. Maybe Rick is stepping out of a portal next to a terrified Morty, or Mr. Meeseeks is looking for purpose near a confused Jerry. Secure your pumpkin if you live in a windy area or one prone to nocturnal pumpkin predators (looking at you, squirrels). A sturdy base or a slightly sheltered spot can protect your hard work from an untimely demise before Halloween night.
Your Portal to a Rick and Morty Halloween is Open
So there you have it. You've navigated the multiverse of pumpkin carving ideas rick and morty, hopefully without losing a finger or questioning your own reality too much. Whether you stuck to a straightforward Morty or attempted a multi-dimensional portal effect, you've officially upgraded your Halloween decor from 'basic' to 'interdimensionally cool'. Your porch is no longer just a place for candy handouts; it's a statement. A statement that says you appreciate complex animated sci-fi, dark humor, and possibly have too much time on your hands. But hey, isn't that what Halloween is all about? Now go admire your creation, maybe play some "Get Schwifty," and try not to think too hard about existence. After all, it's just a pumpkin. Or is it?